Suspension upgrades are arguably one of the hottest aspects of the classic truck marketplace. And for good reason. Most of the old trucks we love so much leave a lot to be desired when it comes to modern performance. They were designed to haul heavy loads and not much else. Why would we expect them to be efficient canyon carvers?
Today, however, the tides have turned and more of us are enjoying our trucks as recreational vehicles as opposed to daily grunt work. Throw out the need to haul a load of gravel around the farm and all of a sudden that heavy-duty front and rear suspension design can be cast aside for something that will feel more supple, soak up the bumps in the road a little better, and hug the ground much nicer than that old, stiff design.
The '63-87 Chevy and GMC trucks are one of those year spans where, for all intents and purposes, the suspension design was pretty state of the art. It didn't change much throughout those years, for the engineers at GM figured they had found a good thing, so why change it? But when it comes to drastically lowering said trucks, the large lower control arms and bulky crossmember can quickly become a custom truck aficionado's nightmare.
Enter Scott's Hot Rods 'n' Customs in Oxnard, California, and their new Super Slam IFS kit for C10 trucks. Scott's took the original suspension design and tossed it out the window in favor of a new front crossmember designed with additional ground clearance in mind, tubular control arms with added built-in adjustability, drop spindles, rack-and-pinion steering, and the option of coilover springs or airbags for the ultimate “laid-out” look. A myriad of disc brake options are also available upon request with a GM 11-inch rotor and caliper design as standard.
Starting from scratch enabled the guys at Scott's to engineer something outside the boundaries of the original chassis, making upgrades and modifications as needed. The result is an incredibly flexible platform built on a sanitary foundation that solves many of the problems that arise when customizing the suspension system on these classic trucks. Add to that the fact that Scott's kit is a 100-percent bolt-in system and those customers who are usually excluded due to an inability to weld or fabricate can do this upgrade in their driveway with a handful of common tools. A true DIY kit for true DIY guys!
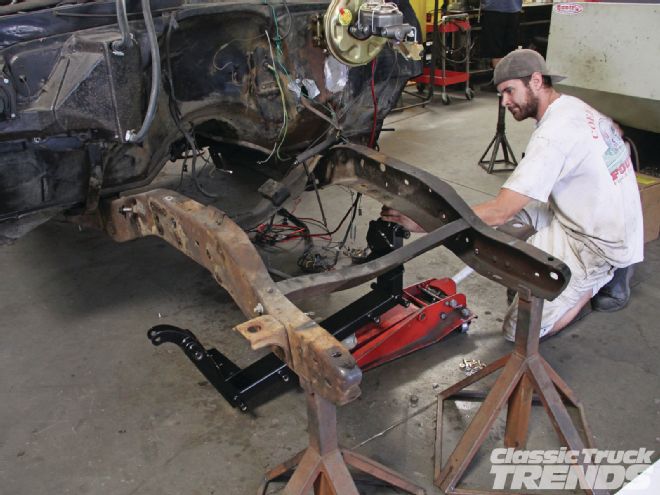
The stock suspension under the '63-87 Chevy trucks, while actually pretty forward thinking as far as truck technology went back in the mid '60s, leaves something to be desired when it comes to lowering. Cutting the coils is an archaic means to an end and slapping on a pair of drop spindles is usually limited to about 2 inches. To really lower these trucks, it takes a combination of spindles, springs, and ultimately, control arms. But one thing gets in the way – the front crossmember. It hangs down low, it's bulky, and it's ugly.
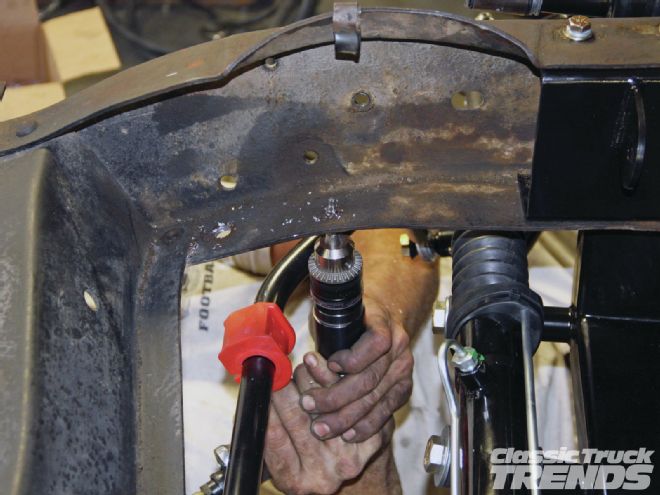
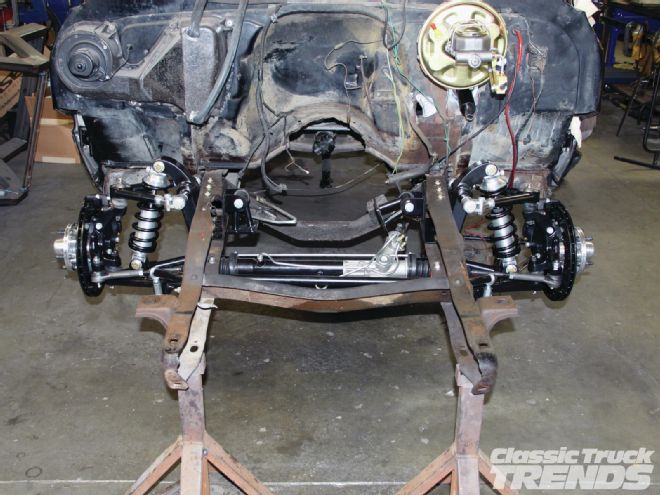
Luckily, the entire front suspension is easily removed using a handful of simple tools.
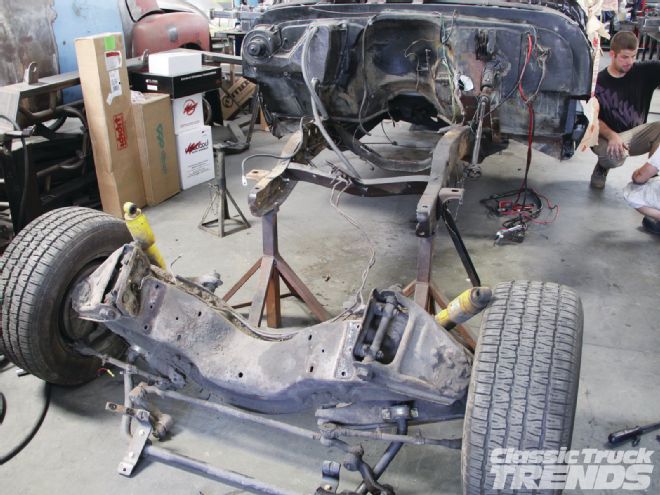
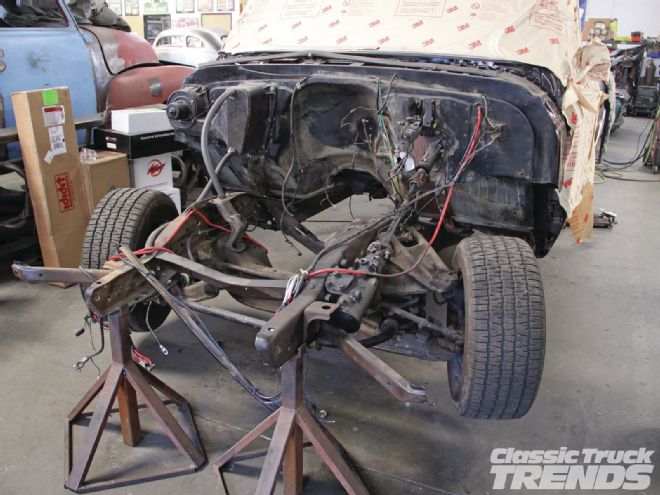
Front suspension removed.
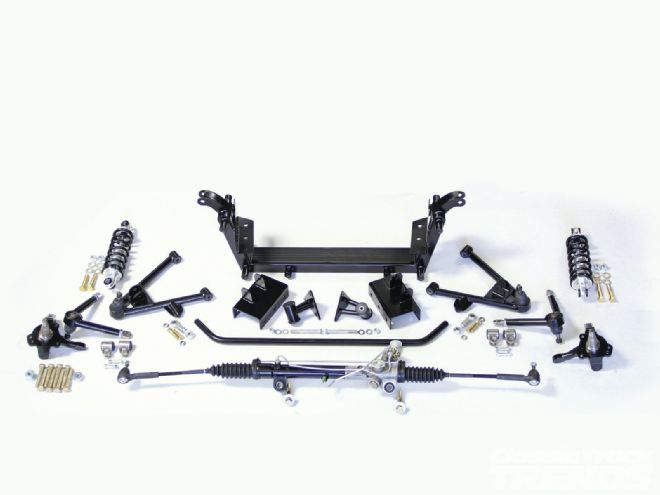
Scott's Hot Rods 'n' Customs has come up with the perfect solution for those guys who want to slam their trucks and retain the ground clearance necessary for a normal driving experience in their Super Slam IFS kit. Designed to bolt in place of the stock crossmember, it features unequal-length DOM tubing A-arms with built-in stainless steel rod ends for improved adjustability, bolt-in steel frame reinforcements, serviceable ball joints, billet coilover shocks or airbags, drop spindles, and features a lifetime guarantee on all of their manufactured parts. Power rack-and-pinion steering, motor mounts, and sway bar round out the package.
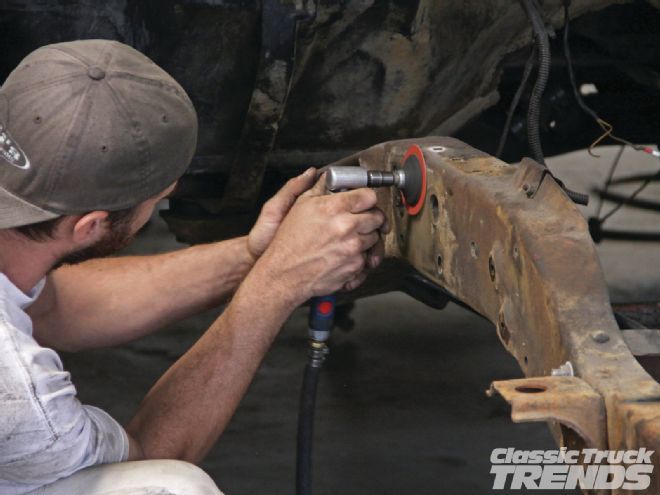
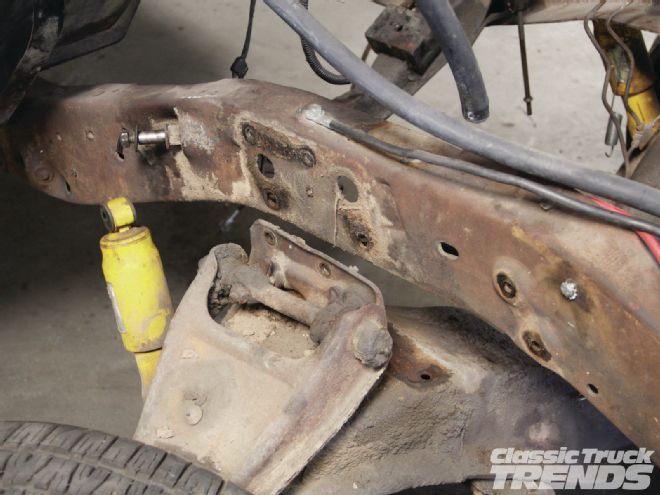
Before the new crossmember can be installed, it's necessary to clean that area of the framerail.
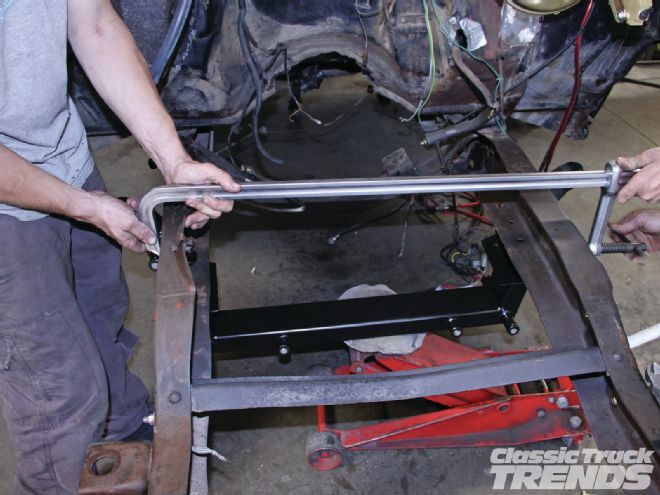
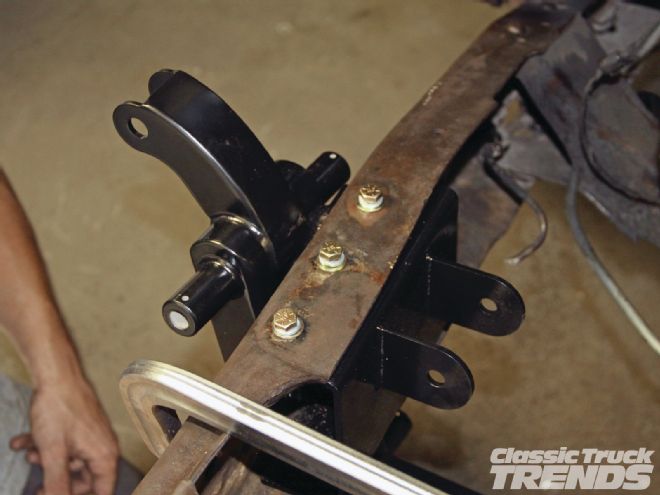
Then the crossmember can be raised into place. A large C-clamp can be used if the framerails are slightly wider than the crossmember.
Here, the first six fasteners (three on each side) are attached, mating the new crossmember to the frame
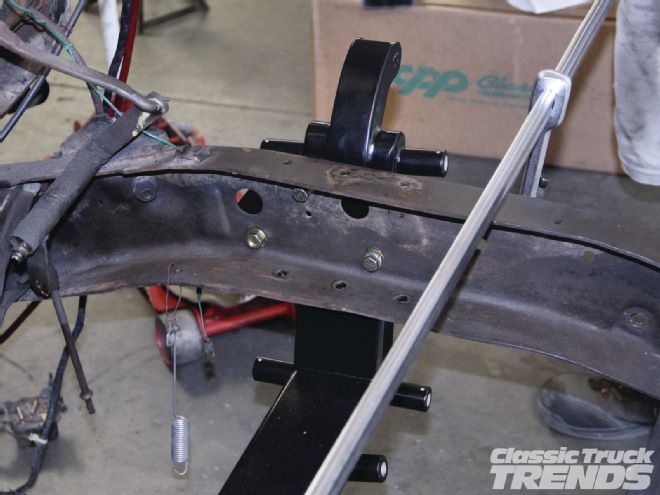
A pair of frame reinforcement plates attach at the top of the framerail using three provided fasteners while the bottom sandwiches the frame in between the crossmember and attaches via another trio of fasteners.
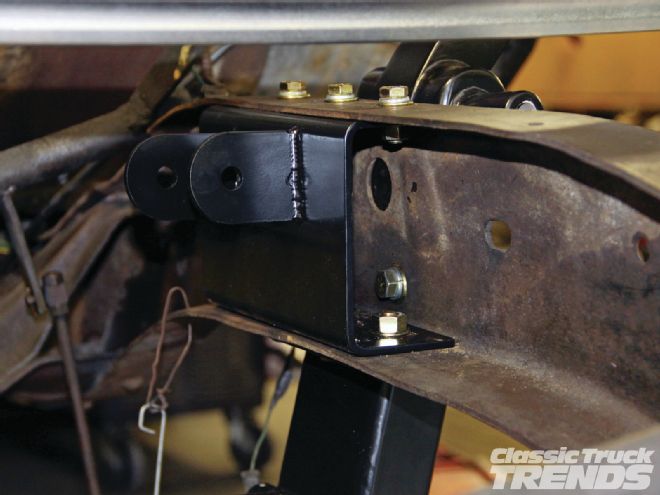
The tabs on the inside of the plate are where the motor mounts attach.
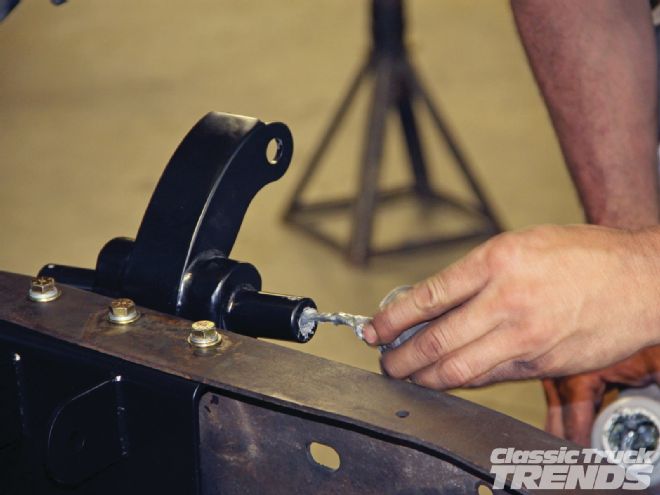
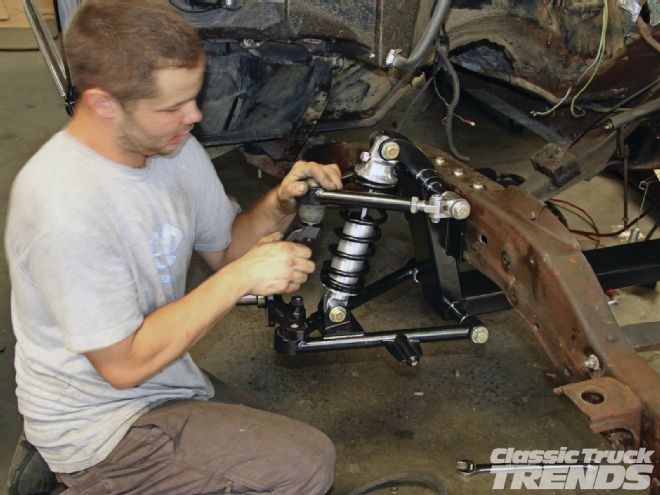
With the crossmember in place, it's time to start hanging the suspension components. Beforehand, however, the top and bottom control arm attachment points are treated to a bit of anti-seize.
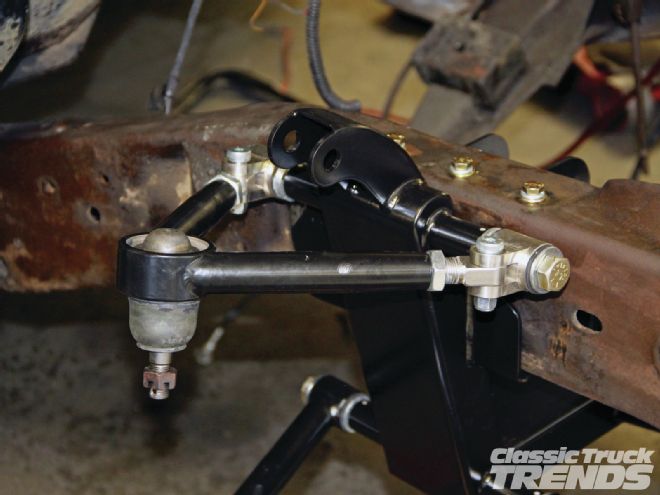
The lower control arm is installed first.
Note the control arm bushings receive a washer on either side.
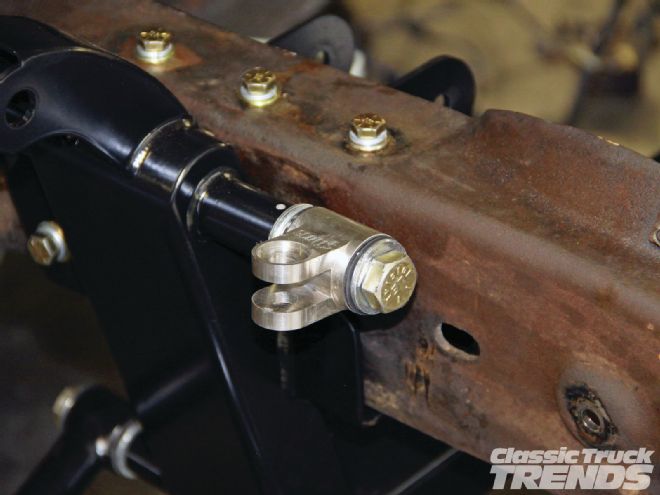
The upper control arm clevises follow, receiving a specific layout of washers – three on the inside and one on the outside of the bushing. At this point all four control arm fasteners can be tightened to 55 lb-ft.
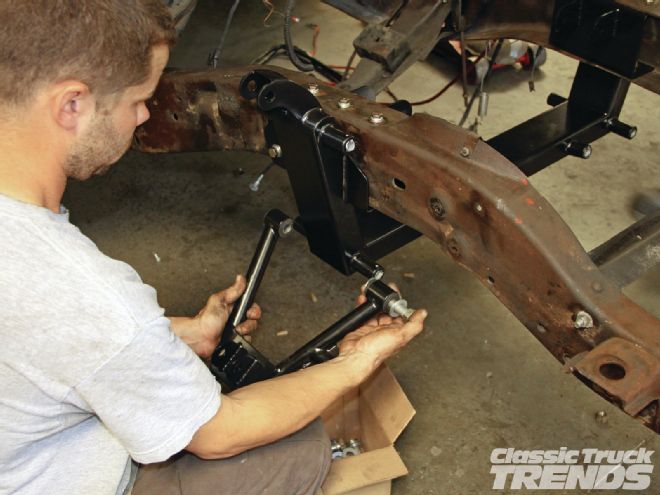
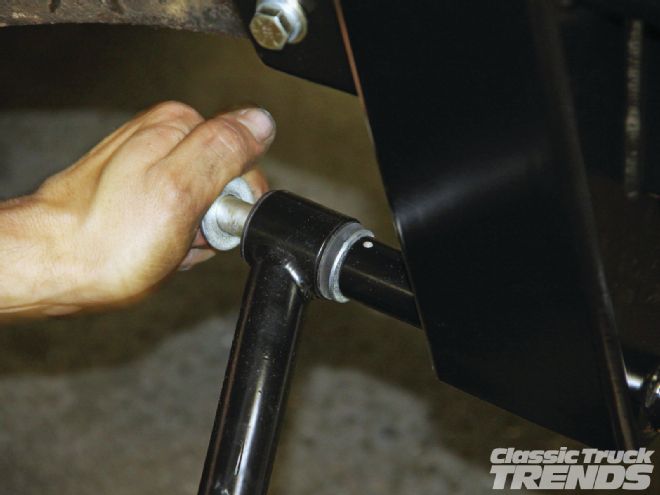
A pair of rod ends mate the control arm with the clevises. Each rod end is spun into the control arm until it bottoms out, then is backed out five turns and the jam nut locked in place. This ensures each arm is identical and provides a good baseline for wheel alignment.
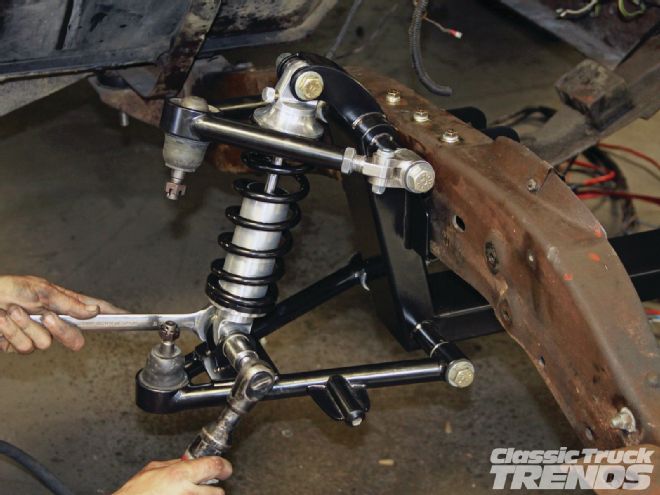
With the control arms in place, it's time to bolt in the adjustable billet coilover shock. This will help hold the lower control arm in place during the next step.
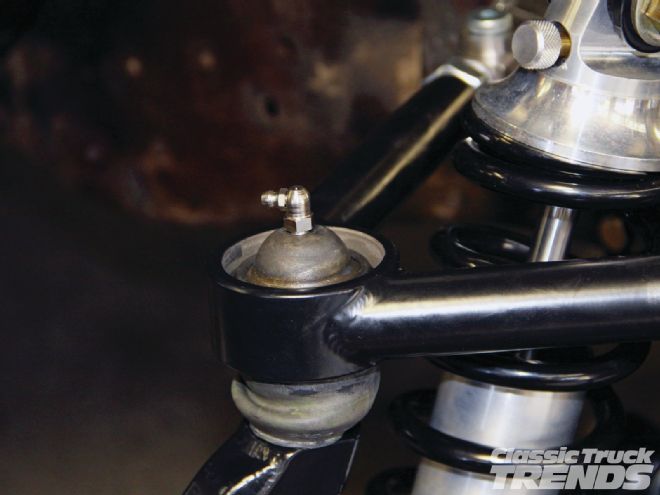
The last step of the initial suspension assembly is to install the drop spindles. Attach the lower ball joint first, then simply lower the upper control arm ball joint into place and tighten both castle nuts, followed by their respective cotter pins.
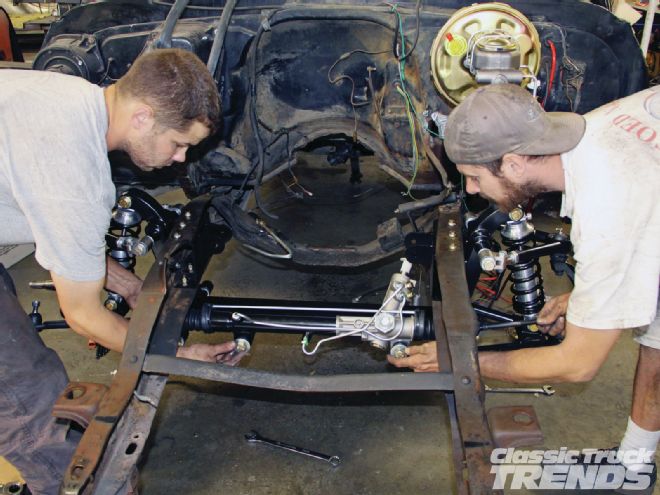
Scott's provides a manual rack-and-pinion as standard and offers a power unit as an upgraded option, which is what this particular project received.
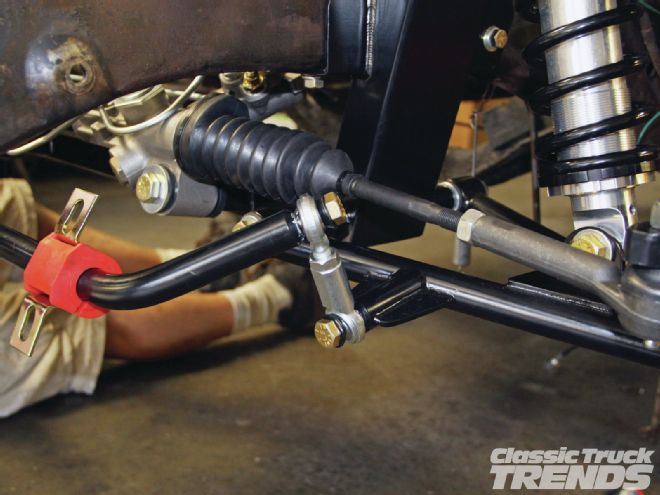
Their suspension kit also comes with a sway bar that attaches to the lower control arms via rod ends.
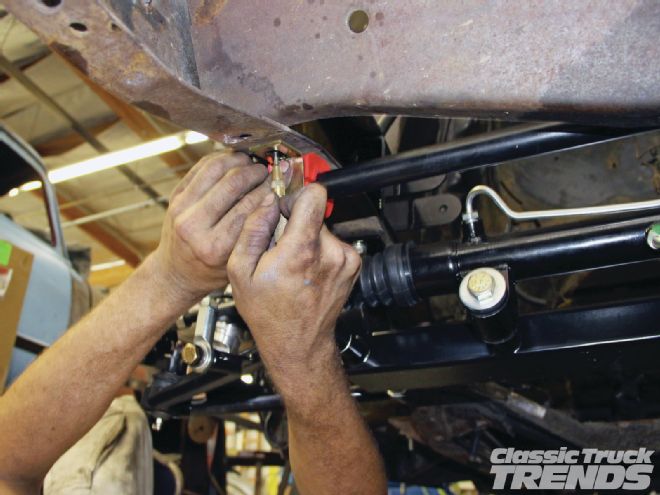
The frame brackets are then marked...
...drilled, and fastened into place.
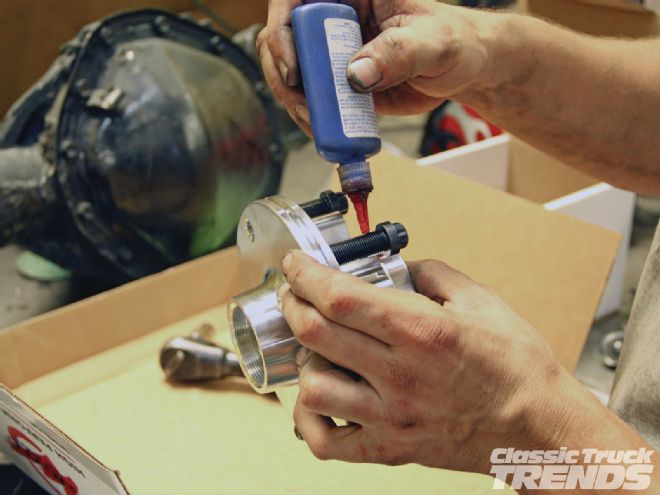
This particular project is also getting a brake upgrade in the form of Wilwood 11-inch disc brakes. First the studs are inserted into the hubs…
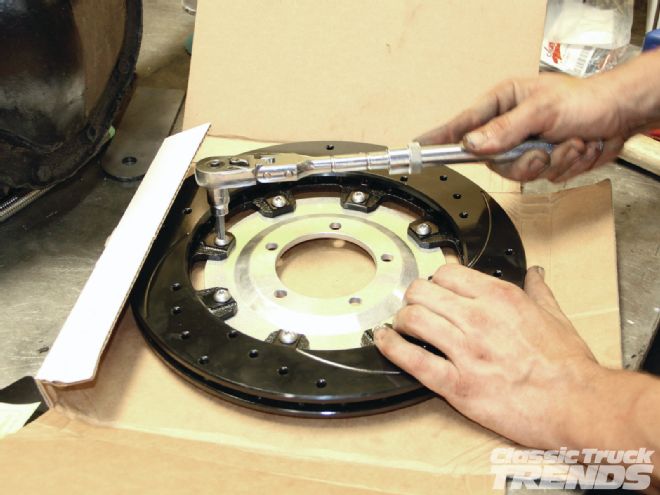
...then the rotor is attached to the hat…
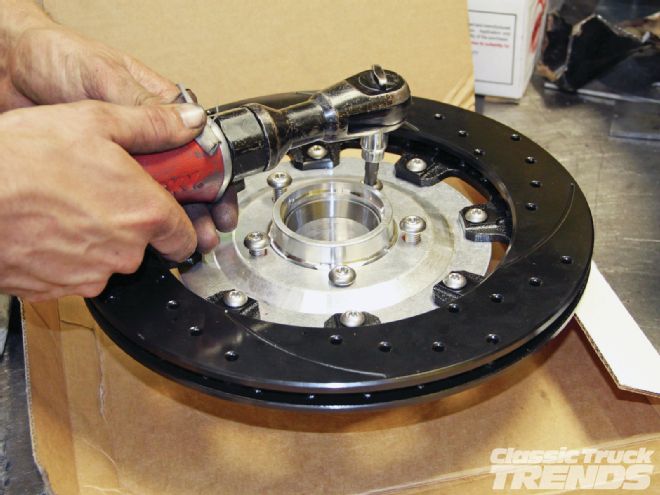
...followed by the union of all three parts. Note the use of thread locker on all fasteners for this assembly.
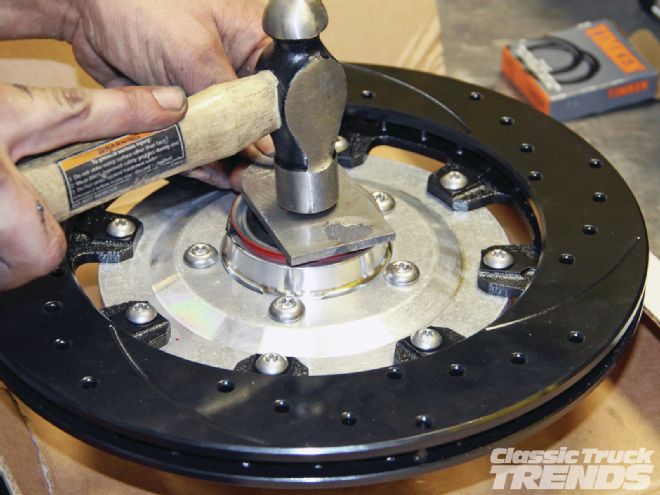
The inner bearing is packed with grease and placed inside the hub before the inner seal is pressed into place.
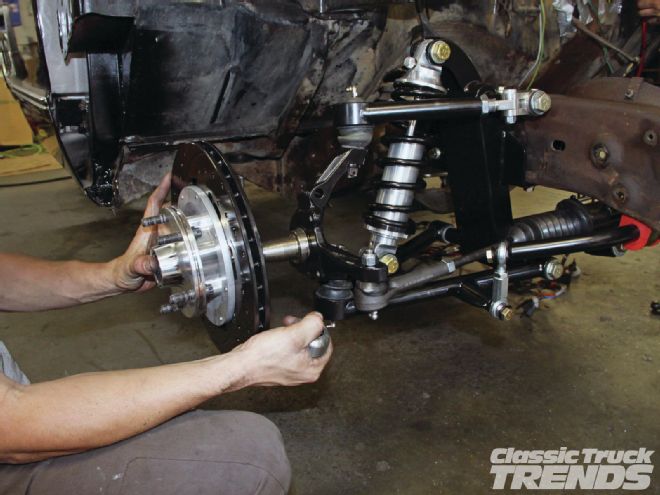
The brake assembly is then slid onto the spindle followed by the outer bearing (greased), thrust washer, and nut.
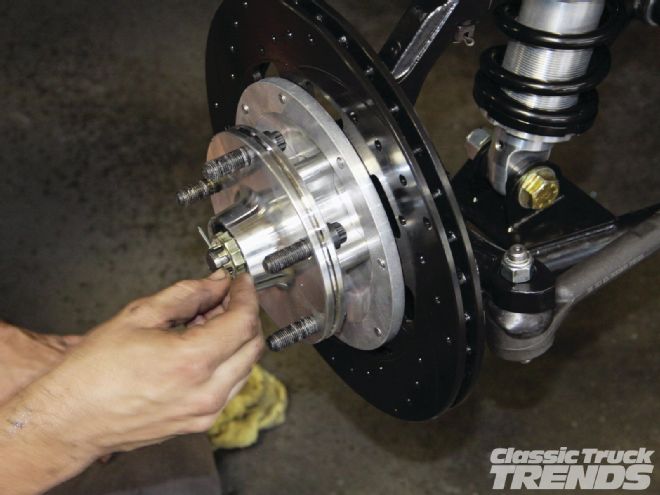
The keeper, cotter pin, and dust shield then follow.

Next, the caliper mounting brackets are installed on the spindles followed by the calipers themselves.
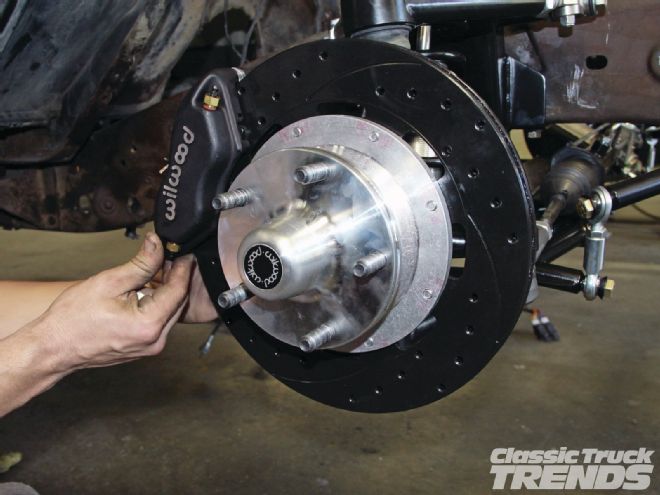
These are Wilwood's four-piston design.
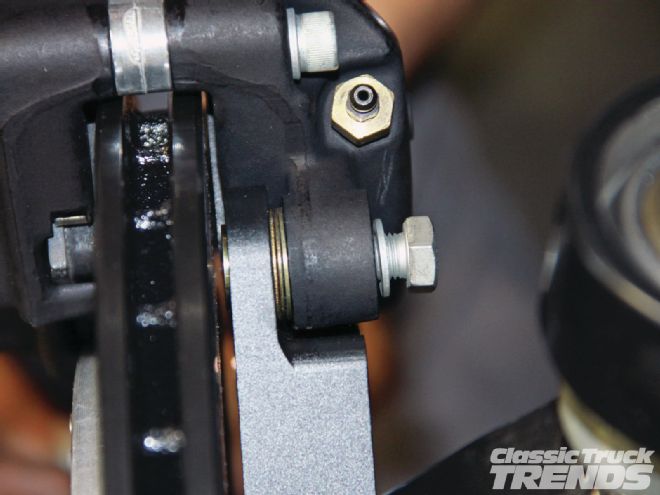
With the brake assembly completed, it's a good idea to check that the caliper is centered with the rotor. Spacing of the caliper may be required.
At this time, all that's left is to install the zerk fittings and give 'em a good greasin'.
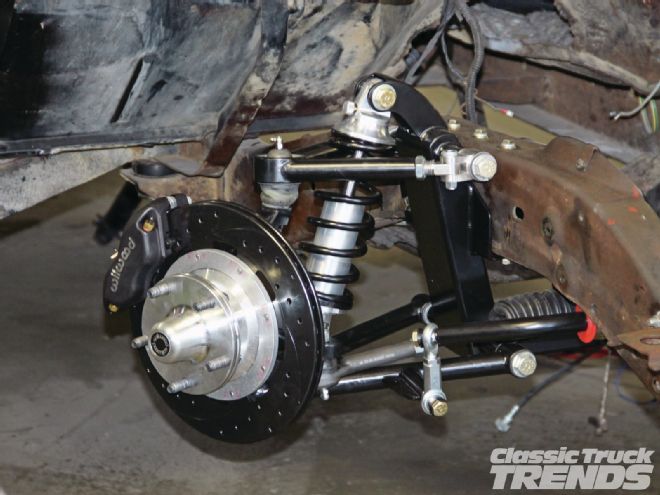
That's all there is to bring that 40-plus-year-old suspension design into the 21st century with modern handling and stopping power coupled with a great aesthetic that only a lowered truck can achieve.
No cutting, no welding, the Scott's Super Slam IFS kit is truly a bolt-on transformation!