
The whole time I’ve been into hot rod cars and trucks one of the things that has mattered most to me personally is stance. The way a vehicle sits, along with its wheel and tire combination, can make or break a classic truck or hot rod, or custom for that matter. These days, patina’d beaters are a perfect example. Without an in-the-weeds, all-around lowering (or a cool hot rod rake) and a nice set of wheels and tires a beater (or though I hate the term, rat rod) is nothing but an old, beat-up vehicle that’d make a neat ride ... if only it sat right and had a good looking wheel and tire combo.
 Wow, better than Christmas! That’s how it felt when I received and unpacked my RidePRO e3 control system and Shockwaves. As my truck has progressed, the Shockwave system was one of the things I’d been looking forward to the most as the truck’s stance is going to be one of its most important and noticeable aspects. Plus, I’ll revel in the great ride and handling the system provides since I plan on driving the wheels off this pickup.
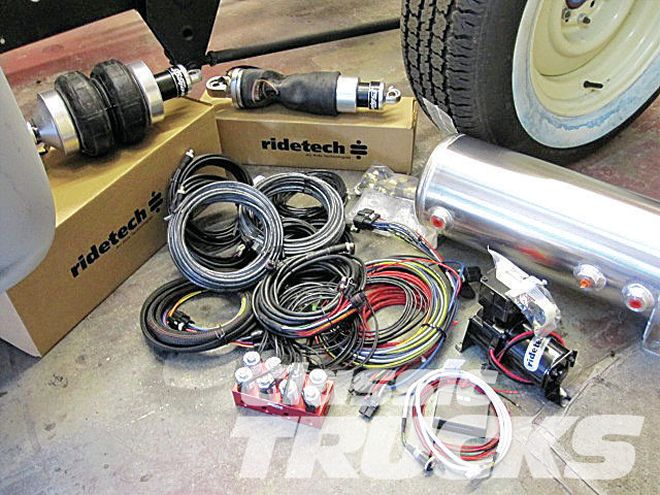
Well, from the very day that I gained possession of my ’57 Chevy pickup I knew that at some point it’d be outfitted with a RideTech air ride system of one configuration or other. Sure, I could have set up my aftermarket suspension so that the truck sat the way I wanted it to without the aid of air ride—I’ve gone that route plenty of times before. Unfortunately all those vehicles I lowered in that manner looked great, but they all handled like crap and road even worse. Heck, as much as I hate to admit it some of ’em were even pretty dangerous as the scrub lines ended up lower than the rim-ride height (in other words, if I’d ever gotten a flat the vehicle would have ended up scraping along on the chassis or a suspension part rather than the flat tire, becoming totally uncontrollable—not a smart idea at all).
Since the company’s inception, RideTech has been at the cutting edge of air suspension technology and they’ve been constantly developing new and exciting products. It was my longtime exposure to vehicles equipped with RideTech systems that made the choice an easy one for me when it came time to outfit one of my own projects with air suspension.
As you may have noticed from the title, this is only part one of a multi-part story. This first installment is going to revolve around component installation more than anything else. I’m doing it this way so that I’ll be able to have the space needed to get into some specifics, especially when it comes to the technical specifications and benefits of the RideTech control systems and the shocks themselves. This’ll also give you a heads-up in regards to some of the challenges some may come across during an installation of this sort—especially since I’m working with aftermarket suspension components here rather than the factory Chevrolet suspension. That said, take a look at my first afternoon’s installation progress and we’ll see ya next issue with a look at wiring the controllers and running the air supply lines. ct