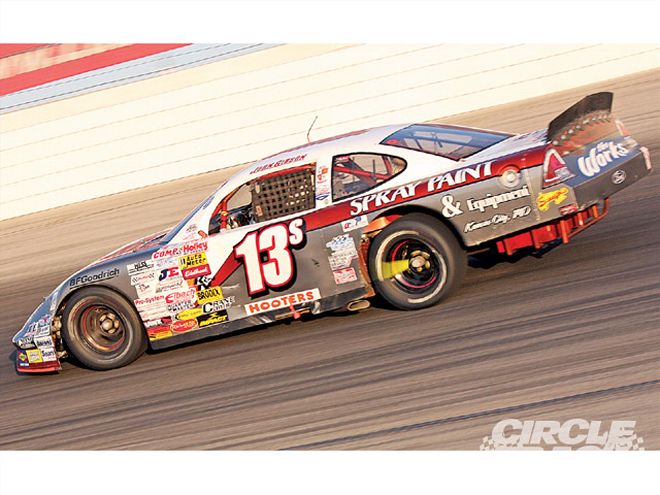
 It's that time of year, when teams will look back on their prior season and decide how they can improve their program. For us, it's a new chassis. Our current car is a good piece but she's tired. In order for our team to reach the next level it's time for a new chassis. Photo Courtesy of Erica Smetters
It's that time of year, the time when plans are starting to be made for the 2009 season. The upcoming season often has a way of sneaking up on teams, things get busy during the off-season with family and work, and before you know it you have two weeks before the first race of the year. Trust me, the teams that will be contending for championships this coming year have already got a head start. Very rarely will you have a championship-caliber car or team that isn't more than overly prepared for the first race of the year.
Circle Track magazine is widely known around the racing world for providing its readers with beneficial technical articles and being the #1 Source for Advanced Racing Technology. For the 2009 season, Circle Track will be taking on a huge project: to show you, our readers, what it takes to build, race, and maintain a championship-caliber car/team. Since I ran the '08 Hooters Pro Cup season, we opted to stick with the 105-inch wheelbase car. This will give us the versatility to run in a competitive national touring series such as USAR Pro Cup or NASCAR Camping World Series. While that decision will be reported in the coming issue, the goal will be to contend for the championship.
This car will be documented throughout the course of the year, and we will be showing the build from the ground up, appearing in various stories showing its progress. In the next few months after the build is complete, we will be testing the car. We will not only show you how the car ran, but also show the changes we made to the original setup. Much of what we will do with the car will be applicable to many forms of racing. So without further ado, here's the first in a long line of stories surrounding this upcoming season.
The winter for most teams means one thing-getting your equipment ready for the next season. Many teams will have a choice, whether to build a brand-new chassis or to make improvements to the chassis they already have. Our chassis has been a really good car but it was time to get a new one. The chassis was close to 7 years old and has had three different teams call it their own. And trust me, each one of us had hit everything but the lottery with the car.
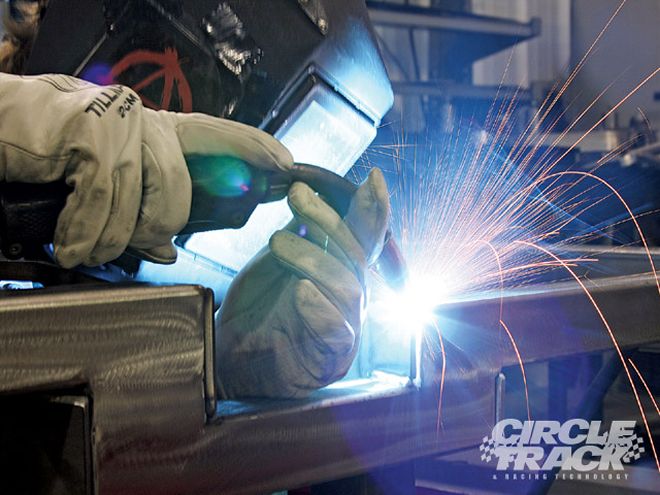
The foundation of a championship-caliber team is a solid car. That's why we decided to go with a Leavitt chassis. Leavitt Racing Components is one of the top chassis builders in the industry. Its workmanship is second to none, which you will be able to see throughout the build of this car.
I have broken up the building of the chassis into what we accomplished each day we worked on the car. This way, you'll be able to see how the car was built from the ground up and the process it followed to completion.
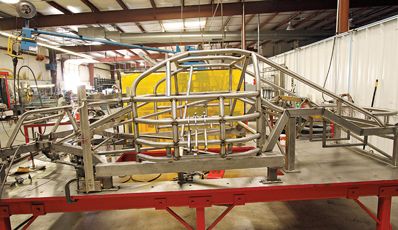
Built the rear clip for the chassis - I assumed when I arrived at Leavitt Racing Components in Mooresville, N.C., that we would piece the car together on the jig and then pull the chassis off when it was finished. However, what happens is the car is actually built in four steps. We build the rear clip, front clip, and center 'cage before ever going on the jig. And then finally we weld the car together on the jig.
Built the front clip - Just as with the rear clip, the front clip is pieced together on the jig. However, it gets a little more complex, because of the control arm mounting points. If there is any type of bind or resistance in the movement of the control arms, then it will not allow the control arms to travel at a consistent rate once it hits the track.
Built the center section (or 'cage)
Gettin' Jiggy - It's now time to get the car on the jig! We'll take everything we've made up to this point and piece it all together. This includes cutting and placing the framerails as well as centering the front and rear clip with the framerails. We'll attach the front and rear clip to the framerails, we'll attach the crossmember, and of course the truck arm mounting points.
Finishing the Rollcage - It's now time to attach the 'cage to the framerails. One thing we don't want to forget is since we have raised the framerail on the right side, we need to cut the 'cage down on the right rear to ensure that it will sit on the framerails level. In addition, we will attach the secondary lead rail on the inside of framerail.
Getting Closer - With Day six upon us, we now attach the support bars from the 'cage to the front and rear clip. We mount the firewall support struts as well as the shock bungs in the front of the car. Then, we begin the process of checking clearances for the interior sheetmetal.
Pulling it off - The Jig, that is. The car is just about finished. All we need to do is go over the car and make certain we have welded up everything. We don't want anything that is just tacked getting sheetmetal.