Way back in our Dec. '07 issue, we ran an article that provided a thorough look at the LT1, Chevrolet's engine that bridged the gap between the original small-block and the company's current Gen III and IV family of engines. For its time, it was very advanced, utilizing reverse flow cooling, improved cylinder head design, and sequential fuel injection ('93 and later). The LT4 variant improved on the recipe even further with an aggressive cam profile, even better heads, and a lightened valvetrain. Some of these innovations became standard equipment on the forthcoming LS1. But the LT production run was limited to just six years between 1992 and 1997, meaning the number of these engines and the parts available are much fewer than the Gen I small-block and the LS engines as well.
So, based on the limited appeal of this engine, who, if anyone, should care about this article? Anyone who owns or is considering buying a fourth-gen Camaro or Firebird, C4 Corvette, or Impala SS. Plus, some restomod guys are swapping LT1s into older GM muscle cars because they drop right in place of a standard small-block without all the fiddling you have to do to get an LS engine in.
So, here's the deal: We scored an LT1 out of a '94 Caprice police car with the intention of rebuilding it and bolting parts onto it to find out the potential of these engines. Here's how it went down.
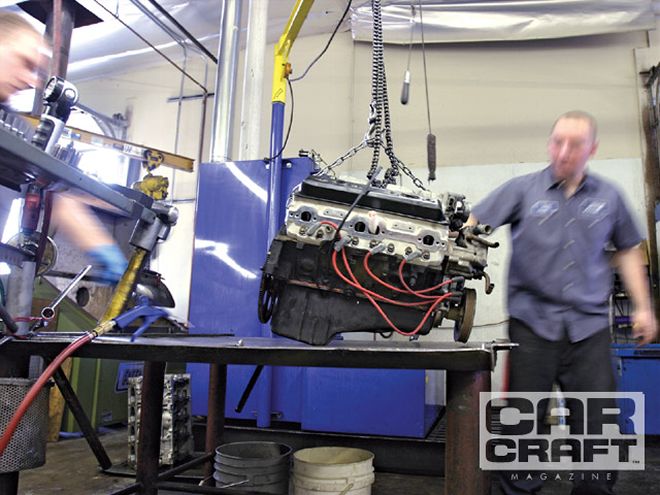
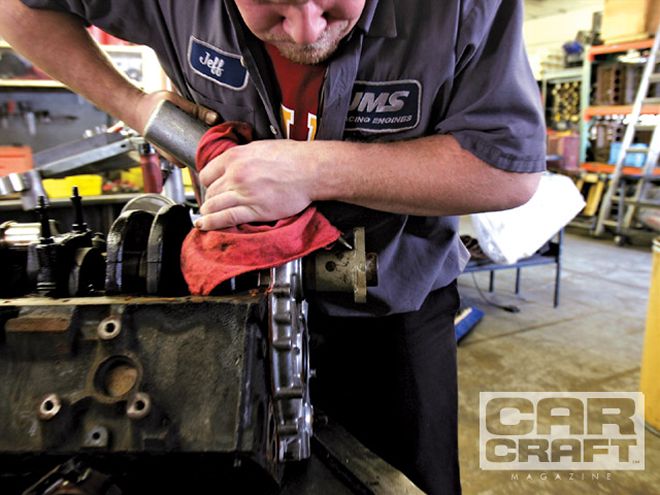
If our engine looks a little crusty, that's because it is. This is a high-mileage unit out of a 9C1 Caprice that saw hard time first as a police car and then as a taxi cab. The car had more than 225,000 miles on the clock when we pulled the engine. B-body trivia experts will note that our engine has aluminum heads instead of the factory iron heads. Before we bought the car, someone installed Edelbrock heads but never ran the car with them. More on that later. We took it to our buds at JMS Racing Engines for a teardown and inspection. We wanted to rebuild this engine as cheaply as possible, reusing as many of the stock components as we could.
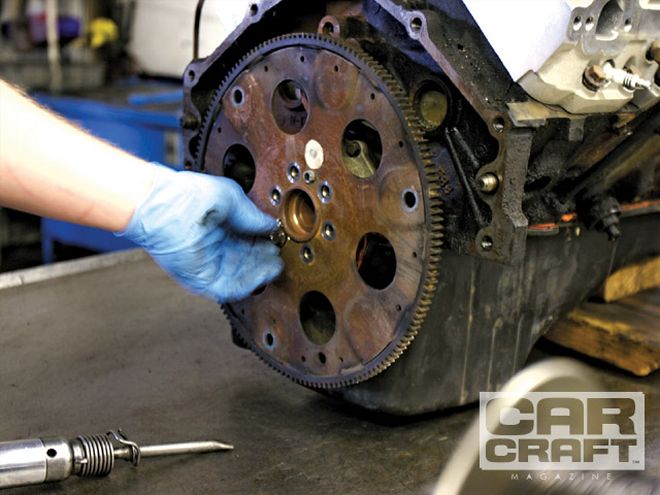
During the teardown, we encountered the normal stuck fasteners. One of our flexplate bolts was seized, and the head of the bolt rounded when we tried to unscrew it. Though we tried special sockets, we eventually had to chisel it off.
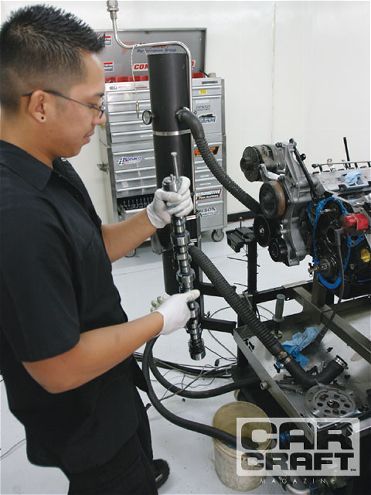
LT1s have a unique, press-on balancer hub that requires a special puller. In a pinch, you can remove it with an air hammer.
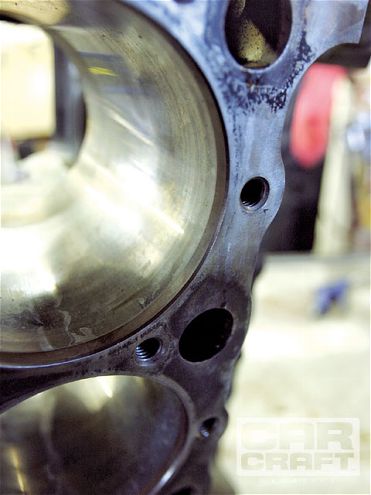
We were encouraged by the cleanliness of the bores and hoped to get away with just replacing the rings and bearings.
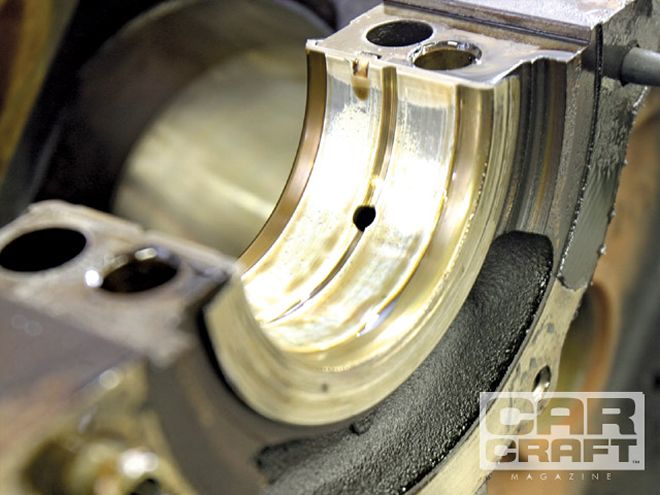
Our hopes were dashed when we checked the thrust flange on our crankshaft. It was worn so badly that the crank was unusable. JMS' Jeff Johnson said this is a common problem.

The torque converter loads up the crankshaft in such a way that it causes excessive wear on the thrust bearing and flange. We replaced the crank with a new one from Scat.

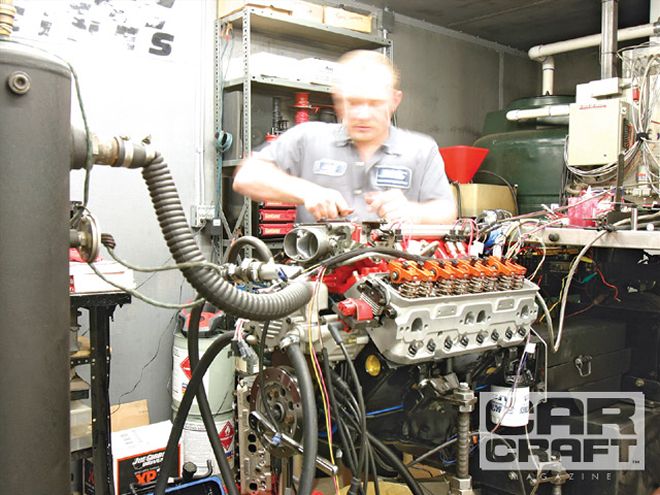
After the block was machined and the crank balanced, JMS' Jeff Johnson began reassembly. Here's a look at the new timing set, which includes the water pump drive gear partially hidden behind the cam gear.
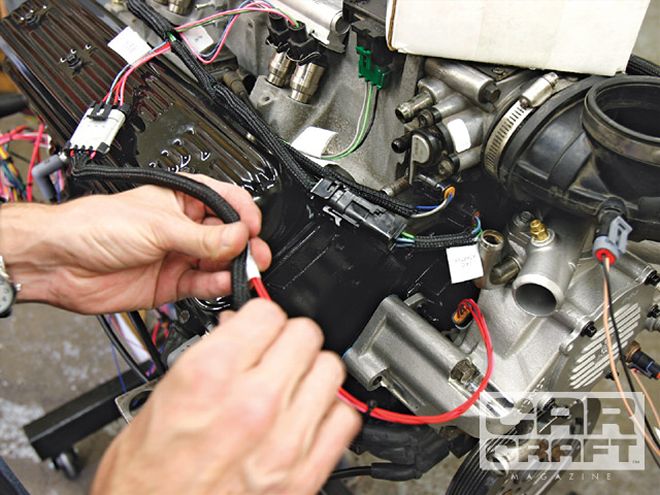
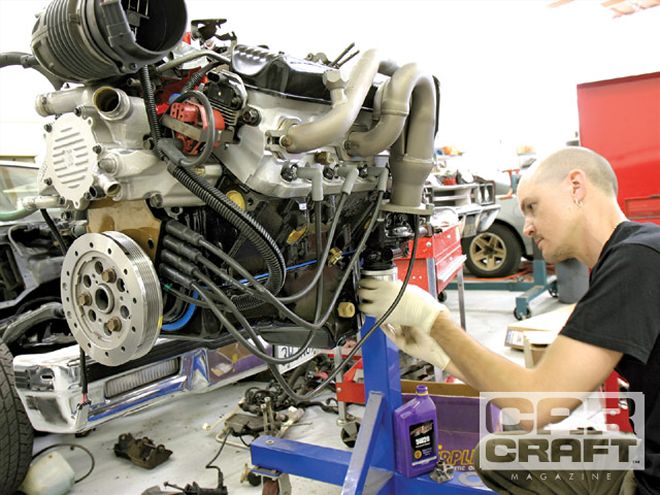
JMS handled the assembly, but we had to get it ready to run on the dyno. To speed up the process, we ordered a wiring harness from Painless Performance rather than try to decipher the factory harness. We were impressed with the Painless harness--all the connections were labeled and the kit included this nice, braided loom. We had the engine wired up in just a couple of hours.
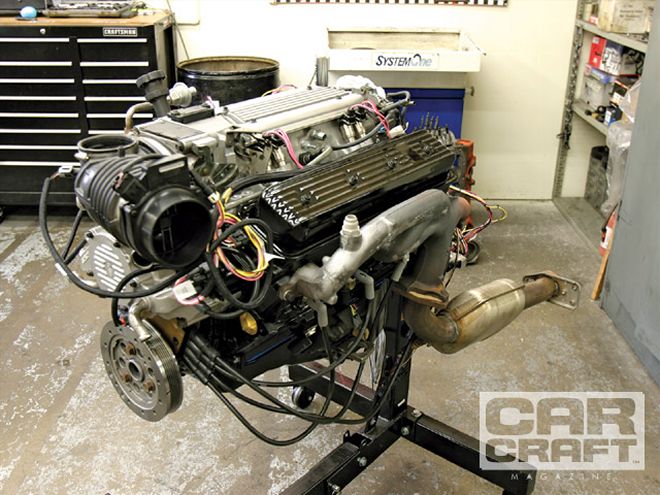
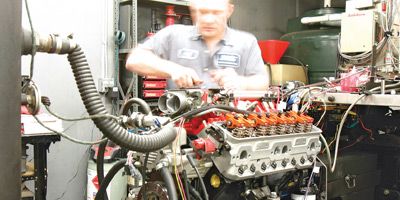
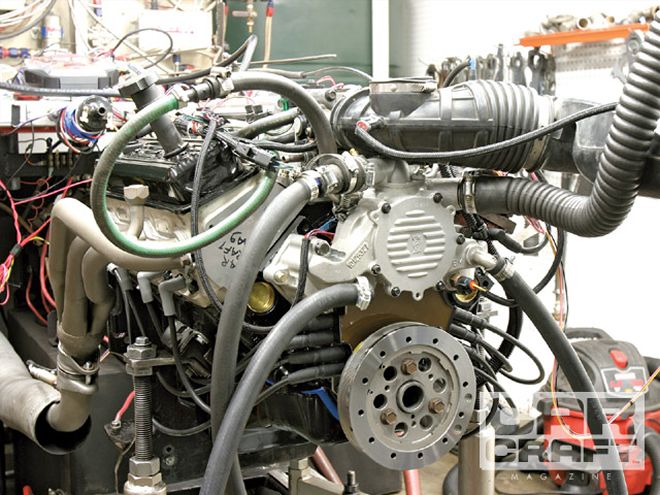
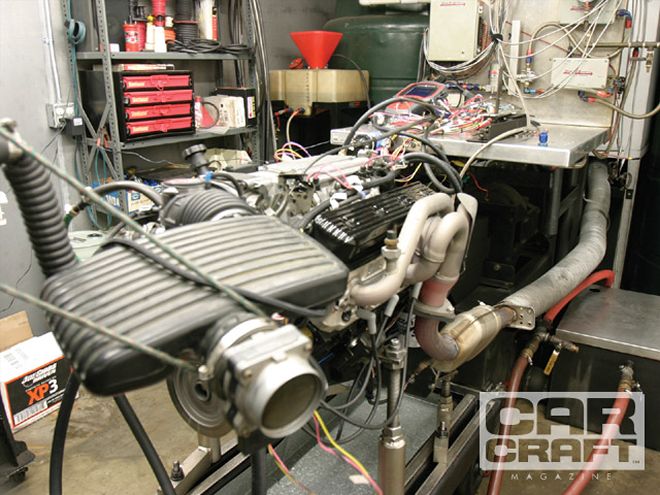
Here's the engine wired up and ready to be rolled into the dyno cell. To get an accurate baseline, we decided to run the engine totally stock with the original cam, iron heads, iron exhaust manifolds, and stock catalytic converters.
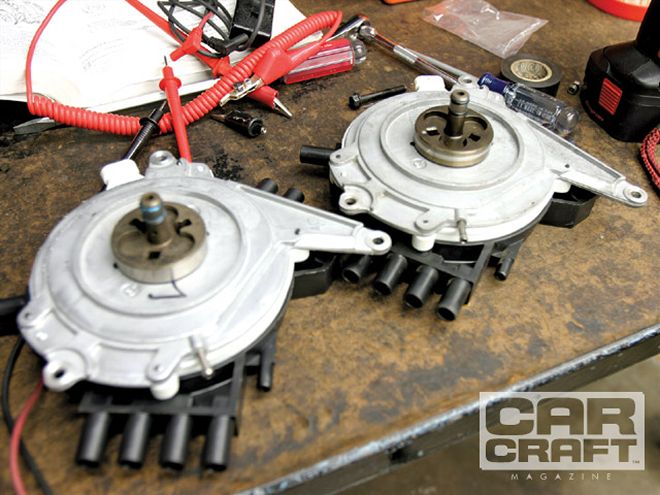
Unfortunately, our engine wouldn't start. We double-checked all our wiring and even replaced the mass airflow sensor and ECM before finally getting out our factory service manual and tracing the problem to a bad OptiSpark. There was no high-resolution signal from the optical trigger to the ECM, so the plugs wouldn't fire. Though aftermarket OptiSpark units are available, we wanted one from GM--and good luck finding one in stock at your local Chevrolet dealer. We bought ours from LT1 specialist George Bates Automotive in Upland, California. They're not cheap, either.
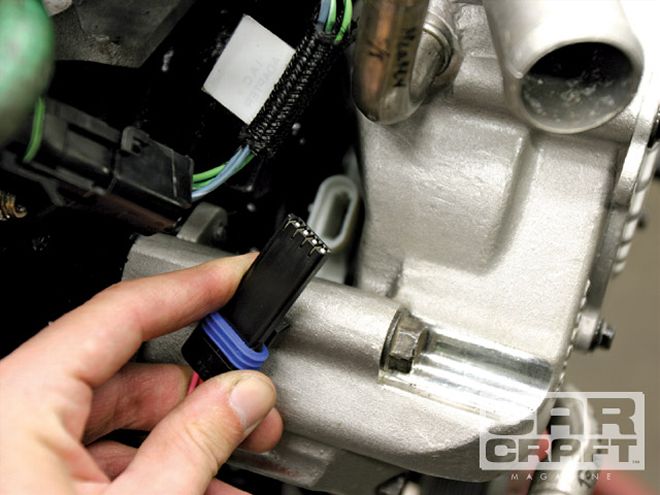
Bates warned us to pay close attention to this connector. It's the link between the ECM and the OptiSpark, and it often gets melted by engine heat. We checked our factory harness and found that it was, in fact, a little melty looking. It's a good idea to wrap this connector with some sort of heat-insulating sleeve.
Bates also told us to replace the OptiSpark vent tube line. Running the engine without venting the distributor can cause it to fill with ozone and will lead to an early failure. We also took this opportunity to replace several broken and damaged vacuum lines.
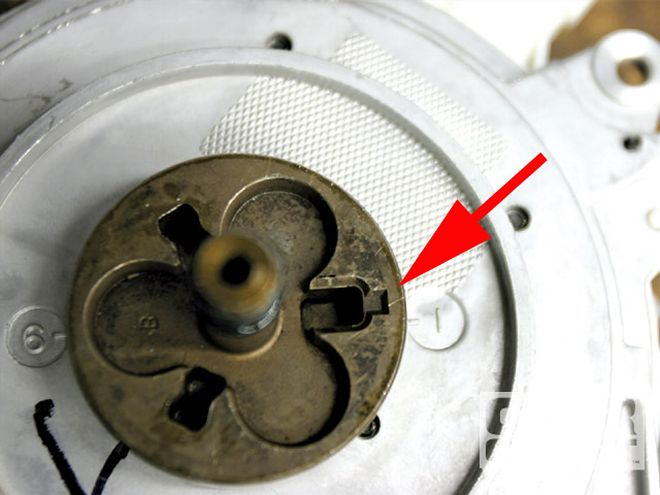
Though they say it's impossible to put an OptiSpark on wrong, trust us, it can be done. The pin from the cam is supposed to fit into the square-shaped slot (arrow) on the back of the distributor, but is it possible to get this misaligned. Though it will not fit in the slot, the pin can align with one of the other two wrong slots. If this happens, it will drive the distributor, and the engine will try to start and sound like a traditional geardriven distributor that is off a couple (or several) of teeth.

Here's the trick: When installing the OptiSpark, push the unit on by hand. It should seat fully just by pushing on it. Do not use the bolts to draw it on. If you have to force it on, it's misaligned. Also, using the bolts to tighten the unit could cause the mounting tabs to break. You'll be shelling out big bucks for a new OptiSpark if this happens.
With the new OptiSpark installed, the engine started right up. Our Matco scan tool verified that the ECM was going into closed loop and everything was working normally. We made a couple of dyno pulls to establish our baseline and were pleased with a respectable 282 hp at 5,300 rpm and 339 lb-ft at 3,800 rpm through the stock manifolds and cats.
Next, we swapped in Edelbrock's Performer LT1 heads and Performer-Plus cam package. These heads have been available for several years and are advertised to make about 25 hp more than stock. See the sidebar for a comparison of the cam and head packages. We also installed a pair of emissions-legal Edelbrock headers but kept the stock cats.
We did encounter another problem during the head swap procedure. While unplugging the fuel injectors, we accidentally touched one of the connectors to the manifold, shorting it out and causing the fuel injector driver fuse to blow. We didn't realize this, of course, until after the swap was done and the engine wouldn't fire again. Be warned--disconnect power to the ECM when messing with the fuel injector connectors.
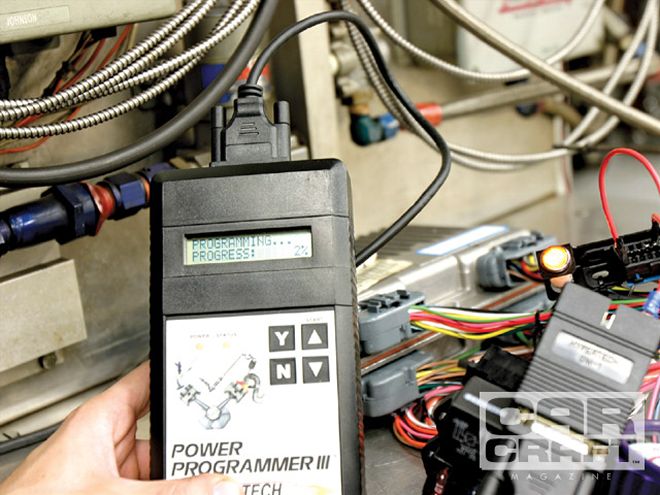
We had more problems once we got the engine fired again. The stock Caprice ECM has a rev limiter set at about 5,500 rpm and would cut fuel before the engine was making peak power. We had a Hypertech programmer on hand but had to jumper the pins because the ALDL on our Painless harness was the newer-style OBDII connector and the programmer had an OBDI connector. These computers have a very slow baud rate (information transfer speed) and it takes almost 10 minutes to reprogram the ECM. Hope you're not paying for dyno time by the hour.
With the rev limiter raised to 6,000 rpm, the Edelbrock combination made 343 hp at 5,800 rpm and 378 lb-ft at 4,300 rpm.
Our final combination to test was Edelbrock's new RPM Xtreme heads and LT4 intake manifold. These heads were brand-new to the LT1 scene last year, and we had hopes for big power numbers. We combined them with Edelbrock's Performer RPM LT4 Air-Gap intake manifold but kept the Performer Plus cam and exhaust.
On the dyno, however, we struggled to make much more power than we did with the previous combination. Looking at the datastream on the scan tool, we noticed the ECM was taking out 11 percent of ignition timing in knock retard and suspected that the overly sensitive LT1 knock sensors were picking up the extra clatter of the roller rockers and pulling timing out. From the factory, LT4 engines came with roller rocker arms but with less-sensitive knock sensors. With a pull of 366 hp at 5,200 rpm and 404 lb-ft at 4,200--well down from Edelbrock's advertised numbers for this combination, we realized we had the limit of how much power we could make with the factory ECM programming.
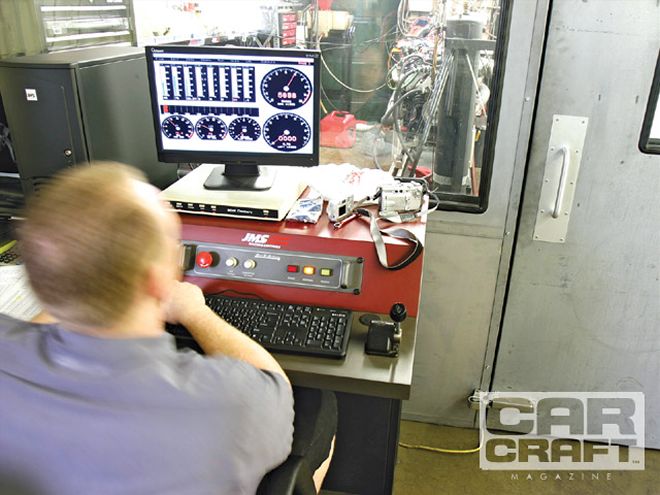
We also scheduled a day at Westech's engine dyno. Fuel-injection guru Ernie Mena ran the engine, making fine-tuning adjustments to the timing and fuel maps in between each pull. Thanks to his tuning, we finally got the engine to churn out 412 hp at 5,600 rpm and 402 lb-ft at 5,900 rpm. To take advantage of the Edelbrock heads' more efficient combustion chambers and airflow characteristics, we needed to reprogram the ECM, so we downloaded Tuner C.A.T.S., ECM reprogramming software for GM computers of that era. We also needed a set of cables to connect a laptop computer to the ALDL. We got ours from AKM Cables.
For grins, we swapped the Edelbrock cam with a custom-ground one from Comp. Though it only improved on the Edelbrock cam by a few horsepower, the wider lobe-separation angle smoothed out to the point where the engine sounds almost stock.
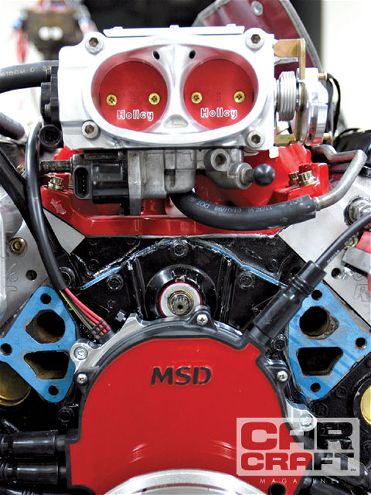
At the same time, we swapped the stock throttle body for a trick 52mm unit from Holley and added MSD's new Pro-Billet distributor. This is MSD's version of the OptiSpark, which allows a total of 14 degrees of adjustment--7 degrees advanced and 7 retarded. This also allows fine-tuning of the ignition curve without having to reprogram the ECM for each timing adjustment. Stock OptiSparks are not adjustable.
Our Advice
We don't regularly run fuel-injected engines on the dyno, so we had a really steep learning curve during this process. To do a job like this yourself, we highly recommend the following:
Buy a factory service manual. Get one for the car your engine came out of. We would never have gotten our engine running without it.
Budget extra money to replace sensors. We had replaced the OptiSpark cap and rotor, thinking the optical trigger was still good. It wasn't.
Be prepared to buy an extra ECM. Our original one never worked, and our replacement got burned up once during reprogramming. They cost about $125.
Plan on engine or chassis dyno-tuning if you replace your heads or cam. There is a lot of learning capability built into the factory ECM, but those parts will alter the amount of airflow through the engine to levels that are greater than the ECM can handle. You'll need to tune it to get the most power from your new parts.
Click here for the LT1 dyno chart
Test One
Stock LT1 355 CID 10.5:1 compression ratio
Iron heads--54cc chambers
Cam specs ('94 Chevrolet B-body)
191/196 degrees duration at 0.050-inch tappet lift
0.418/0.430-inch valve lift
111-degree lobe-separation angle
Test Two
Edelbrock Performer LT1 heads--54cc combustion chamber
Edelbrock Performer-Plus cam
218/218 degrees duration at 0.050-inch tappet lift
0.525/0.525-inch valve lift
112-degree lobe-separation angle
Test Three
Edelbrock Performer Air-Gap intake
Edelbrock Performer XTreme cylinder heads--54cc combustion chambers
Edelbrock Performer-Plus cam
218/218 degrees duration at 0.050-inch tappet lift
0.560/0.560-inch valve lift*
*RPM XTreme heads tested with 1.6:1 ratio Harland Sharp rocker arms
112-degree lobe-separation angle
Dyno'd at Westech with long-tube headers
Test Four
Same as above but with custom-ground Comp Cams camshaft and ECM tuning
218/224 degrees duration at 0.050-inch tappet lift
0.570/0.565-inch valve lift*
*RPM XTreme heads tested with 1.6:1 ratio Harland Sharp rocker arms
117-degree lobe-separation angle
Our LT4 Conversion
The LT4 was a one-year-only version of the LT1 that came in '96 Corvettes with the six-speed transmission. Some of these engines also found their way into the engine compartments of special-edition '97 F-cars. The LT4 made just 30 more horsepower than the standard LT1, but the power under the curve was better.
For several years, GM was selling a conversion kit to convert a stock LT1 to LT4 specifications, but it has been discontinued. Some of the parts are available separately, however.
Our LT4 conversion consists of Edelbrock's RPM XTreme cylinder heads, an LT4 intake manifold, Harland Sharp 1.6:1 rocker arms, and a Comp Cams camshaft with specs very similar to GM's famous Hot cam. The heads are called partial CNC'd, meaning the combustion chambers are fully CNC-machined, but the runners are not. Edelbrock says the difference in airflow is minimal compared with a fully CNC'd runner, but the difference in price is substantial.
Note that the LT4 cylinder heads have raised runners, and therefore you must use an LT4 intake manifold and intake gaskets. The standard LT1 stuff will not fit.
Click here for the LT1 build parts list