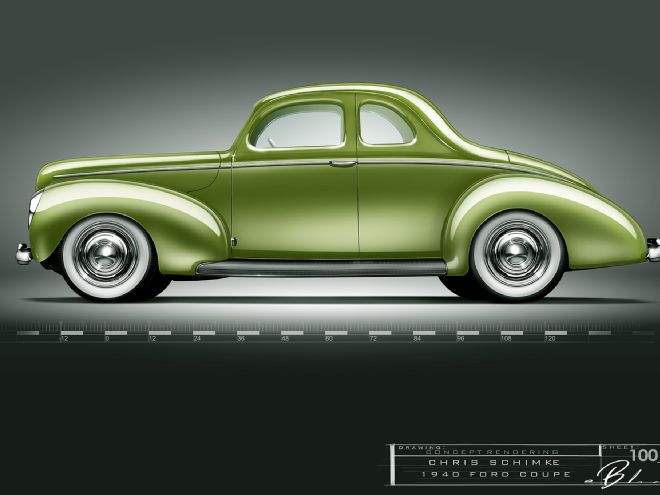
A few months back we embarked upon a quest epic, or folly depending on your perspective. We resolved to remove a 1-3/4-inch strip from the entire waterline of Chris Schimke's 1940 Ford coupe. And not just any old 1940 coupe, either; this one is a hand-me-down from Schimke's late father; an heirloom.
If you haven't recently, read the Aug. '15 story where Marshall Woolery at Thun Field Rod & Custom describes the lines by which a body could come apart and best go back together. It's a critical piece and nothing henceforth can replace that.
The reassembly happens in three phases: the cowl, the tail, and the doors and hood. This month Woolery and his crew slice the body and reassemble the cowl. But bear in mind that they fit and final welded all of the interior structures and most of the body panels that line up easily prior to working on the ends, doors, and hood. The body has to be a body and not two halves of a body for work to continue. And there's really no sense in showing how to cut along a line and file two edges flat; you should know how to do that by now. Or possibly we should do a story on it …
We're leaving this brief because the photos explain the rest and we got lots of those to show. So until then, study the progress. At the very least, notice that the light at the end of the tunnel probably isn't a train after all.
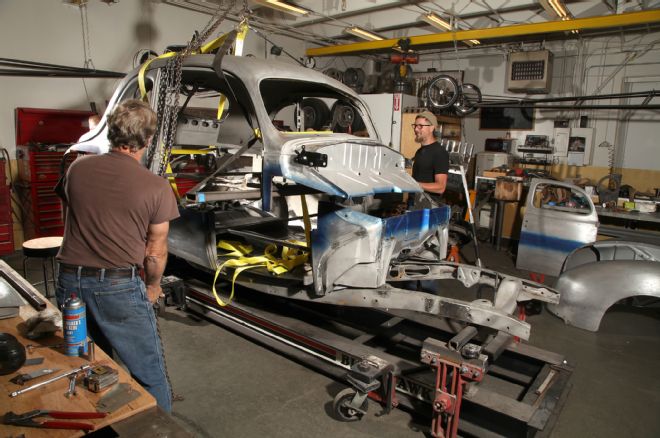
Well here's something you don't see every day: a 1940 Ford body split in two lengthwise. Let us explain how it didn't just fold up into a foil ball.
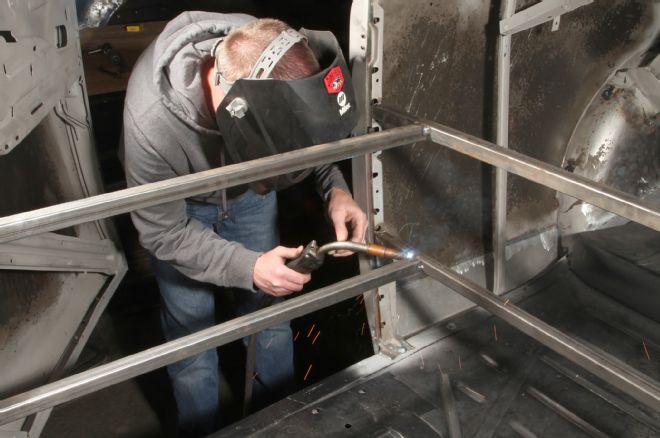
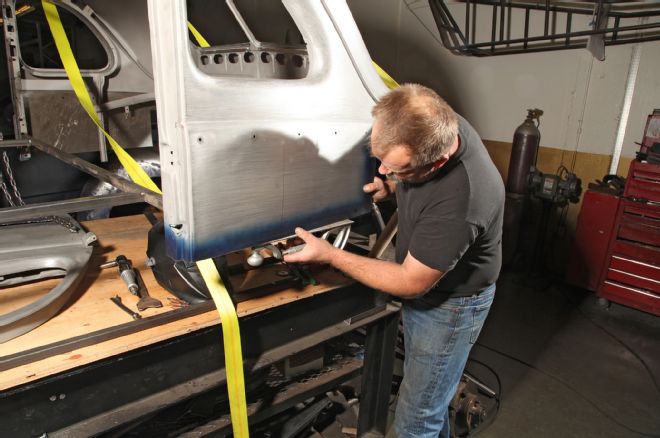
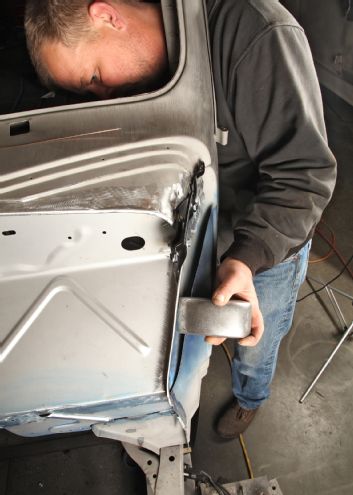
An un-braced body, once cut, has little chance of lining up properly again. Car owner Chris Schimke made two frames: one to maintain the shape of the upper body and another to maintain the lower (what he's welding on).
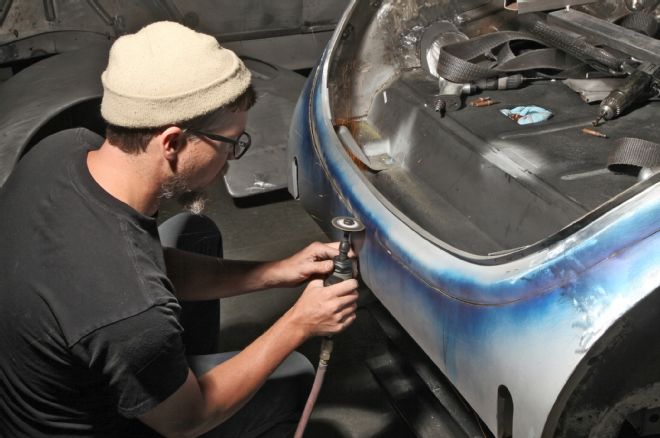
Josh Higgins went around the entire perimeter of the car with a cut-off wheel and body saw.
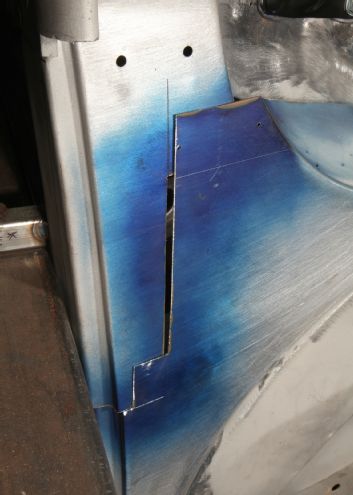
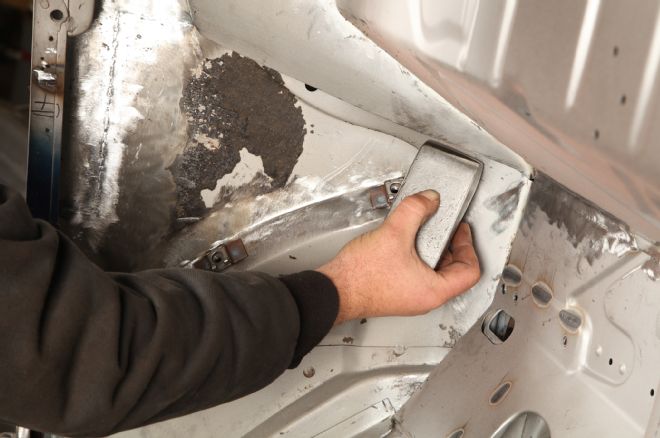
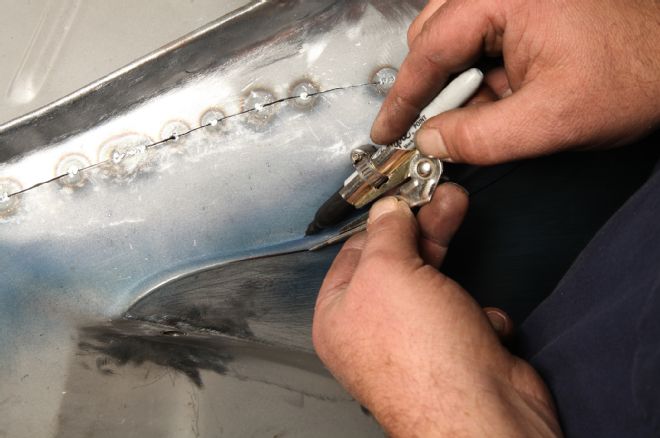
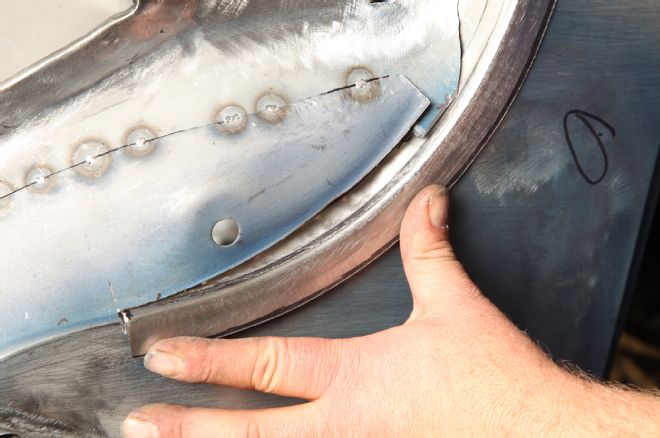
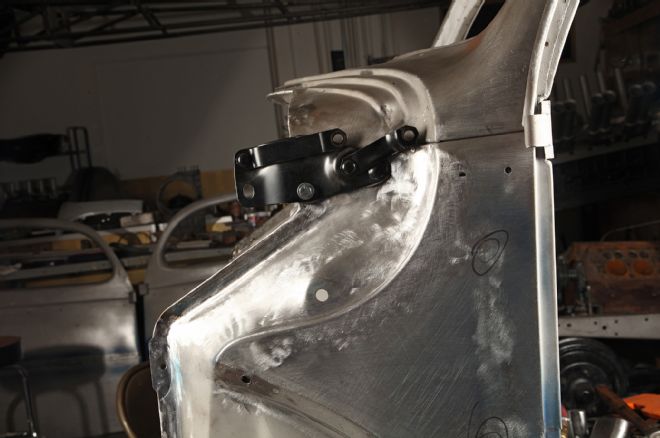
Here's a tip everyone can use. That little square in the lower-right part of the cut offers a place for a temporary panel fastener to hold the upper panel in place during fitting sessions.
Acetylene and GTAW/TIG welding require tight gaps, something tricky to establish over long distances. Here's another universal tip: Whenever possible, tune the edge with a body file and not a conventional metal file.
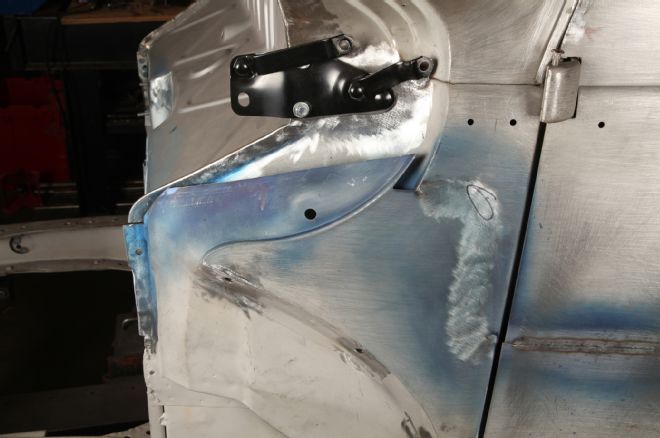
Most of the body goes together without any fanfare so we didn't show it. What's important here is the area where the cowl misaligns, a natural consequence of taking space out of an area with diagonal lines.
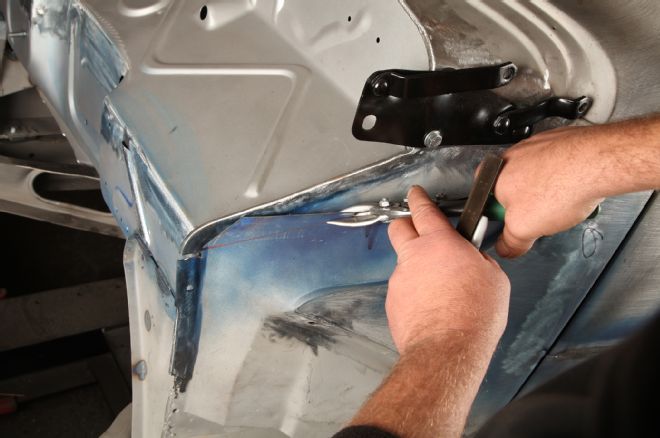
Woolery trimmed the grossly overlapping lower cowl. He pushed the panels roughly together and marked the lower cowl so it overlaps the upper cowl by about 1/4 inch. File the cut line straight to make life easier in a few steps.
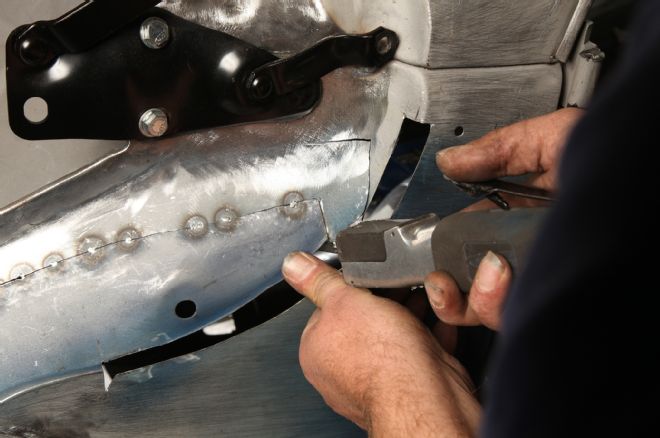
The upper cowl needs to expand, which Woolery obliged with a dolly and hammer. What's not visible is how he's striking the cowl just below the dolly to flare the metal outward.
The lower cowl needs to contract, a job that required the same hammer-off-dolly technique as before but done in the opposite direction on the lower cowl. He's striking just above the dolly along the hood and inner fender line.
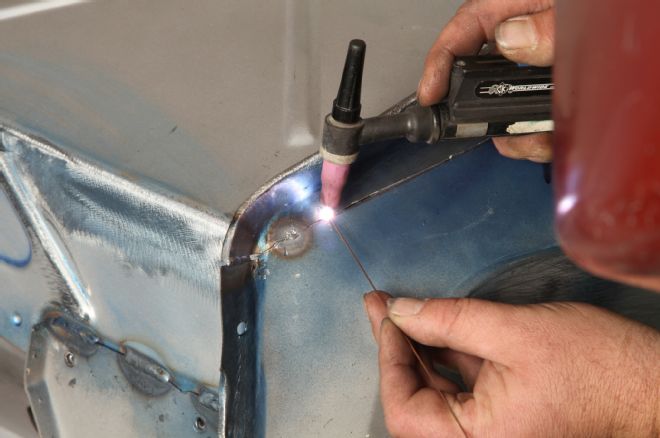
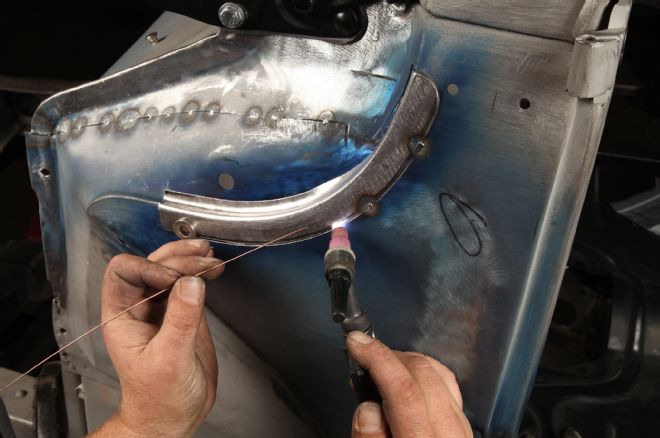
Here's why the cut from a few steps back needs to be perfectly straight: it serves as the scribe line to mark the upper cowl and it's easier to file flat than to a shape. Woolery then tacked the seam.
Another tip: use light diffuser for templates you need to see through. This one made it possible to strike the most natural line between the end points.
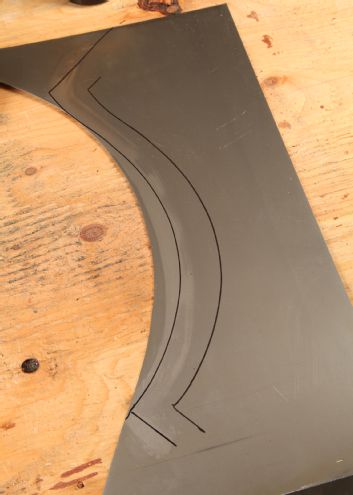
The template determines the new edge's shape. The actual bend line is to the right; the left line is the cut line.
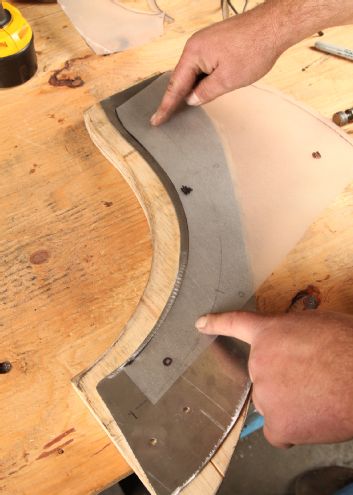
Woolery determined a simple hammer form as the best method for this panel. He transferred the template to some plywood and an 11-gauge steel backer.
The plate-plywood buck sandwiches the sheet. Woolery folded over the overhang with a combination of a nylon mallet and a low-crown hammer.
He then used his protractor marker to determine the depth at the hood edge.
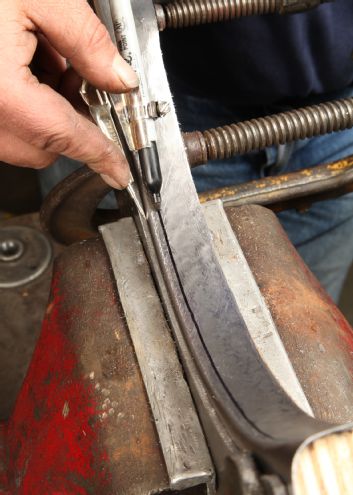
That handy tool transfers a line every bit as straight as the new edge.
Woolery cut away the transition between the outermost skin and the area behind the hood side. Leave as much of the vertical sections as possible; it's easier to trim more off than trim more on.
He then trimmed the new section close to fitting and pushed it into the gap where the transition once was. Then he determined the inner bend line, of course accounting for the thickness of the metal.
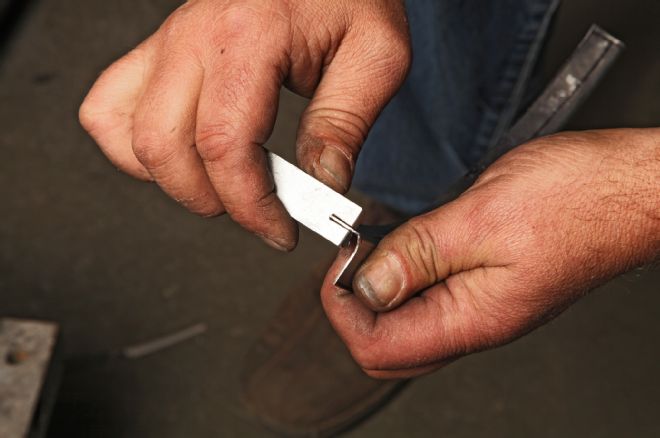
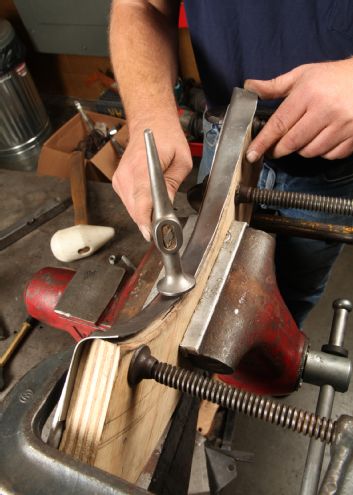
Sometimes the best tools for a job start as scrap. The depth of the cut into this 1/4-inch-thick piece of aluminum determines the length of the flange. Best of all, it's as precise as the cut edge.
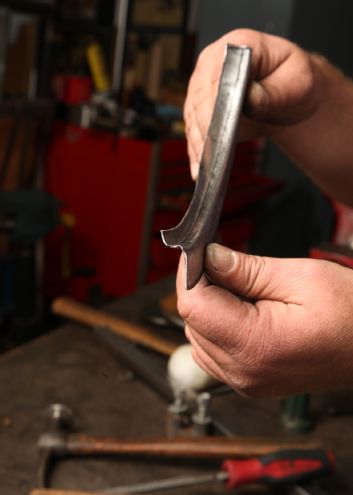
The formed edge takes some fine hammer tuning but it's as good as a machine-made line and for a fraction of the cost. Note how the bend softens toward his right hand.
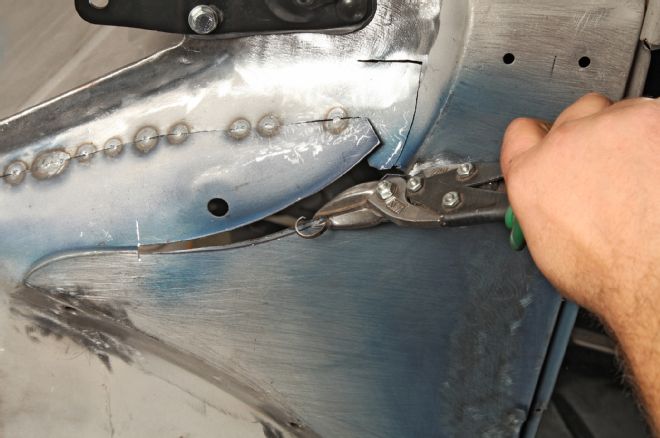
A trial fit told Woolery where exactly to tighten up the inner bend line. Note the ungainly overlap to the right from reshaping the upper cowl.
Sawing upward along the overlapping area ensured an even albeit slightly fat cut line.
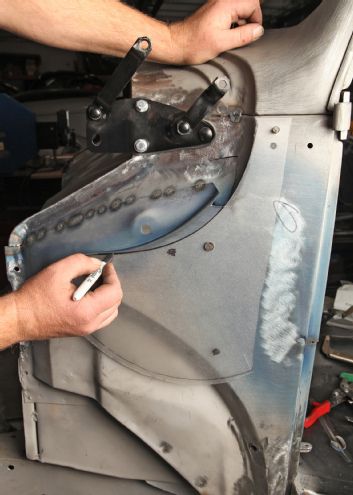
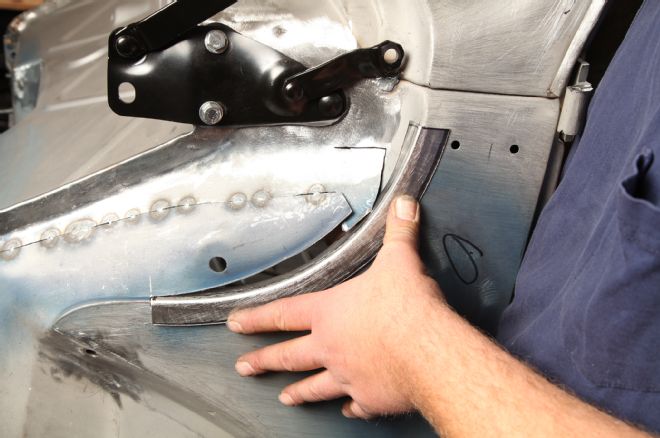
Woolery used the newly shaped panel as its own template. Note how the return bend fades away as it climbs the cowl. That's the bend softening two steps back.
Once filed and sanded smooth the seams disappear entirely. Soon we'll show how to make the hood fit this new shape but we have to tackle the rear next. Hopefully next month too …