If not based on sheer physical size alone, there’s no area on a classic truck that holds more potential for improving its appearance than its wood bed floor. For example, have you ever noticed that even the stock pickups at a Barrett-Jackson auction almost always feature a highly varnished oak floor with polished stainless steel bedstrips?
There are more than just cosmetic reasons to install a new oak bed floor. On the safety side of things, a new bed floor seals better and prevents deadly carbon monoxide fumes from being drawn into the cab. On the luxury side of things, the sound-deadening qualities of a hardwood, such as oak, do a much better job silencing road noise than the original yellow pine. Add 40 years of wear and tear to the equation, and both safety and sound qualities deteriorate immensely.
Focusing on 1967-72 General Motors long and shortbed Fleetside pickups, it’s interesting to note how unusual it was for a pickup to be offered new with either a steel or wood bed floor. It should also be mentioned that LMC Truck sells steel replacement bed floors for 1967-72 General Motors long and shortbed Fleetside pickups.
If LMC Truck were to expand its premium line, I wouldn’t be surprised to find its bed wood and polished stainless steel bedstrips with polished hardware listed as a premium kit. Right out of the box, we didn’t need to sand the wood to get the results seen here. Our subject vehicle was Eddie Motorsports’ shop truck, so we opted for a one-step stain/sealer with a UV inhibitor—the perfect finish for a pickup that’s a working stiff. For those interested in a show-quality installation, not even a bare minimum of sanding would be necessary to accommodate a high-gloss, marine-style varnish.
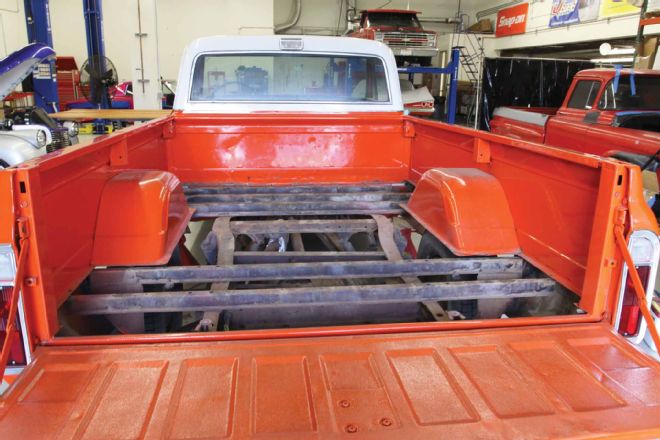
 Not a pretty sight; this is what we found under a makeshift bed floor constructed of loosely laid plywood. The first step is to remove as much of the original bed wood without worrying about removing the bedstrips.
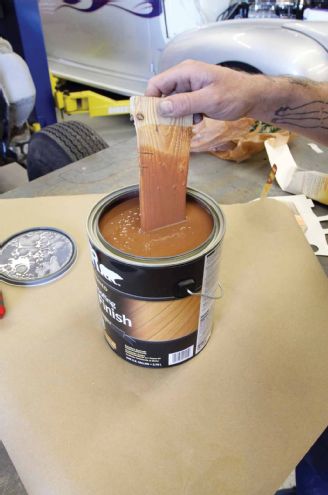 Pick out a wood stain with a hue that complements the color of your truck. We used a one-step weatherproofing stain intended for outdoor patio decks. For a deep glossy finish look to a high-gloss marine varnish.
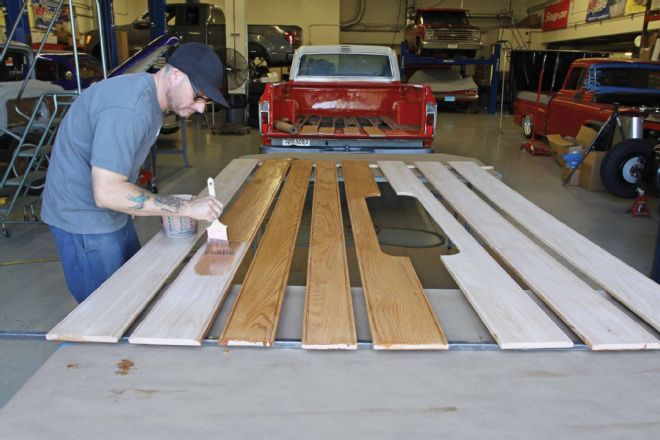
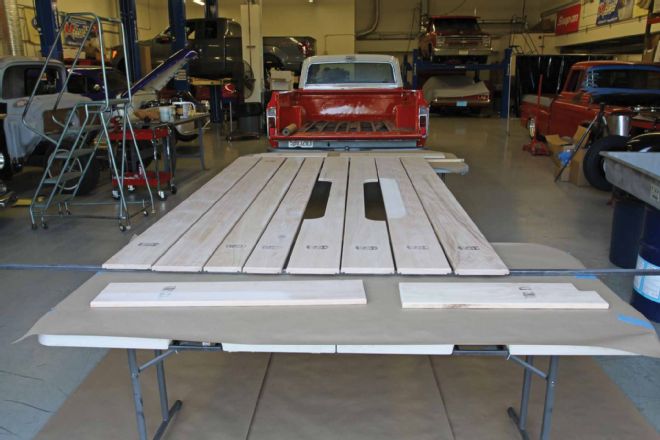 To make things easy on yourself, raise the work to a comfortable position. We used two tables to lay out the oak planks. Notice the planks are suspended with long wood strips at each end.
 It’s a good idea to seal the underside of the bed wood first. One coat was applied.
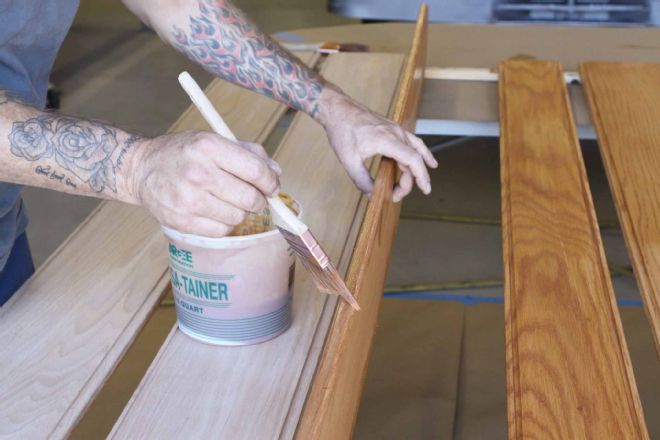
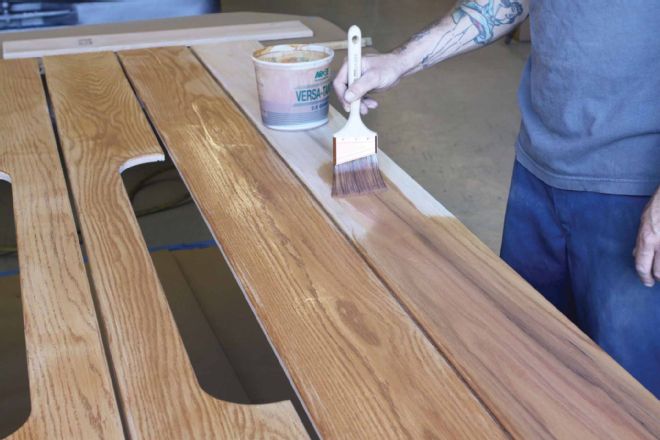
Paint the edges of the planks and then run the brush along the face of the plank to catch any runs.
It’s a good idea to seal the underside of the bed wood first. One coat was applied.
Paint the edges of the planks and then run the brush along the face of the plank to catch any runs.
 After removing a few grease stains with lacquer thinner on a clean rag, we stained the top side of the planks. The stain was allowed to dry thoroughly and then a second coat was applied.
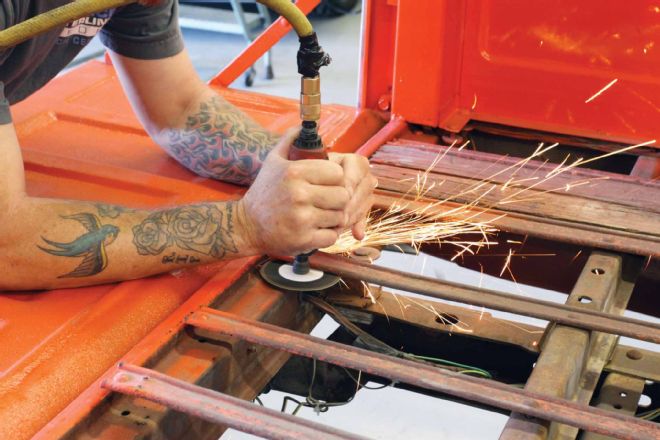 Using a 4-inch cutoff wheel on a die-grinder held horizontally directly beneath the bedstrip made short work of cutting the bed bolts off. Trying to unbolt the always-rusted bed bolts would be a waste of time.
 It’s important to ensure that the cross-sills are positioned squarely into place and the overall shape of the bed is square. Using a measuring tape, look for prior accident damage, especially a bed-shortening rear-ender at the tailgate opening.
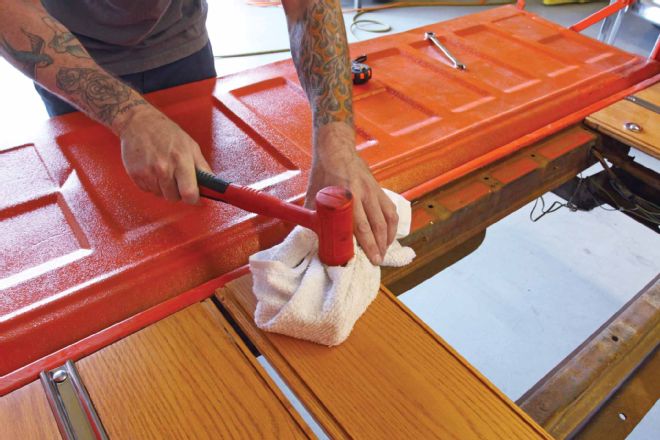
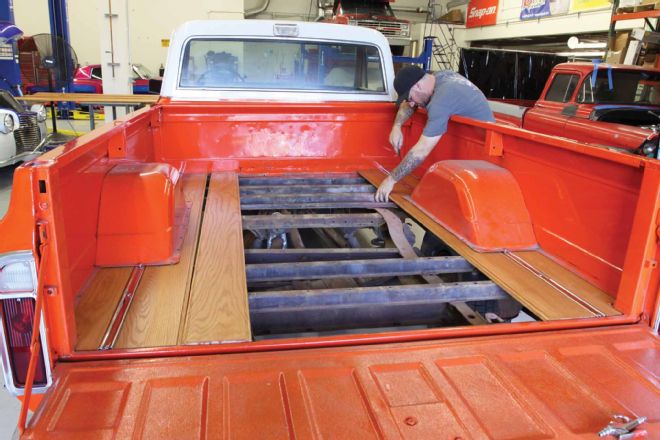 When confident the bed is square, start at the front of the driver side by positioning the first short board into position. Use a soft-blow mallet or a soft block of wood to prevent disfiguring the oak plank.
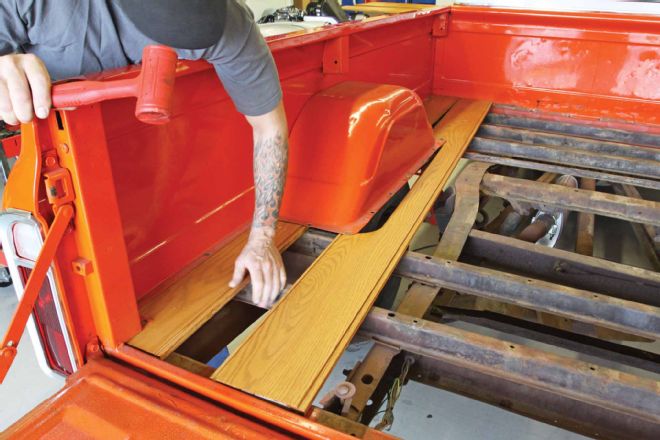 Next, move to the rear and install the rear short board. A jack can be used at either end to lift the bed to increase the gap under the wheel housing. Move the first long plank into place under the wheelwell.
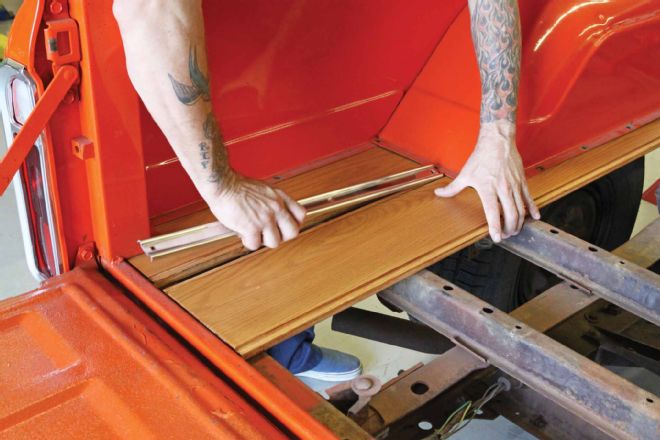 Mount the front and rear short bedstrips into place. Insert the polished stainless ¼-20 carriage bolts through the top to ensure they fit, but do not worry about installing the nuts and washers underneath at this time.
 With two rows installed on the driver side, the next step was to move to the passenger side and install the front and rear short planks with the short bedstrips next.
There are four bed mounts: two at the front and two at the rear underneath the third plank on each side.
With two rows installed on the driver side, the next step was to move to the passenger side and install the front and rear short planks with the short bedstrips next.
There are four bed mounts: two at the front and two at the rear underneath the third plank on each side.
 To locate where to drill the bed-mount boltholes in the new planks, we placed the plank over the old bolt and hammered it down to leave an impression.
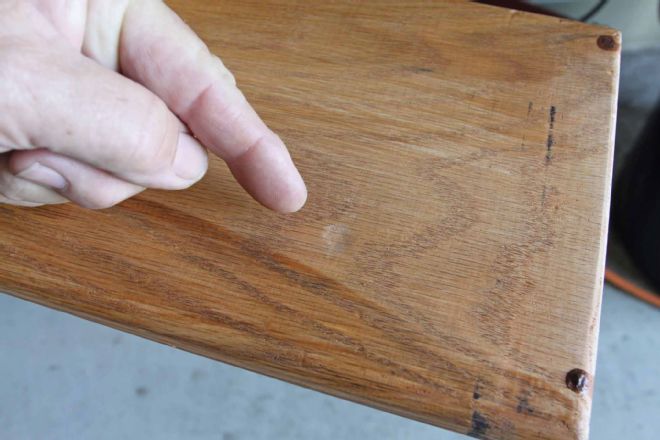 Here’s a close-up of how the bed-mount bolt head impression should appear. We drilled the hole, bolted the plank down and hammered the other end to get its impression.
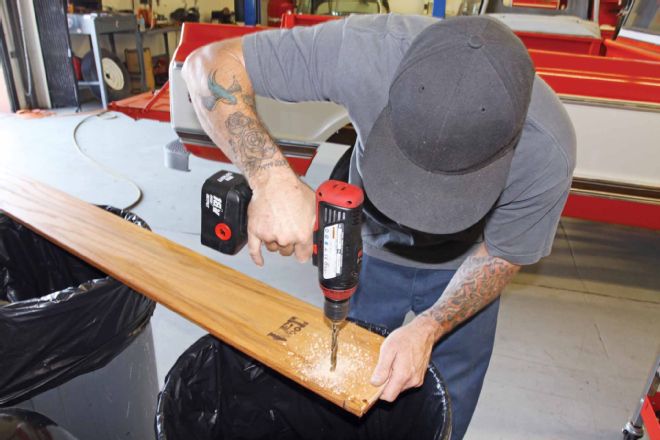 The bed-mount holes were drilled a little oversized to allow room for adjustment. We didn’t do it, but these holes can be countersunk to the diameter of the polished stainless steel washers to provide a flush fit.
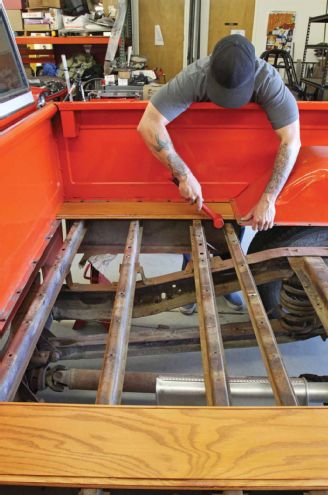
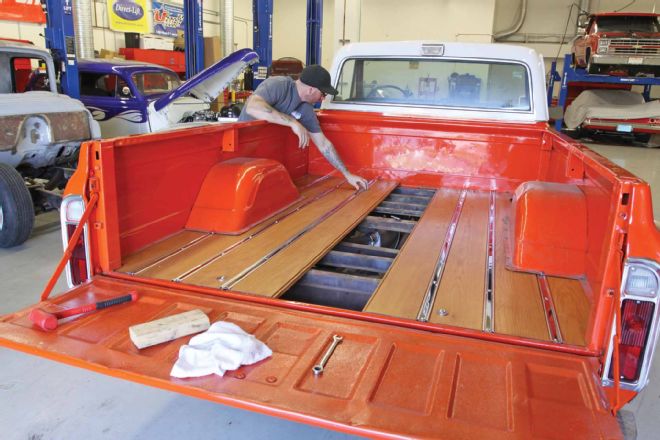 The planks were installed leaving the two narrow center planks for last. Leaving the bolts sans nuts made it easy to tap the planks into place for the final fit.
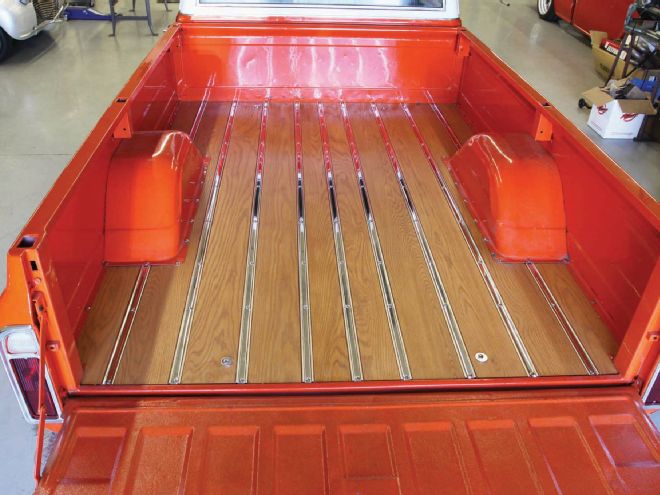
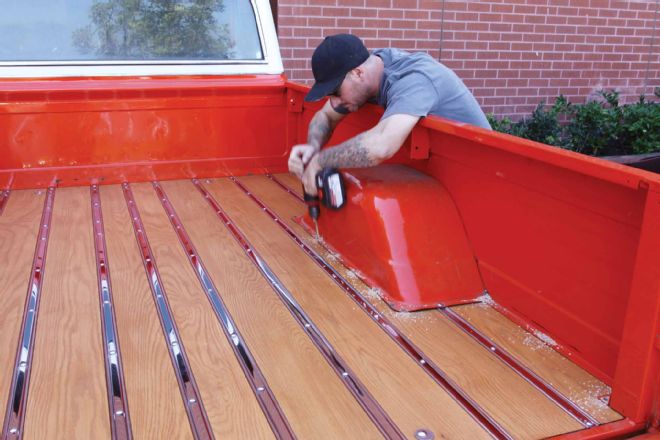 With the bedstrip bolts tightened down snug, the last step was to drill the boltholes along the bedsides and wheelwells, insert the bolts, tighten them down and it’s a done deal!