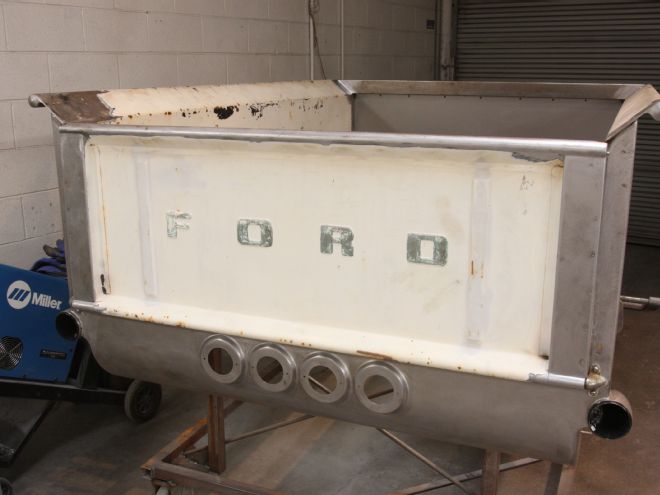
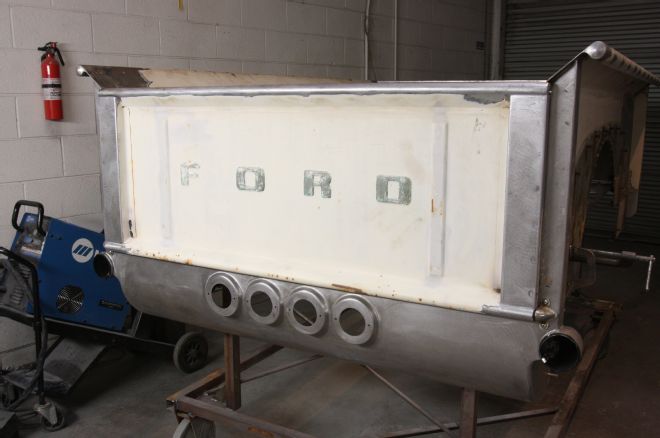
After adding wheel tubs and a new front panel, fabricating a roll pan, and adding trick exhaust outlets and new lights, our much-modified '56 F-100 pickup bed was almost ready to be media blasted and reunited with the chassis. Almost, because the tailgate required some attention first.
We've never been a fan of the chains used by Ford on these tailgates, or the method of latching the 'gate shut, and decided both needed to go on this build. The latter problem was easily solved with a visit to Classic Performance Products for a pair of their stainless steel Stealth Tailgate Latches, while the former took some figuring out. As we've raised the floor in this bed, we figured a pair of stops that only allowed the tailgate to fold down at 90 degrees could be hidden under there, which quickly led us to consider hiding a pair of gas rams there too.
Sure, it's a lot of fabrication, but such work can be enjoyable, almost therapeutic. At least it is for us, in the same way some enjoy building engines. Finally, our bed is ready to go back on the chassis.
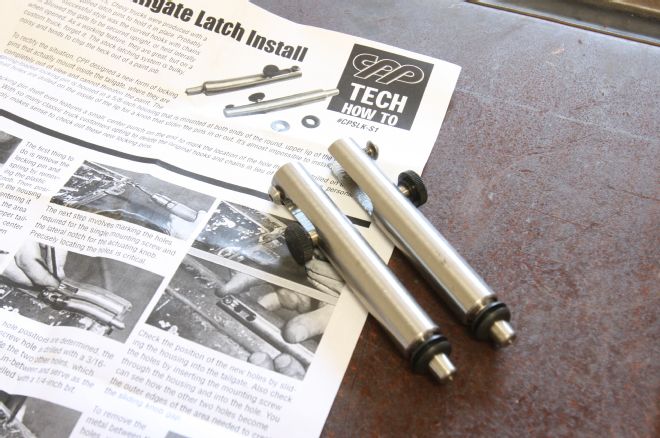
1 The Stealth Tailgate Latches were supplied by CPP with all hardware and rubber grommets, as well as a detailed instruction guide. However, as they are designed for Chevy pickups, we read the instructions then adapted them for our F-100.
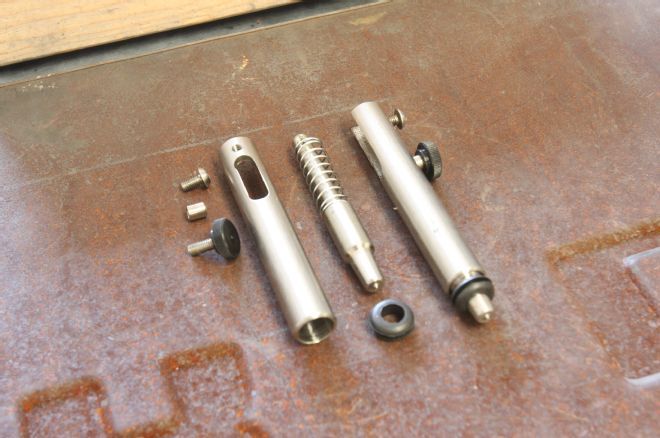
2 Here's one of the latches "exploded." The black knob retains the spring-loaded inner "bolt" that latches into the bedside panel through the rubber grommet. The stainless Allen bolt holds the assembly to the tailgate.
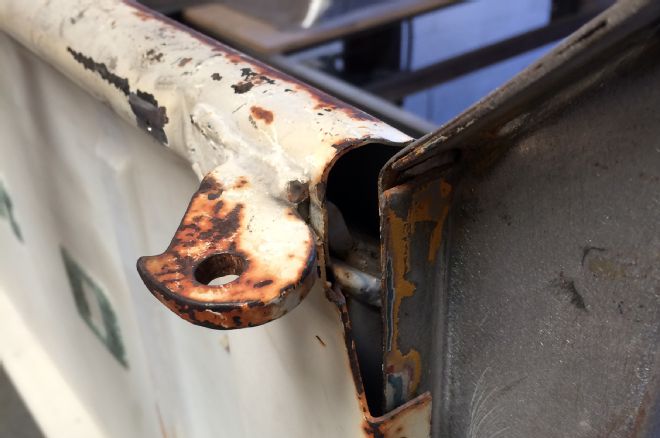
3 The F-100 has these hooks welded to the tailgate, to which the chain latches when shut, or hooks into when open. No chains meant no need for the hooks.
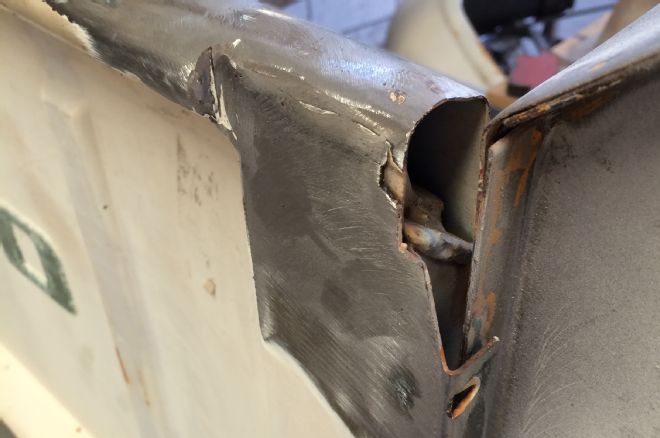
4 With the hooks removed, the tailgate looked like this. We then extended the lip on the side of the tailgate all the way to the top and extended the curved "tube" across the top of the tailgate out to the edge.

5 The new latches mount here, but inside the top of the tailgate.
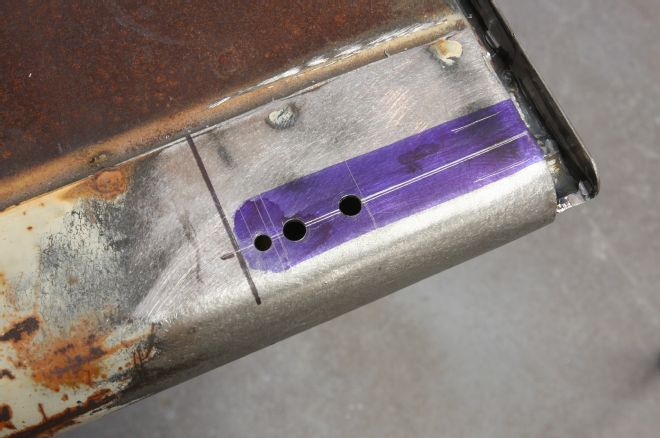
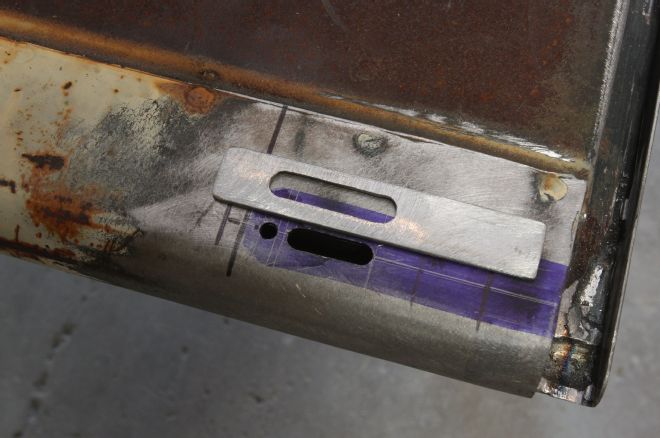
6 With a centerline scribed for the latch, we drilled a 3/16-inch hole for the mounting bolt, and a pair of ¼-inch holes that will become the ends of a slot for the actuating knob.
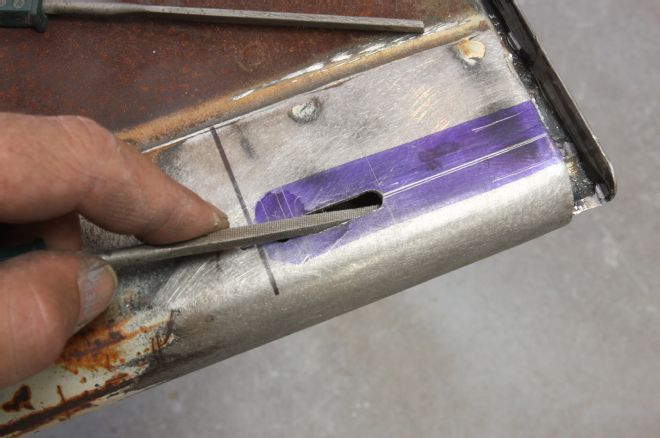
7 Cutting between the two holes using a cut-off wheel, the slot was dressed with a small file then de-burred.
8 As the latches are intended for Chevys, there's more leeway in where they can pass through the bedsides. On the Ford, they had to pass through the small lip where the stake pocket pinch welds to the bedside. We transferred the forward edge of this lip to the inside of the bed, then marked a centerline for the grommet.

9 With the latch in place, you can see it's forward of the centerline, meaning any hole drilled here would cut into the stake pocket on the outside. It needed to come rearward by 3/16-inch.
10 Our solution was to fab a 3/16 spacer...
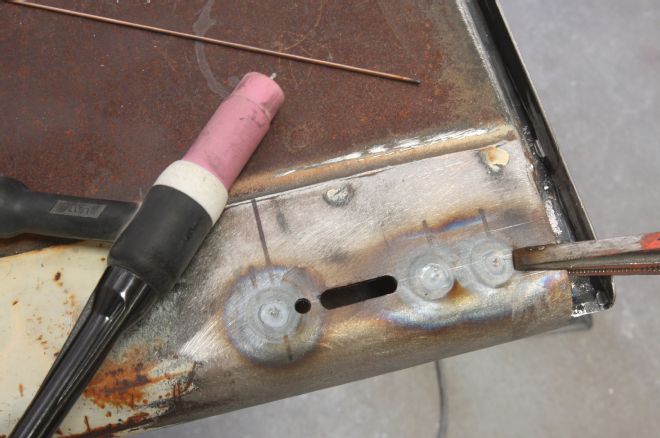
11 ...and plug weld it to the inside of the tailgate. The slot lined up with the holes we'd already drilled in the tailgate.
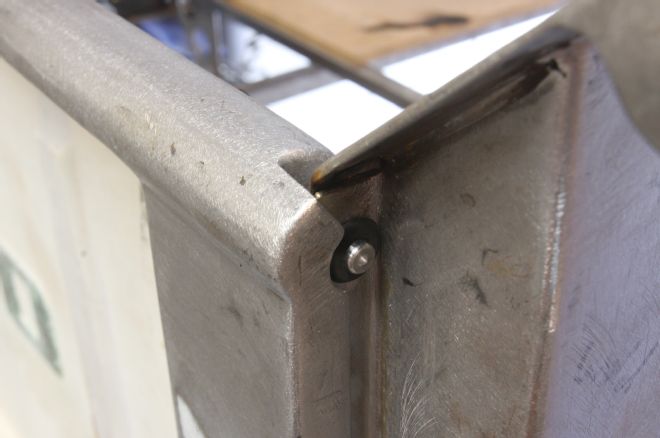
12 The latch now fit where it needed to, aligning with our centerline mark.
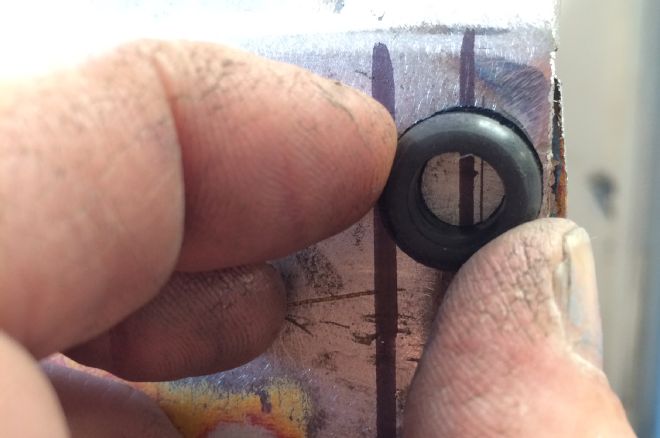
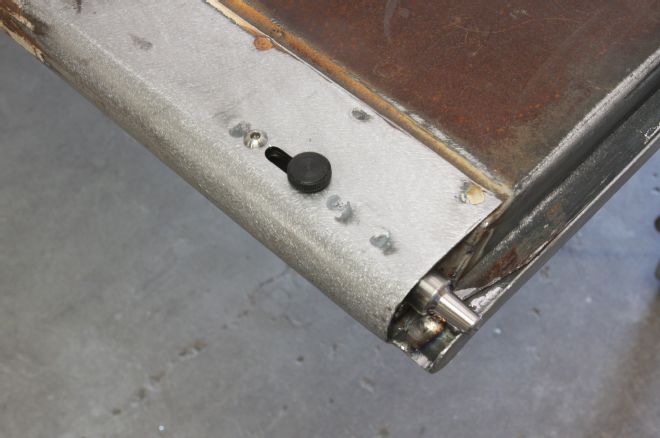
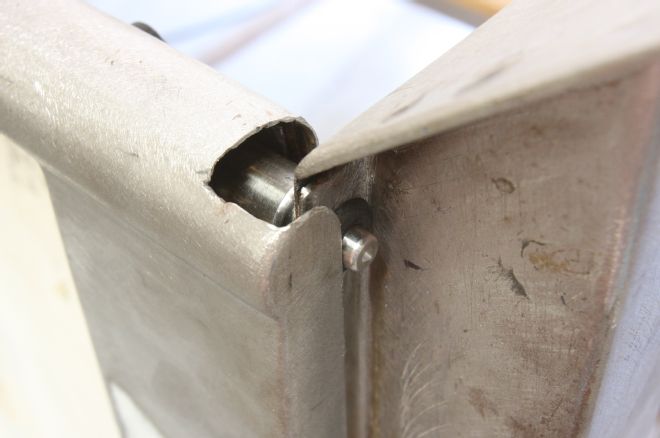
13 Now the latch was installed, pulling and releasing the actuating knob a few times, the point on the pin marked where we needed to drill a 7/16-inch hole for the grommet.
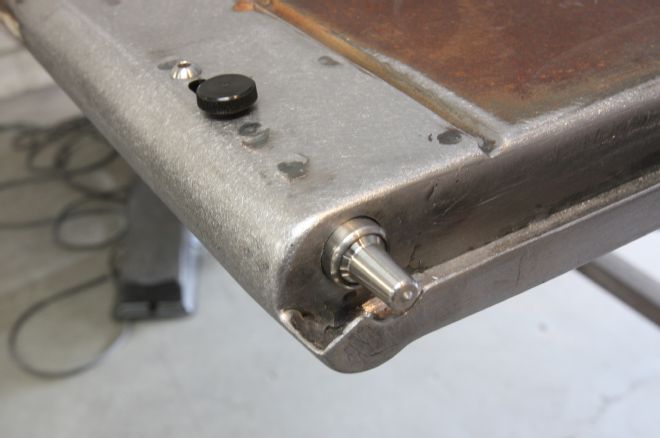
14 With the grommet installed, the tailgate is securely latched, and we could now set about finishing off the ends of the tailgate neatly.
15 After making a card template to ensure the 5/8-inch hole for the latch was positioned correctly, we fabricated it in steel and welded it in place. Note we also relieved the lip to allow the latch to be installed.
16 With the welds ground down, the latch was installed.
17 The completed installation. No more clunky chains for this Effie!
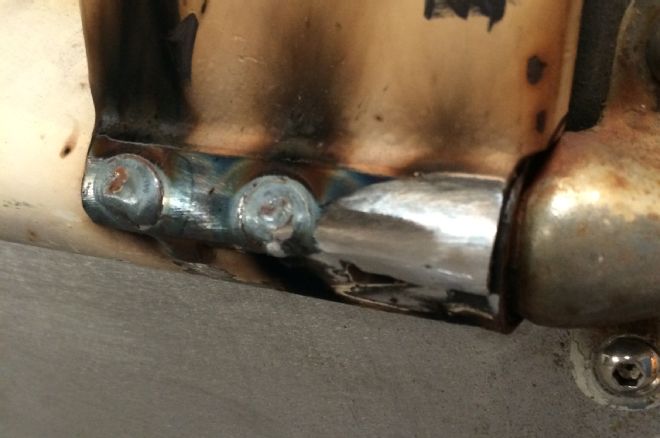
18 While we were working on the tailgate, we decided to lose these ugly welds down near the hinges.
19 We drilled and plug welded the panel, then ground the welds down and carefully ground away the old welds for a smoother appearance. Small details...
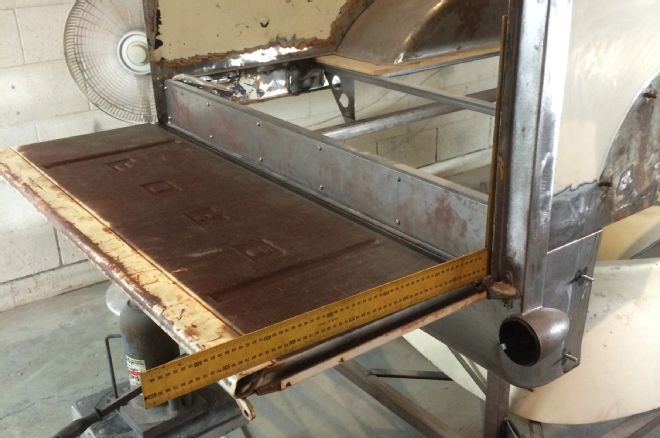
20 With the chains gone, our tailgate now had no way to be held open. We used a square to determine when it was open at 90 degrees, and since we've raised the floor to clear the notched chassis, decided to fabricate stops under the floor that would be hidden with the tailgate closed.
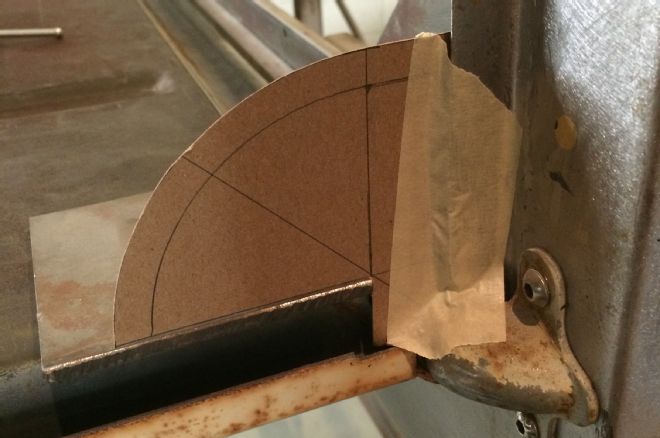
21 Another card template allowed us to determine where to locate the stops in relation to the pivot point of the hinge, as well as keeping them under the floor.
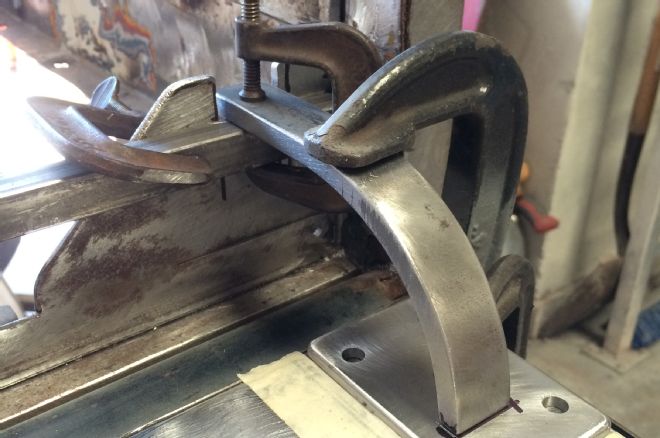
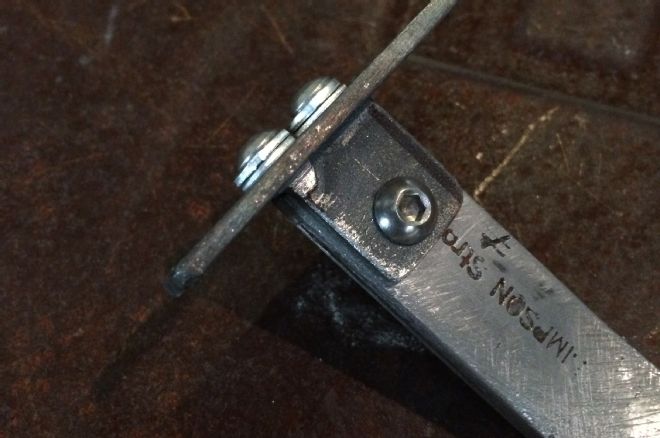
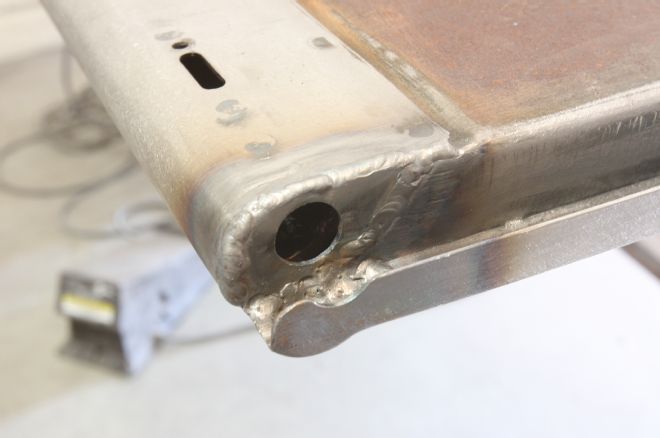
22 Cutting down a section of 3/8-inch-wall large-diameter steel tube and welding it to a straight section of similar thickness steel, produced a pair of stops, here clamped in place ready for welding.
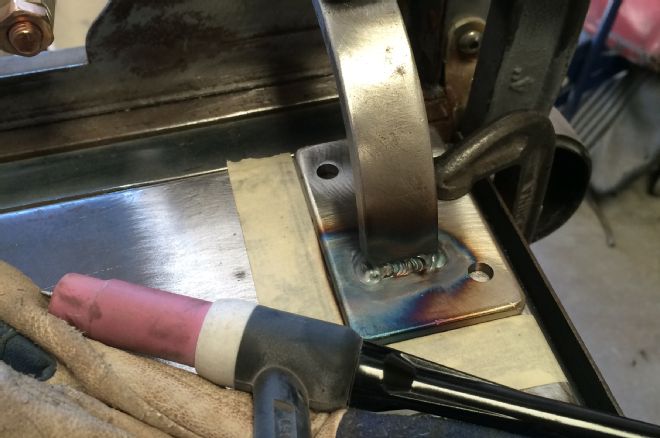
23 We used our Miller Diversion TIG welder, both to weld the stops and to plug and seam weld the plates to the tailgate.
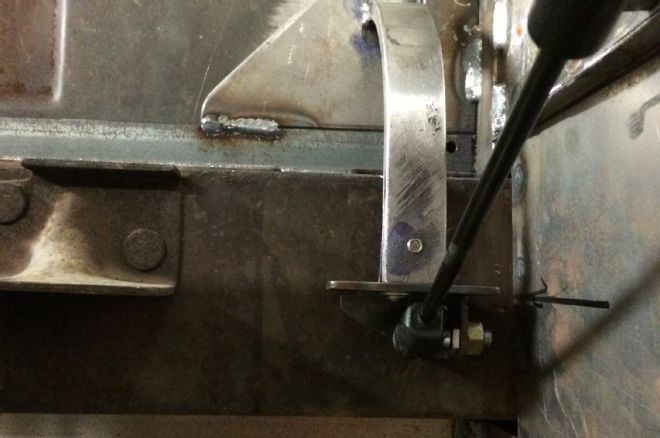
24 The parts that actually hold the tailgate at 90 degrees are these plates bolted to the arms. They have to be bolted in order to remove the tailgate. We cut a slot in the plate and welded a tab through the slot, then used a ¼-20 bolt on the underside of the arm, and a pair of 10-32 bolts in the ends (the double washers are temporary, until we get shorter bolts).

25 We then decided to add gas struts to the stops, so fabricated these brackets to attach the struts, using 10mm balls.
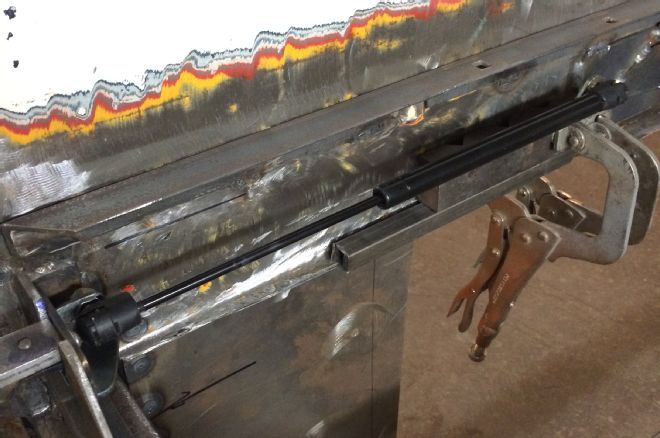
26 We tried various positions for the struts, the best being mounting them parallel with the floor. However, we swapped out these 50-pound struts for some 35-pound versions that offered much smoother operation.

27 At the forward end of the struts, we used these readily available brackets.
28 Here's what the stops and struts look like with the tailgate shut.
29 The finished project with no chains and a much cleaner appearance.