One of the acronyms used in the military to describe a less than desirable condition was FUBAR: fouled up beyond all recognition. A term not often heard today, we couldn't help but chuckle when a friend used it to explain the condition of a pile of parts that was once a pristine pickup he was about to purchase. The unfortunate reality is, as the years have gone by, the vintage sheetmetal we've all known and loved is getting harder to find. The result is we've found ourselves buying and resurrecting trucks and parts that we wouldn't have hauled home for free a few years ago.
While repairing rusted and damaged body parts was once a daunting task it has been made much easier with the assortment of replacement parts and patch panels that are readily available — here's a case in point. Recently we dropped by to check on Jake Brazille, our go-to body guy, to see what he was up to. Jake was working on a '56 Ford and was about to repair a very rusty and rough set of F-100 doors. When we asked why he was fixing doors that were that bad his reply was simple "I had these and they're better than what's on the truck."
To make the necessary repairs to the doors and the cab, Jake thumbed through the LMC Truck parts catalog to come up with the pieces needed. In this case lower inner and outer door repair panels and rear cab corners would be required. One of the oldest names in the game, LMC has been in business for over 30 years and can provide parts and accessories for Ford, Chevrolet, GMC, and Dodge trucks. Their steel body panels are die stamped using high-quality, heavy-gauge steel with an EDP (Electro-Deposit Primer) coating to provide corrosion protection. Complete body panels to replace entire sections are available as well as smaller, lower-cost patch panels that fit specific problem areas.
When fitting replacement sheetmetal some fitting and tweaking is normally required so doing a test fit is always advised. And even though there is an old saying that advises measuring twice and cutting once, we've found that measuring then trimming a little at a time to achieve the proper fit works the best.
Armed with a selection of abrasive wheels, various hammers and dollies, MIG welder and a big dustpan and broom to sweep up the rusty debris, Jake went about fixing the doors and cab corners while we followed along. Here's how he took the FUBAR out of a Ford.
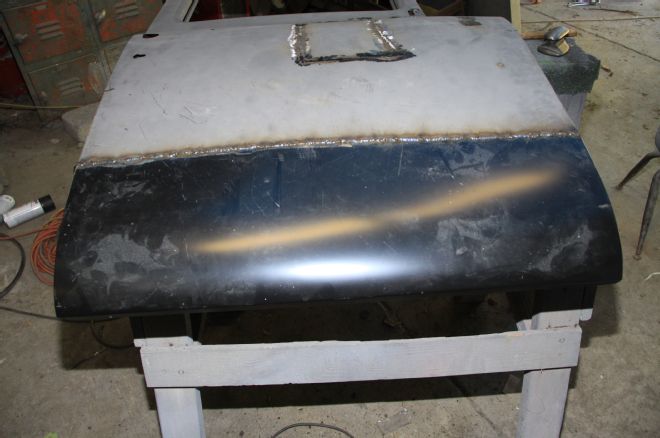
01 Jake Brazille repaired a pair of 1956 Ford F-100 doors that were best described as rough, and that was a charitable assessment. When he was done they were good as new.
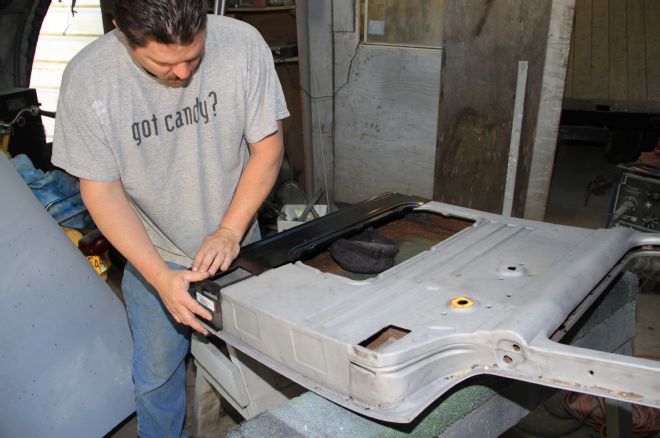
02 LMC supplied a pair of die-stamped lower, inner door repair panels. Alignment of the new pieces was simple thanks to the embossed section for the access panel (the portion with the three holes).
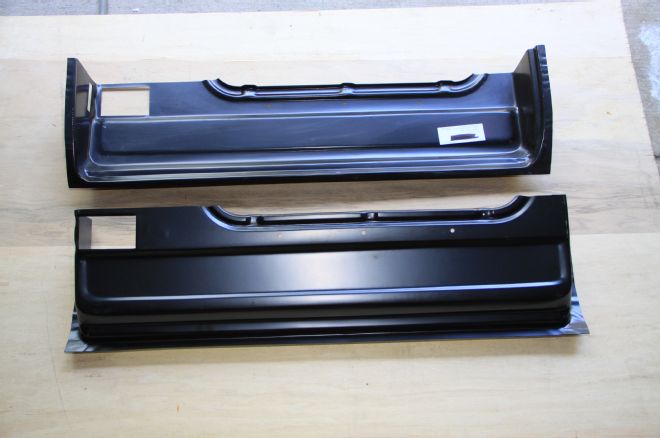
03 LMC also supplied the lower, outer door repair panels. These are slightly oversized to allow the edges to be folded over the framework.
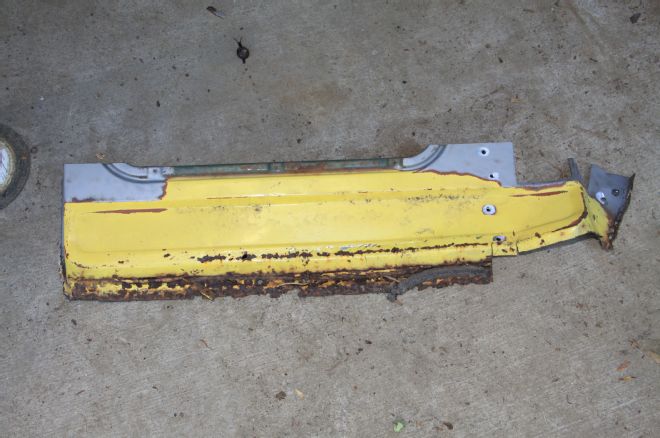
04 This is what Jake started with — the bottoms of the doors were riddled with rust that destroyed the inner and outer panels.
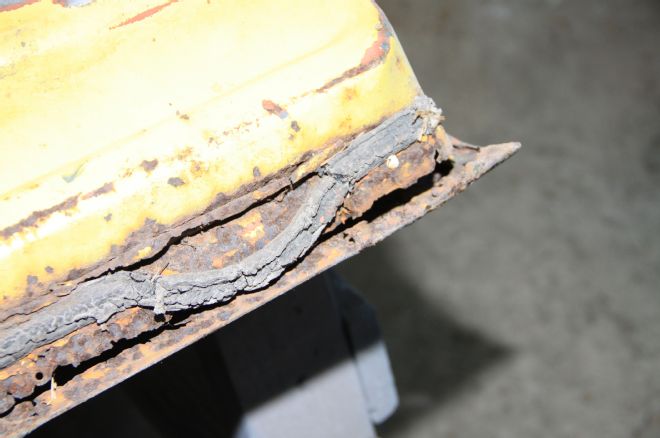
05 In this close-up, the extent of the damage can be seen.
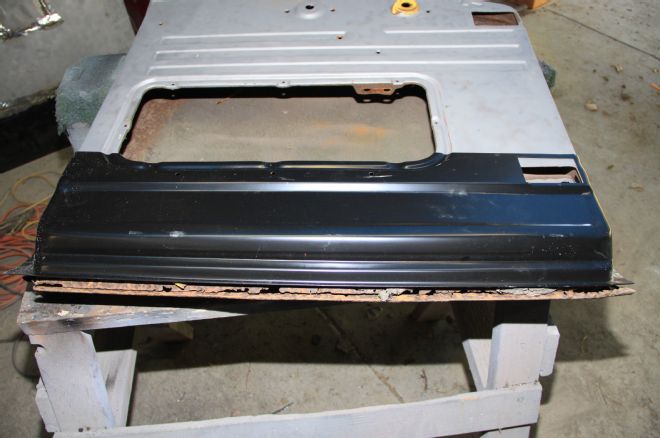
06 Before any work began, the inner patch panel was laid over the door to get a rough idea how it fit and where the door would have to be cut.
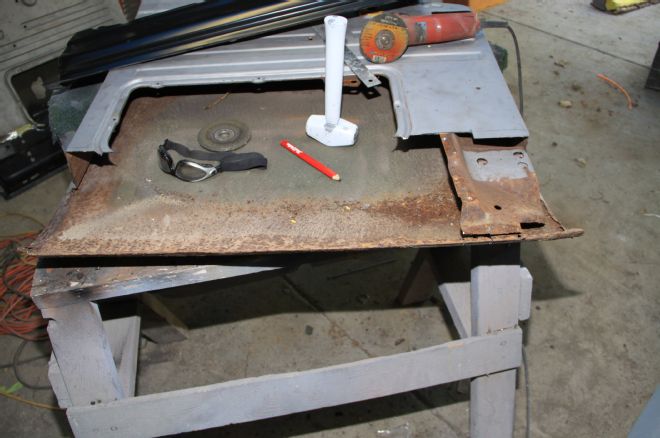
07 After marking the door, an abrasive wheel on an electric grinder was used to cut off the bottom of the inner panel. It was intentionally left long so it could be carefully trimmed for an exact fit.
08 This is the section removed from the door. Note the three holes on the right, these were spot welds that secured the panel to the inner structure.
09 Here is the door with the inner panel removed. While the outer panels were rusted, the structure inside the door was solid.
10 After some minor trimming the inner panel fit perfectly. Note how the embossed area in the patch panel matches up with the door.

11 With the inner panel positioned the outer panel was held in place and the door was marked for cutting.
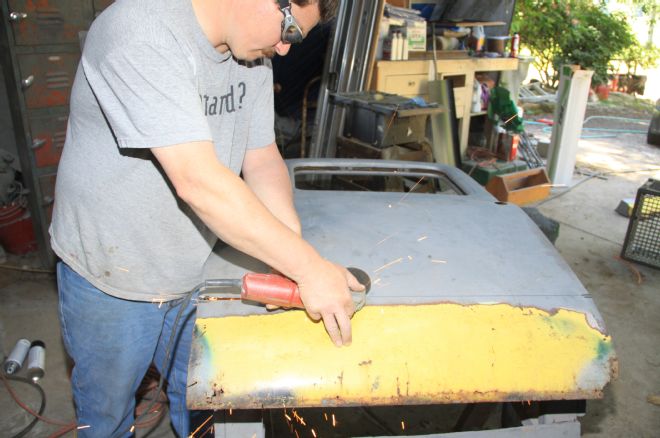
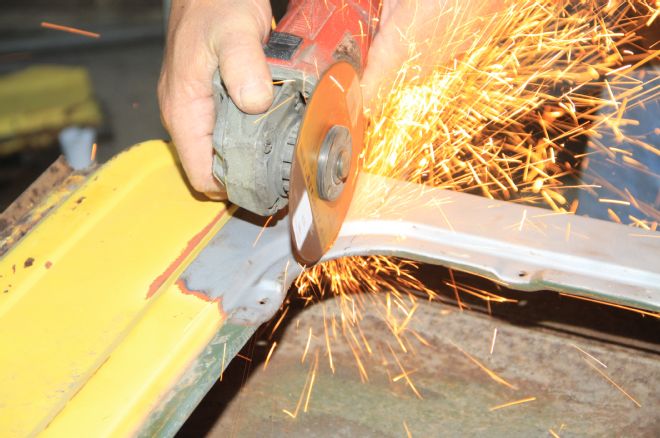
12 The grinder and abrasive wheel were called into action once more and the outer skin was cut away.
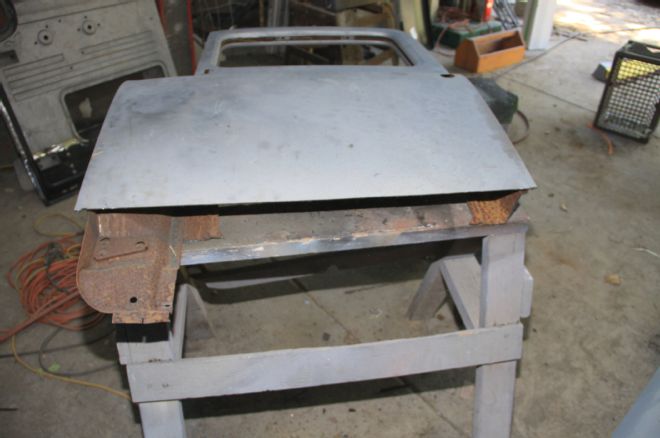
13 After removing all the rotted sheetmetal, this is what was left — roughly 7/8 of a door.
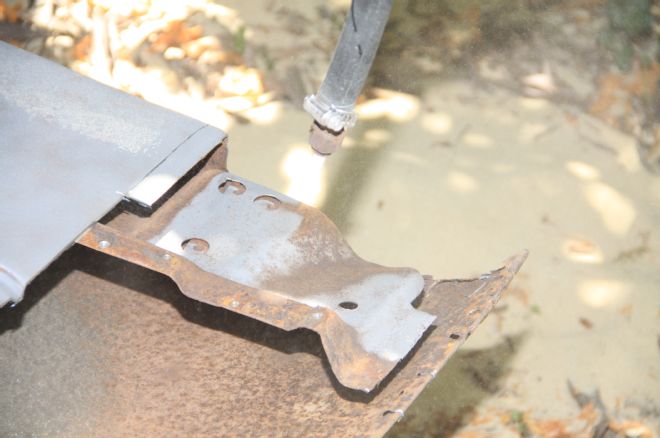
14 With the rusty panels removed, the inner structure was sandblasted.
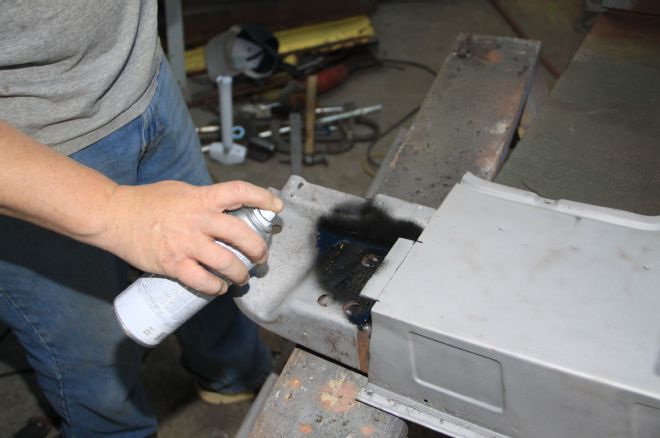
15 Jake used rust-preventive paint on the areas that would no longer be accessible once the inner and outer skins were replaced.
16 The next step in the repair process was to position the inner panel and tack weld it in place. Note how the edges of the access hole align.
17 To ensure the door would retain its original strength, the inner structure was tack welded to the inner doorskin.
18 The outer doorskin was cut to fit, then a series of tack welds were made to hold it in place.
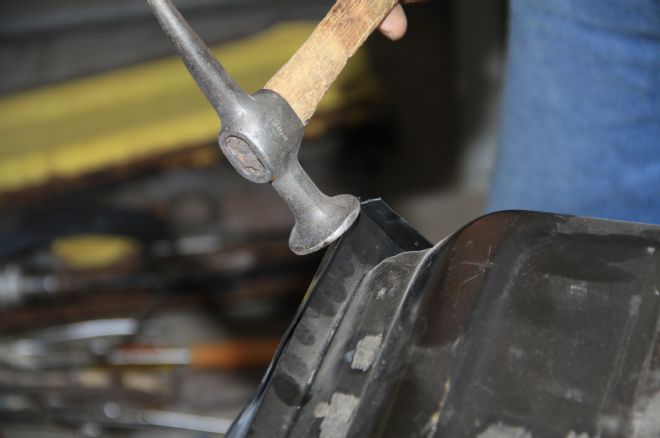
19 A body hammer was used to begin folding the outer skin over the new inner panel.
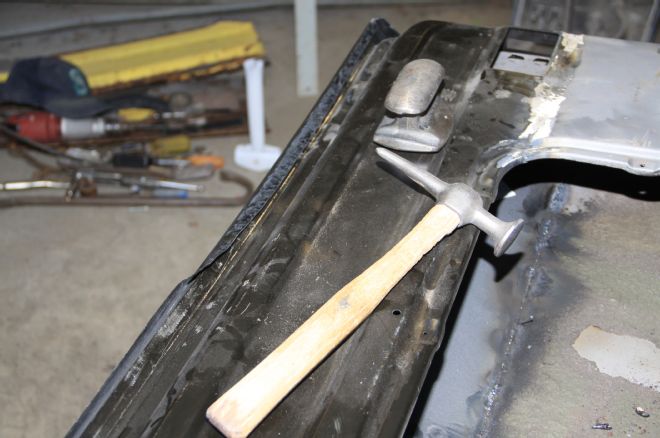
20 Once the fold was started, a hammer and dolly were used to complete the process.
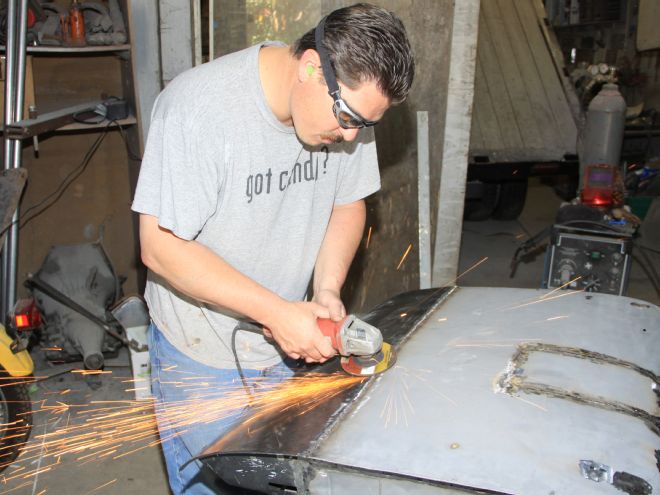
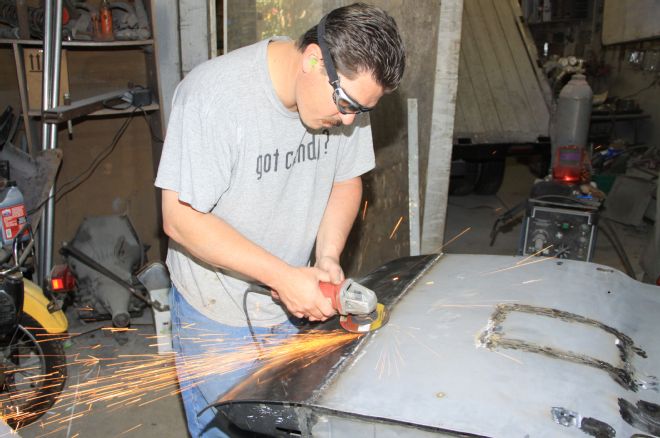
21 With the edges hammered down tight, Jake finished welding the patch panel to the outer skin.
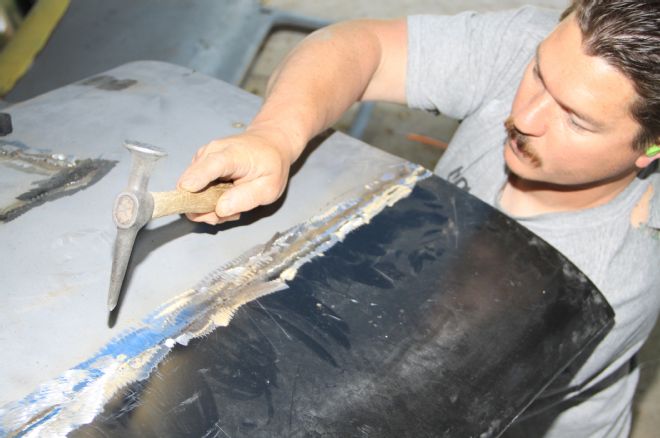
22 After the weld bead was ground down, Jake used a pick hammer and a dolly to correct a few minor imperfections.
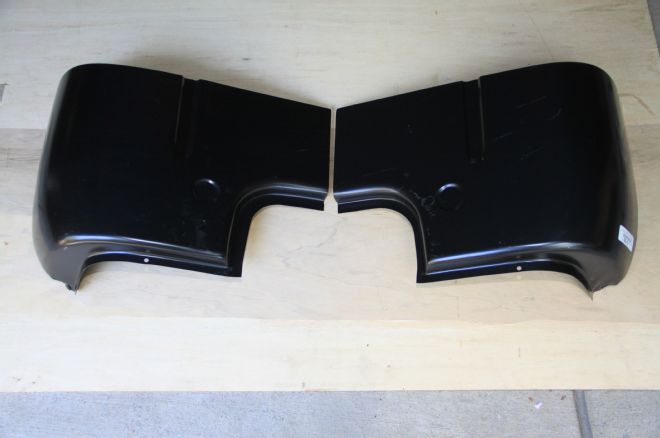
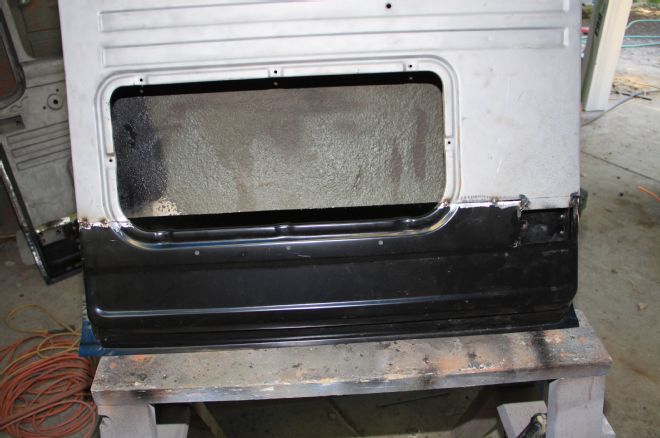
23 Along with the doors repairs to the lower edges of the cab corners were necessary. These repair panels also came from LMC.
24 LMC's cab corners are large enough to repair commonly damaged areas — in this case we trimmed the patch as only the bottom portion was needed.
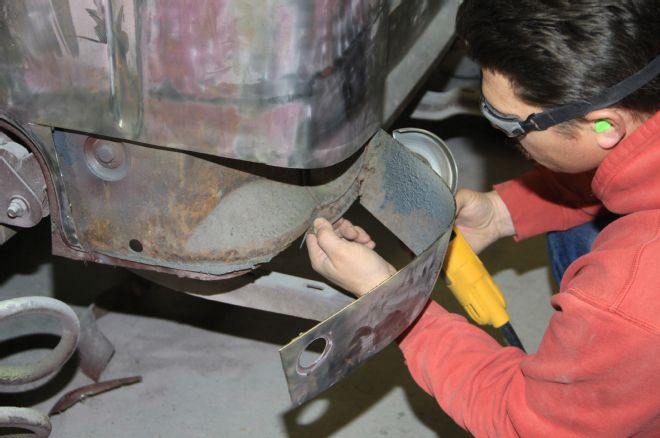
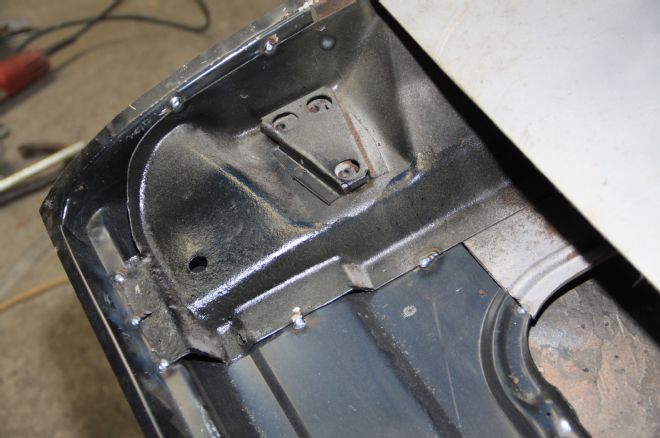
25 With the outer skin removed, Jake found the flange on the inner panel was rusted away.
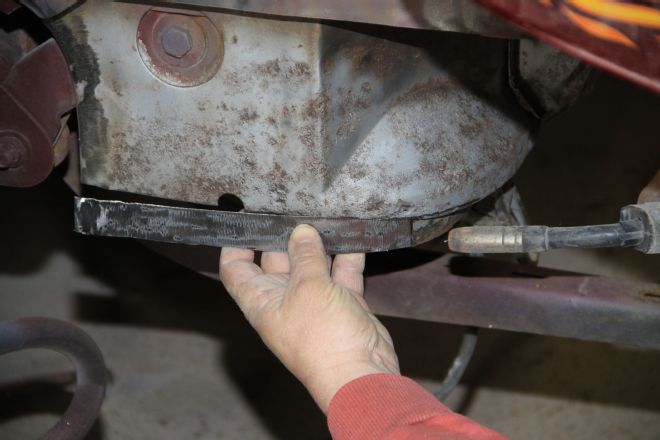
26 To provide an edge to weld the outer skin to, Jake fabricated a new flange from some of the material cut off the patch panel.

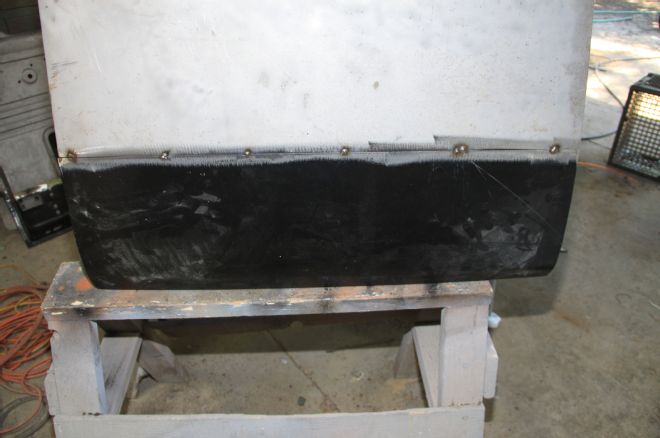
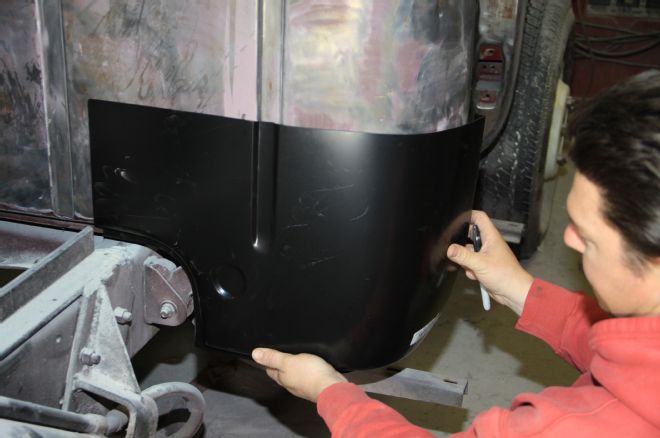
27 With the flange at the bottom of the body repaired the fit of the outer cab corners was verified then the repair was tack welded in place.
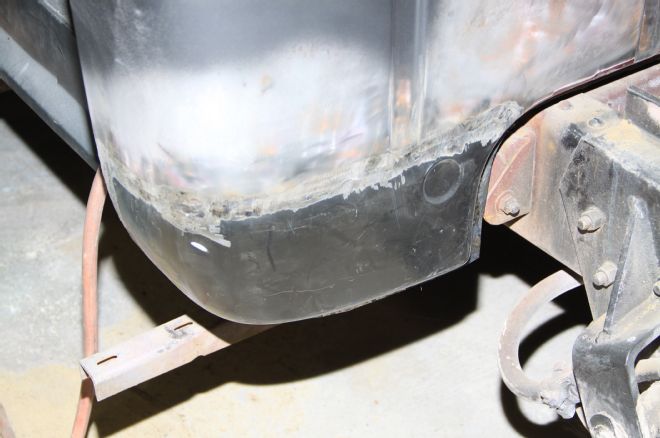
28 Pleased with the alignment of the repair the edges were welded solid and ground smooth.