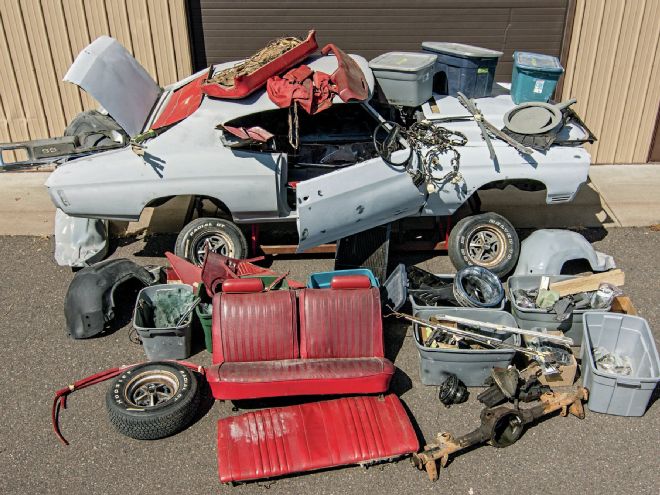
It has been quite the road trip following our 1970 Chevelle SS basket case as it went from a large pile of parts back to like-new and even beyond. In this last tech story before we wrap up the project with a full feature story, we're going to take you through the process of restoring and reinstalling the trim.
Trim for this era of muscle car is made from either stainless steel or clearcoated aluminum. Both can be brought back from the kind of damage that you might not think possible (by an expert), but stainless is by far easier to work with. It is much more malleable than aluminum, which can work-harden and become brittle quickly. Aluminum is also more sensitive to the heat generated during polishing. Since our Chevelle trim is all stainless steel, that's what we will focus on here.
Muscle Car Restorations, the Chippewa Falls, Wisconsin, shop handling the project, sent the Chevelle trim off to Extreme Metal Works in Debary, Florida, where owner Skip Humenik has been bringing shiny parts back to life for more than 30 years. Generally the process is in two steps. The first is to physically restore the part to its original shape. This could include welding, grinding, or hammer-on-anvil work that's much like massaging a body panel but with a lot more patience and finesse. Since there can't be any body filler to finish the job, the final work must be very nearly perfect before polishing can begin.
The work is much like massaging a body panel but with a lot more patience and finesse
Polishing is the finish step. While some material will have to be removed to bring back a mirror finish, it has to be kept to an absolute minimum. Pretty much the only thing that can be left behind to polish out are the very small hammer marks that reshaped the surface. Any more than that and the integrity of the part will be at risk.
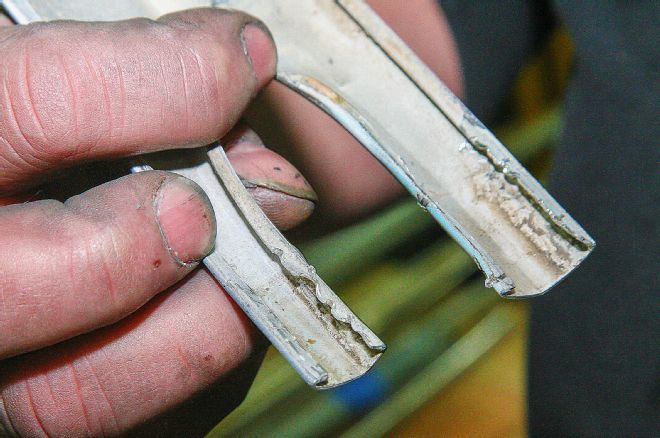
A common problem that Humenik routinely encounters is trim that has been improperly removed. This causes the inside edges to be bent and the back of the trim to take on a sort of wavy pattern. Use the correct tools to remove your trim, and call Extreme Metal Works if you have to so he can advise how to safely remove it. Don't be the guy who adds more damage to the parts than is already there. Also use caution storing, packing, and shipping the trim, especially the longer parts. It doesn't take much to kink them when they are off the car.
Don't be the guy who adds more damage to the parts than is already there
1 Even though something damaged this badly can be restored to useable condition, Skip Humenik of Extreme Metal Works often recommends attempting to find something better to work with.
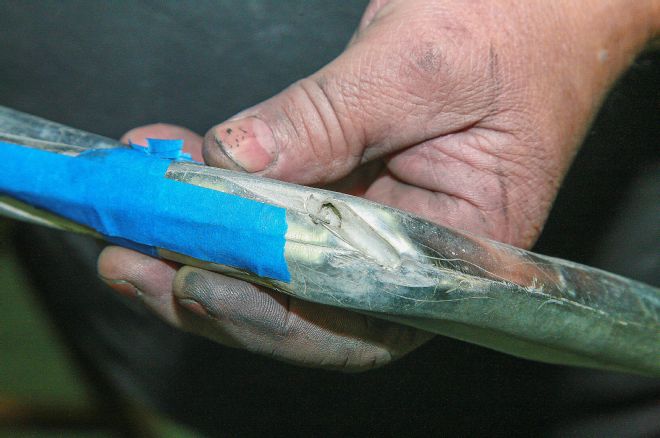
2 This part is not from our Chevelle, but it is a glaring example of how much damage can be done by not using the right tools to remove the trim.
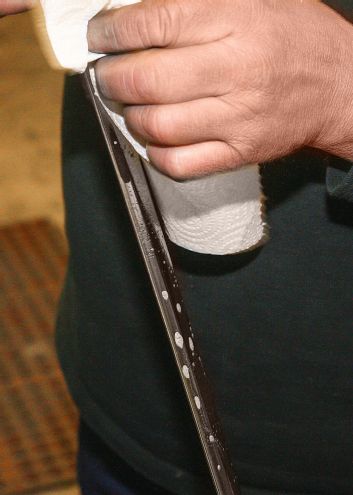
3 Our Chevelle's trim was in fairly typical condition, with some minor dents and the usual scuffs and shallow scratches, some of which undoubtedly occurred from being stuffed in a box and moved around with other parts. Trim can be a little delicate when it's off the car, so take steps to avoid adding damage.
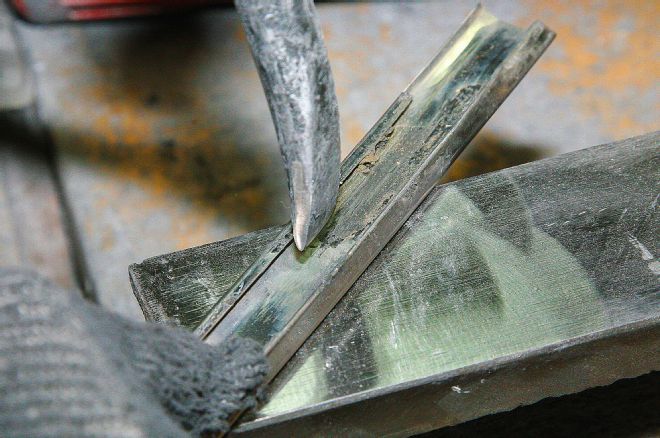
4 Using a body hammer and a small anvil, Humenik starts the repair by tapping out all the dents in each piece. This is sort of like working a body panel but on a much smaller scale and with much more delicate material. The goal is to move the metal back into place with as few taps as possible and without going too far. It is also critical that the material not be stretched or distorted in any way.
5 Damage from improper trim removal usually looks like this. The back side edges have a bunch of these little puckers caused by using the wrong tool and technique. This is often just another part of the basket case experience.
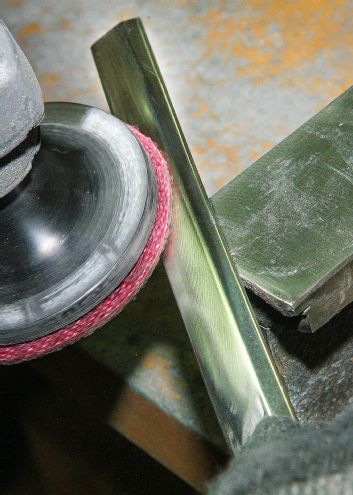
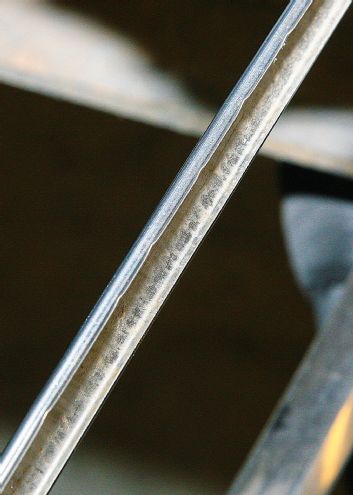
6 Once the piece is back to its original shape, Humenik often uses a medium (red) Scotch-Brite pad on a variable speed grinder to remove the scratches and any hammer marks. It is critical that the pad be in constant motion to avoid creating a hot spot that could deform the metal. This is then followed by 220-grit paper on a DA to remove any grinding marks.
The finished trim truly has a mirror finish
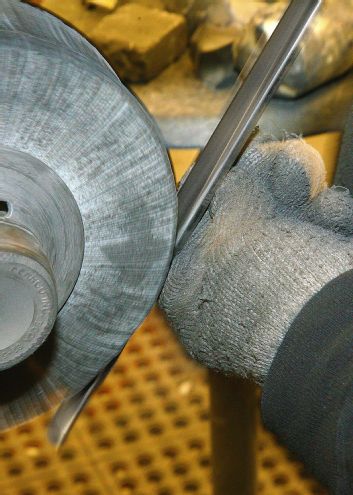
7 The first polishing step is done on a flap wheel with a 400-grit polish at 3,600 rpm. It's very important to go light and really watch for heat buildup by keeping the part in constant motion. Overheating stainless causes it to change color, to a tan or brown hue. That discoloration can be removed with buffing, but it will take more time. Overheating aluminum can ruin the part.
8 Buffing starts on a 3,600-rpm cotton wheel with a special stainless compound. (No, Humenik won't reveal this secret.) When all of the polishing lines are removed, common white compound is used to bring the piece to a full mirror finish.
9 Windex is used to remove the residual compound. At this point the trim could literally be scratched with a fingernail, so Humenik strongly cautions against using a polish that contains any grit. Plain wax is all that is needed to protect the shine.
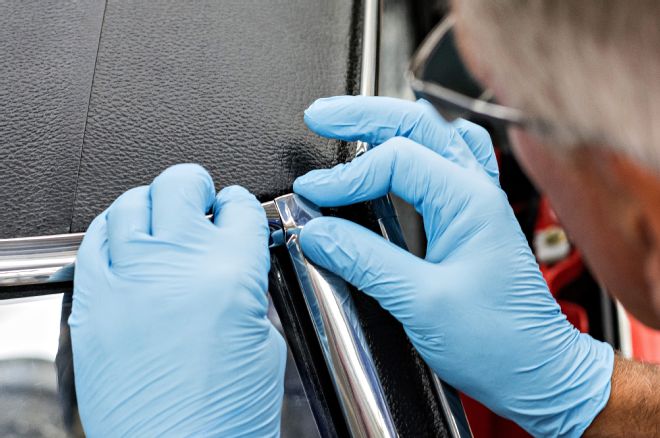
10 It is very important that the window trim be ready to mount with the windshield and back window. The trim needs to be installed at the same time as the glass to ensure that it lies flat while the glass can still be adjusted if necessary.
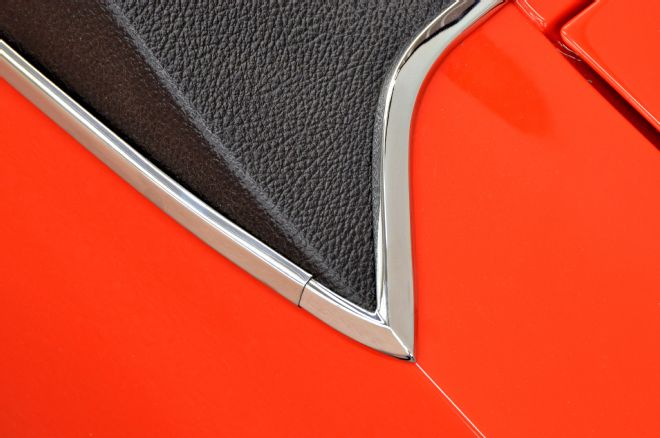
11 The finished trim truly has a mirror finish and is likely much nicer than when new.
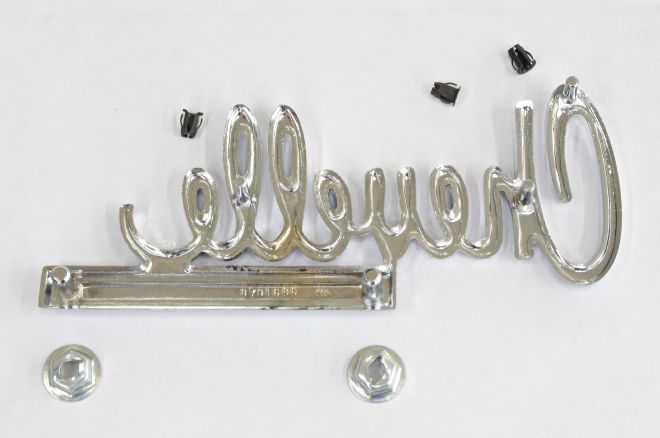
12 Muscle Car Restorations prefers to use new emblems when available. Restoring the old ones simply isn't cost effective. This Chevelle emblem is held in place by a combination of barrel clips and speed nuts.
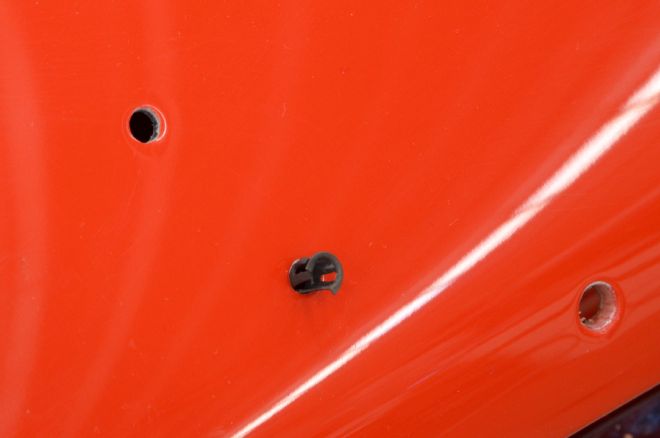
13 Painting will likely cause some paint buildup in the emblem mounting holes, so it may be necessary to run a drill through them to clean them out. Try to enlarge the holes that will be receiving the barrel clips so that the clips by themselves snap in a bit loose. Placing the clips on the emblem pins will expand them enough so that they will then snap tight in the hole and firmly hold the part in place. Be sure to touch up any bare metal in each hole with some epoxy primer the night before.