Nothing says 1969 Camaro like the distinctive graphic design of the year model’s RPO D90 hockey stick stripes. If one were to adhere to replicating the factory procedure faithfully it would be Fisher Body applying 3M vinyl stripes to the doors and the Chevrolet plant spraying the fender stripes with DuPont Magic Mirror acrylic lacquer.
For the guy that wants to remain faithful to the look and feel of factory original, this would be the best way to replicate hockey stripes, but for a truly custom look, nothing beats real paint with a super glossy clear topcoat to bury the artwork beneath.
This is where we had Scott Bonowski at Hot Rods & Hobbies in Signal Hill, California, step in to show Chevy High Performance’s valued audience how to lay down a set of show-quality hockey stripes and then bury them under Magic Mirror’s latest embodiment Axalta LE8700S clear. For those of you that haven’t heard, DuPont Performance Coatings, a paint manufacturer that’s been around since the dawn of the automobile age has been rechristened Axalta Coating Systems. So, in effect, the custom D90 stripes Scott laid down are as faithful to 20th century factory original as the 21st century can get.
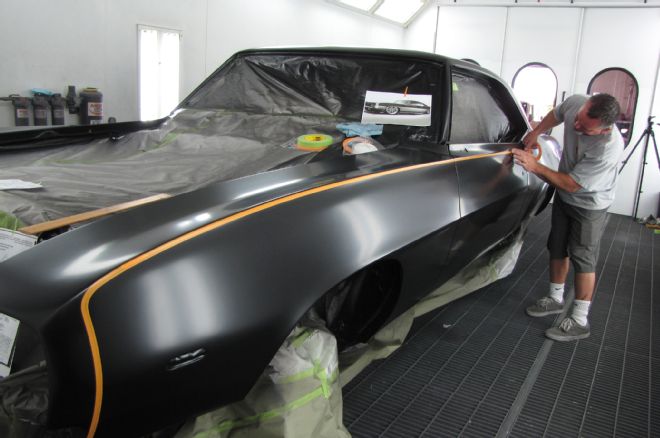
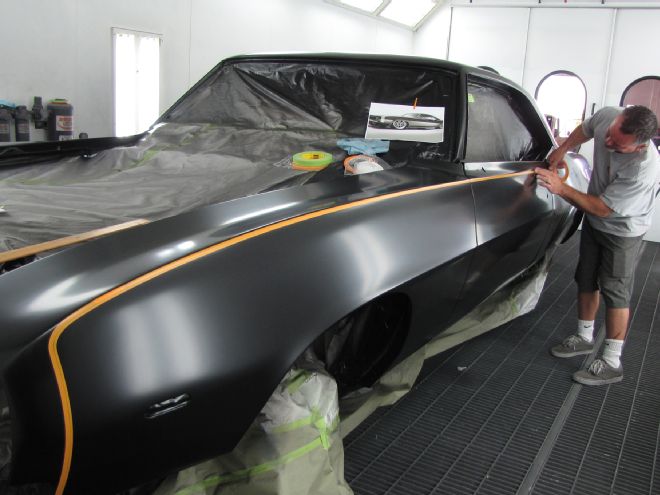
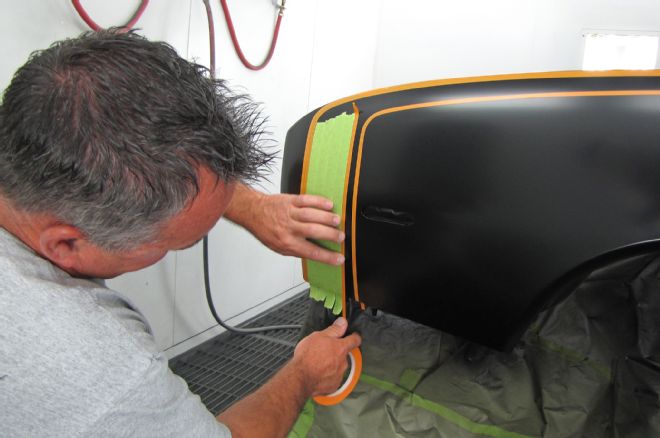
01. The most difficult part of the job is laying out the hockey stripes freehand to look as they’re supposed to appear. To simplify, guide marks can be drawn with a grease pencil and the leading edge of a body line used as a guide to pull the tape in a long line.
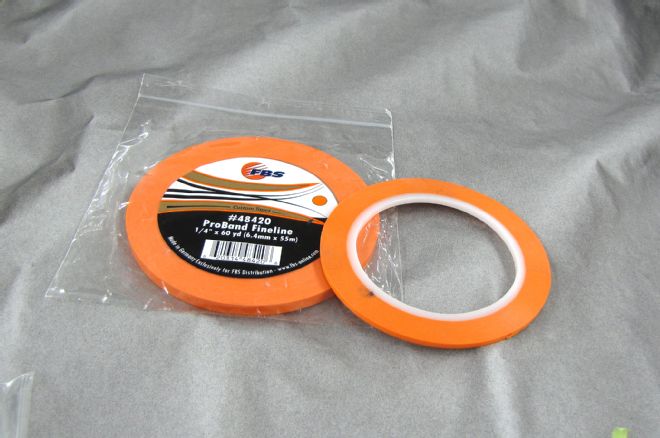
02. In days of old, masking tape was made from crepe, and it took a true artisan to apply the tape in such a manner that wet paint would not bleed under and create a fuzzy edge. Today’s fineline masking tapes are made from a polymer film and it’s almost impossible not to get a clean, defined paint edge.
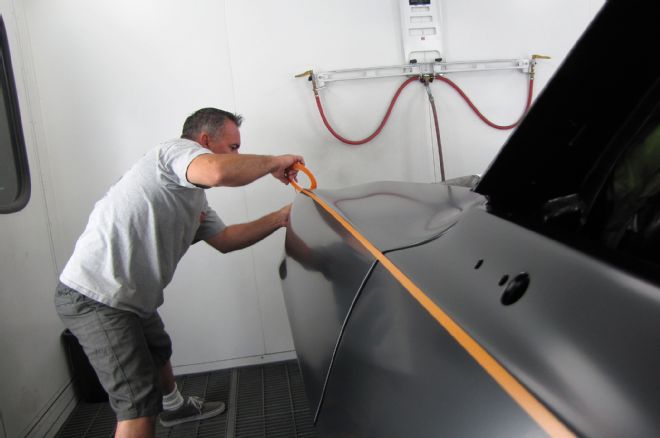
03. The trick to pulling a straight line is to pull from the elbow and not from the wrist. Notice how the fineline tape parallels the body line.
04. Observe how the green 1/2-inch crepe masking tape was stacked four wide to form a 2-inch-wide guide.
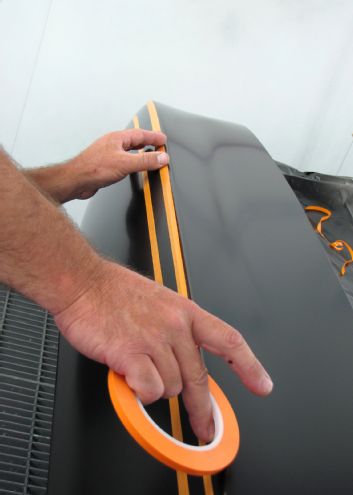
05. Then, 1/8-inch fineline tape was laid parallel to the outside masked edge to serve as a guide.
06. Next, 1/8-inch fineline tape was laid alongside the fineline paralleling the outside masked edge, and then the center tape was pulled (removed) to make room to create a 1/8-inch painted pinstripe.
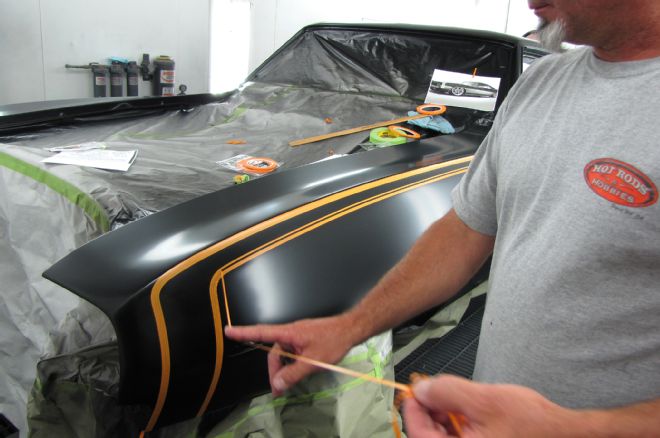
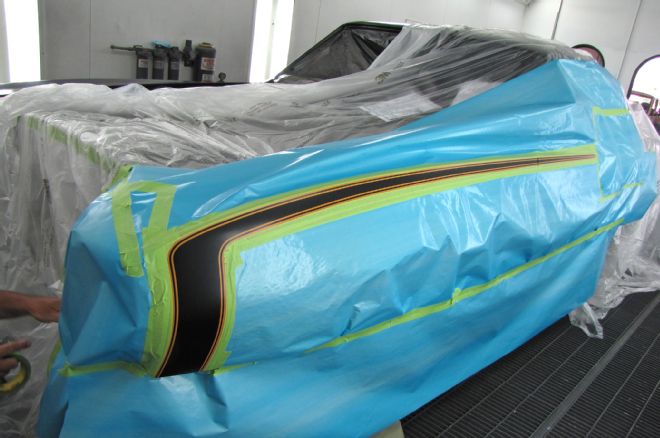
07. Stand back and look to make sure the lines are straight and not wavy. It takes a trained eye to determine if the artwork is laid out properly and ready for the large areas of negative space to be masked off.
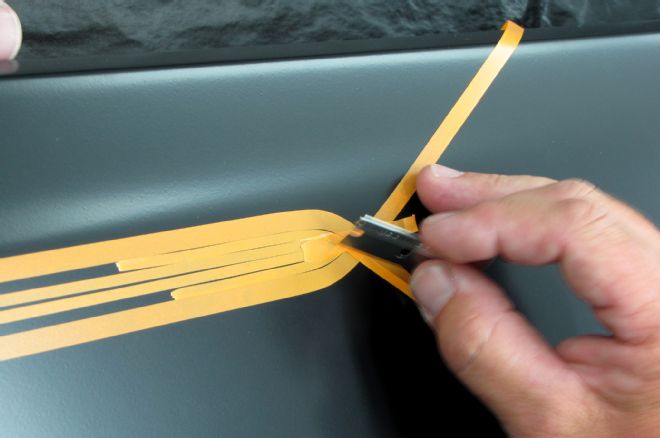
08. A single-edge razor blade or Exacto knife works well to cut clean, straight lines into the fineline tape.
09. In order to protect the black basecoat from silver overspray, Visqueen was spread out over the car.
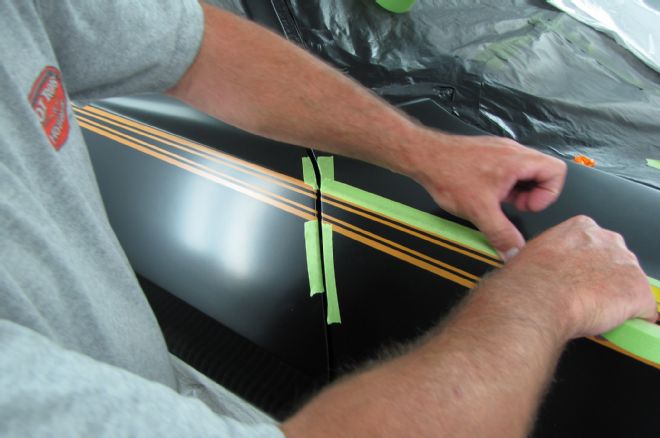
10. The paper masking process begins with laying 1/2-inch green crepe masking tape over the outer edge of the 1/4-inch fineline. This is to avoid leaving gaps exposed for unwanted paint to seep or be sprayed into.
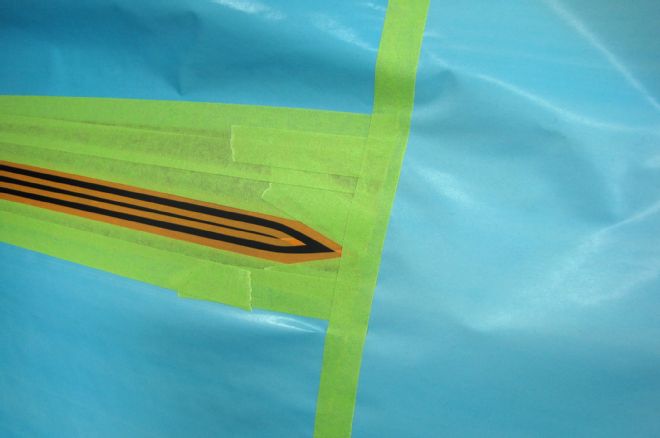
11. Intricate detailed areas such as the pointed end of the hockey stick at the door’s end are taped down heavily to ensure crisp lines. To prevent paint bleeding under the taped lines, it’s a good idea right before painting to use a thumb or fingertips and firmly rub (press) the fineline.
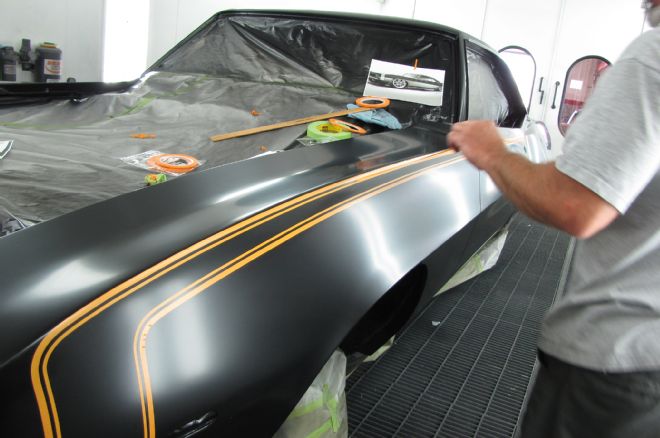
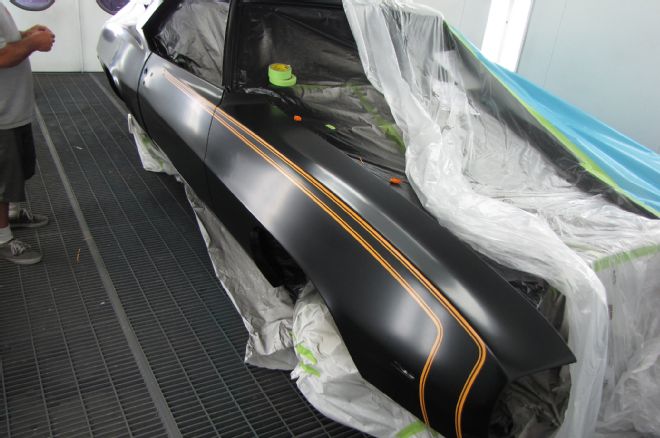
12. The final check before painting the hockey stripes is to stand away at a distance to eyeball (determine) if the graphics look right.
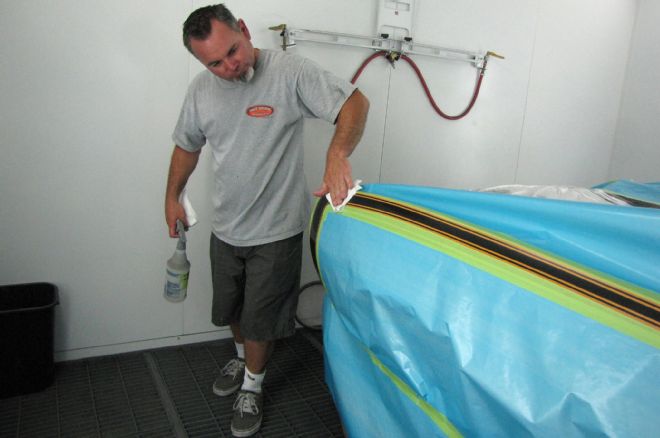
13. To help eliminate the possibility of dirt in the paint or fisheyes occurring is to use a clean, lint-free cloth with a prep solvent (silicone stripper) and wipe the area down.

14. Next, the area is blown with compressed air and wiped with a tack rag.
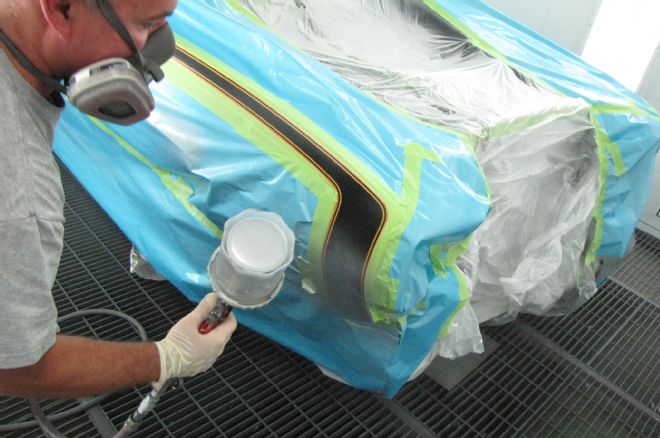
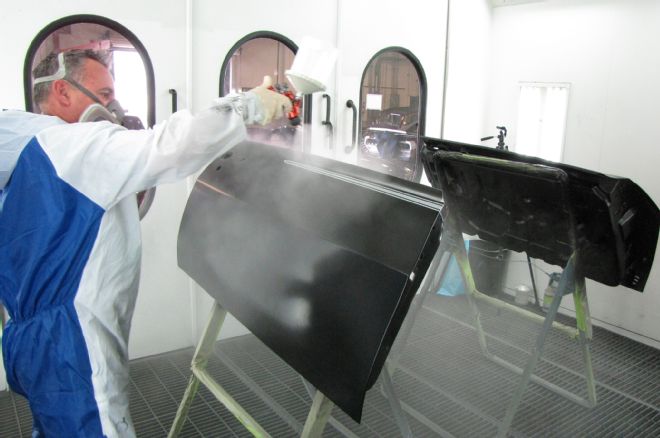
15. The spray pattern of the Axalta silver Cromax Pro was overlapped onto the masking paper to ensure the stripes were fully covered with color.
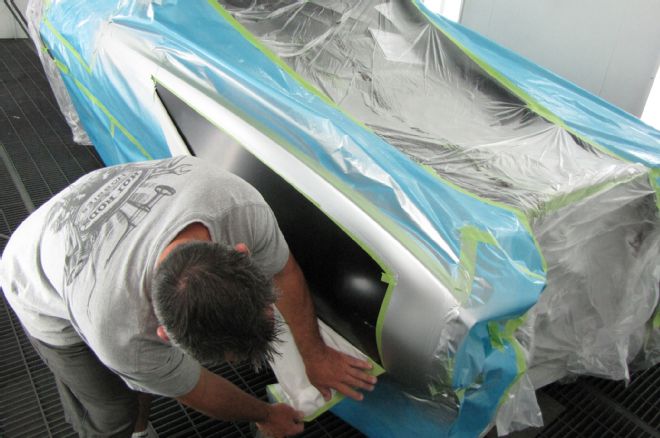
16. Once the painted hockey stripes were completely dry, the masking paper was removed from where it attached to the 1/2-inch green crepe masking tape. Then the orange fineline tape was removed by pulling it straight back.
17. Compressed air along with a lint-free rag and prep solvent was used to prepare the area to be cleared (painted with a clear urethane topcoat).
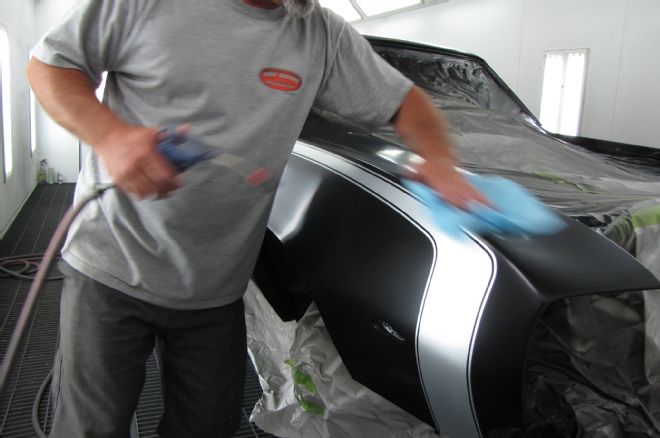
18. The hockey stripes were done (laid out and painted) with the car assembled to ensure the artwork (lines) matched up. Then the doors, fenders, and hood were removed and buried under enough Cromax Premier Clear LE8700S to leave the Axalta silver Cromax Pro hockey stripes undetectable to the human touch.