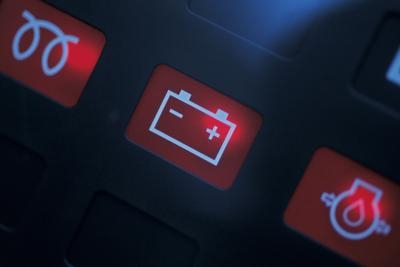
Prior to 1996, different makes and models used different types of computer programming and self-diagnosis protocols collectively referred to as Onboard Diagnostics, Series I. These dozens of different programming languages meant that most cars could only be diagnosed by mechanics who either had machines to read the codes or the know-how to do it. Things have gotten a bit easier since Uncle Sam instituted the common protocol now referred to as OBD-II. Typical of most technological advances, "easier" eventually led to "cheaper," which in many areas now equates to "free."
Determine whether or not your car has a driver-accessible code-reading system. Prior to 1996, many cars used the "blinky light" system, wherein the driver would turn his ignition key on and off a few times to trigger the car's self-diagnosis system. Refer to your owner's manual or repair reference to determine the correct key sequence.
Count the "check engine" light flash sequence, as it corresponds to a two-digit numerical code. The first series of flashes (generally long flashes) give you the tens place; a pause usually follows, preceding a number of short flashes that give you the ones place. For instance, six long flashes, a pause and three short flashes equal a code 63.
Compare your code reading to the codes used by your manufacturer during your vehicle's model year. You can find these codes online by entering "(manufacturer) ALDL codes" into your preferred search engine.
Read current OBD-II codes by simply taking your car to your local auto parts store. AutoZone, Advance Auto, Pep Boys, Jiffy Lube and a number of others offer a free OBD-II code-reading service. Often the scanner will read stored (inactive) codes, other times it won't; either way, the technician should be able to clear any stored codes using his hand-held scanner.