Car guys tend to do whatever it takes to get their hot rod synchronized with their personality. Whether it’s stuffing a monstrous big-block into an area that was once home to a measly six-banger or something on the subtler side, like minor body modifications. Shaving door handles and driprails have always been popular among the custom car crowd, so it’s no surprise that some of those techniques have trickled on over to the muscle car side of the hobby.
We hooked up with Adam Ramsey at Barry White’s Street Rod Repair Company (SRRC) in Corona, California, to follow along on a 1969 Camaro project that consisted of smoothing and filling a few areas on the body. The car would be losing the antenna, rocker panel spears, and all the Camaro badges.
Adam has been working in the fabrication side of the hot rod industry for a good many years and he’s developed quite a reputation for working on some high-profile, award-winning hot rods.
We were eager to get started, so Adam took us through the steps he takes to perform some top-notch bodywork that you can do yourself, with the required tools and a bit of practice, of course. And if you have some TIG-welding experience, this ought to be a piece of cake.
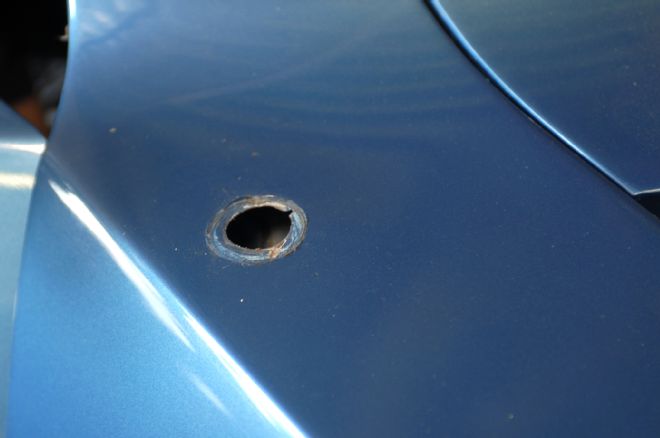
01. With the antenna removed, you can see the uneven area that needs to be smoothed.
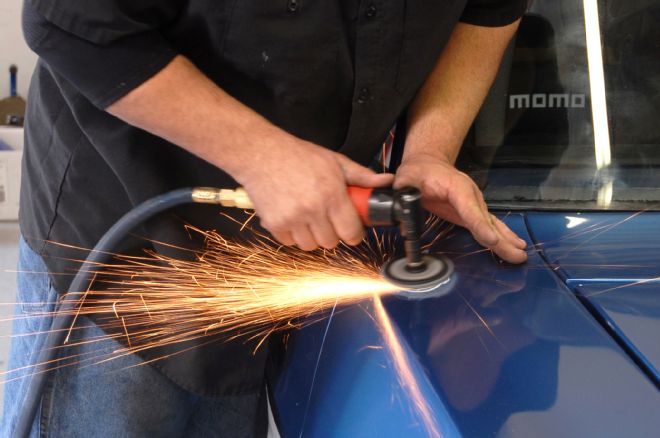
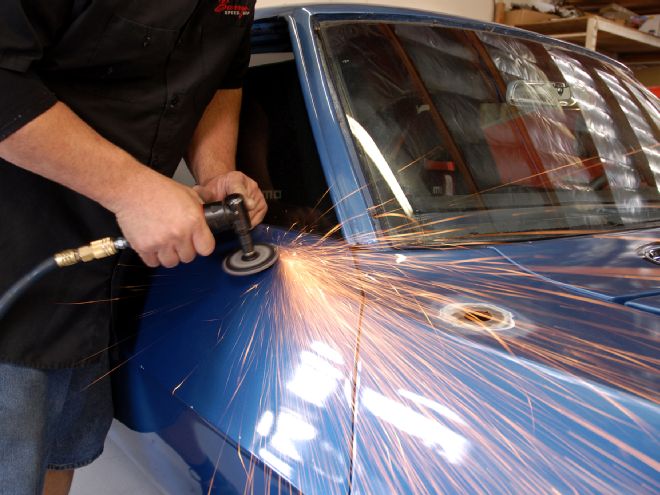
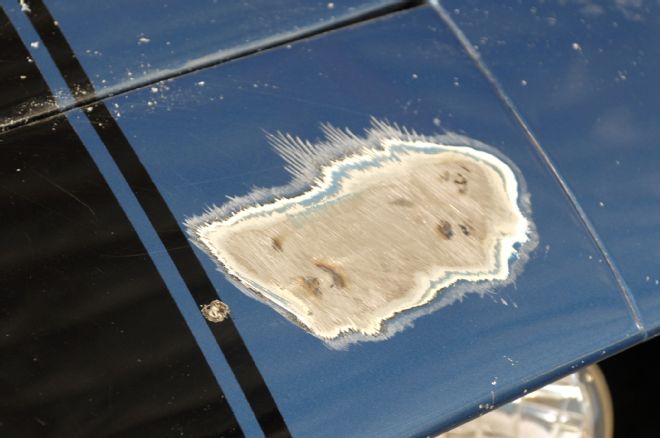
02. Before any kind of metalwork takes place, SRRC tech Adam Ramsey cleans up and smoothes the area. It’s important to expose the surrounding metal to see if there is any body filler nearby.
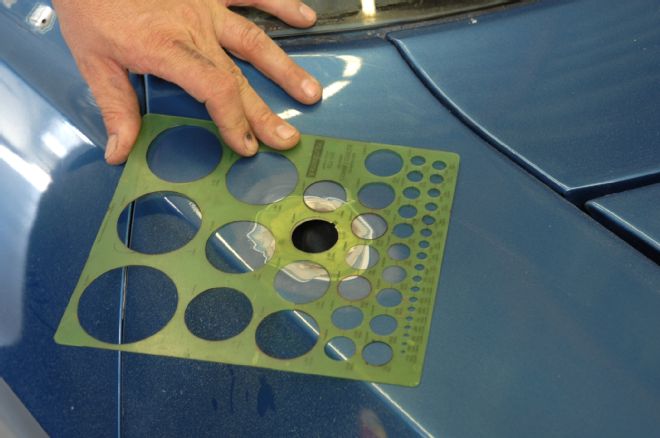
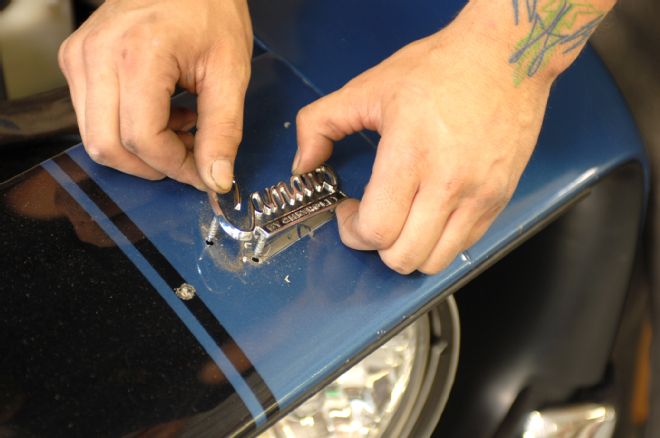
03. Adam uses a circle template to measure the diameter of the plug he’ll need to fill the hole.
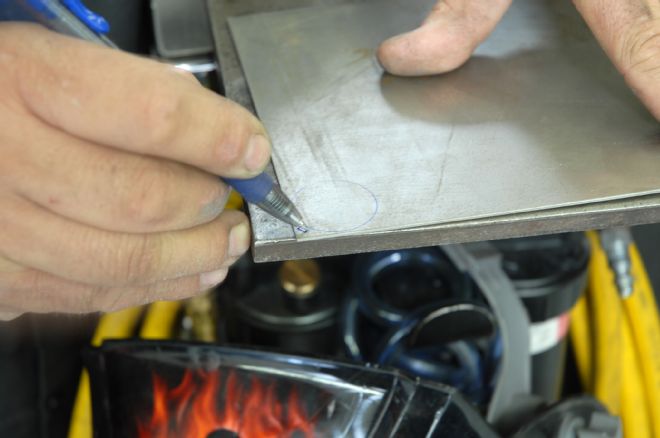
04. With the size of the new sheetmetal piece determined, Adam makes sure to draw in the tab as well. The more sheetmetal (and less filler) involved, the better quality the repair will be.
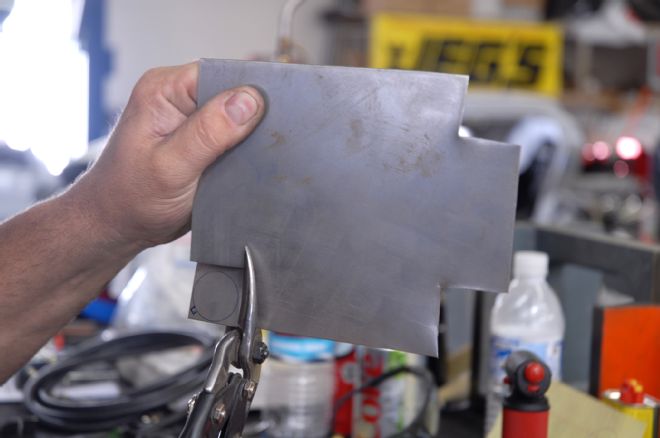
05. Adam cuts the patch out of a piece of 16-gauge sheetmetal.
06. A little fine-tuning with a file was needed to smooth the edges and make sure the donor piece will fit the open hole snugly.
07. Looks like a perfect match.
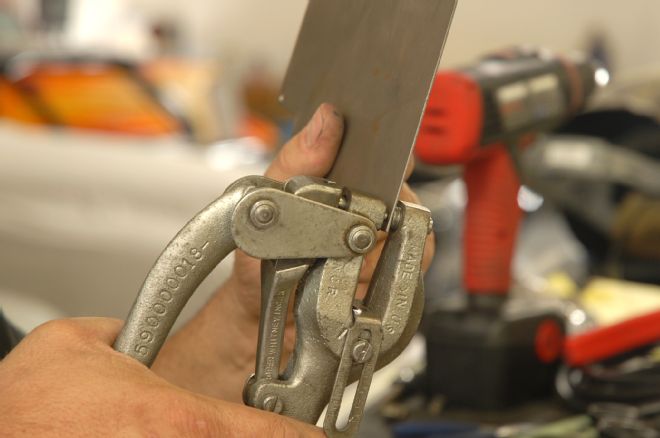
08. Tack-weld a piece of welding rod to use as a handle.
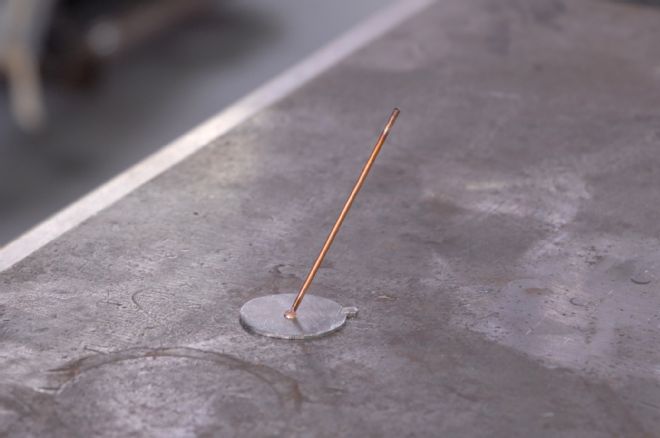
09. Here’s a clear shot of what the handle looks like.
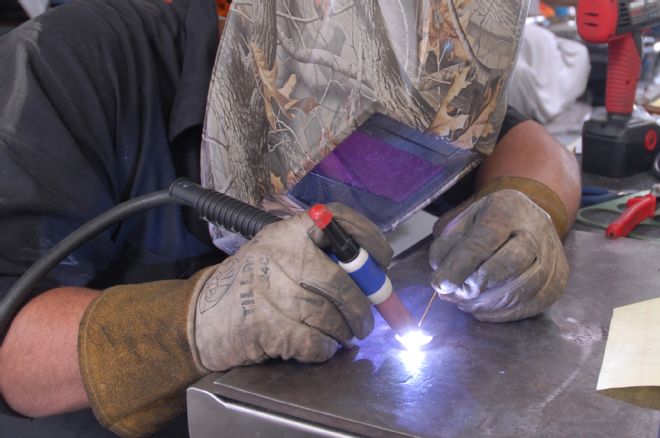
10. Here you can see how he holds the new sheetmetal in place while utilizing the temporary support piece.
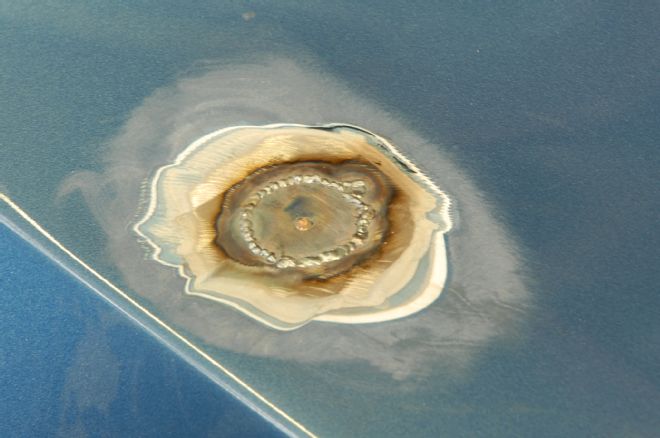
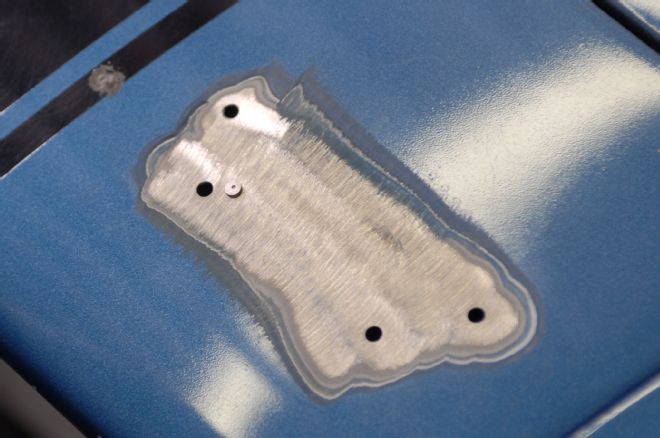
11. Here is our filler piece securely welded in place. Adam stresses the importance of keeping heat to a minimum as not to warp any surrounding sheetmetal.
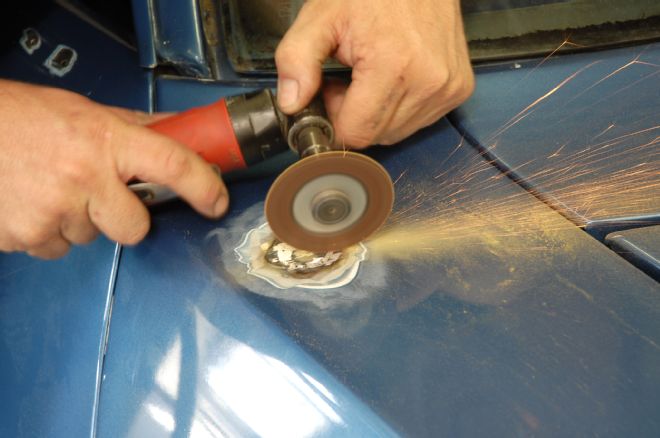
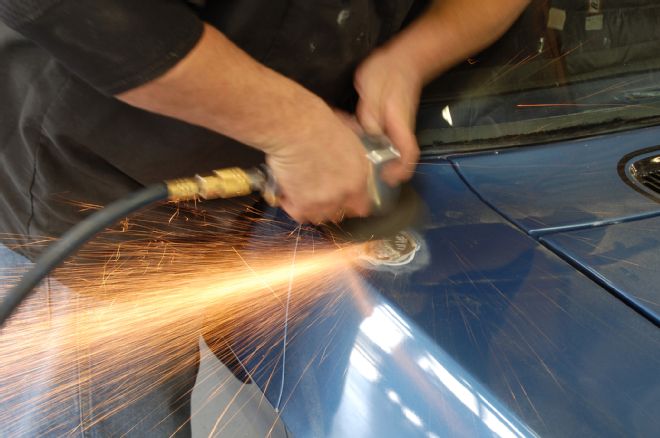
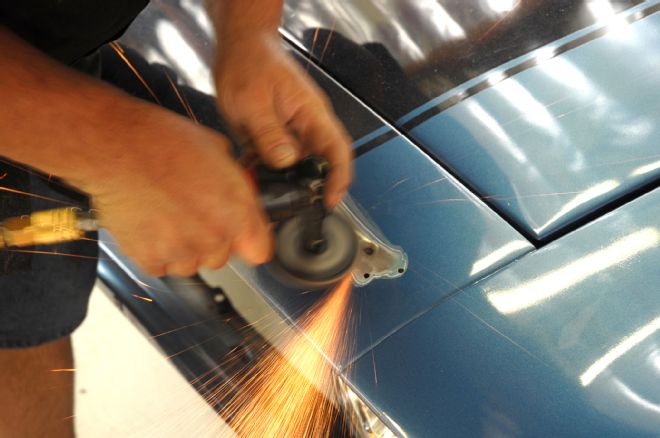
12. With light pressure, Adam uses the edge of a cutoff wheel smooth the weld. This way he only thins out metal in the necessary area. This also keeps the temperature down.
13. Then he lightly hits the area with a 36-grit pad for blending.
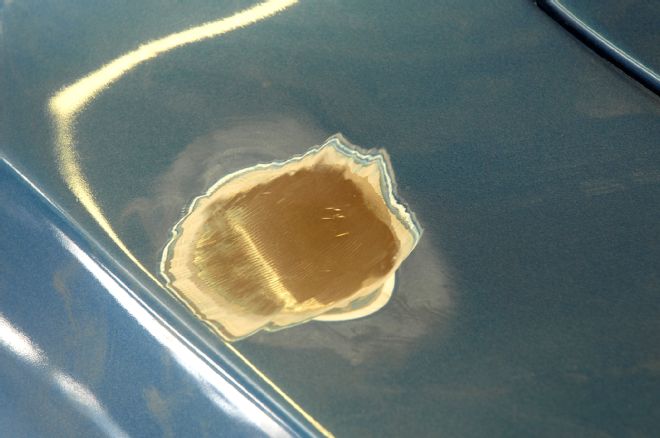
14. The newly filled hole is smooth enough that filler won’t be necessary – just a good coat of primer and some fine sanding and it’ll be ready for paint.
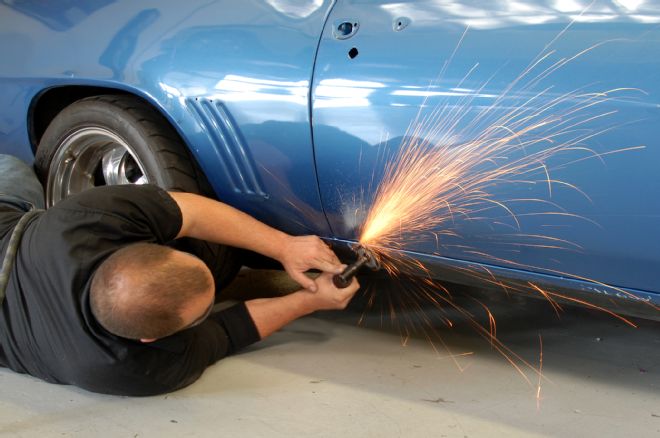
15. For a clean look, the rocker panel spears are removed as well. The panel rivets are smoothed off with the same 36-grit grinding wheel.
16. This job also included ditching all the badges.
17. Again, it’s important to smooth out the area where the holes will be filled.
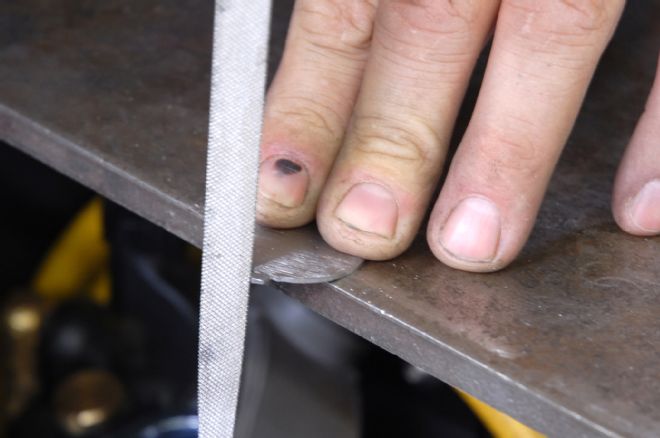
18. For the smaller holes left by the Camaro badges, Adam uses a Roper Whitney hand-punch on the same 16-gauge sheetmetal used earlier.
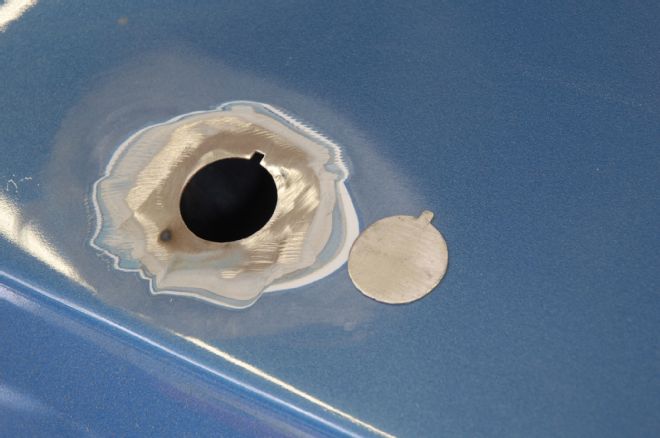
19. Here you can see the tiny punched-out metal plug in relation to the size of the hole to be filled.
20. Adam had to bore out the holes just a bit in order to get the plugs to fit nice and flush.
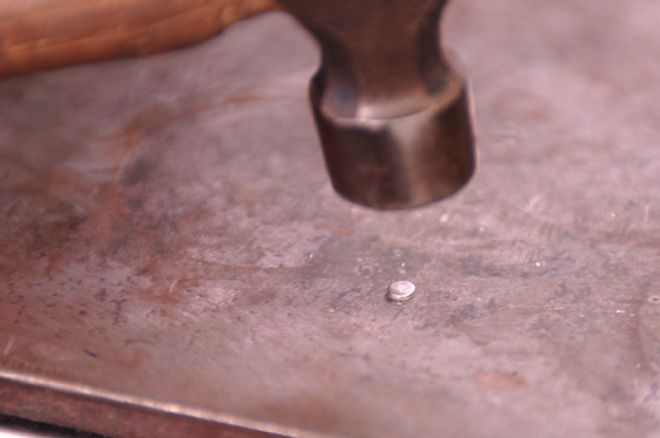
21. A hammer was used to flatten the nipple that was left from the punch. It also works the plug into a larger diameter, if necessary.
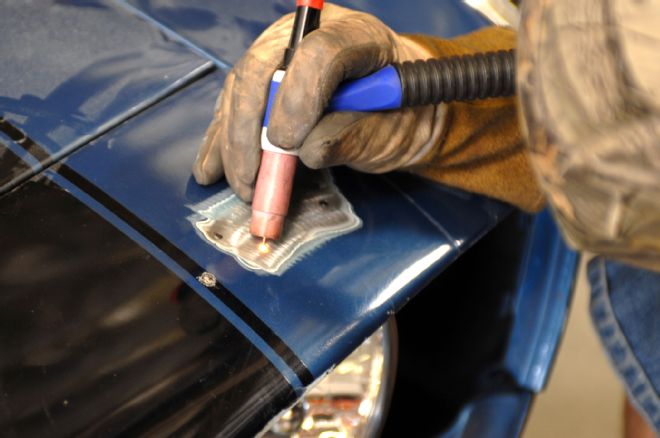
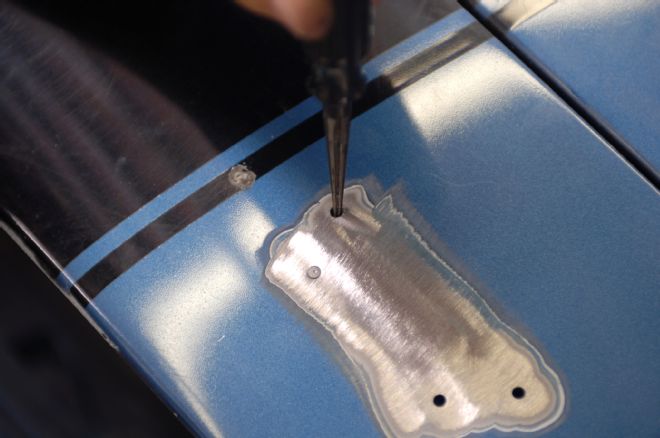
22. With the small plug press-fit in place, just a quick hit with the TIG welder tacks it into place. It’s not necessary to use any welding material for a job this small.
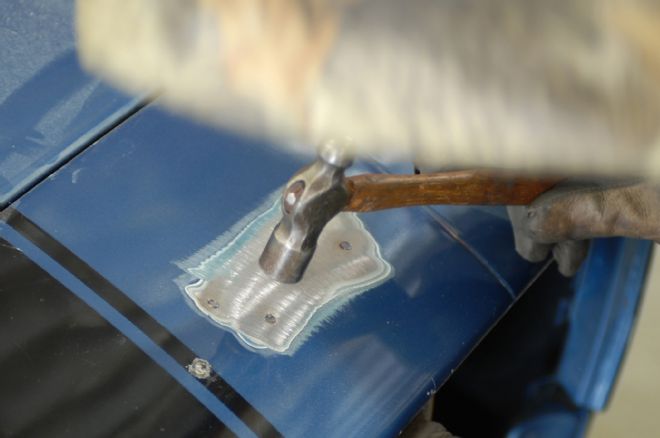
23. With a hammer, and dolly used underneath, Adam massages the plug to fit flush on top.

24. With the new metal in position, the heat was on and the plugs were fused into place.
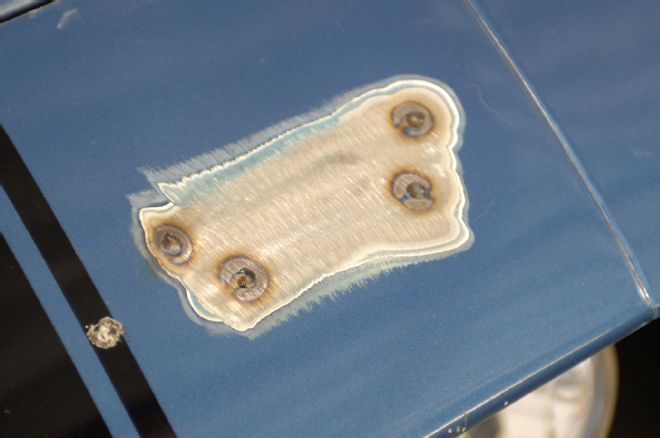
25. All fused in and ready for the smoothing process.
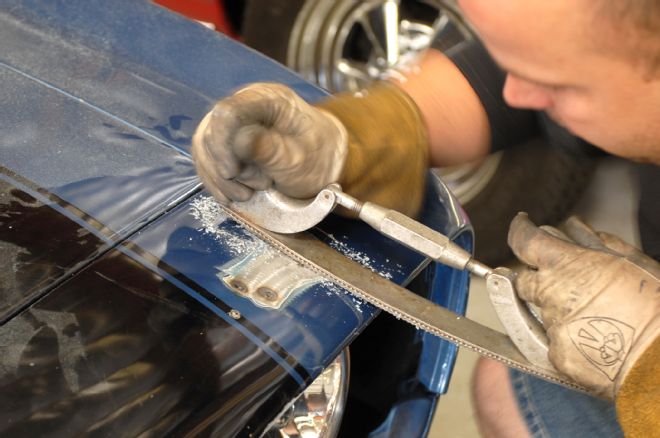
26. Adam stressed that it’s not always necessary to break out the power tools for smoothing or flattening. Here, he used a body file to attain the same results as a sanding wheel. It’s best to keep heat out of the equation whenever possible.
27. Smoothed and ready for primer.
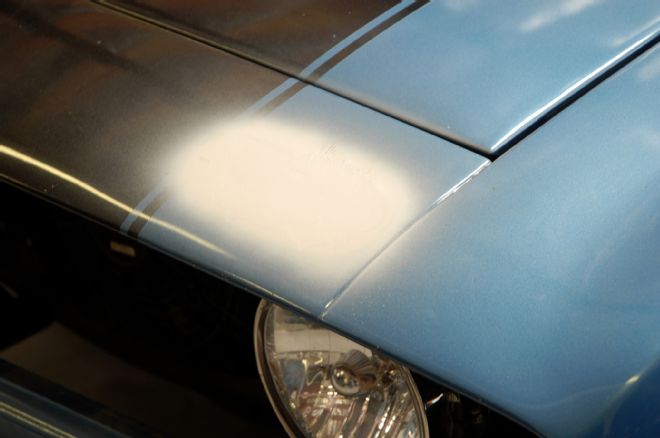
28. With the U-Pol Acid #8 1K Etch Primer applied, it’s ready to hit the paint shop for final sanding and base.