When it comes to whipping an old car into shape one of the major chores we face is the battle against rust damage. It doesn't matter if the subject comes from the sunny Southwest or the wilds of the winter wonderlands of the North, there's always going to be some sort of rust damage to contend with.
The subject of this particular rust repair and prevention job is a pretty solid example of a '60s survivor. The 1960 Pontiac Catalina two-door hardtop (which I'll be working on for the foreseeable future) originally hailed from Colorado and as is often the case with a 54-year-old vehicle it had suffered its fair share of rust in both minor surface and severe panel eating rot. The most severe damage was relegated to the interior floorpans and portions of the trunk floor. Here I'm going to focus on re-repairing (and slightly modifying) said interior floor, but not in the way which comes to mind first whenever rust repair is mentioned (namely welding in patches of fresh sheetmetal). In this particular case we're going to approach the problem from the point of view of the hot rod hobbyist who doesn't own a welder but still wishes to affect a repair on his or her own. We'll also take a quick look at a minor floor modification in which a MIG welder did come in handy as well.
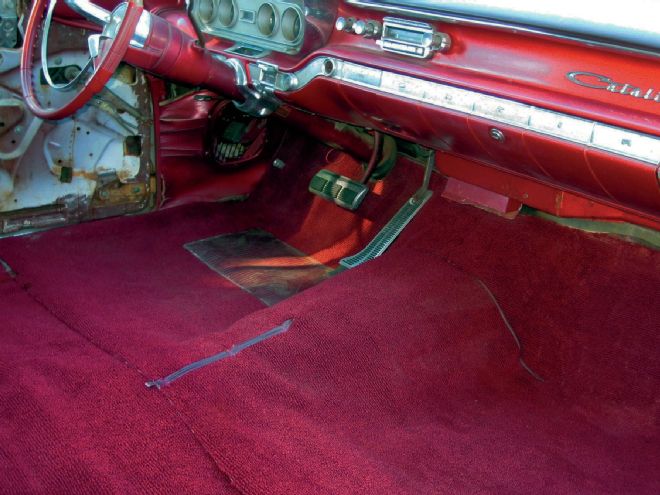
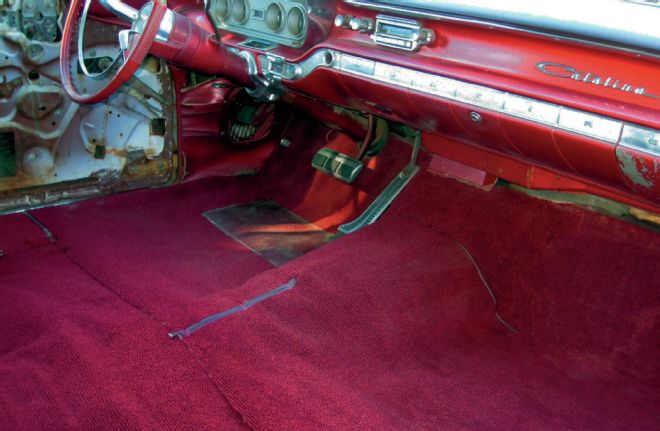 Like lipstick on a pig, fresh new carpeting on the floor of a ’60s vintage vehicle could be hiding a rusty floor. Here we’ll give you a glimpse of what to expect and an option for repairing what you find, even though you may not have the expertise or access to a welder. Check it out.
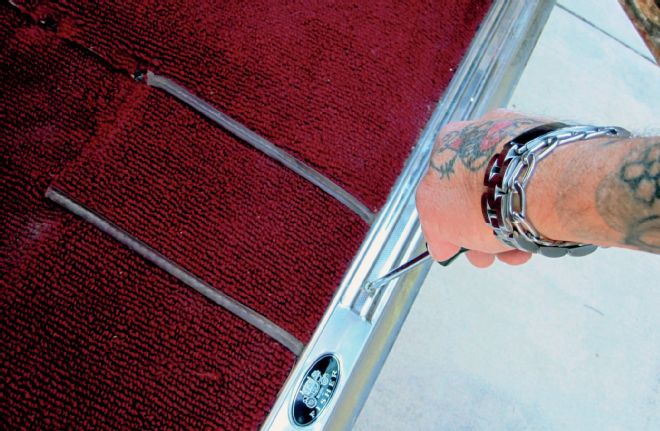
1. As would be the case in most situations, the carpeting or floor covering will need to be removed to gain access to the rust-effected portions of the vehicle floor. In this case the prior owner had actually repaired, well attempted to repair, the aforementioned rust damage after which he installed a new pre-formed replacement carpet—which I'll remove and gladly reinstall when I'm finished.
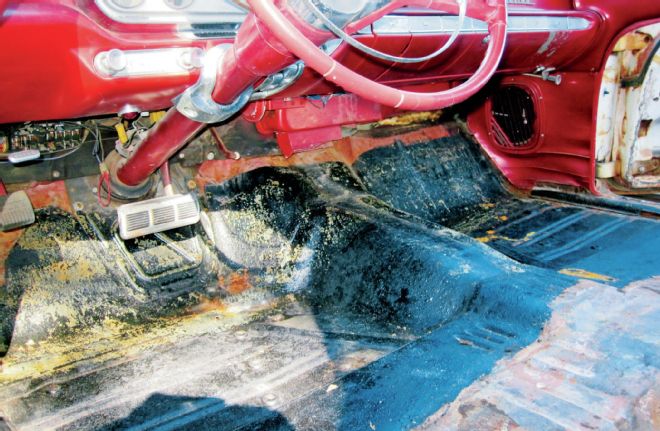
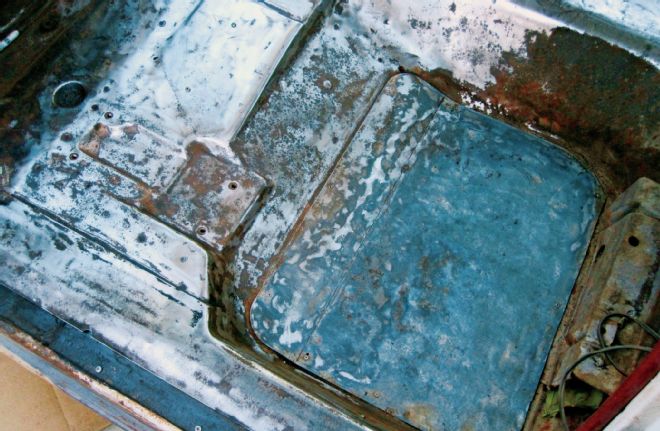
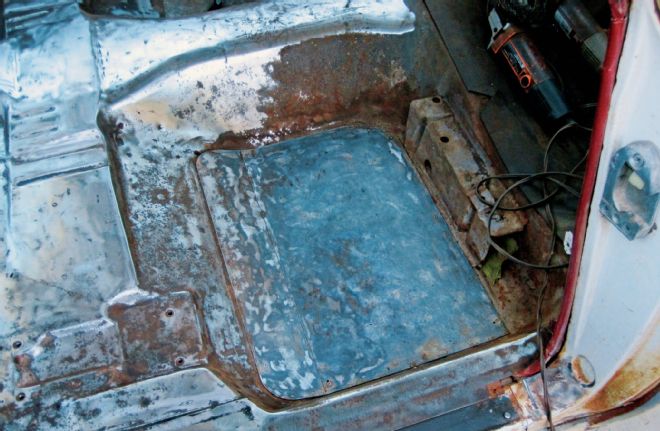
2. Once the seats, carpeting, and OEM-style jute padding were removed and placed aside I got my first look at the bare floorpan. The front driver's side footwell was pretty thin and suffered a few dime-size holes that would have to be taken care of. The passenger side was thankfully pretty solid with some surface rust from a possible cowl leak. The previous owner had chosen to ignore the small rust holes and just roll a coating of some sort (possibly truck bed coating) over the front half of the floor and called it a day.
3. One thing I forgot to mention earlier was the bit of trouble I had figuring out how to get the darn gas pedal free so I could get the floor covering out. What I eventually discovered were these two studs over which the stock pedal's rubber base was snapped. All it took was a bit of prying with a screwdriver to pop the pedal up and off of 'em, an easy task that took me more time than I'd like to admit to figure out . . .
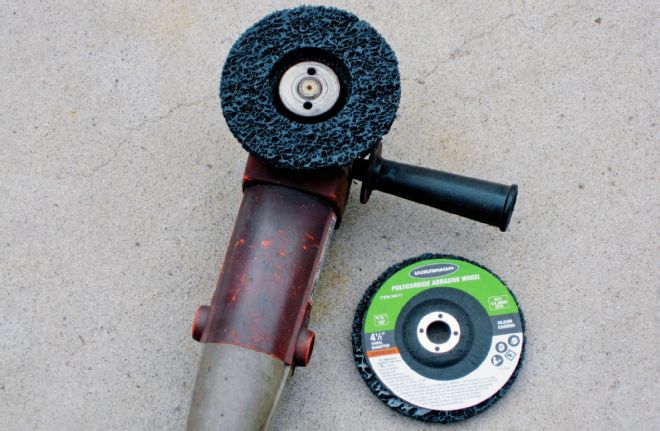
4. With the floor exposed my first action was to grab my trusty $19.95, 10-plus year old, Harbor Freight 4-1/2-inch electric grinder (one of five which have paid for themselves countless times over the years) outfitted with the ideal stripper disc and a polycarbide abrasive wheel (thanks to Harbor Freight as well) that make stripping chores of every description an easy chore. It a matter of minutes I was covered with dust and the floor stripped clean. I highly recommend the use of a dust mask and eye protection for jobs like this.
5. With the floor exposed my first action was to grab my trusty $19.95, 10-plus year old, Harbor Freight 4-1/2-inch electric grinder (one of five which have paid for themselves countless times over the years) outfitted with the ideal stripper disc and a polycarbide abrasive wheel (thanks to Harbor Freight as well) that make stripping chores of every description an easy chore. It a matter of minutes I was covered with dust and the floor stripped clean. I highly recommend the use of a dust mask and eye protection for jobs like this.
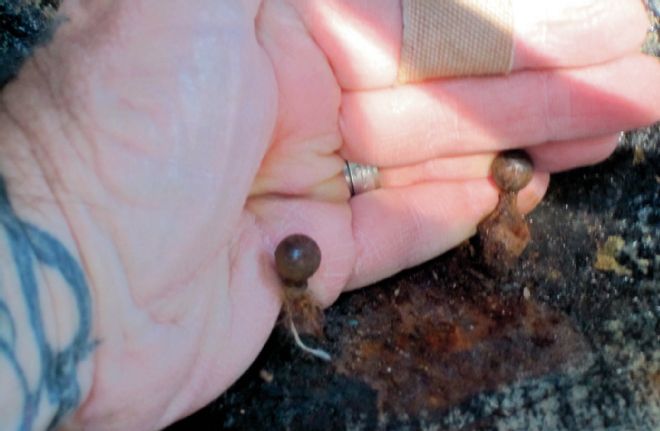
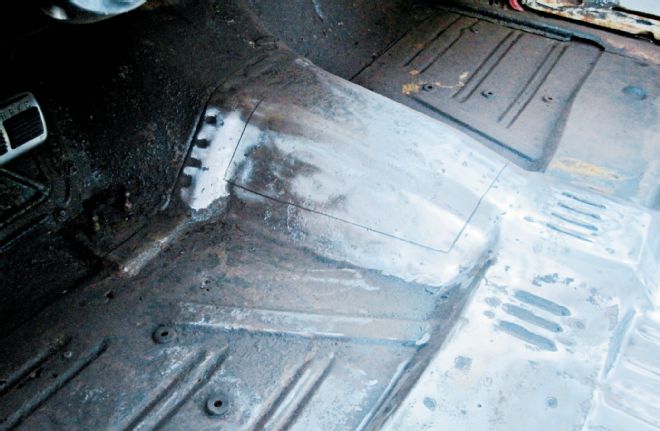
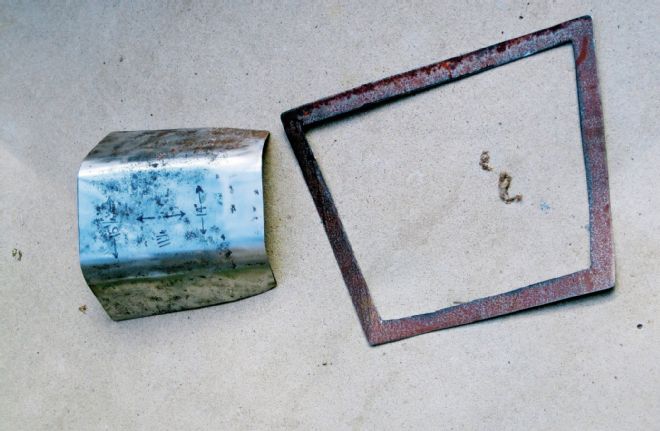
6. If you look closely you'll see one of the two floor patch panels I found in the rear seat footwells. Both were fit rather well and were riveted in place.
7. I soon discovered that both patch panels were nice and thick, about 18-gauge, but were made of galvanized steel, not the best option for welding, but at least more rust resistant than unprotected mild steel.
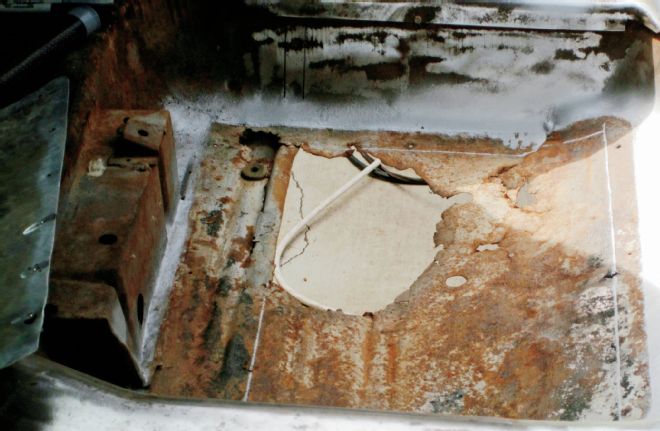
8. This is what I found after drilling out the rivets and removing the patches on both rear footwells. For some unknown reason the patches were installed without cutting out the existing rot holes—not ideal for a rust repair of any sort if you ask me. It looked like hell from under the car and did nothing to halt the advance of the rot either.
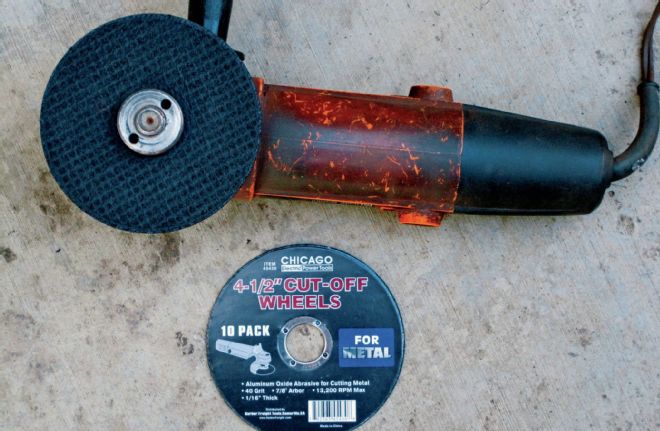
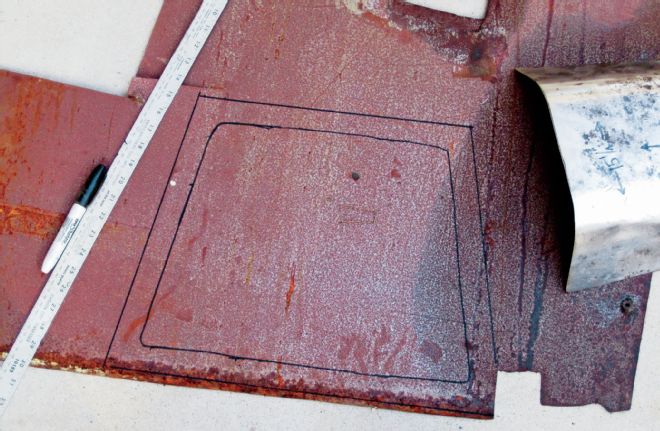
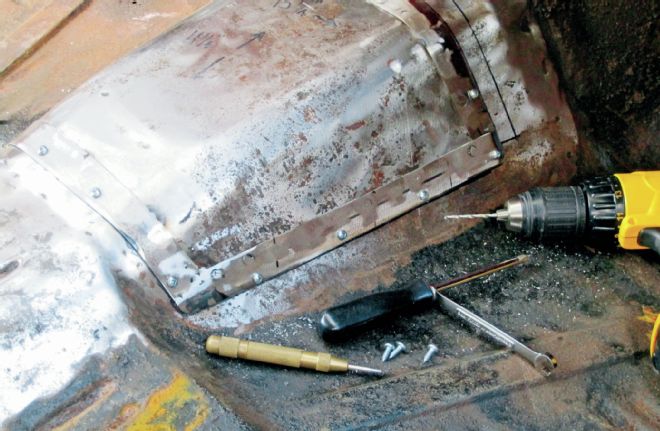
9. To rectify the problem, and to utilize the existing patch panels, I decided to clean up the repair and finish the job in a way in which anyone without access to a MIG welder would—by using rivets, but with a bit more effort than the previous gent had. I laid the panel back into place over the hole and marked the outline of the patch onto the floor. I then grabbed another of my Harbor Freight electric grinders, this one fitted with a 4-1/2-inch-diameter aluminum oxide cut-off disc, donned my eye protection, and got to work.
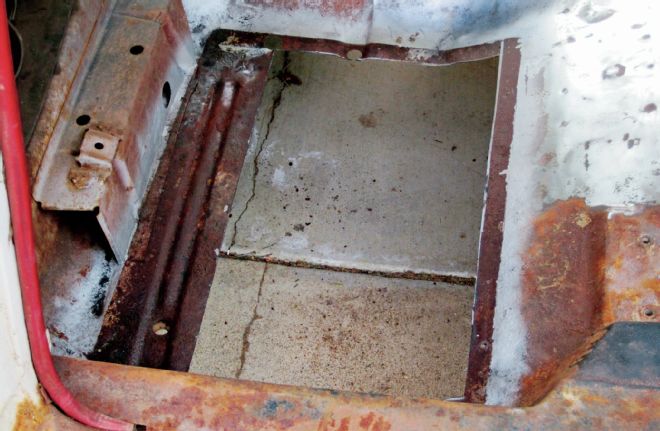
10. Within a couple of minutes I had both floorpans trimmed out to about an inch smaller than the actual patch panels—which will result in a repair that'll hopefully halt the advance of the rust and look much better from beneath the car as well.
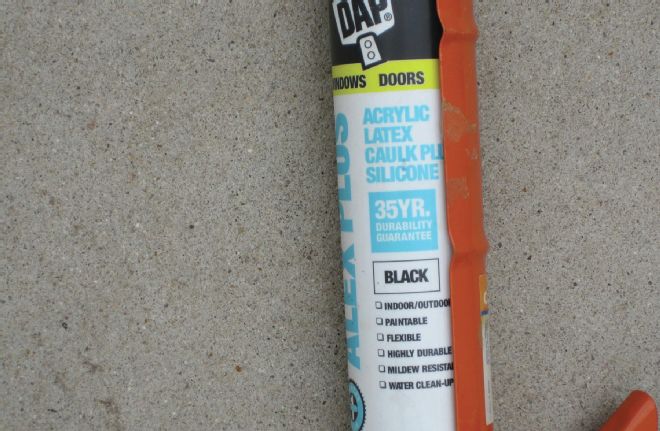
11. Before repositioning the repair panels I ran a bead of sealer, a latex and silicone mixture, around the perimeter of the opening. I then carefully placed the panel(s) in position and re-riveted them in place using the original holes drilled by the previous repairer along with a few extras I added for good measure.
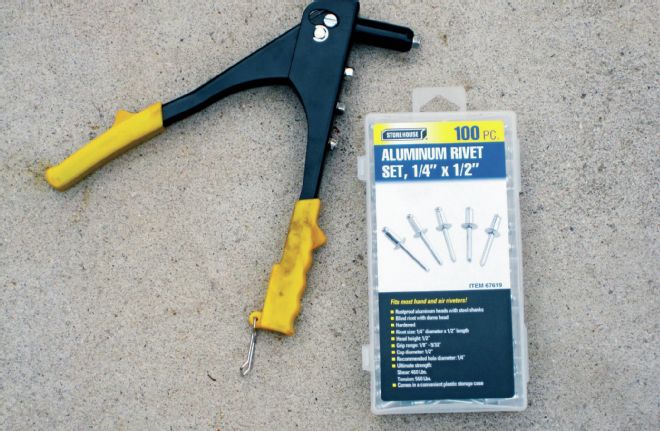
12. Oh, and for continuity's sake, the rivet gun and rivets were Harbor Freight purchases too.
13. With the major patching completed I moved forward and repeated the same methodology in repairing the small section of the driver's footwell that was thinned and perforated as well.
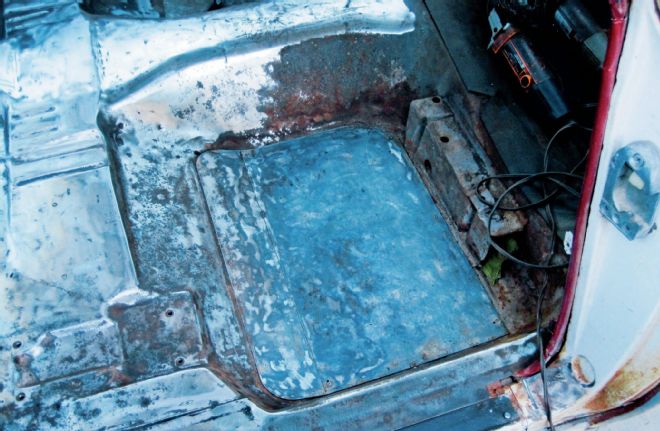
14. With the rot and rust repaired in an effective yet simple method anyone can accomplish I then set my sights on a modification to the trans tunnel that I needed to get done while I was at it. The Catalina's 389ci V-8 had been completely rebuilt just prior to my purchase of it but the old two-speed Jet Away automatic transmission took a dump shortly after I'd driven the car from Colorado to its new home in Southern California. So, to make a long story short, I swapped the old two-speed for a fresh new Phoenix Transmission TH400 and the column shift to a Lokar floor shifter as well (a saga I'll detail in an upcoming story in the near future).
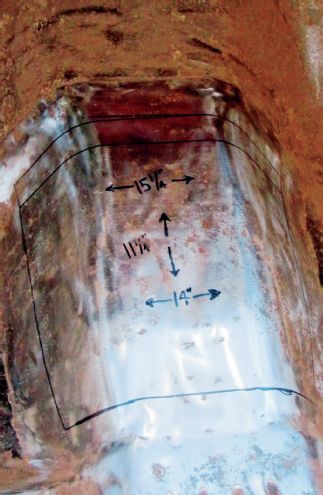
15. If you look closely you'll see the measurements and markings on the trans tunnel where I'll make my access opening for the upcoming shifter install.
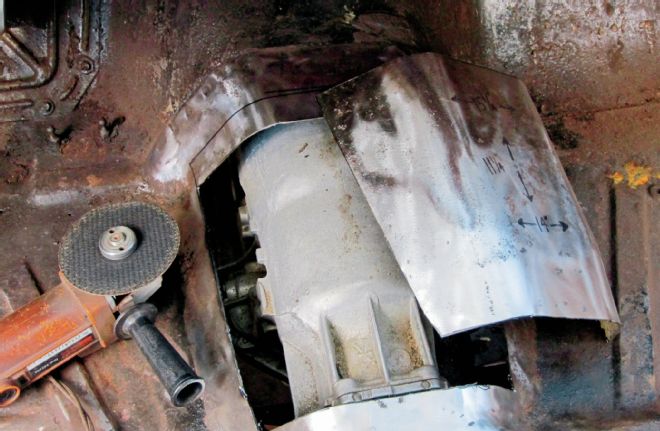
16. Again wielding my trusty cut-off disc equipped electric grinder I cut through the trans tunnel following the markings I'd made and removed a section of sheetmetal large enough to give me room for the future floor shifter installation.
17. Next, I dug through my scrap metal collection and found a piece of 18-gauge steel that was large enough to cut out a piece to form a lip that would be attached to the outside edge of the tunnel section I'd just cut out of the floor.
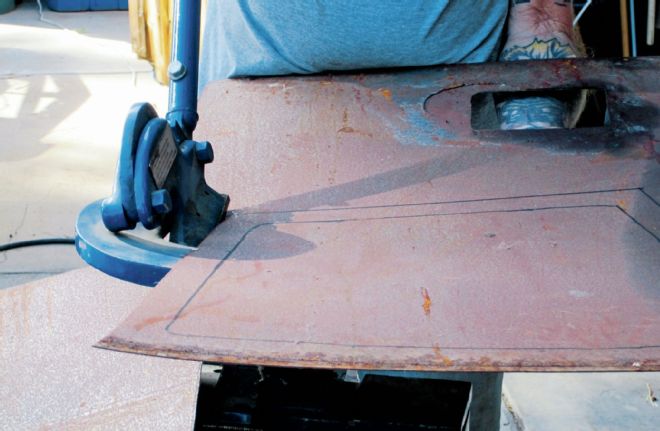
18. Using my Eastwood throatless shear (PN 11797) I proceeded to cut out a ring to be attached to the outside edge of the tunnel section I removed from the floor.
19. As soon as I had finished cutting out the sheetmetal mounting ring I found that I'd screwed up my measurements (not surprising to me) and had to cut it into four separate pieces, punch a row of 1/4-inch holes through the inner edge of each, and rosette-weld each section to the edge of the tunnel section to form a mounting surface around its perimeter so it could be put back in place after the shifter install.
20. After mentally reprimanding myself for screwing up my measurements I went ahead and set the piece into place and drilled mounting holes around the edge I'd added to the panel and through the floor so I could screw it in place and remove and replace it at will.
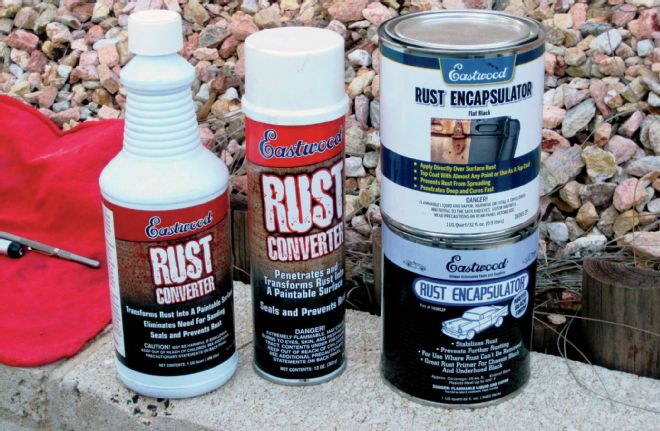
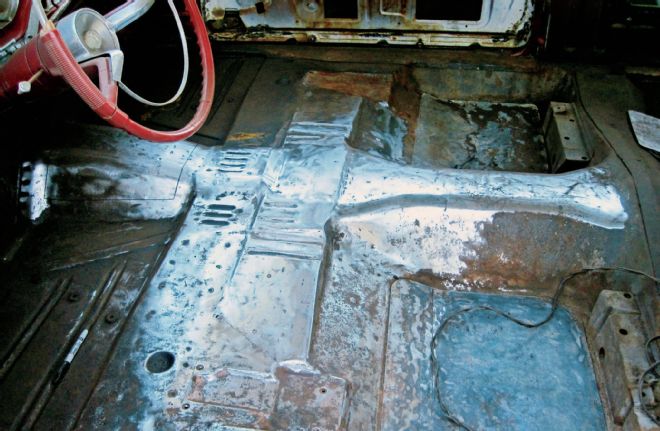
21. Next, I vacuumed out the car's interior floor and since I was all out of Eastwood PRE Painting Prep (PN 10041Z) I gave it a quick wipe down with a lacquer thinner wetted rag instead and allowed it dry. Even though I had thoroughly stripped the primary floor section of the Catalina there were still small sections where I couldn't remove 100 percent of the rust. With this in mind I hit my supply cabinet and grabbed a couple of Eastwood products that would help finish up the job and ensure the best possible conclusion to the interior portion (taking care of the exterior floor under the car will come later) of the repair process.
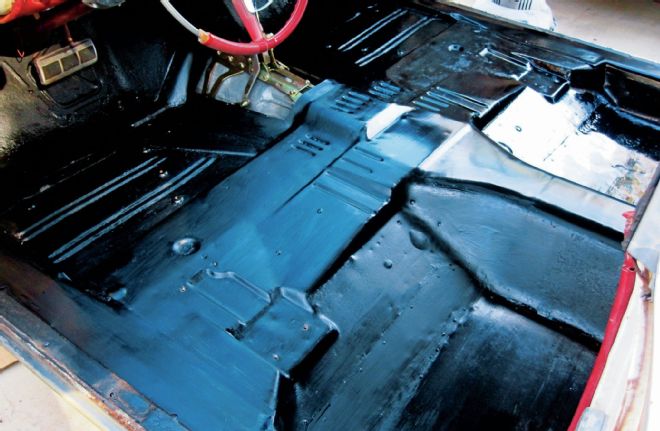
22. The finished floor seen here was accomplished by first treating the rust speckled steel with Eastwood's Rust Converter (PN 51676ZP) following up with a coating of matte black colored Eastwood Rust Encapsulator (PN 16065ZPL). Eastwood's Rust Converter halts residual rust by chemically converting it to a black colored protective polymeric coating that seals out moisture. For maximum corrosion resistance the Rust Converter was followed up (after a 48-hour cure time) with a coat of Rust Encapsulator, a matte black sealing-type coating that prevents further rusting and that can be topcoated with most types of topcoats, including enamel, urethane, lacquer, epoxy, and polyester body fillers. In this case the floor will be covered with sound/heat insulation and the form-fit carpet I'd removed originally so a topcoat will not be applied. Look for additional glimpses of the Catalina's home shop/driveway rodstoration in future Street Rodder stories.