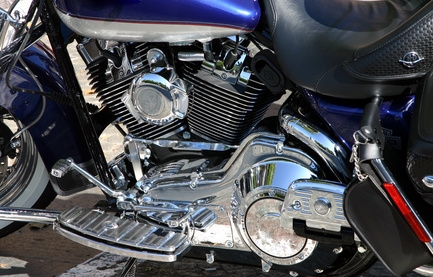
Aluminum motorcycle engines can become dirty, greasy and even rusty over the years. Applying new paint to a motorcycle engine can help restore the bike to its original look, increasing its value and the satisfaction you may receive whenever you go out for a ride. Although painting your aluminum engine will likely be a time-consuming process, you can accomplish it with some elbow grease, a few tools and aerosol cans of engine paint. For best results, take the engine off the bike frame to paint it.
Remove the gas tank from the bike using a wernch, then remove all the engine attachments you can safely remove at this time. Take the engine off of the bike frame. Remove the rest of the engine parts, then clean the engine and parts thoroughly with engine cleaner and a clean cloth. Put all these parts in a safe place.
Mask off any open ports or bolt holes with masking tape, and bead blast the engine to remove all rust and old finish. Remove any residue not taken off in the bead blasting process using sandpaper. Wipe the engine free from dust and debris. Place all the parts you plan to paint onto the drop cloth, situated so you can access them easily when painting.
Shake an aerosol can of high-temperature aluminum engine paint according to instructions. Spray the engine evenly with the paint in a smooth and steady motion, holding the can between 8 and 12 inches from the surface. Only use enough material to cover the area without coating it too heavily. Allow the finish to cure completely before touching the engine parts.
Remove the masking tape and reassemble the cleaned parts to the engine in the same manner you removed them, taking care not to scratch the new finish in the process. Place the engine back on the frame, and secure it into place with the mounting bolts.
Attach all engine parts you have removed, including the gas tank, back into their original positions. Take care not to scratch the new finish.