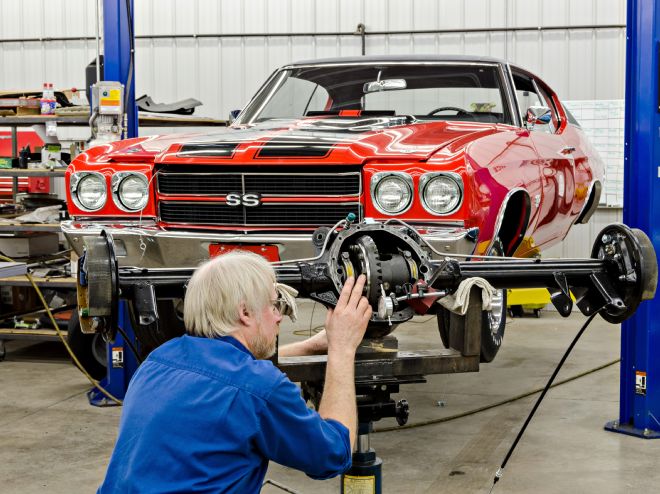
Having a 500-plus-horse big-block under the hood of our Basket Case 1970 Chevelle project is exciting, but we're going to need a reliable way to convert that rotational power into linear motion. So this installment of the buildup shows you how the car's 12-bolt rearend was set up.
Like the rest of our Chevelle, the rearend came to Muscle Car Restorations completely stripped down. It would have been nice to have had a complete rearend to put back into the car, but this does give us an excuse to make everything new and select the rearend ratio we want.
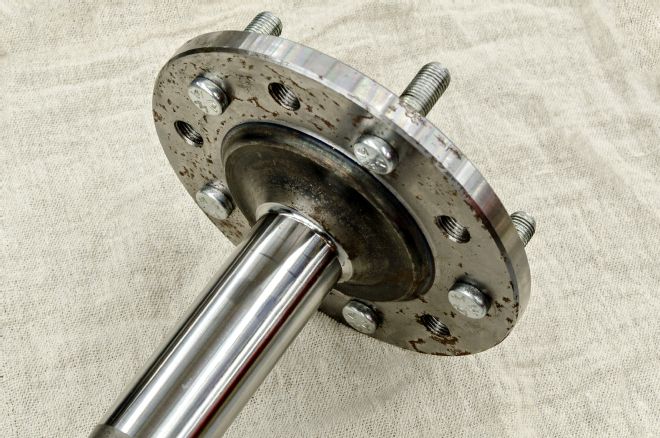
The 12-bolt housing was cleaned and powdercoated with the frame so it was ready for reassembly. The rest of the parts were in a box, and the axles had been left out long enough to get rusty. It's a given that all the bearings, races, and seals will be replaced with new parts, but how do you decide about the carrier and the axles? Truthfully, the carrier could have been reused after a good cleanup and a fresh clutch pack. The axles looked OK, but there is really no sure way to know what kind of abuse may have been in their past.
Given the power levels from the big-block and the use of a manual transmission, the decision was made to upgrade to an Auburn Pro series Posi and a pair of Street Axles from Moser Engineering. This way if a pair of really sticky tires ever ends up on the back of this Chevelle, the rearend will not be the weak link.
This gives us an excuse to make everything new
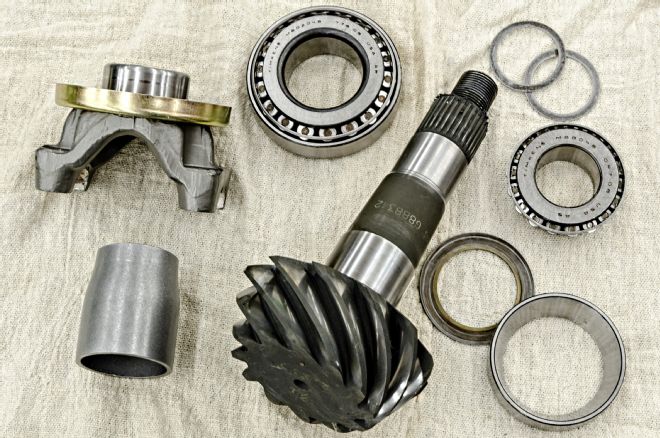
1 The Moser Engineering kit comes with everything necessary for the rebuild, including new bearings, races, shims, seals, and, in this case, a spacer instead of a crush sleeve.

2 Ring-and-pinion sets are just that: prerun sets with the determined pinion depth scribed on the face of the pinion gear.
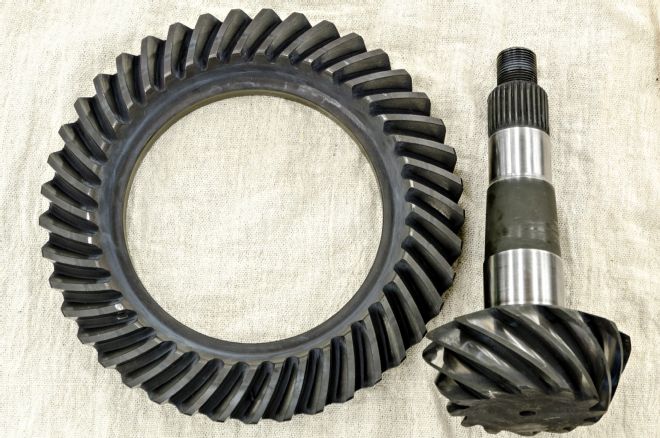
3 Use the existing shim from the old pinion under the new one to start with if you have it. Otherwise, a 0.030 shim is the factory starting point. With 12 and 41 teeth on the pinion and ring, respectively, this set produces a 3.42 ratio.
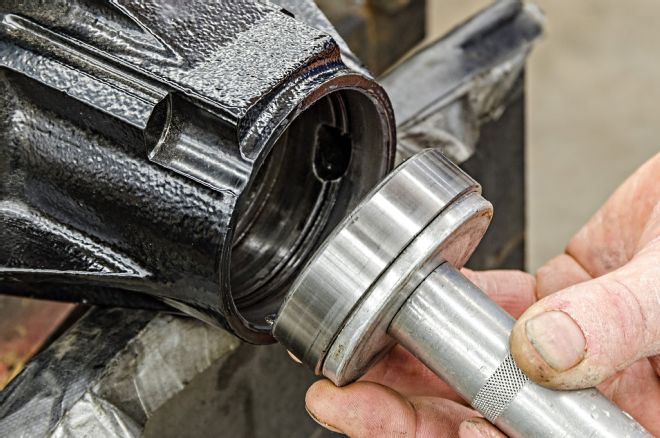
4 The first step is to install both the inner and outer pinion-shaft races. Buy, borrow, or rent an installation tool to avoid damaging the race.

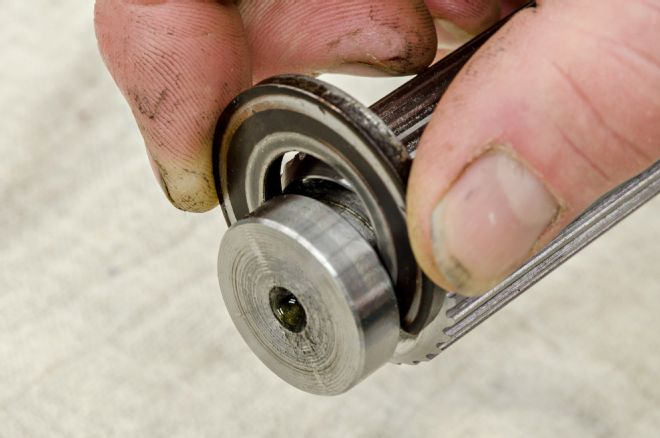
5 You'll need a press to install the larger pinion bearing onto the pinion. Do not forget to put the pinion shim between the bearing and the gear.
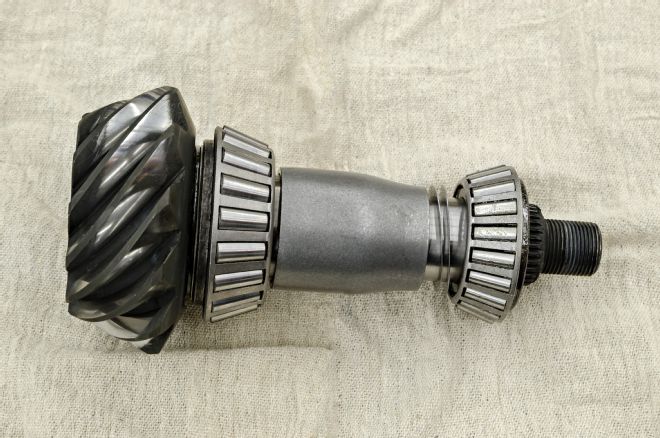
6 Here is how the pinion shaft is assembled. Note the use of a spacer instead of a crush sleeve. Spacers are more accurate and can't be overtightened as a sleeve can. Also notice the shims between the spacer and the smaller bearing. These determine the final bearing preload.
7 With the pinion bolted in place without the spacer, measure the pinion depth from the gasket surface (actually the ring gear centerline) to the face of the gear. You are looking for the measurement scribed on the gear plus or minus 0.002. Use an old pinion nut for this measurement. New nuts should only be used once.
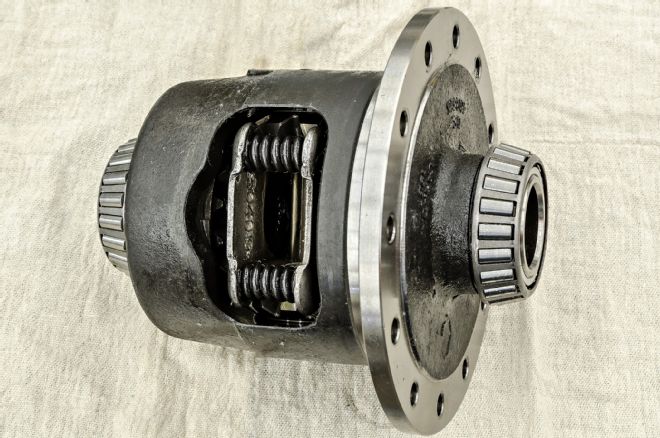
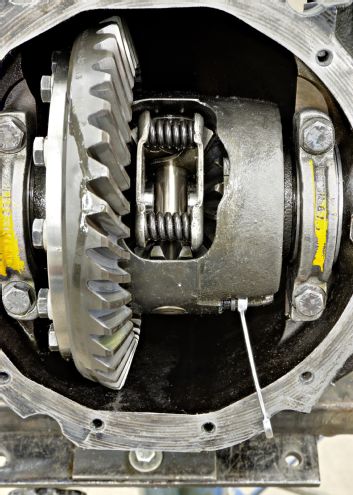
8 This Auburn Pro Series Posi unit comes assembled and ready to install except for the bearings, which will also have to be pressed in place. It is not only tougher than OE units, it will deliver more torque and faster engagement than stock.
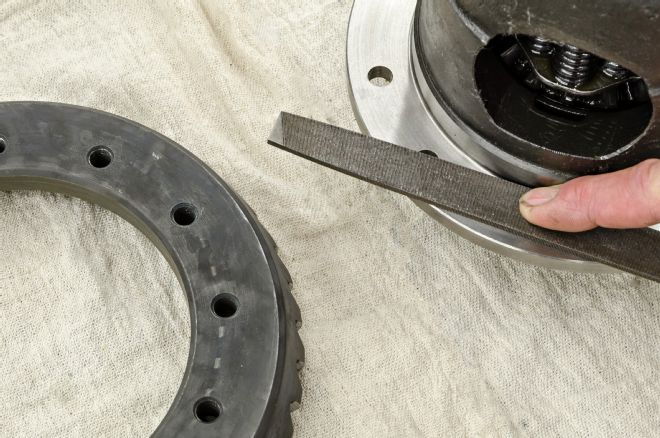
9 Before Muscle Car Restorations bolts the ring gear to the carrier, the techs insist on running a file over the mating surfaces to be sure that there are no nicks or burrs that could keep the gear from running perfectly flat.
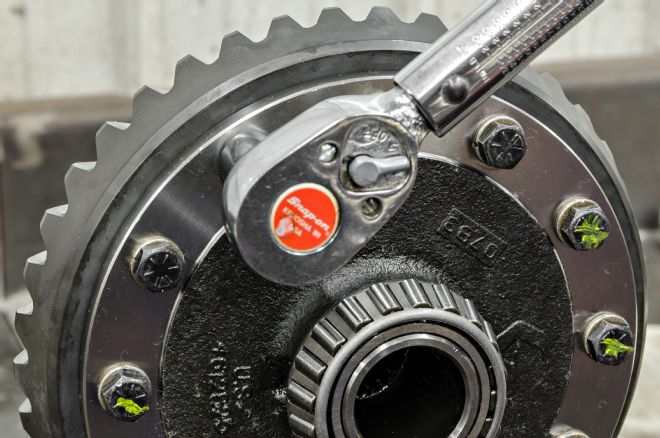
10 Ring gear bolts are torqued to 45-50 lb-ft. Mark each bolt with yellow as you torque them to be sure you don't miss one, and only use new bolts.
The axles had been left out long enough to get rusty
11 It's perfectly fine to use the old bearing caps. Just be sure that they are numbered and that they go back to their original places. Torque the cap bolts to 60-65 lb-ft.
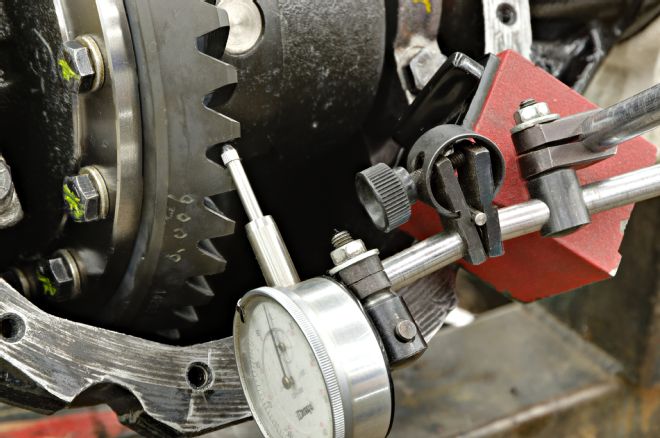
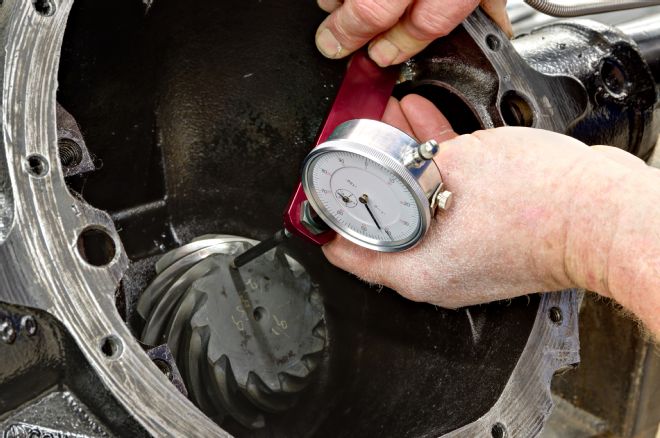
12 Measure the ring gear backlash every 90 degrees. You're looking for 0.008-0.012 for street gears, with new sets on the tighter side of this range. Changing the shims on either end of the carrier bearings can move the carrier to the right for less backlash, or left for more.
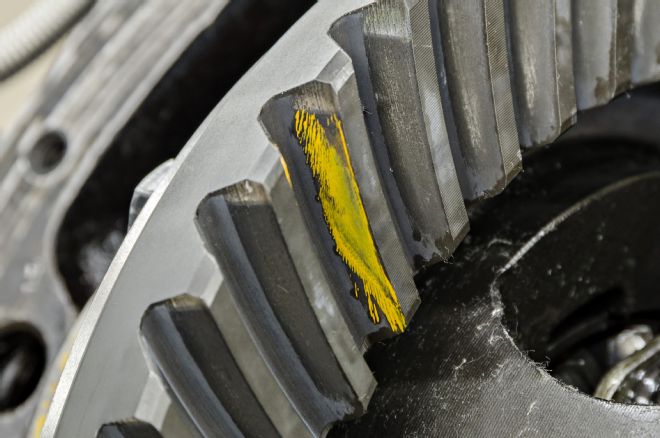
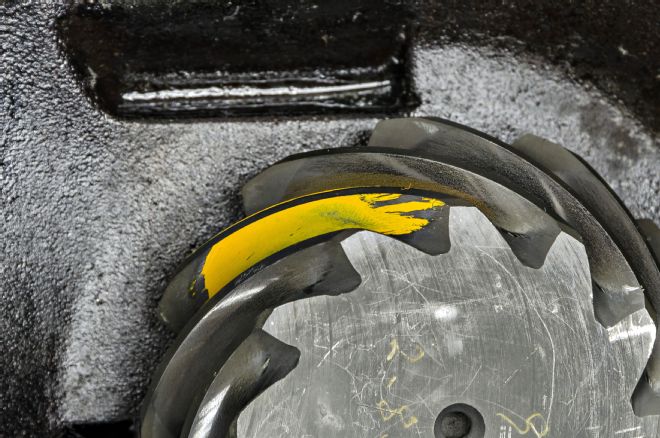
13 A good smear of a gear-marking compound will show the contact area between the pinion and ring gears. Be sure to check both the drive and coasting sides of each gear. Moving the carrier left or right adjusts the depth of the contact between the gears, while adjusting the pinion depth moves the contact area between the heel and toe of the gear.
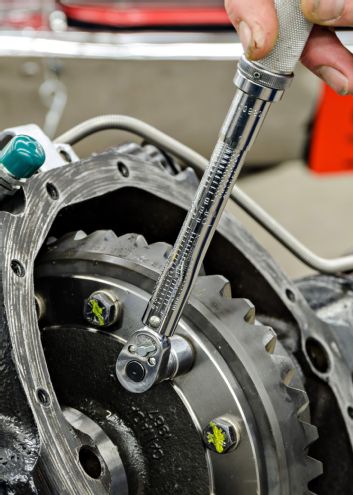
14 Pinion preload should measure about 25 lb-in at one of the ring gear bolts. If it's too tight, you'll need more shims between the pinion bearing and the spacer. If too loose, you'll need fewer. Check the preload without the pinion seal in place.
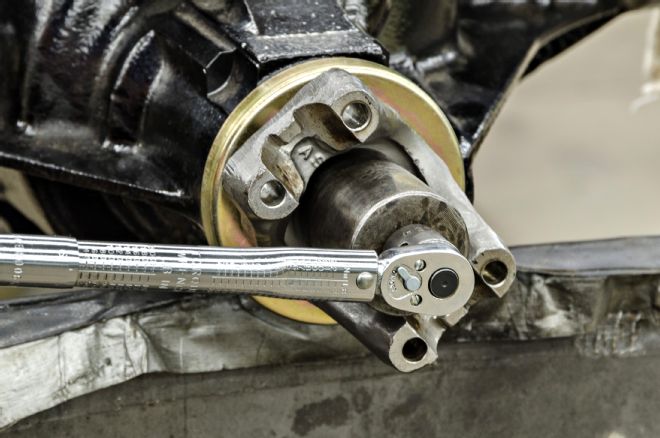
15 Don't forget the pinion seal before you bolt on the driveshaft yoke. Tighten the nut to 200-225 lb-ft. You can't really overtighten with a spacer, but you can with a crush sleeve.
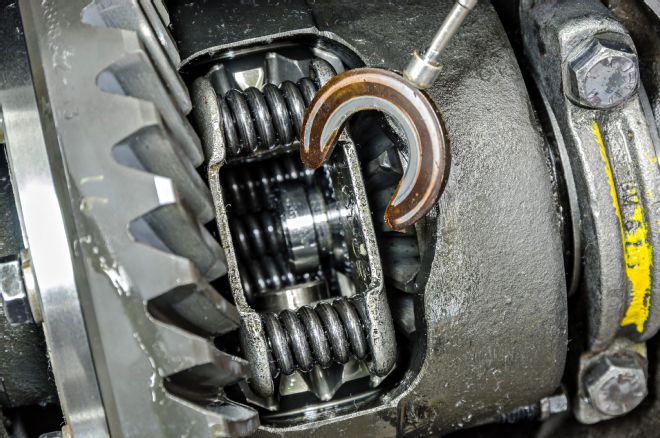
16 GM 12-bolt rears use a C-clip over the end of the axle to retain it in the housing.
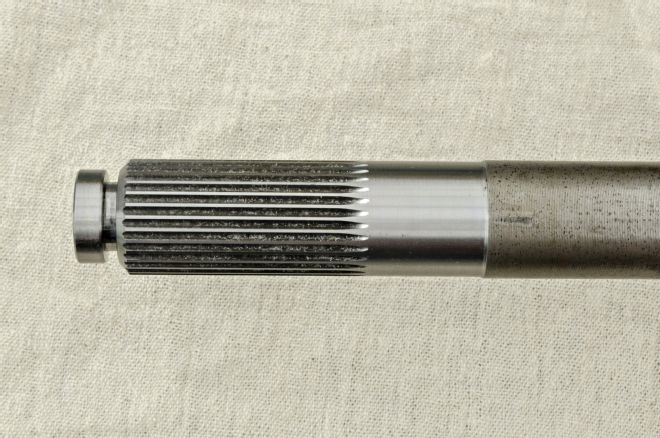
17 Moser's Street Axles are about 25 percent stronger than the factory parts and will easily handle whatever the big-block on the other end can generate.
18 Once the C-clips are positioned on the end of the axles, the axles are pulled slightly outward, which sets the C-clips into the side gears. This locks the C-clips onto the axles. A shaft is then inserted between the axles to prevent them from moving inward. Thus the axles are locked into the carrier. All that remains is to bolt on the cover and fill it with gear oil.
The rearend will not be the weak link
Moser Muscle Pak
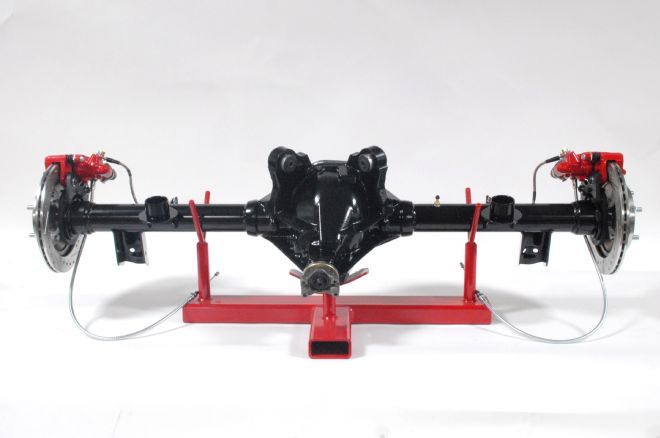
If you're interested in a complete rearend swap that will handle much more power—and requires just a weekend to do with common shop knowledge—then check out the full line of Moser Muscle Pak rear assemblies. Moser offers complete rearend packages for those who want an easy-to-swap rearend assembly without having to worry about ordering from different companies and hoping it all bolts together and works. These brand-new housings come with your choice of carrier, gear ratio, and axle-spline count and can be set up with anything from a new factory style drum brake to an aftermarket multipiston-caliper setup. They come with the brake cables and brake lines installed, and the whole assembly is on a skid so that you literally just have to unbolt the old rear and slide the new one in place and bolt it back in. All you do after that is fill with fluid, attach the lines, and bleed the brakes, and you're good to go.