
We've been busy on the project 1955 Chevy wagon with some sheetmetal replacement and rust repair. Now, we don't have a high-end shop, or indeed any professional shop, doing this for us, but we do have a relatively well-equipped shop of our own and a little knowledge (though that's a dangerous thing, right?). This project is a budget build, meaning we're doing the work ourselves, and even fabricating panels, or using sections from donor cars, in the process. Yes, the same way most of you would do it! So, enough talk, let's roll our sleeves up and get to replacing lower doorskins.
Once we made the decision to replace the bottom few inches of every exterior panel on our '55 Chevy wagon, in an effort to eliminate any rust appearing in the future, we reluctantly opened our wallet to invest in a large pile of fresh sheetmetal. While very pleased with the quality of the floorpans, rockers, and the rear panel we have yet to install, the same couldn't be said for the lower doorskin repair panels (no we didn't buy these from Danchuk, incidentally).
OK, so we probably should have fitted complete 'skins, but didn't for two reasons–they weren't needed and I didn't want to pay the price! While the repair panels were curved, and had the lower edge folded over, the front and rear edges had merely been run through a step roll, which didn't match the shape of the door shell! If this was a beginner's first attempt at skinning a door, I doubt they'd continue with bodywork!
However, we persevered, installed them, then added a short section of TIG rod to the rear edge of the door and filed it to achieve an even door gap. It's only metal, add or subtract what's needed and grind or file to suit! At least with the doors repaired we're approaching the end of an intensive marathon weld-fest, and can look forward to primer and paint after we install the rear pan, tailgate skin, and half a rear quarter-panel! Onward …
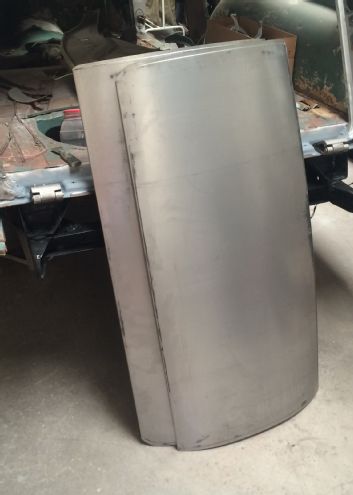
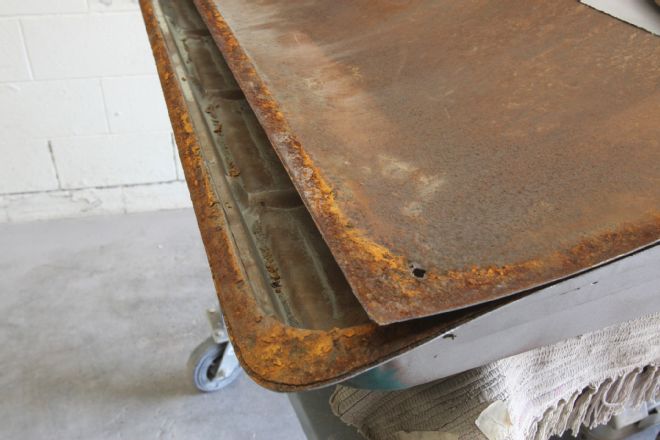
The lower doorskin repair panels we started with. While the lower lip is bent at 90 degrees, the lips at the front and rear of the door were merely stepped and the rears weren't the correct curve. We flattened the steps at the rear using a hammer and dolly, which allowed us to align the fronts.

As you can see, we trimmed the panels down to almost half their height, not only because the rust and dents didn't go higher up the door than this, but also to retain as much of the original door edge at the correct curve as possible! With the skins clamped over the existing door, we marked a line along the top edge.
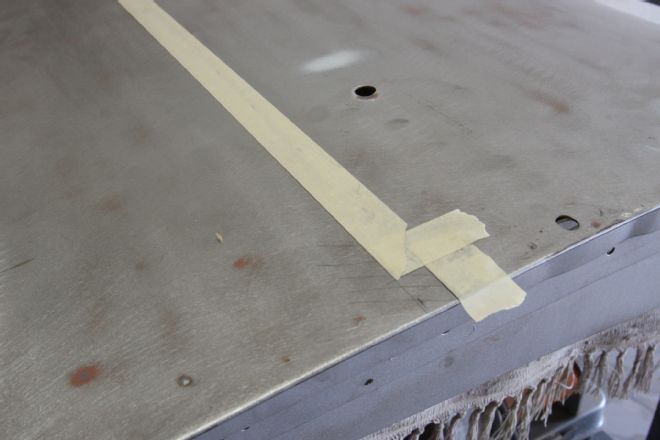
At the edge of the door we'll butt weld the join, but across the skin, to give us a fighting chance of it staying straight across the middle of such a large panel, we'll form a step and overlap the panels. With a 1/2 inch required for the step, we laid out our cut lines using tape.
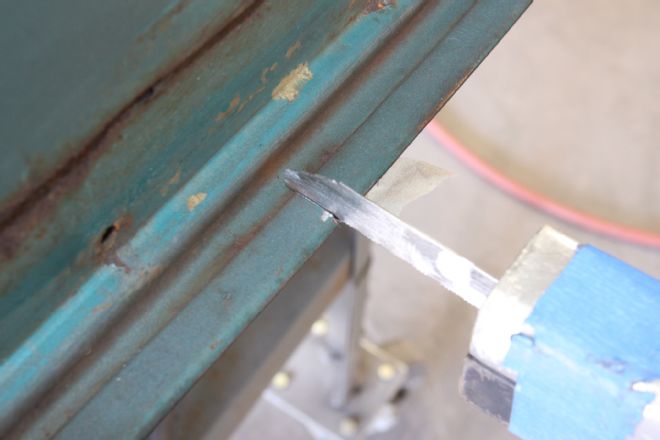
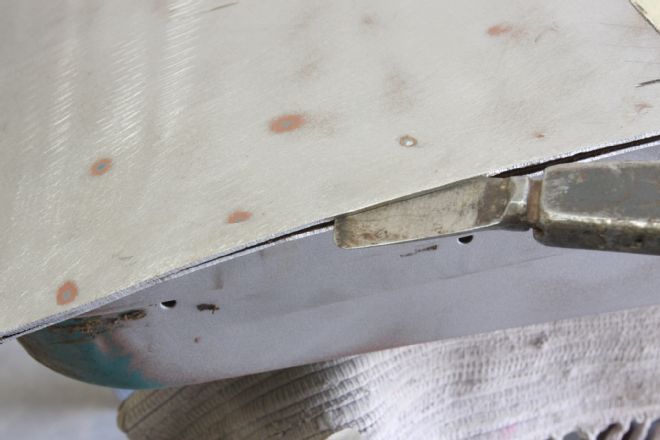
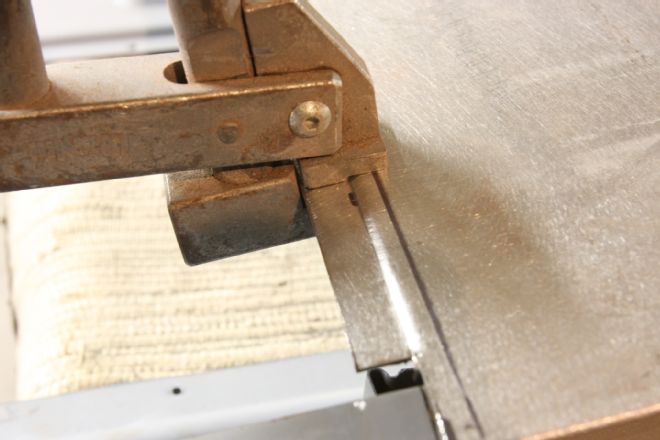
So as not to cut into the door shell, we used an air hacksaw to carefully cut through the folded-over doorskin lip.
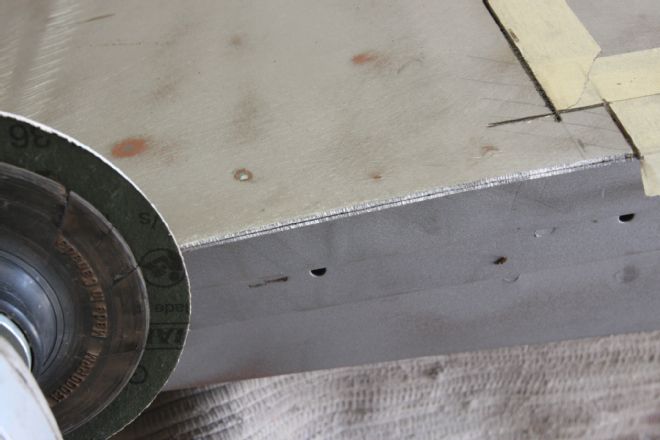
With a cut-off wheel used across the skin, we switched to a softpad on an angle grinder to grind through the edge of the doorskin. When you see a line appear, don't grind any more. You're aiming to split the skin from the folded over lip without grinding the edge of the door shell.
A scraper was used to split the outer skin as they usually offer a little resistance.
Here's exactly why we elected to replace the lower skins, and why we're glad we did! Despite only having one very small rust hole in the lower front corner of the driver door, this is what was trapped between the 'skin and door shell, just waiting to pop out and ruin our new paintjob.
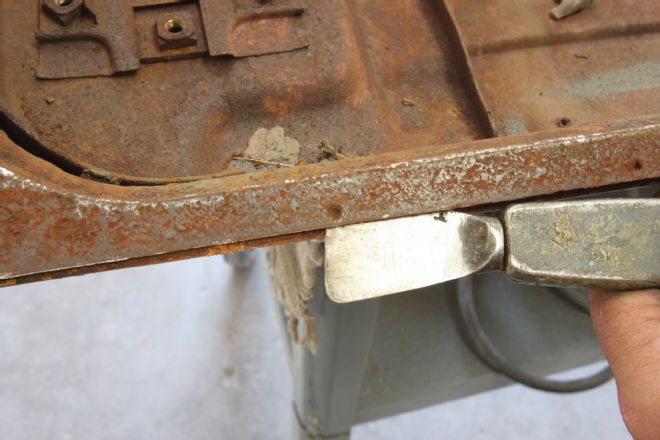
The remainder of the lip was removed, again using a scraper, though we also came across a few spot welds, some of which were broken free, and some of which required grinding.
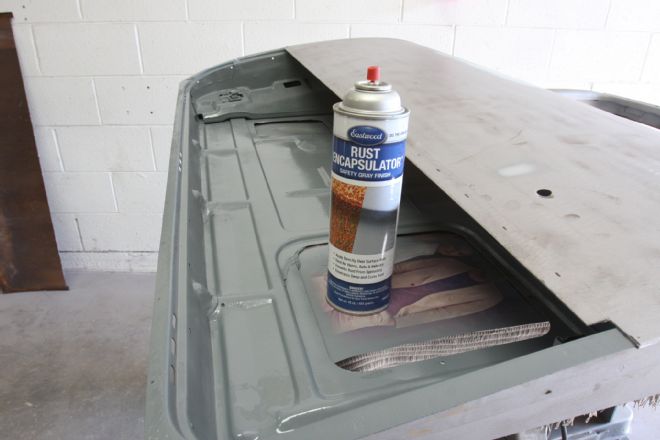
As with the rest of the repairs, we cleaned the inner structure and applied Rust Encapsulator.
We've had this hand-operated step-flange tool for decades–and it shows—but Eastwood make a similar version. It's how we formed the step across the original doorskin as well as the lower quarter when fitting the rocker panel. Bear in mind if your cut line isn't straight, your step won't be either!
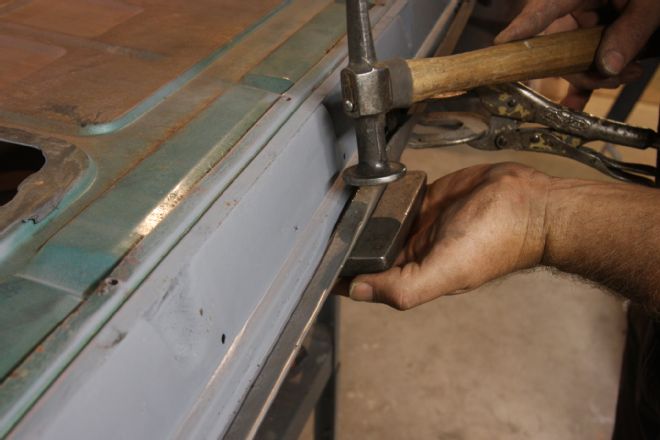
With the lower edge of the new panel butted up against the door shell, clamped in place, and the new and old tack welded together at the front and rear door edges, we started folding the lower lip over using a hammer and dolly.
Oops, we got a bit carried away and forgot to take pictures of the front and rear edges being folded over, or of the TIG rod being added to the lower rear edge to align the door gap, but a trial fit shows the gaps are fine, so we can weld the skin on.
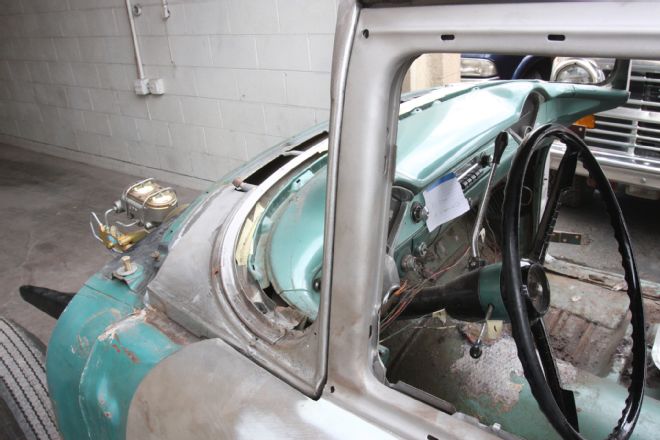
A quick check before we pulled the door revealed the windshield post and cowl gaps were also perfect.
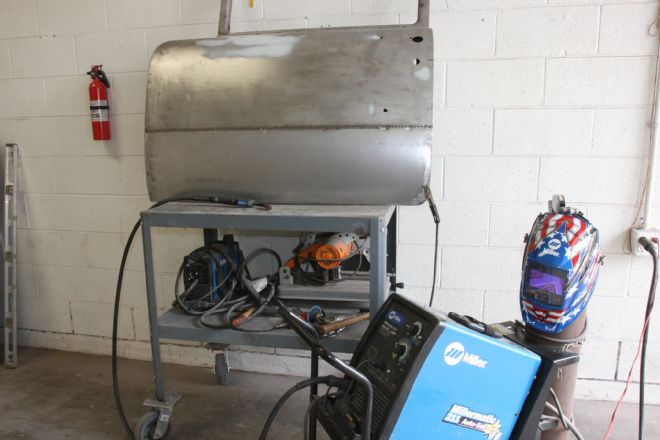
With the door on a bench we broke out the trusty Millermatic 211 MIG welder again and tack welded along the join, taking care to take our time to keep distortion to a minimum.
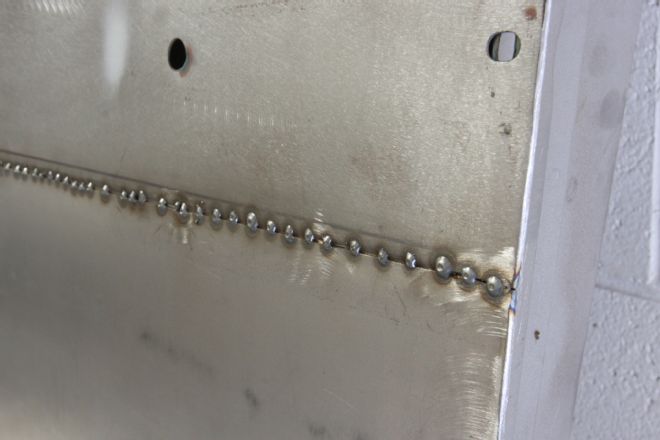
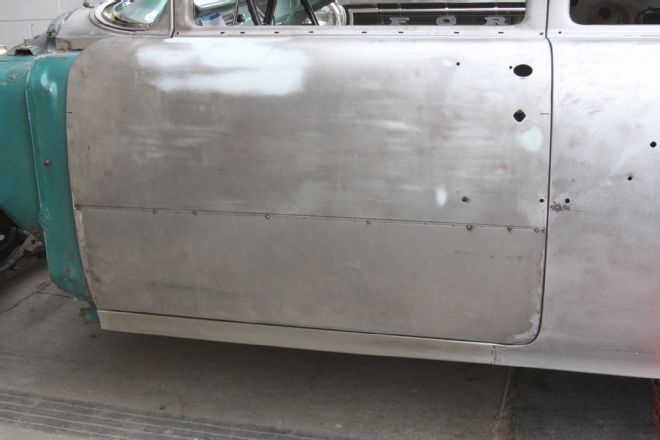
A close-up of the tack welds. While the join was stepped and the very ends butt welded, with the new panel in place, it's a straight join.

Again, working slowly and skipping around the join, allowing the metal to cool after each few welds, we completed the seam weld across the door.
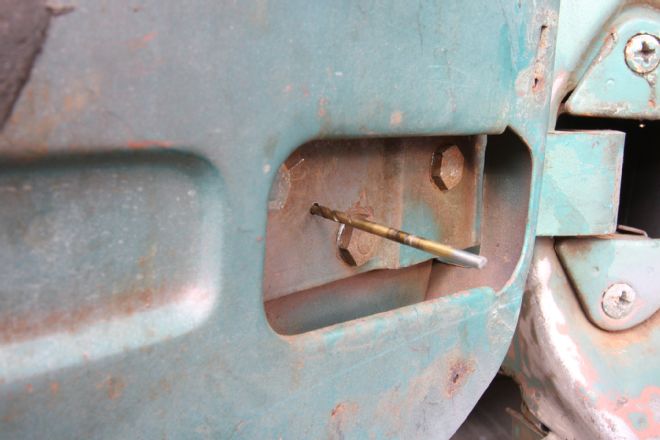
Time to put the door back on for another trial fit. Here's a trick we learned years ago—once we had the door fitting where we wanted it last time, we drilled 1/8-inch holes through the hinges into the door. Re-installing the door subsequent times, alignment is as easy as leaving the bolts loose, putting dowels, or a drill in the holes, and tightening the bolts.
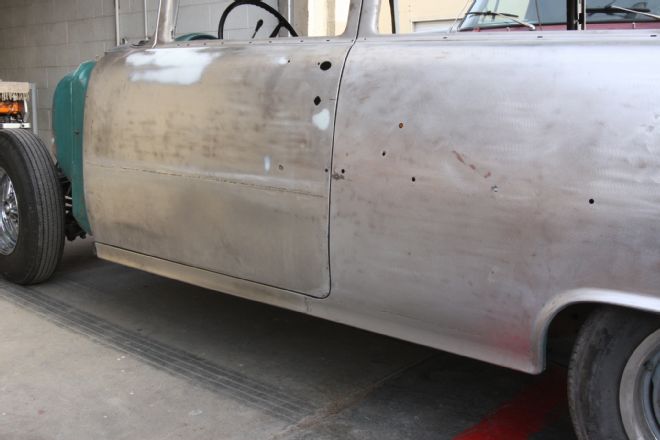
The door fits, and this side of the car is complete.