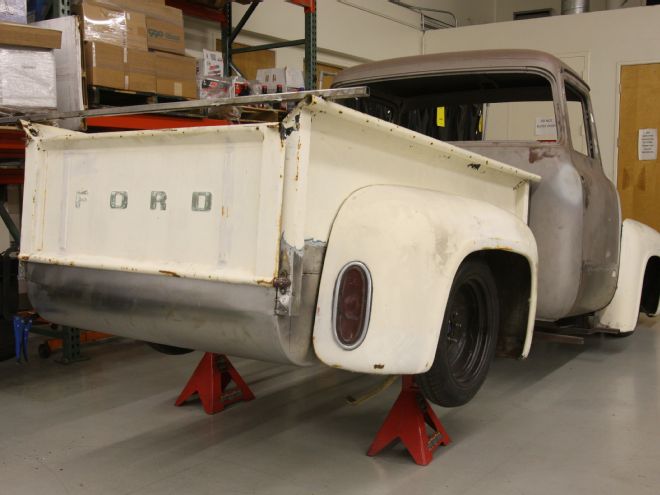
Pickup trucks, especially those not running a rear bumper, can look a little "unfinished" unless something is done about the space under the tailgate. An easy solution to this is to install a roll pan, which can also provide a place to hang the license plate, or even to mount rear lights.
Our project '56 F-100 definitely needed something to finish off the rear end, and Dennis Carpenter Ford Restoration Parts' rear roll pan offered an ideal solution. Simple to fit if you're proficient with a welder, once the lower side panels are removed from the bedsides, it is easily welded, or even bolted in place. With a frenched section for a license plate, it takes less than a day to install and transforms the look of the rear of the bed.
However, once we had ours clamped in place and ready to weld, the truck's owner decided it looked a little to "boxy" for his liking, and decided it should really have much more of a pronounced curve. So, while there's absolutely nothing wrong with the Dennis Carpenter product, we removed it and set to fabricating a pan from scratch.

Using 16-gauge steel sheet, cut to a length of 48½-inches (the absolute maximum that would fit in Circle City Hot Rods' "4-foot" slip roll, but just 1-inch short of the overall width needed) we rolled it to match the diameter of an aftermarket air cleaner that happened to be in the shop, and looked to have the right amount of curve when held up to the bedside. Technical huh? We used a brake to form a ½-inch lip on one end of the "roll" and left the other end deliberately long, until we clamped it to the rear crossmember of the bed and marked it for trimming.
We then made a couple of plywood formers with an outside curve to match the pan, and used these to hammer form the 90-degree radiused edges, starting the process by using CCHR's bead roller to radius the edge by 45 degrees. Trimming the radiused edges to ½-inch on each end panel meant the overall width of the completed pan was 49½ inches, and the panels could be butt welded to the rolled section.
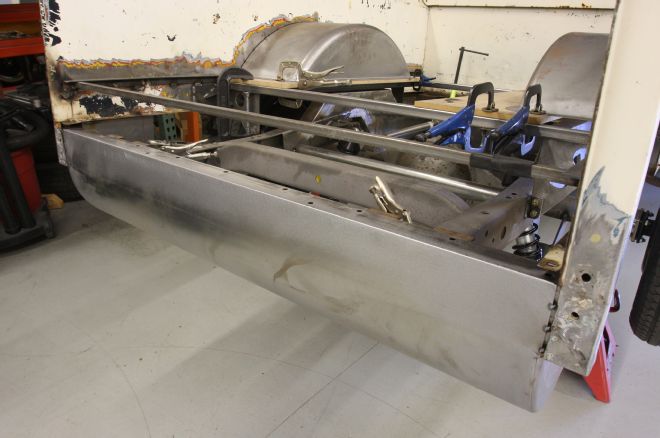
We finished off the job by fabricating a closing panel for the rear of the bed floor, as now it's been raised by 4 inches, once the tailgate is opened, we didn't want the gap to be visible. You'll note we still have to tackle the lower sections of the stake pockets, which remain tack welded. This is because we'll be recessing our rear lights into the pockets and modifying the bottom sections, as well as eliminating the "through-pocket" hinge bolts by welding captive threaded plates inside the pockets. But more on that another time. For now, here's two ways to tidy up the area under the tailgate. CT
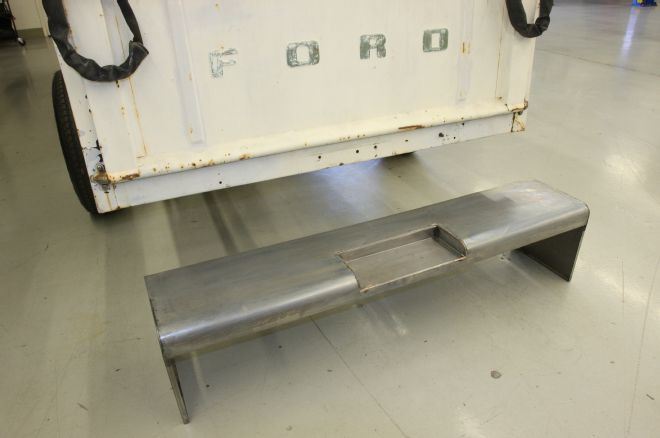
01 Here's the Dennis Carpenter roll pan, as supplied. It fits really nicely, has a recess for a license plate and is easy to install.
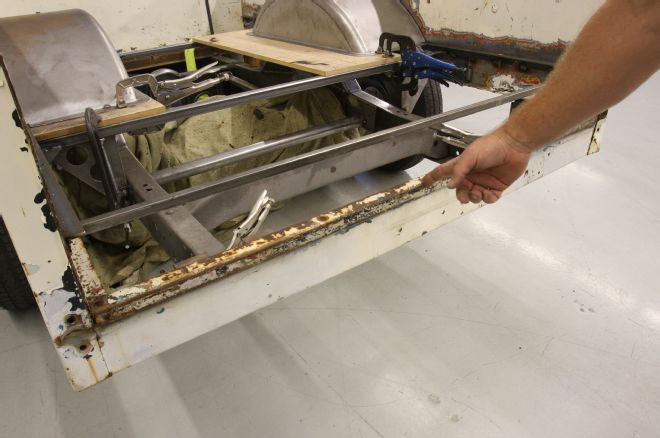
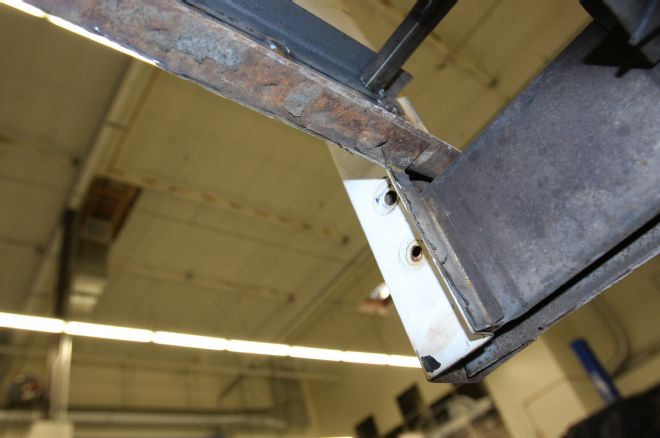
02 This section of angle steel bolts through the bed wood and is removable to enable the wood to be installed. We won't be needing this so it was removed permanently.
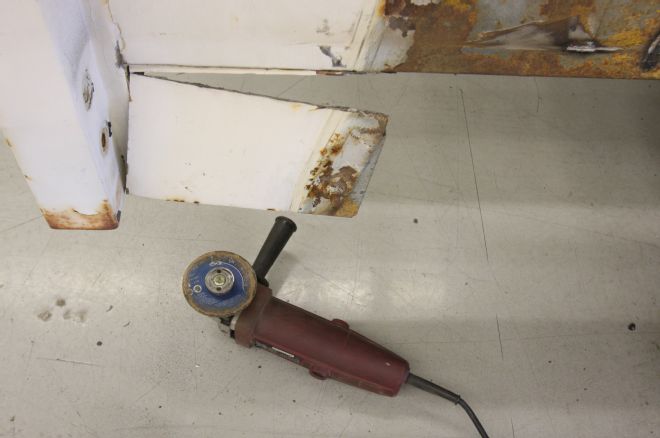
03 We already had the fenders removed, though this installation could be done with them in place. Just removed the lower rear fender bolt. This small lower side panel has to be removed. We find it easier to remove the majority of the panel, then remove the welded flanges.
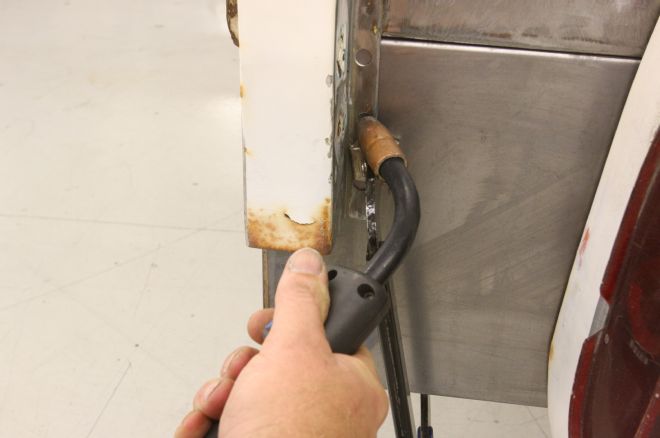
04 Looking up from inside, the welds on the flanges can be identified by using a stripper wheel to clean off the underseal and dirt, then drilled out.
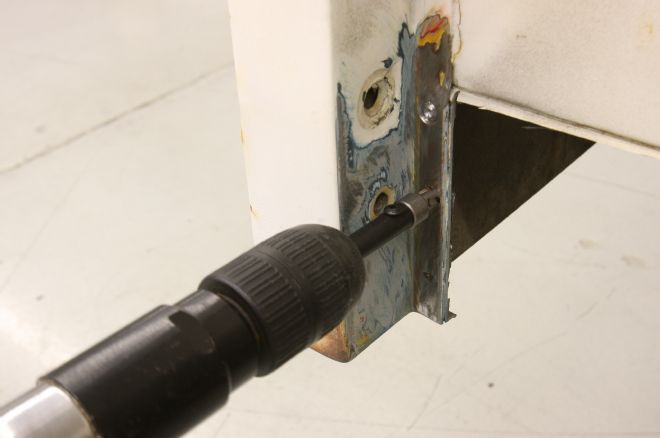
05 The spot welds on the lower stake pocket flanges were drilled out using Eastwood's Spot Weld Cutter, and the old flanges removed.
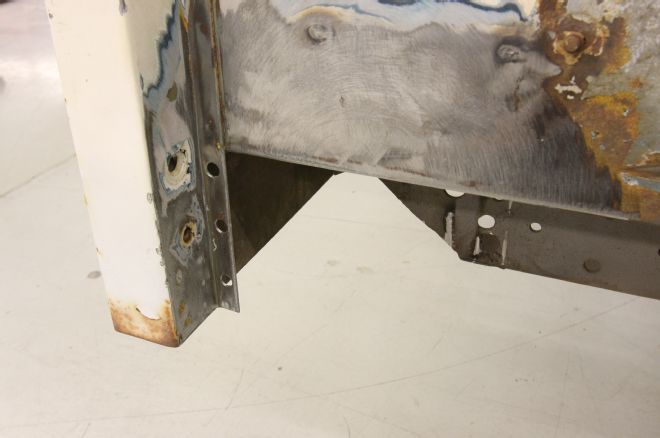
06 With the flanges removed, the weld surfaces were cleaned and prepped for the new metal to be welded in place.
07 The new roll pan is clamped to the old crossmember, which we also cleaned of paint and prepped, and the flanges on the side sections clamped to the bedside flanges.
08 All that remains is to weld the panel in place. The holes left from drilling out the spot welds can be used for plug welds.
09 Standing back and taking a good look at the roll pan prior to welding, the truck's owner felt it that while there was nothing wrong with this pan, he'd prefer it to have a more pronounced curve, so this pan was removed and we built one from scratch. He also wanted the exhausts to exit in the center of the pan, and the license plate recess was in the way.
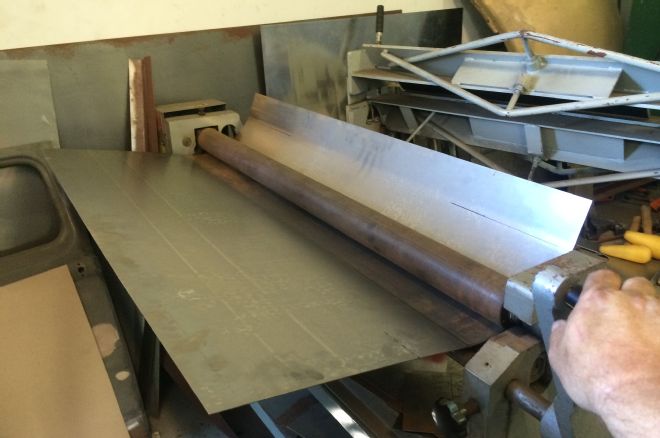
10 Using 16-gauge steel sheet, we used Circle City Hot Rods' slip roll to form a curve to match a predetermined radius. We also folded a ½-inch lip on the lower edge to ensure it remained straight.

11 Prior to installation, we removed this section of the rear crossmember, to facilitate the exhaust installation at a later date.

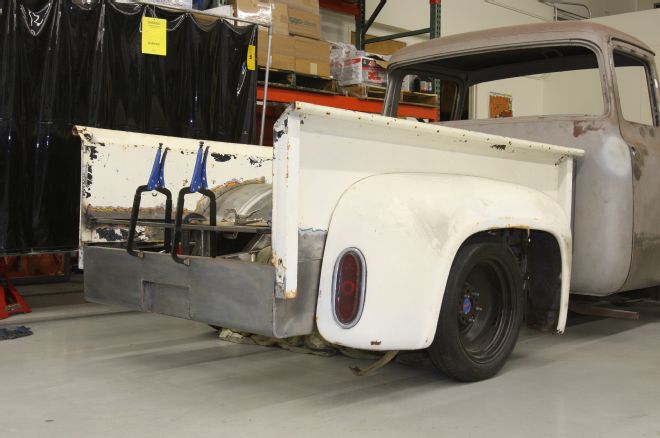
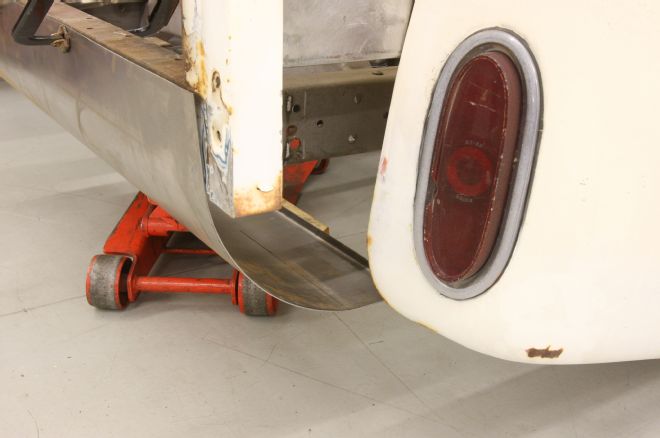
12 Clamped in place, marked, and trimmed to fit along the upper edge of the crossmember, we again clamped it in place, and used a floorjack to hold the lower edge in its desired location, to check its fit and appearance.
13 Happy with the curvature, we moved on to fabricating the panels for each end.
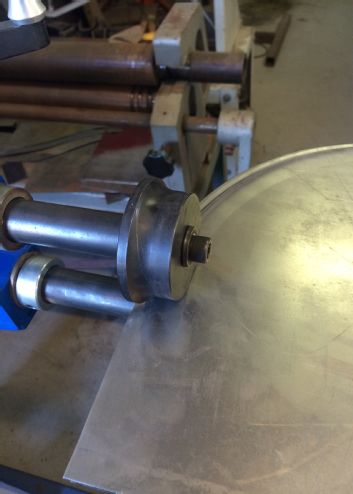
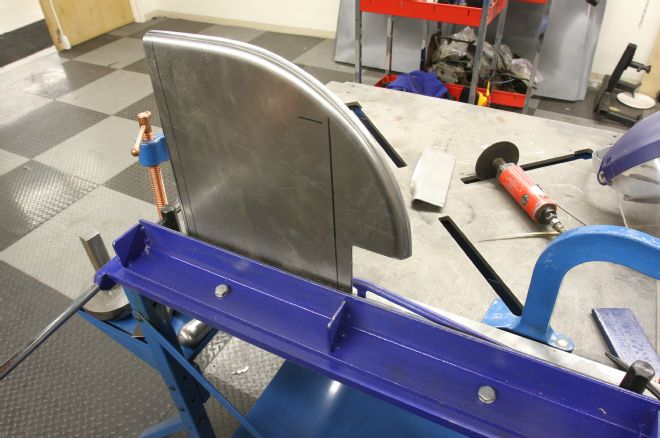
14 Again at CCHR, we used an electric bead roller with this former installed, to form a 45-degree radius on the edge of the panels. While a great starting point, this also then bent the steel back in the same plane as the panel, once radiused.
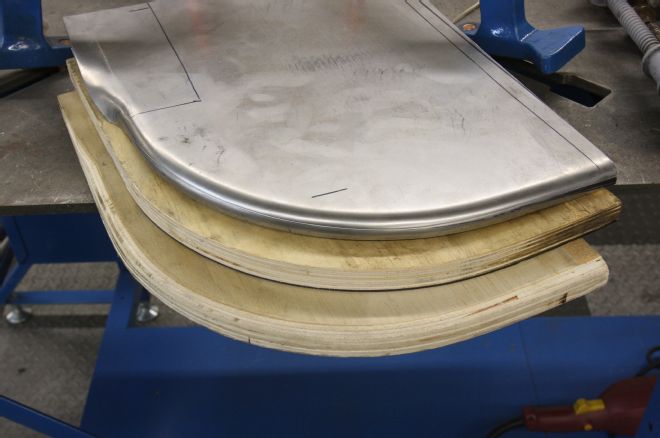
15 Here's what we mean. The upper panel is straight out of the roller, while the lower panel is what we required, with a 90-degree radius. Here's how we did it…
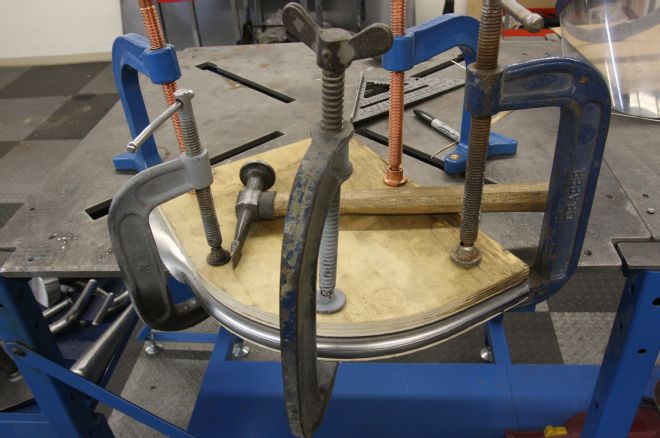
16 We made a pair of wooden formers from ¾-inch plywood. Hardwood would have been better, but as we only intend to make two panels from these, plywood works. The lower former has a radiused edge, formed with a softpad on a grinder, then finished using sandpaper. With the steel clamped between the formers, and the whole shebang was clamped to the bench.

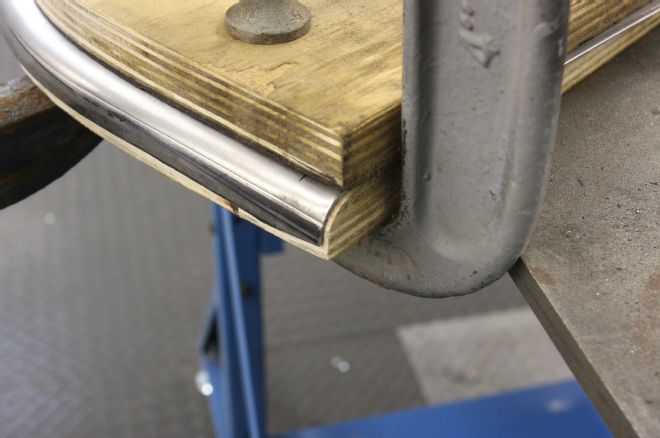
17 The edge was then hammered over the former, until it reached 90 degrees.
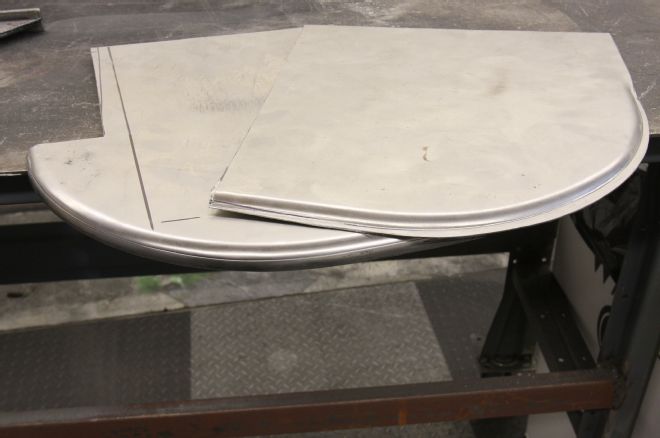
18 The finished radius. The edge isn't straight, but doesn't have to be, as we'll be trimming it to fit the pan.
19 Here's the finished panel, with a good view of the lower former. As our pan curves through exactly 90 degrees, the same former could be flipper and used for the other panel.
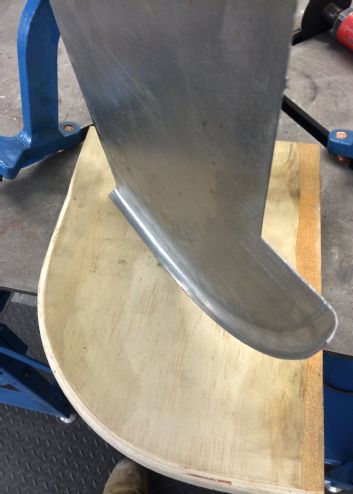
20 Trimmed to fit around the stake pocket, and filed straight to butt up to the pan, here's the panel looking from above.
21 Our final task was to form the weld flange where it'll attach to the bedside. We used Eastwood's bench top brake for this.
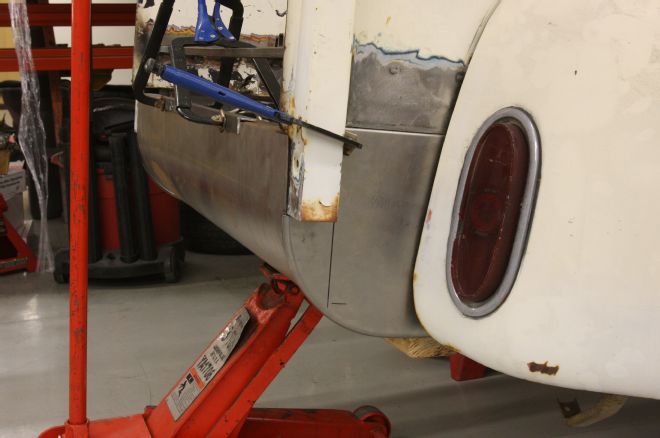
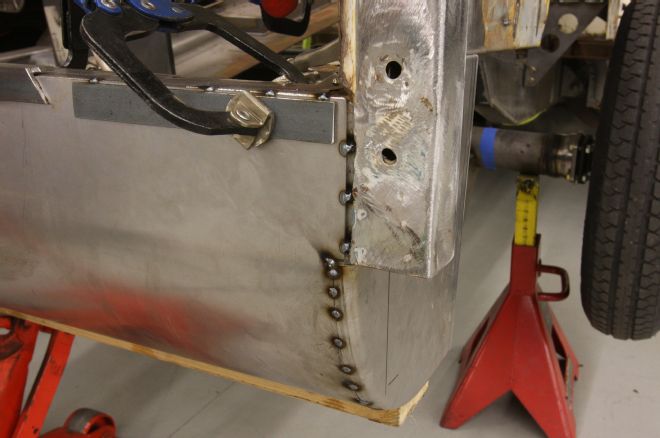
22 Clamped in place to check for fit, it's looking good so far.
23 With everything lined up, we started tack welding the pieces together.
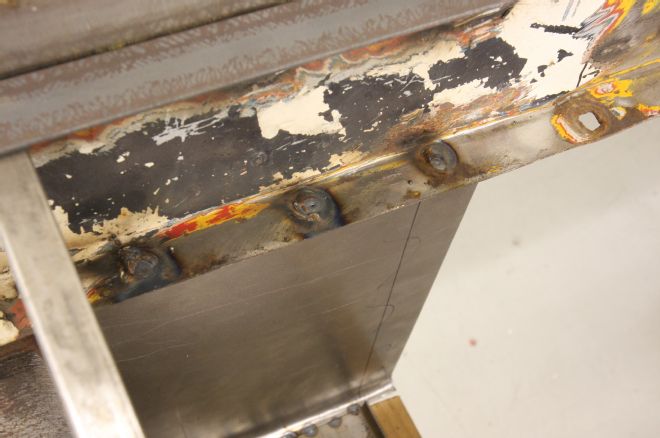
24 The weld flanges were plug welded through the old spot weld holes.
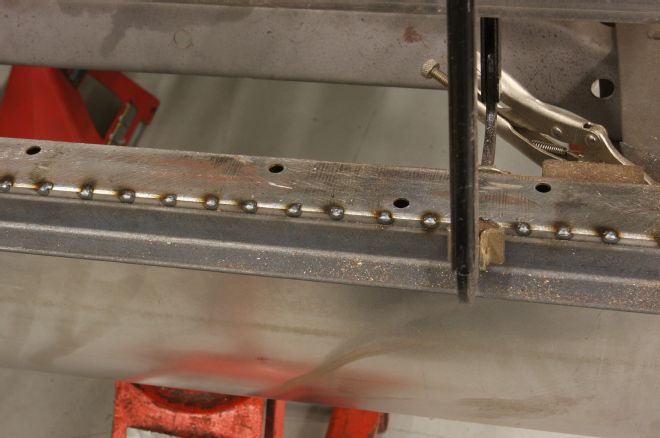
25 With angle iron clamped across the upper edge of the new pan to prevent warpage, it was tack welded to the old crossmember.
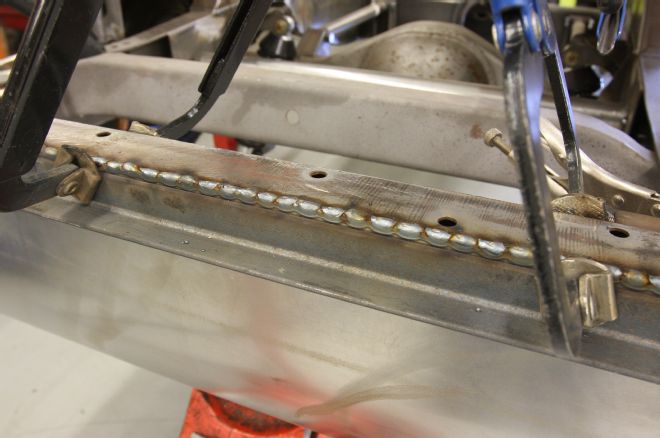
26 It was then seam welded, but in short sections to avoid warpage.
27 All welds were then ground smooth and sanded, except where the stake pocket joins the pan, as we'll be replacing the lower sections of the pockets.
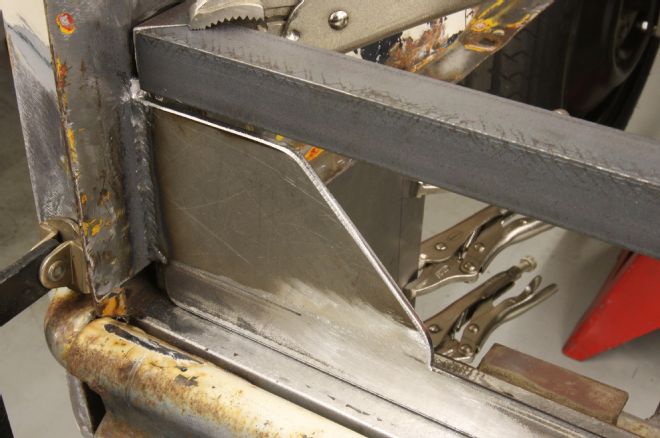
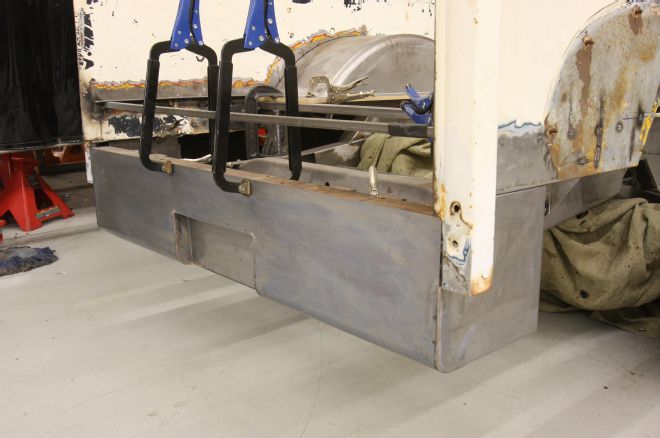
28 As we've raised the bed floor to clear the stepped chassis, we needed to make a closing panel for when the tailgate is open. We welded 1x1-inch angle across the old crossmember, ensuring the tailgate could close, welded short lengths of 1/8-inch plate vertically to the inner bedsides above the angle, then added 1/8-inch gussets to prevent the bedsides moving inward. We also welded a temporary brace across the bed rails.
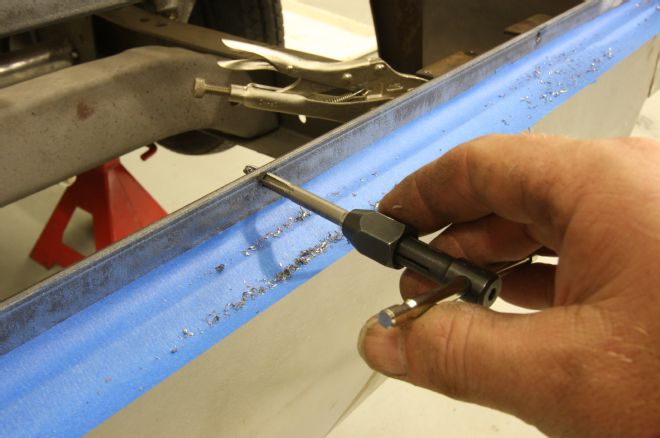
29 Ensuring they wouldn't interfere with the bed wood bolts, we drilled and tapped the angle, and the corresponding piece that will now bolt to the bed wood above this one, for ¼-28 bolts. The tape stops any tapping fluid from running down into the seam between the angle and the crossmember.
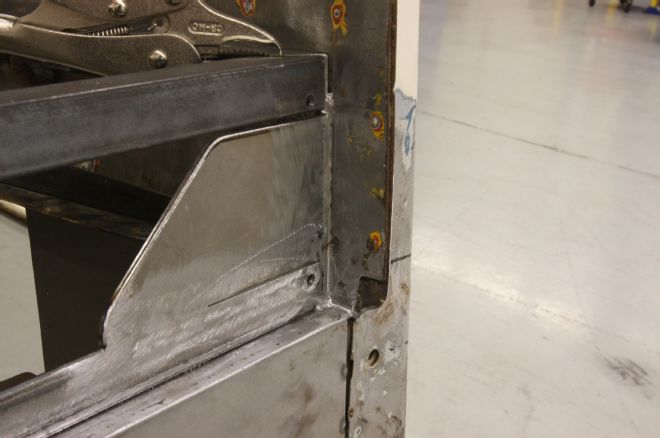
30 We also closed off the inner lower stake pocket (compare this to picture 28).
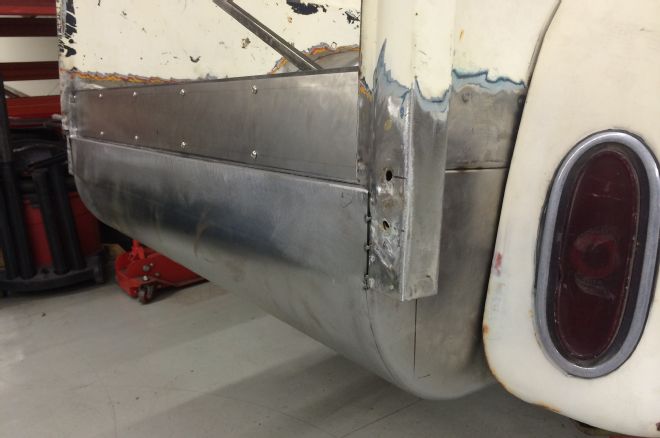
31 A closing panel was cut from the leftover 16-gauge steel, drilled and bolted in place using stainless Allen head bolts.