Our classic Chevys were never really meant to be on the road 40-plus years after being delivered from the factory. The perception back then was that the car would drive around for 5 to 10 years and then be scrapped in favor of the latest and greatest from Chevrolet. It’s no wonder that when we find surviving cars they’re riddled with rust—that cruel invention of Mother Nature that turns our vintage steel into pockmarked and cancer-ridden eyesores. Even here in Southern California, we’re not immune from its effects. This is especially true along the coast where salty air from the Pacific Ocean wreaks the same havoc on the top of the car as the salted roads back east do on the bottom. Add in 40 years of dents, dings, and worse, and it’s a wonder that any panel on our classic is worth saving. Such was the case with our ’67 Camaro. It hung out near the beach so rust found its way under the vinyl top, eating away a good amount of the original sheetmetal. Add in a past accident and this car was a prime candidate for a new quarter-panel.
Replacing quarters is one of the trickier endeavors one can tackle when it comes to panel replacement. After all, a new fender or hood is a bolt-on deal, and even a door isn’t tough to replace. But, a quarter-panel is a whole other animal that requires special tools, practiced technique, and most importantly, a good eye. Do it wrong and you’ll have wasted more than just the cash spent on the parts. You will have squandered something even more precious: time.
To see how it’s done right, we dragged the carcass of our ’67 over to Best of Show Coach Works in Escondido, California, where they’ve done this dance a good number of times.
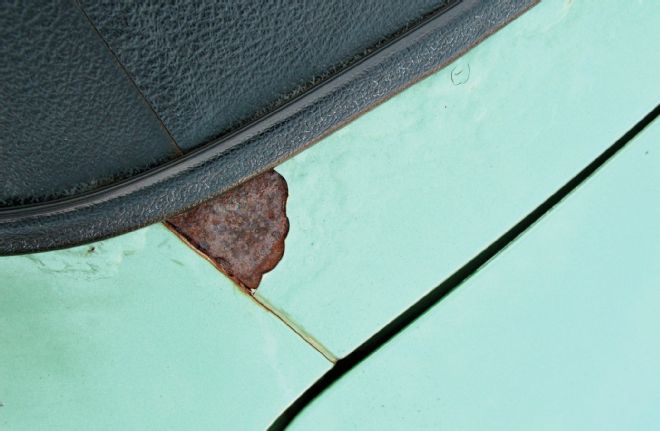
01. Our ’67 had a vinyl top, which usually ends up being the perfect breeding ground for rust. Even though the rest of the car was rust-free, the area around the top was pretty hammered.
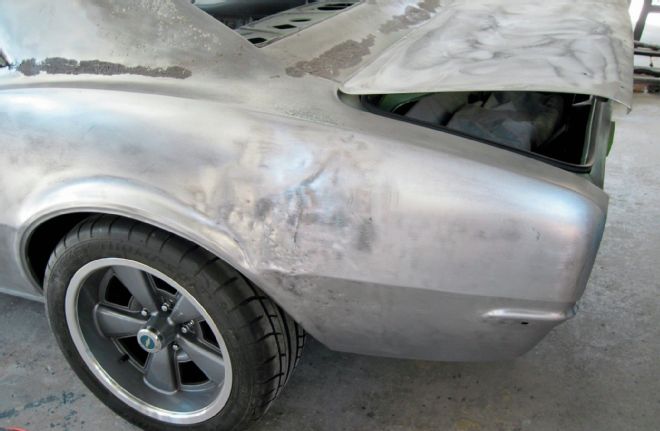
02. The overall condition of driver-side quarter-panel on our ’67 wasn’t awful, but between the rust from the vinyl top and the wrinkles from some distant accident, it was bad enough to warrant a new panel. Note all the rust damage along the panel between the trunk lid and rear window opening. It’s always surprising what you find when you strip a car to bare metal.
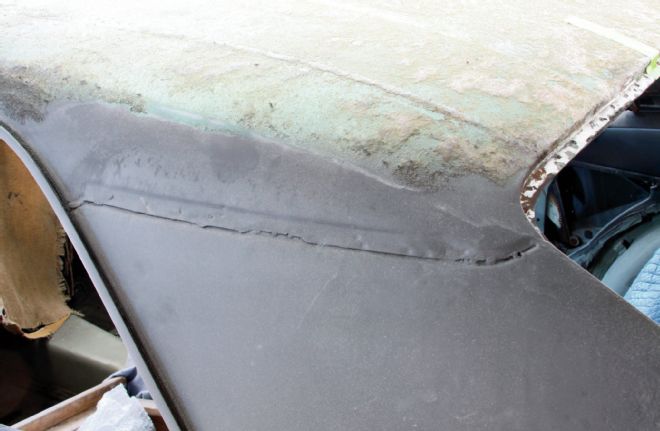
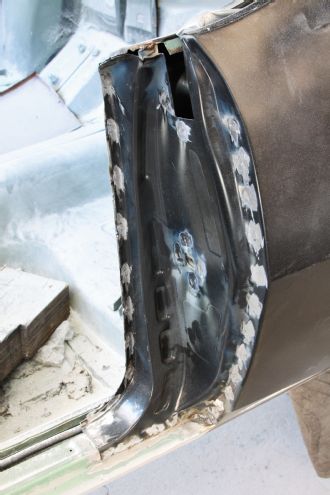
03. Here’s where the quarter-panel meets the roof panel. Some people are tempted to cut below this since they think it’s easier than trying to separate the two panels. Well, it’s really not that hard. You only need to remove the lead or body filler and carefully drill out the factory spot welds. It takes a little longer to follow those steps but the end result is much better.
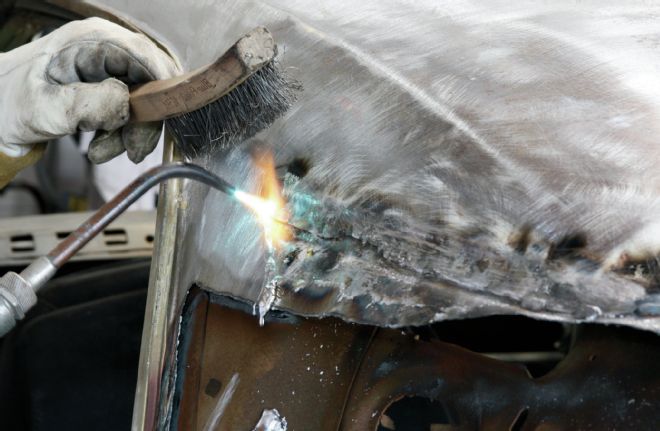
04. Remember how we mentioned lead? Well, if your quarters are original, then the seam between the roof and quarter will be filled with lead. The best way to get rid of it is with a torch and wire brush. Remember, lead isn’t good for you or the environment, so take the proper precautions, and use a respirator. Ours was full of body filler from a previous repair, but we thought it was good to mention lead since there are still some untouched cars out there.
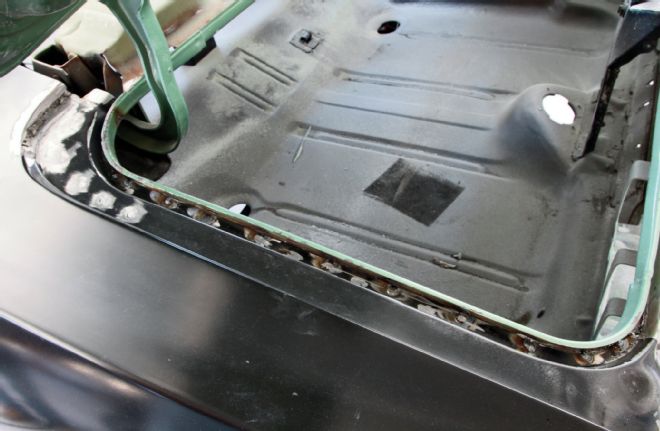
05. We removed the trunk filler panel like we did the quarter-panel; in sections. That is to say we cut away the majority of the panel and then went back and carefully trimmed away the edges.
06. As we said, it was much easier to quickly remove the majority of the quarter and go back and trim up all the edges.
07. With the main parts gone, we could start trimming off the excess metal using a variety of 3M cutting and grinding discs. If you’re planning on doing this yourself, make sure to budget in the cost of materials because they can add up in a hurry.
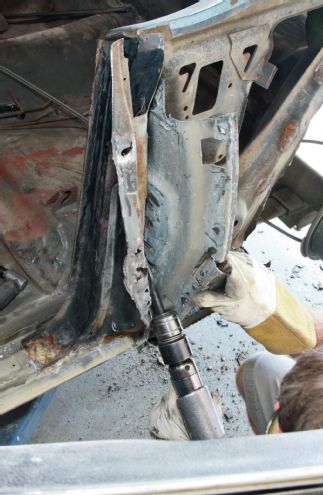
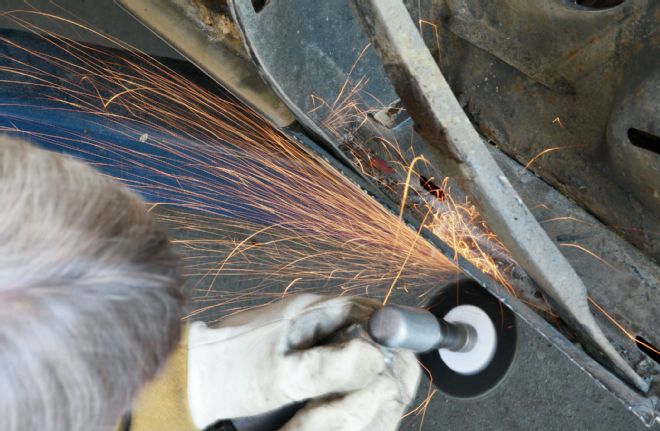
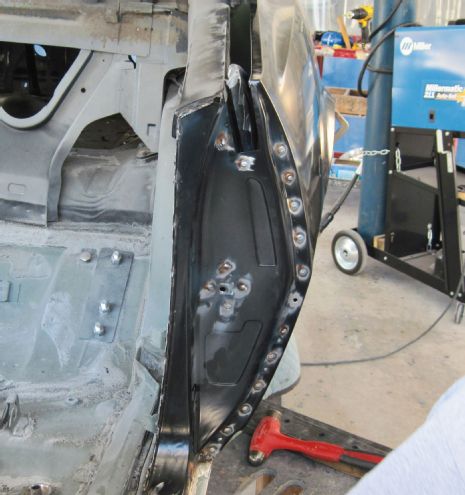
08. One of the harder pieces to remove is the doorjamb area. It’s tempting to leave it in place and make the new quarter fit to it. Don’t do it. The extra time spent here saves a lot of work down the line. Besides, more seams means more places for cracks and failures to occur over time. The first thing we did was to find all the factory pinch welds and grind them down. Several of them were located around the area of the door striker. We then separated the outer metal from the inner support using an air chisel.
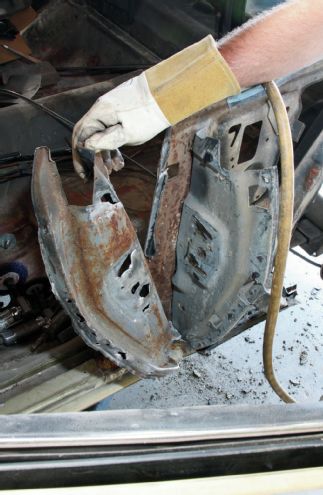
09. Eventually, the two pieces separated. Our last step was to clean up all the edges in preparation for the new quarter-panel.
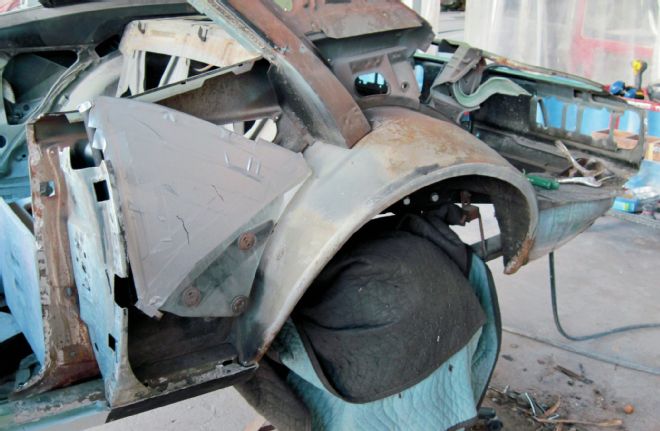
10. And here’s the ’67 with the old quarter gone and all the edges prepped for the new panel. The good news was that parts like the lower rocker extension, outer wheelhouse, and such were in great shape. If your panels have rot or damage, then this is the time to replace them.
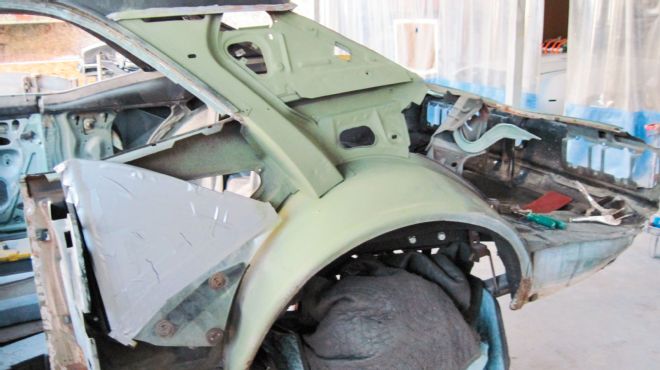
11. Before fitting the new quarter we shot the area with some Eastwood rust encapsulator. It was just surface rust, but it was still a good idea to treat the area while we had the panel off.

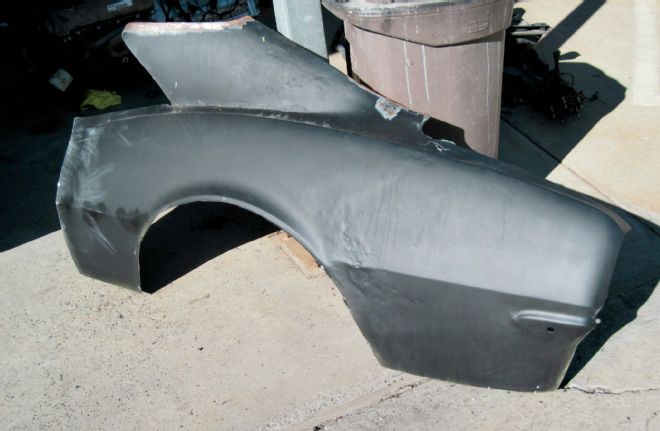
12. We were very happy with the new quarter-panel (PN 700-3567-L, $340) from Auto Metal Direct (AMD). The lines were crisp, and it certainly looked better than the hammered one we had just removed. Most of these sharp lines exist because AMD makes the panels with new tooling and use heavy-gauge steel. It arrived in a black EDT Coat finish.
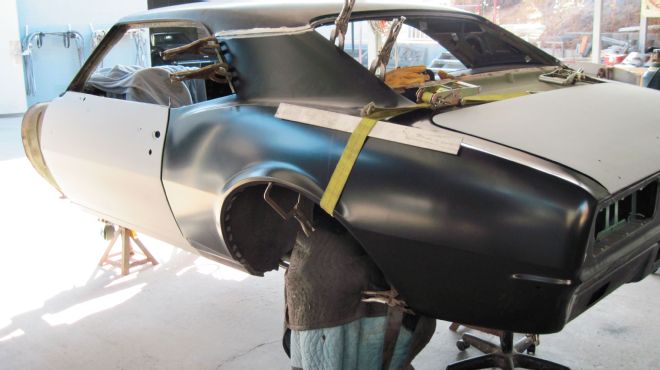
13. The quarter ended up fitting really well, with only minimal trimming required. We used a variety of screws, clamps, and even a ratchet strap to hold it in place prior to welding. Also, we drilled all the flanges along the edge where we needed to weld.
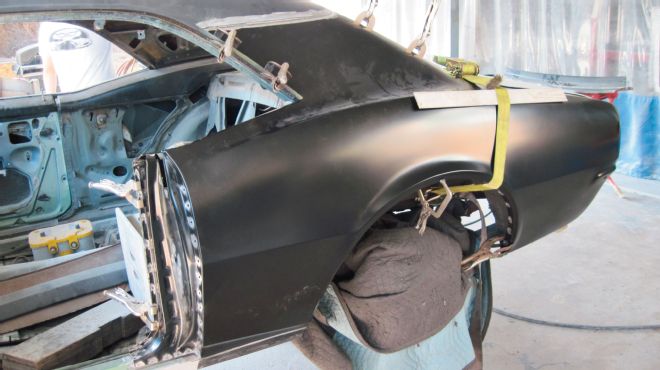
14. The quarter ended up fitting really well, with only minimal trimming required. We used a variety of screws, clamps, and even a ratchet strap to hold it in place prior to welding. Also, we drilled all the flanges along the edge where we needed to weld.
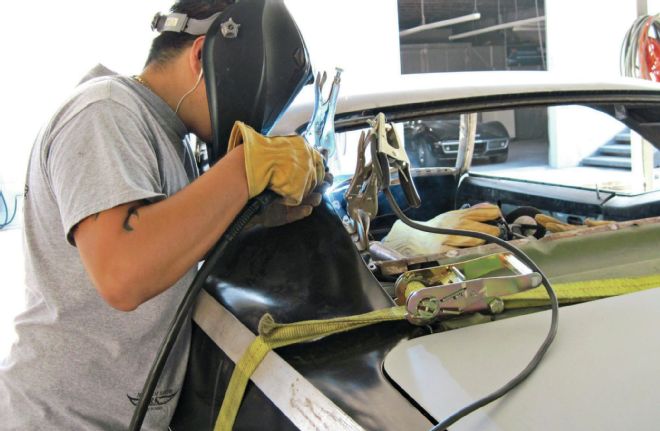
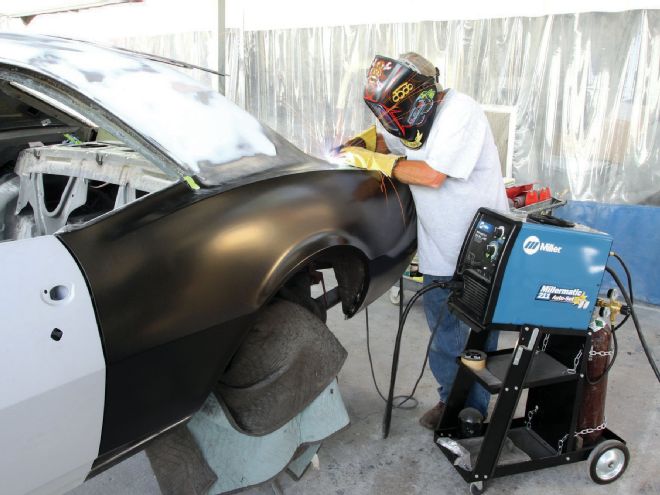
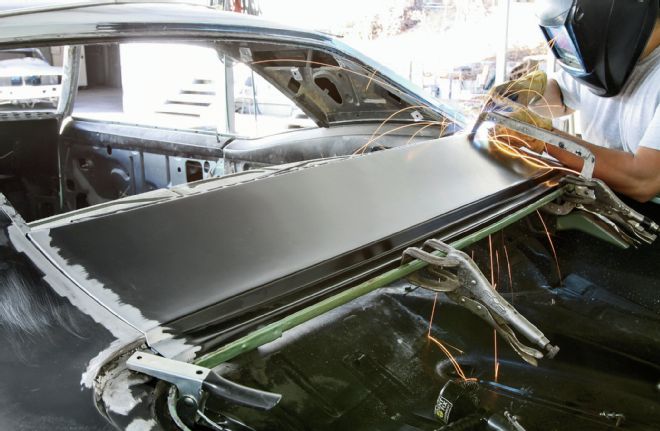
15. It was then time to bust out the Miller MIG welder and get to work. First up was welding all the flange areas where we had pre-drilled holes.
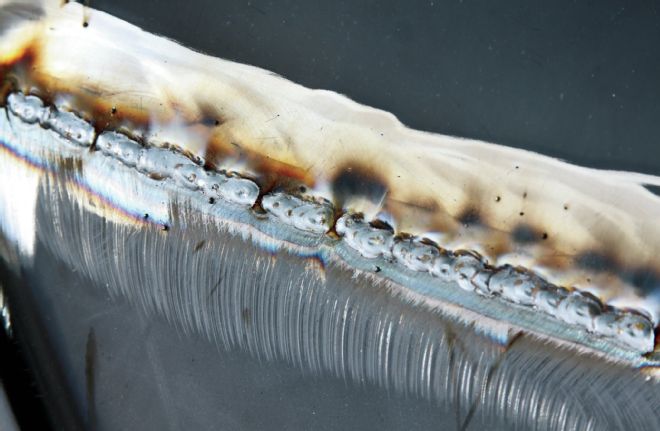
16. The seam where the quarter met the roof was tack-welded then stitched together. We went slowly to keep warping to a minimum, and considering the factory seam is just pinch-welded, this is more than strong enough.
17. Here you can see where we welded up the new doorjamb area and tossed four welds around the area of the door striker.
18. Once we were done welding all around the perimeter of the new panel, we went back with some 3M grinding discs and ground down all of our welds. Once painted, this area will look like it was done at the factory.
19. We did the same where the new quarter met the trunk opening.
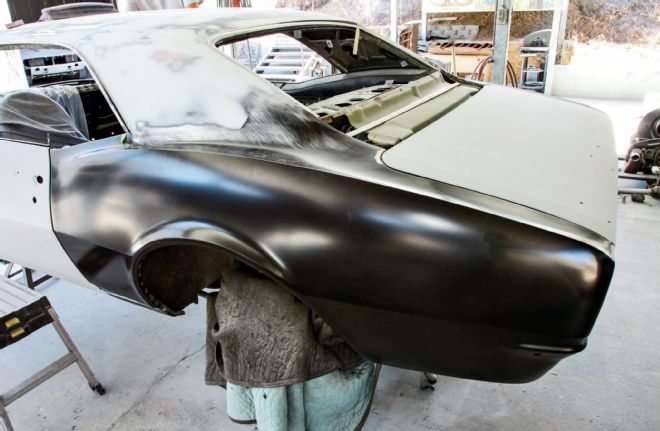
20. And here’s the new AMD quarter after doing some quick bodywork on the C-pillar. The fitment of the panel was excellent and everything lined up just about perfectly. The total replacement took around two full days.
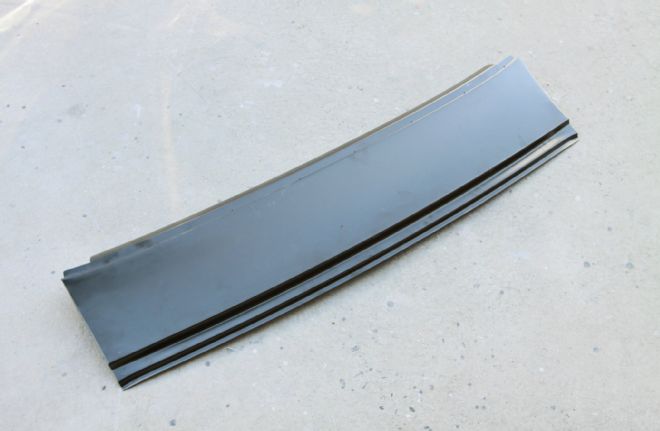
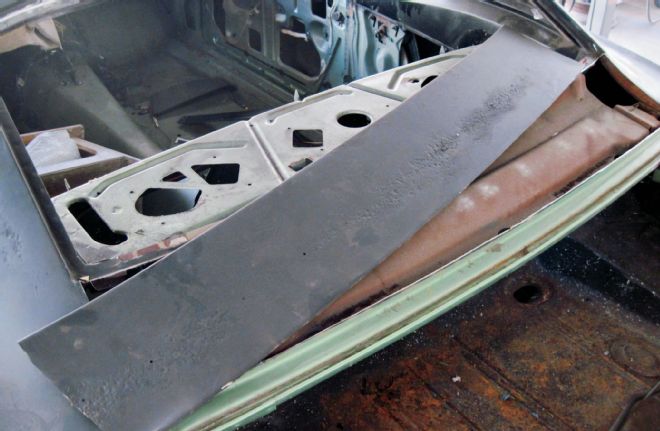
21. It was then time to install the new AMD deck filler panel (PN 650-3567, $73).
22. First, we test-fit it to the car and made adjustments where necessary. The panel was then pulled and we prepped the inner structure by grinding down to bare metal the areas to be welded and gave the rest a coat of Eastwood rust encapsulator.
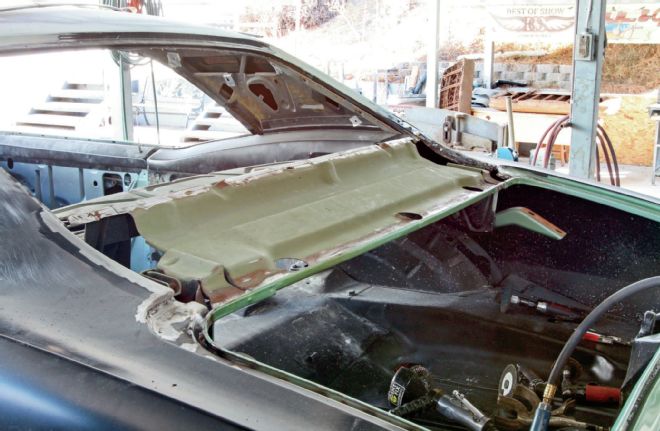
23. Holes were then drilled in preparation for welding along the top where it meets the lower edge of the rear window and along the lower edge where the panel meets the trunk edge.
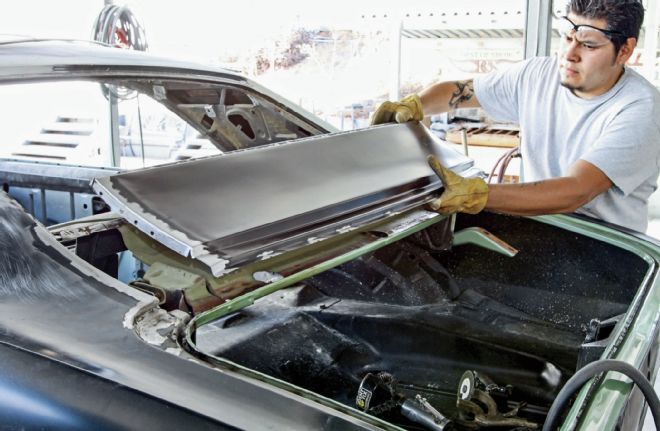
24. It was then time to put the prepared panel in place.

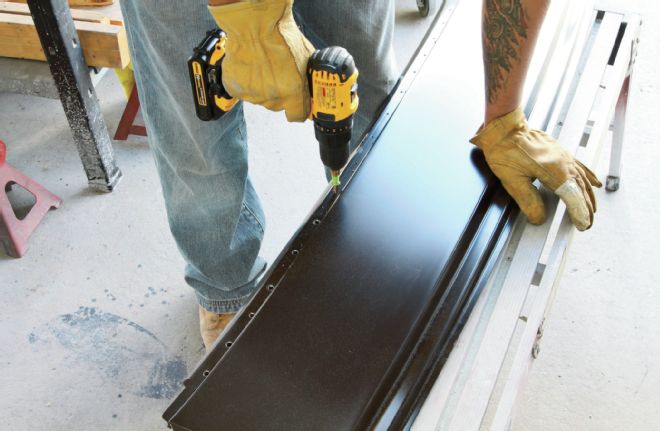
25. Self-tapping screws were used to secure the panel to the window channel.
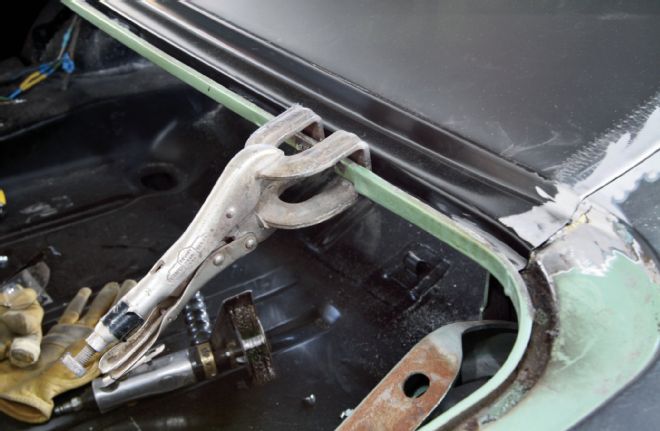
26. On the trunk side, we utilized locking pliers to hold the panel down. Notice how well the panel matched up with the existing passenger-side quarter.
27. We worked our way around the panel, welding in spots where we had drilled. And just like that the project was done and ready to be bodyworked. If you want to pay and have this done, most shops quote around 16 hours labor for the quarter and 4 hours for the deck filler panel, plus materials.