Even for capable builders, there are times when it just makes sense to consider purchasing a finished car—especially when the object of desire is as plentiful as the shoebox Ford. Cosmetic alterations can go a long way toward making that other guy's car your own, and oftentimes smart shopping—rather than building—can save you dough in the long run.
Huntington Beach, California, resident, Bradie Shemke had been casually desirous of a chopped custom shoebox for a spell or two. When the search turned serious it didn't take him long to locate his starting point—a car that was already close to his own vision. In '50s-style, Bradie's new 1949 coupe is tastefully customized and not a catalog car. In fact, it's remarkably well built, making good use of good used parts from wrecking yards and a second-generation Camaro donor car.
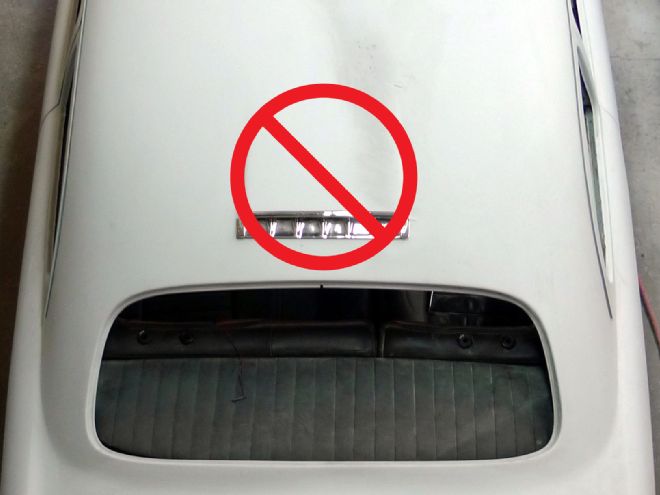
For new owner, Bradie, there was one existing detail that just wasn't right—the 1958 Impala mock-vent, which was grafted into the rear section of the shoebox's chopped top. Although such adornments will always have their place amongst the custom crowd, it wasn't working here as the rest of this car's bodywork was all very smooth. For deletion of the happy-days hiccup, as well as a full-body massage and color-change to black, Bradie sought out professional help. Based on a word-of-mouth recommendation, his shop of choice was Jimmy Benitez's Coastal Auto Restoration and Performance—conveniently located in San Clemente and close enough to home.
Since it's been done quite a lot, it seems fairly safe to assume that the grafting of a 1958 Impala mock vent has been covered in magazine tech before. This, however, could be a first, as we don't believe it's been covered in reverse. Either way; the steps should be similar and when the primer dust settles we'll have reusable parts—rare, reusable parts for one lucky customizer. It's always a nice bonus when things go where they're needed.
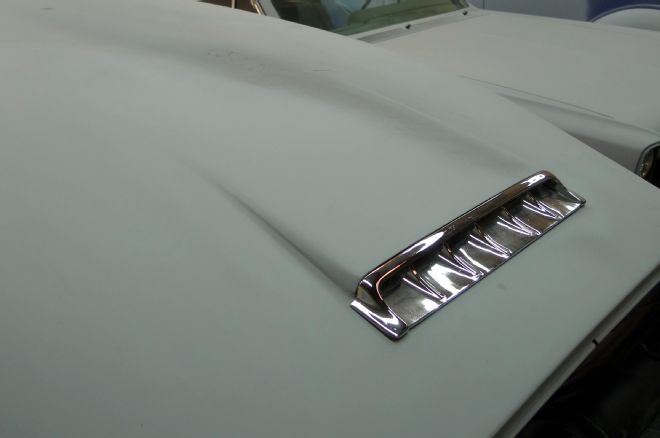
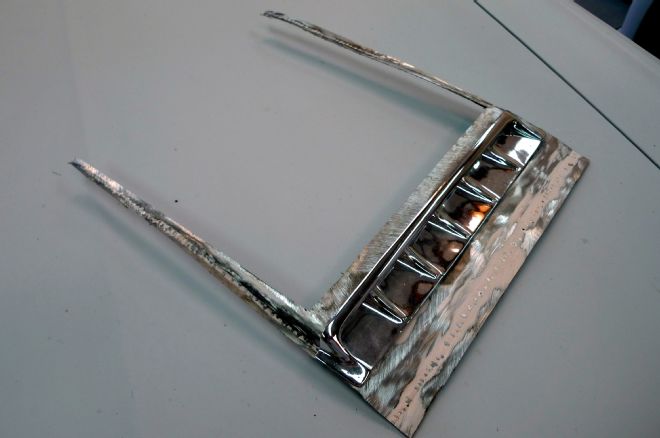
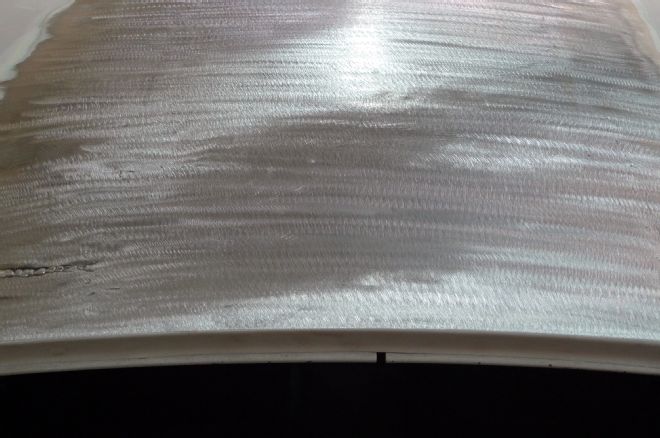
01 So here's a first look at the offending ornamentation. Ordinarily the 1958 Impala mock vent makes an appropriate custom touch for such a custom, but here it's just a speed-bump to the eye. Once again, the rest of this car's bodywork is very smooth, so this isn't fitting in.
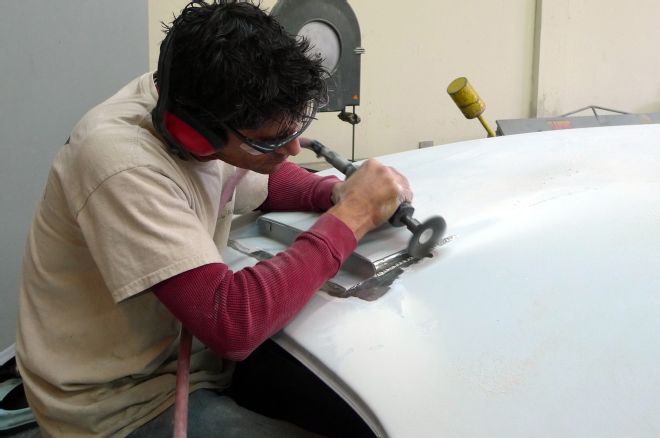
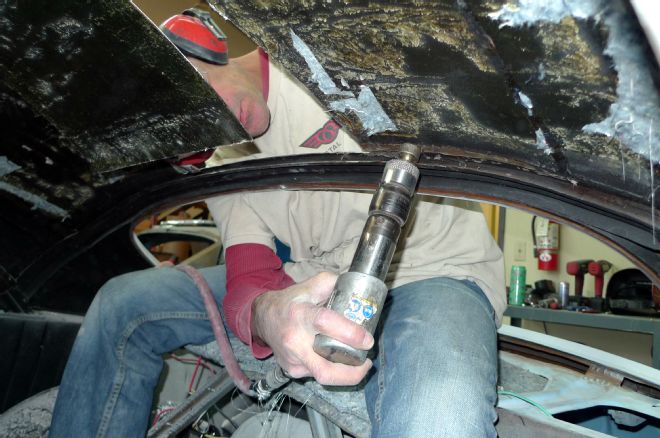
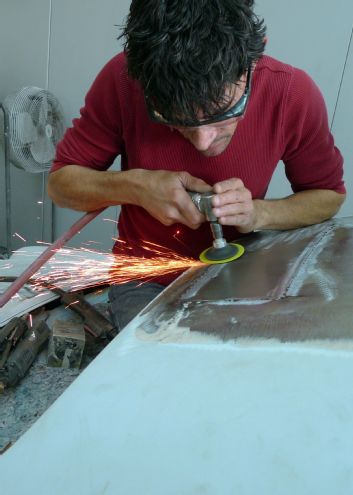
02 After scraping away the B-side's gooey undercoating, Benitez knows where welds are hiding. To expose the welds without removing metal, a wire wheel on a revved-up die grinder makes quick work of polyester filler. Even though this wire wheel is high-end off the tool truck, it's tossing wire like a cheapie, so safety glasses are a must.
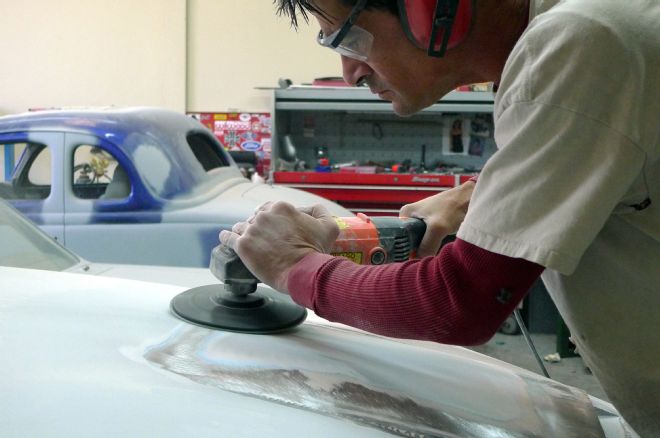
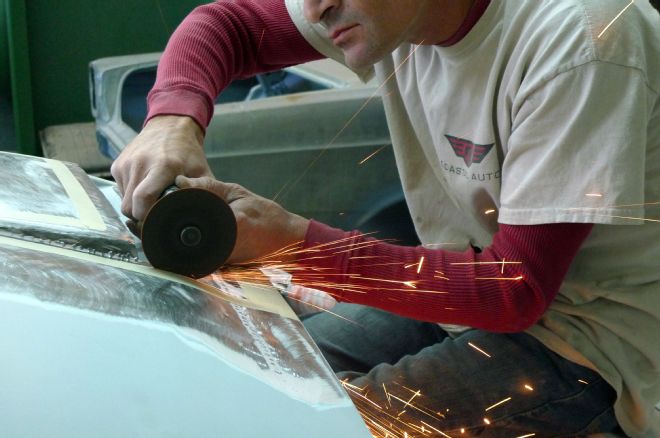
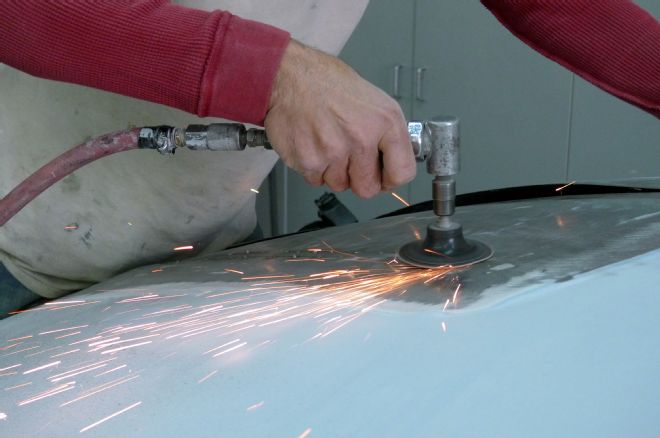
03 For exposing the larger expanses of metal, a full-grown body grinder is outfitted with a 7-inch, 36-grit disc. Yes, this would be a good time for a strap-on particulate respirator, but for what it's worth there is a big fan just behind Benitez, blowing a good deal of the airborne dust away.
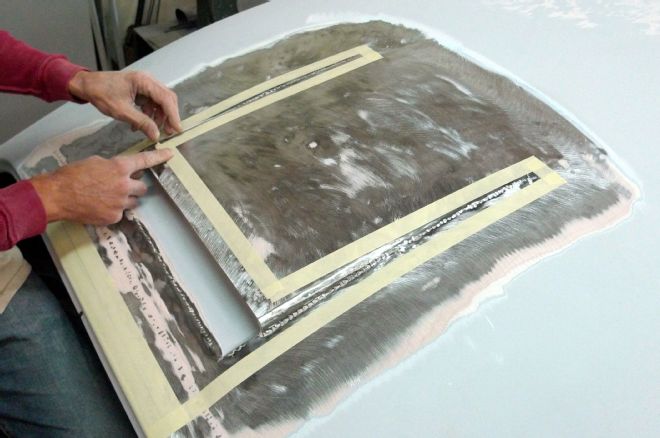
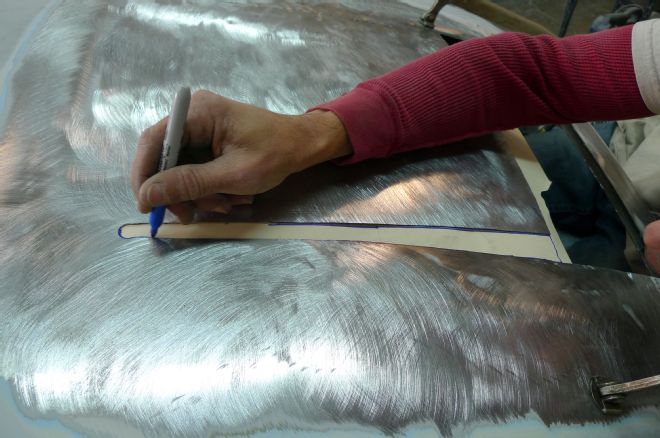
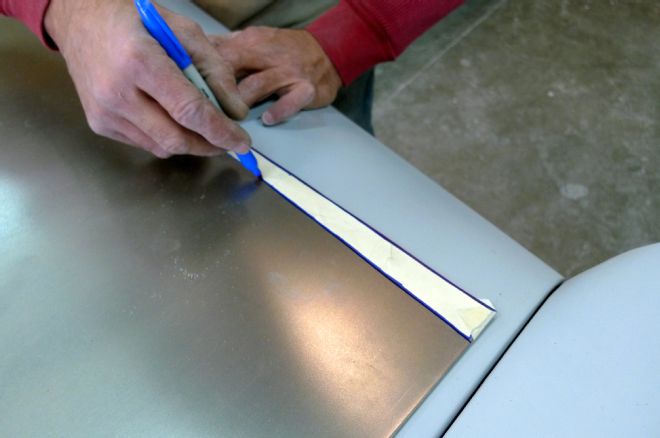
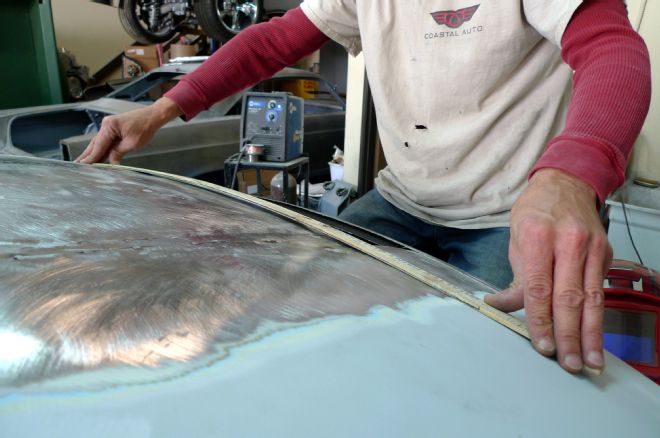
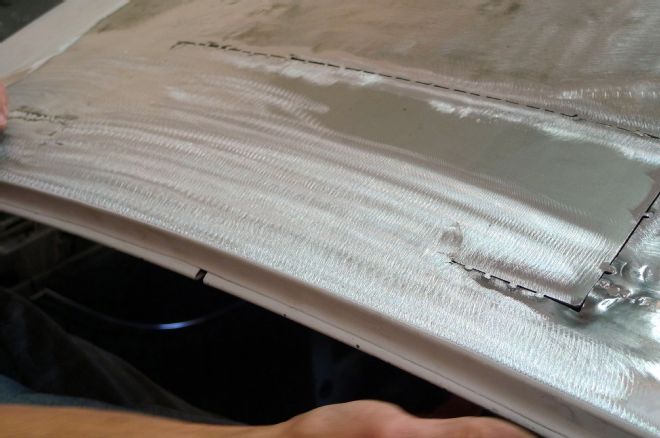
04 To this point yours truly had been under the impression that a much larger section of sheetmetal would be removed and replaced, but Benitez has a plan that in-theory, should reduce the risk of warpage. With 1-inch masking tape applied as the guide, it's time to remove metal, but only as necessary.
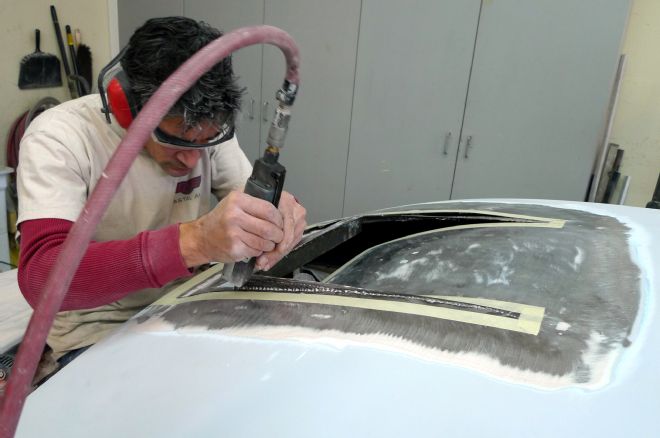
05 & 06 Slicing and dicing begins with a cutoff disc-equipped die grinder, but that's just to get started in the corners, as Benitez prefers a high-speed pneumatic hacking saw for the longer cuts. The tool truck blades used here aren't cheap, but they cut steel like a torch cuts butter.
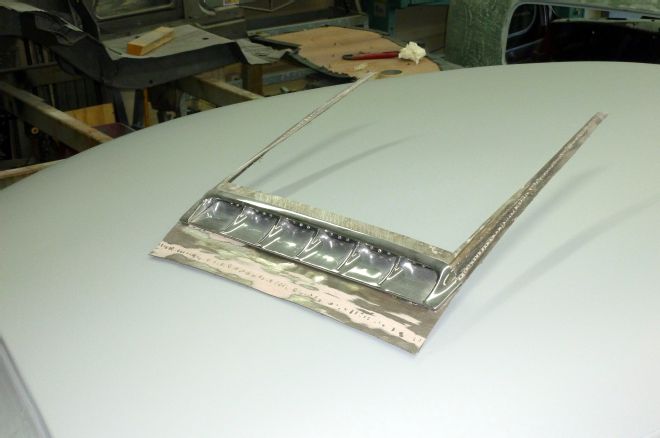
07 & 08 The final cuts in the forward corners are then made using a Rotabroach-brand hole-cutter. See the Frankenstitches at the rearmost section of steel? That area is hardened, deeply sunken, and unfortunately so are the surrounding areas, which remain to the sides in the car's roof skin.

09 & 10 For working out the sunken areas, these three tools will come into play: a heavy chunk of steel as a dolly, a handheld air hammer, and a decent set of mufflers for sensitized ears that just don't want to hear it anymore. As hard as the preexisting MIG welds are, this trench is successfully raised to a point where filler can be used more sparingly.
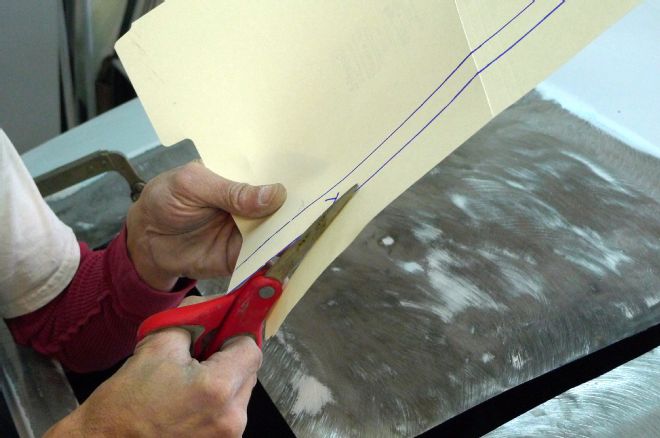
11 & 12 Thinking back on my own years of rod shop experience, I'd have to say the most popular pattern-making material is the cardboard that canned beverages come in. Sadly, we don't have that on hand today. This is where office supply staples come in handy. With a dull Sharpie and sharp scissors, manila file folders are cut-to-fit as accurate patterns.
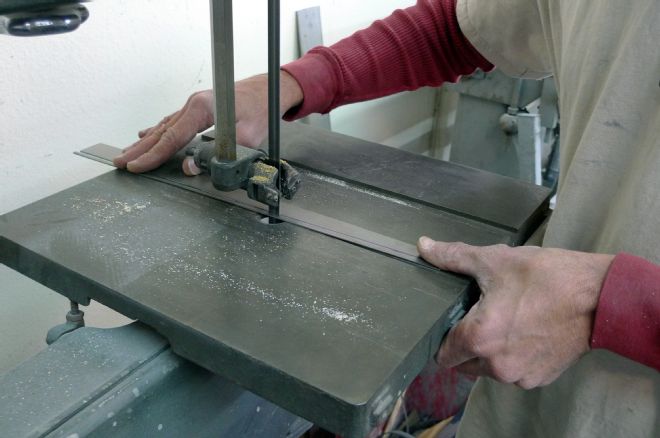
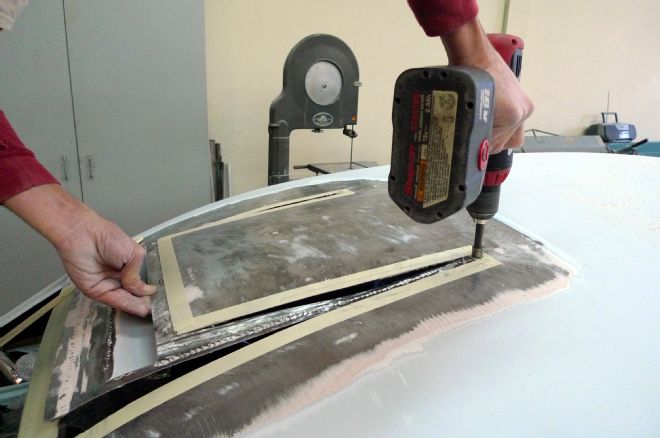
13 & 14 Next, an outline is transferred to clean 16-gauge steel and taken to the band saw. Why 16-gauge patches for a 19-gauge roofskin? Well, we could fabricate a theory, but in all honesty, it's because that's what we've got—and since we know there'll be a whole bunch of grinding going on, a little extra thickness won't hurt.
15 Obviously Benitez is going for a flush fit, and from the looks of things, the patch panels will consist of three separate pieces. The initial test-fit of the first piece reveals that further trimming will be required to maintain a uniform gap for MIG-welding.
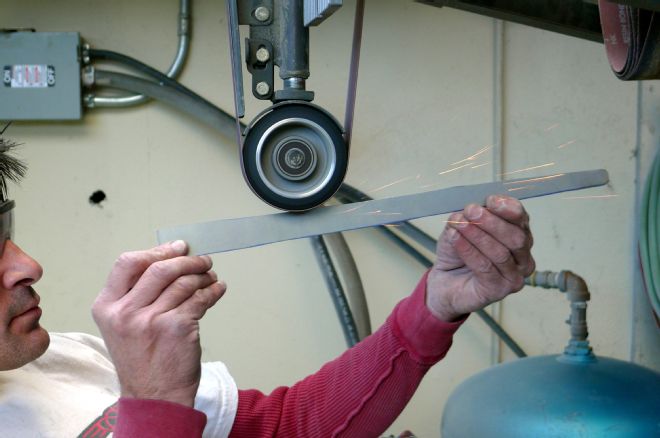
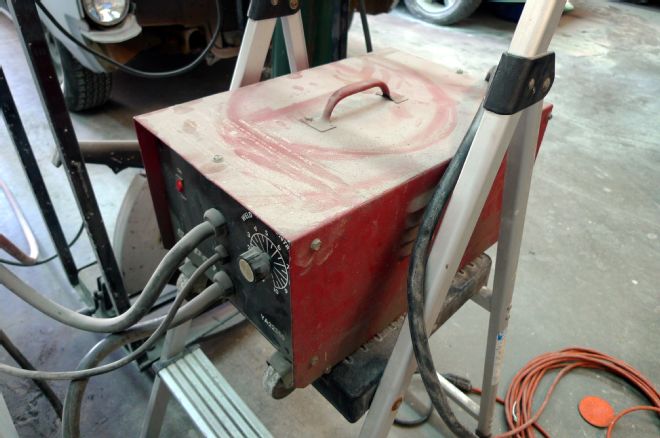
16 Here the wheelie end of the shop's belt sander works well for the needed fine-tuning. Profor keeps. For the welding job at hand, Benitez's machine of choice is his trusty Millermatic "Auto-Set" 140.
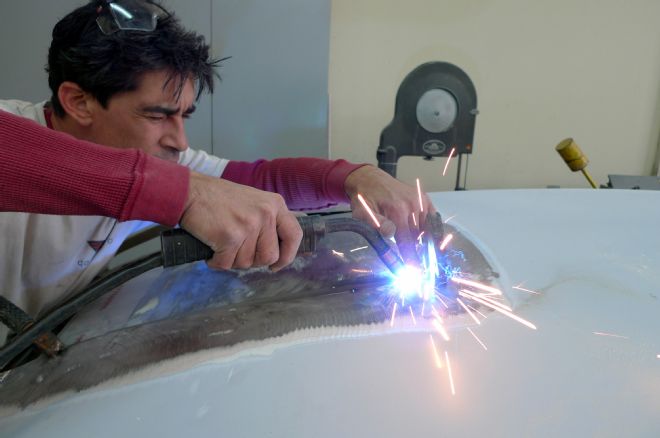
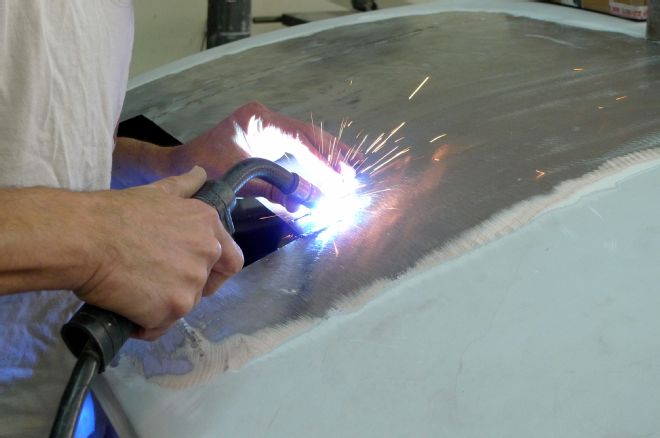
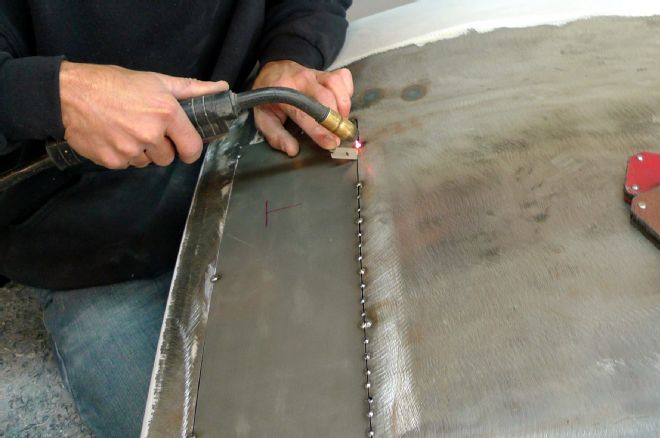
17 We've seen this before, and here we go again as Benitez demonstrates the tack-welding technique known as "the OSHA squint." Ordinarily we don't condone it, but this time we'll turn a blind eye. Bottom-line: Don't try this at work unless you own the joint.
18 It'll take a while or two, but at the end of the marathon, these patches will be welded in solid. After only a few tack zaps, it's already apparent that the gap has tightened in one area. This is quickly remedied with the same high-speed pneumatic hacking saw we've seen.
19 When MIG welding sheetmetal, "easy-grind" wire can be helpful, but MIG welds are still inherently hard and less malleable than TIG, or oxy-acetylene welds. The advantage in this instance is that heat can be better controlled, thus minimizing distortion—yeah, so far. Does anyone else get the feeling that a struggle is about to begin?


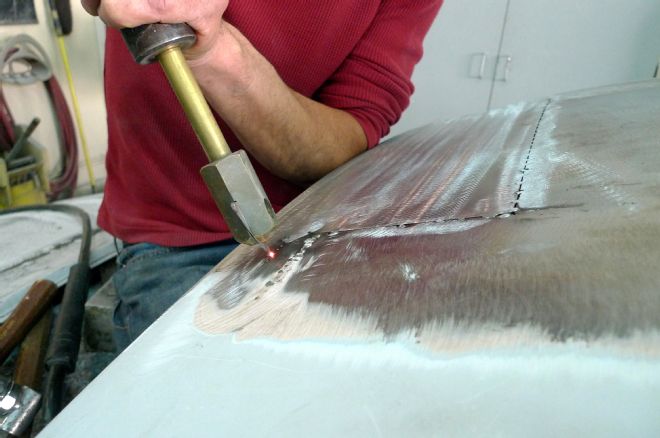
20 & 21 Here's an old timer tool in action. Modern versions of the "bull's eye pick" are available from Eastwood today. They come in different reaches and with a little practice they're deadly accurate. Here Benitez is gradually raising a low spot. At this point nearly every zap of the MIG changes something, so he's straightening—constantly as he goes.
22 A number of shape-checks are conducted along the way. Here it's plain to see that this roof section is badly out of shape. That's not something we'd just fill, so metalwork continues, even though the largest of three patches is yet to be grafted.
23 As MIG-welding continues—and continues—so does the kind of hammer and dolly work we've all seen demonstrated in detail here before. Shrinking via an oxy-acetylene torch is also taking place as necessary. That's been covered too, so let's just say those familiar skills are utilized as the gaps are gradually closing in on the first two patches.
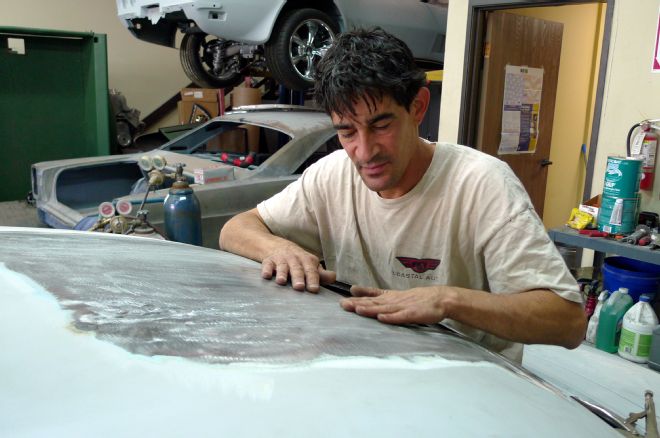
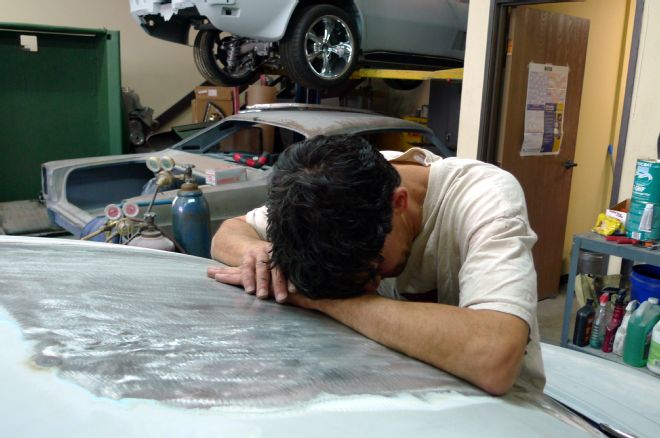
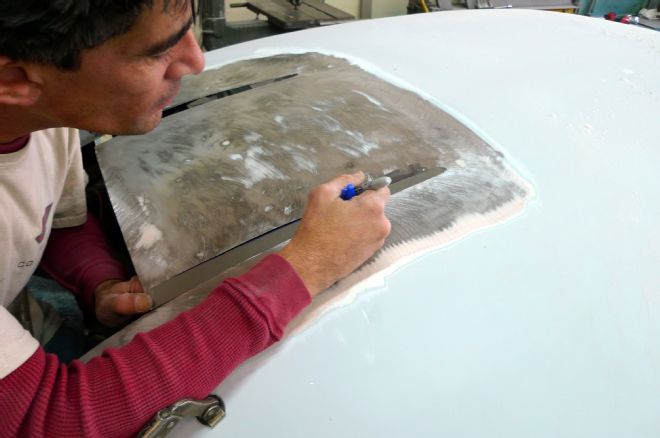
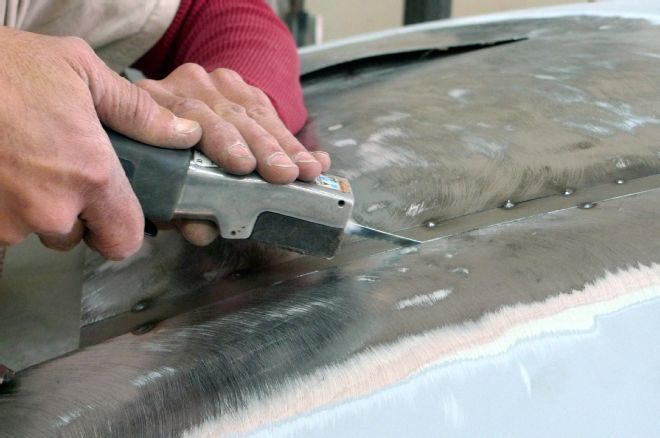
24 & 25 Yardstick shape-checks continue as well, but to really keep in touch with progress, one must feel the steel. Now we've all seen tech articles where professionals make it look easy, right? Well, this won't be one of those. "Some days we're the boot. Some days we're the butt." This fight is far from over.

26 & 27 Following more shrinking and even more hammer and dolly work, Benitez begins to graft the last and largest patch panel—and wouldn't you know it; shapes keep changing despite the allowance of cooling time between welds. The single-edge razor blade trick is new to yours truly, but it's working just fine as a patch panel alignment tool.
28 As predicted, Benitez and his angle die grinder have indeed been busy, and together they've burned through the last of their 3-inch abrasive discs. This one's the first from a brand-new box. It's a 50-grit Carborundum-brand "Carbo Fire" disc, and we're impressed. Apples to oranges, these keep pace with the leading brand.
29 At the left-lower section we catch a glimpse of what the finished patchwork should look like. Still, we've got a long way to go and we just know there'll be further shape corrections needed along the way.
30 & 31 And sure enough, just a little further toward the passenger side, the right-lower corner is taking a dive. Again from the tool truck, this tool provides all the accuracy of a pick hammer for double-panel areas where backside access is denied. Quicker than an electric stud gun, this does a cleaner job of raising this type of low spot.
32 Eventually, Benitez gains the upper hand. Although this patch job appears smooth, it will require filler—and no, we're not going to call it a "skim coat." Lately we hear that term abused. In proper context, a skim coat is a thinner-viscosity final coat over a more substantial fill. Let's think of it as a last chance for uniform sanding before primer.
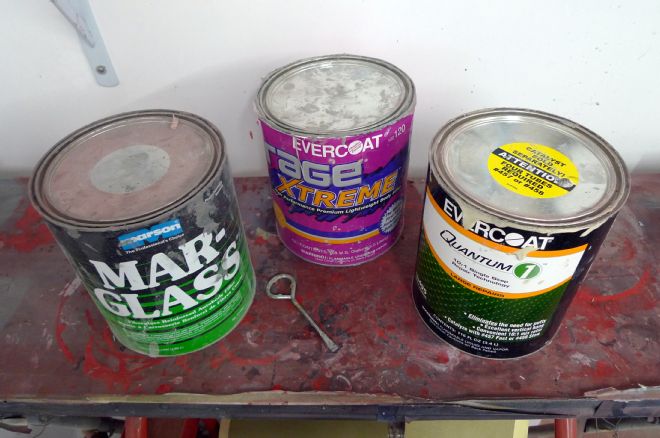
33 These days more often than not, conscientious professionals begin filler work over an application of epoxy primer. This job will continue with fiber-reinforced filler. After fairing, fillerwork will resume with conventional polyester filler. After further fairing, it might be time for a skim coat of thinner-viscosity filler—such products illustrated left to right.
34 The filling and fairing procedures used were pretty standard—like we've seen here before. With this phase of the facelift completed, the freed sheetmetal and pot metal can go to an upcoming swap meet. This unwanted ornamentation will no doubt live on as the crowning jewel of another custom—perhaps even another chopped shoebox Ford.