Spraying a world-class paint job is a lot more than just the skillful laying down of an even coat of paint. It's about mastering the chemistry and dealing with the temperature and humidity. It's about controlling overspray, resin pooling, and fisheyes. Then there are tape lines, dry spots, and wet-sanding stains. And what about areas that can't be effectively color-sanded and buffed? These are the sort of issues that separate good paint jobs from jaw-dropping finishes.
To get the scoop on the latest techniques and procedures that produce world-class show paint, we spent a few days looking over the shoulders of the crew at Muscle Car Restorations in Chippewa Falls, Wisconsin. Owner John Balow and his craftsmen have been on the leading edge of classic-car finishes for more than 25 years and have agreed to let us in on the extra steps.
Interestingly, most of those steps have little to do with spraying and are more about how and in what order they do the various steps. The ability to lay down a smooth coat is going to be assumed. Also assumed is that you know how to follow manufacturer's directions. MCR uses PPG products exclusively and follows their recommendations for reduction, number of coats, time between coats, and so on.
The first step is to apply two coats of DAS 3025 acrylic urethane sealer 10 minutes apart. Once dry, it is then very lightly wet-sanded with 800-grit sandpaper, but instead of water, they use DX330 Acryli-clean. The purpose here is to remove any nibs to be absolutely sure of a perfectly smooth surface. The hood and trunklid are just sitting in place for this step. The body color must be sprayed within a couple hours of this step.
Three coats of base color are applied to all the jambs around the trunk, doors, and hood.
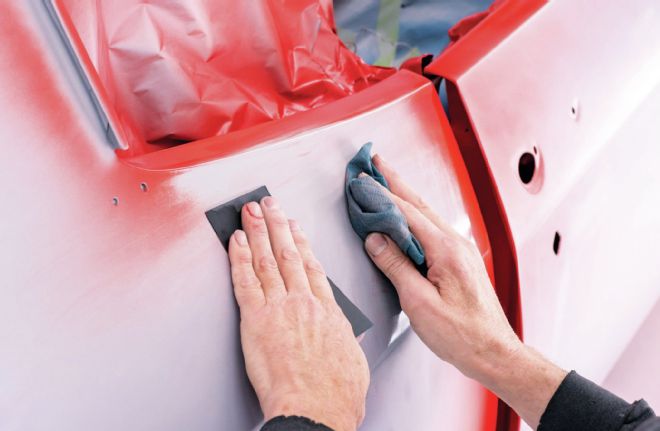
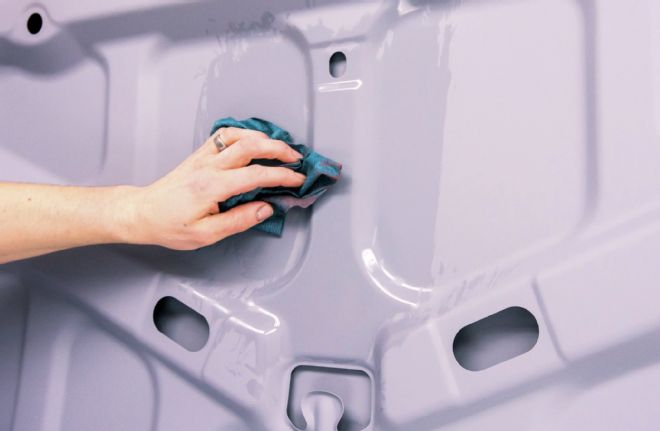
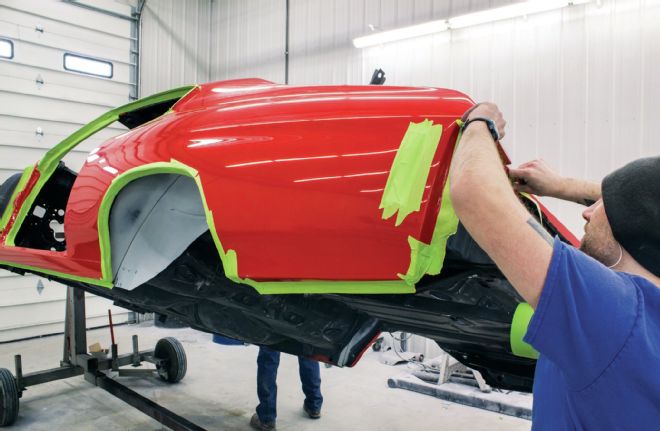
This is a critical step. Spraying the jambs will unavoidably produce some overspray on the exterior panels, so the body is wet-sanded again with 800-grit and DX330 to feather the overspray and remove any nibs. A lint-free cloth is soaked in cleaner to keep the sandpaper and body wet.
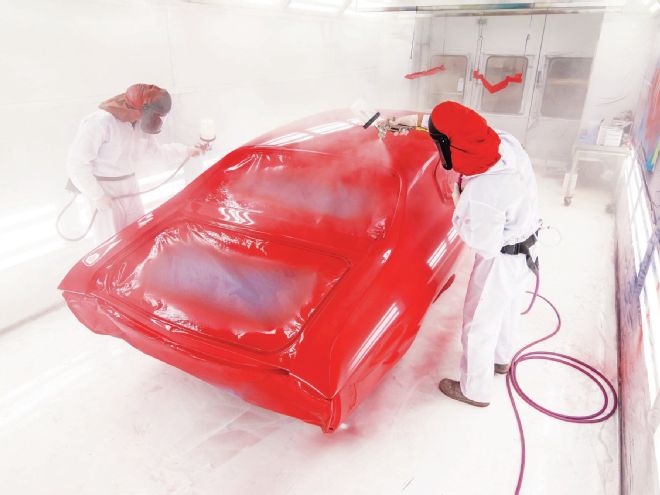
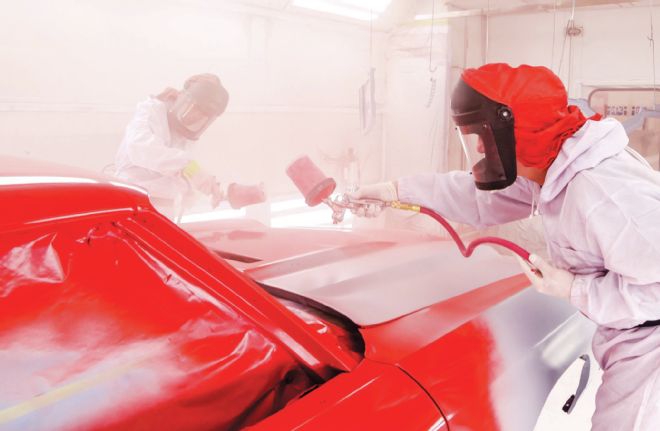
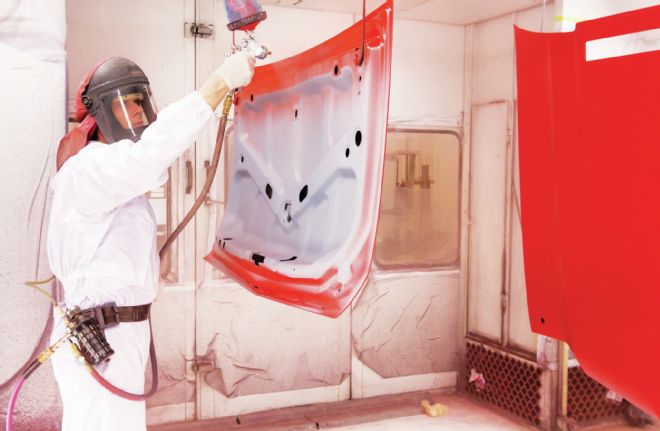
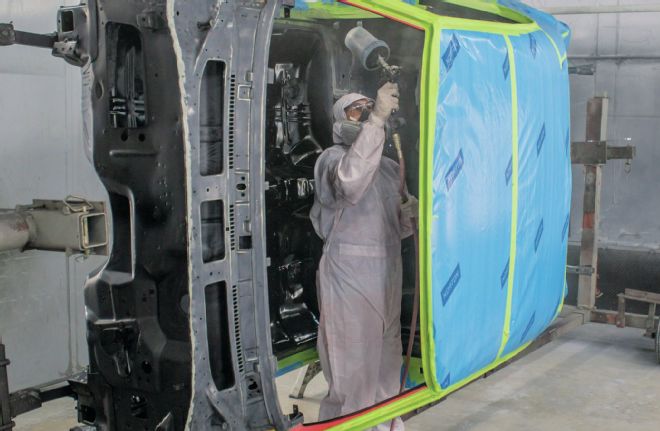
With the hood and trunklid placed back on, the doors are closed, and three coats (15 minutes apart) of the base body color are applied. Note that through the entire paint process, MCR uses two painters simultaneously. Not only does this speed up the process, but most importantly, it virtually eliminates any chance of a dry edge that won't properly blend with the rest of the color. This coat should be applied as soon as possible after the jambs are sprayed, but these top coats will blend with the jamb coats if they are at least sprayed the same day. The painters usually to start in the middle and work their way to the outside and then down the sides of the car. They bring all necessary paint products into the booth so no one has to go in or out during spraying. Also, the booth temperature is closely monitored, because different temperatures could call for a reducer change.
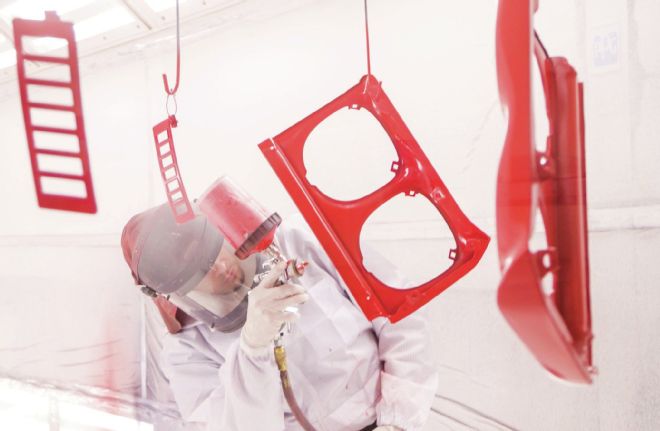
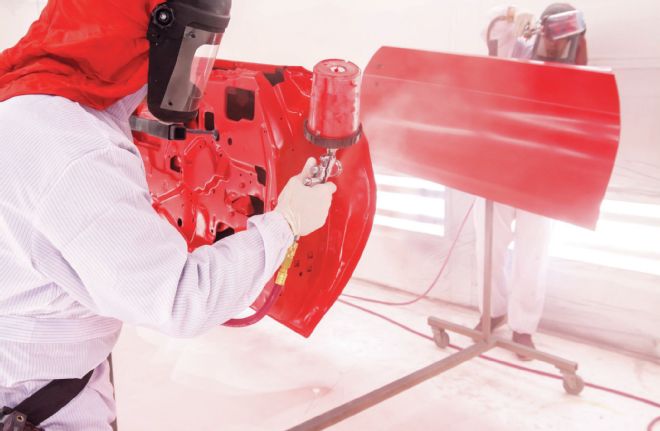
Small parts can also be painted at the same time, provided they are placed downstream of the body so the airflow won't deposit any overspray on the car.
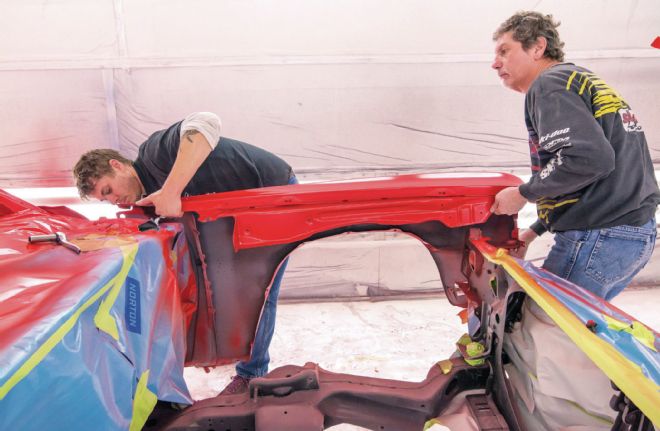
After two or three hours, the body is disassembled and the doors and fenders are bolted to dedicated racks. The hood and trunklid are set aside and will later be hung from racks in the ceiling. Any areas covered by the fenders or doors, especially the front doorjambs and the area under the hinges, are touched up with the base color.

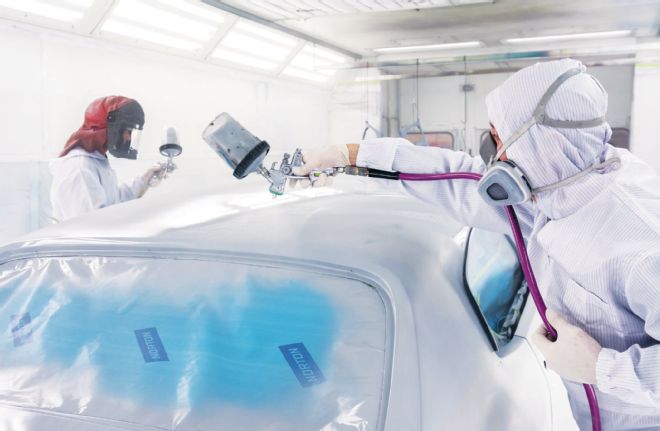
The body is now ready for three coats of clear. MCR has found no benefit to applying more than that, and too much material can lead to resin pooling. As with shooting the base, two painters apply the clear, but this time all of the jambs are coated last to be sure there will be no overspray on them so they won't need to be wet-sanded. The body will be left in the booth overnight at 75 degrees Fahrenheit with the air on. Drying with air movement will keep the clear from hazing.
The next day, the hood, fenders, trunklid, and doors (incluiding the hinges) are brought back into the booth and given a quick wipe down with a fresh tack cloth. The backside of the trunklid (in this case), doorjambs, and any areas on the fenders that still need base color are wiped off with a lint-free cloth soaked with DX 330.
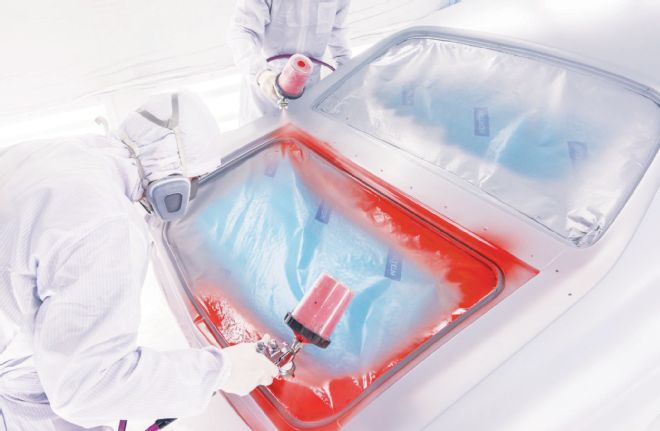
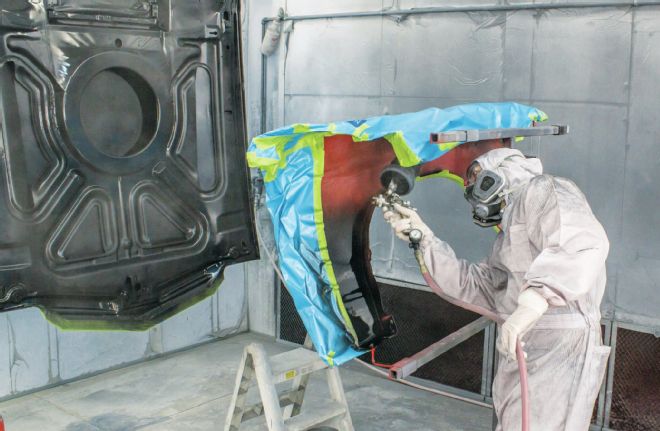
All the remaining jambs, the underside of the trunklid (in this case, not all cars are body color here), and the door hinges receive the base color.
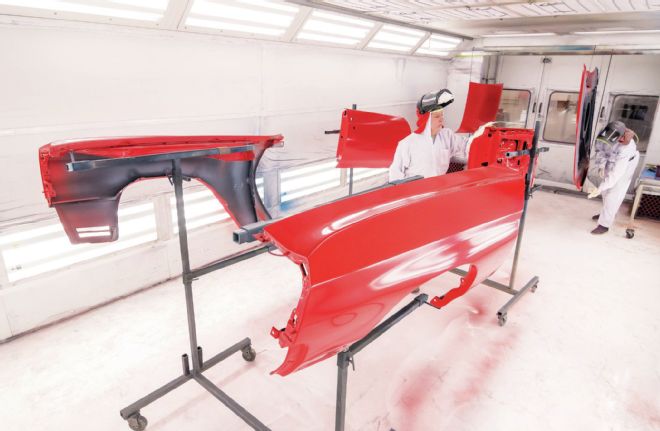
After the appropriate dry time, the fenders, doors and hinges, hood, and trunklid all recieve three coats of clear. The clear will require four to five days to fully cure before attempting any wet-sanding and buffing.
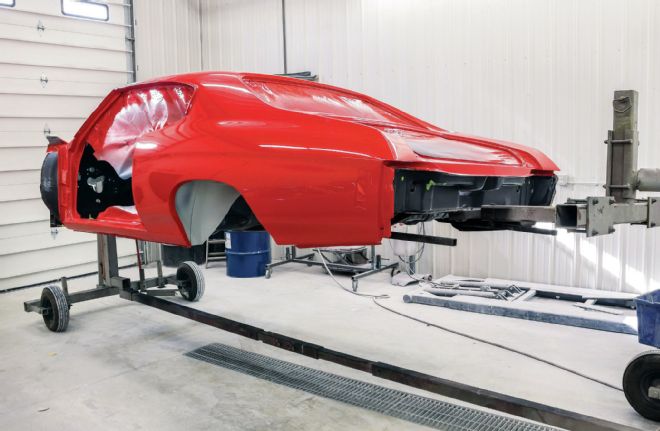
This may seem like a luxury, but bolting the body to a rotisserie is an essential step to finishing the rest of the process. Without it, access to all areas of the body is extremely difficult—if not impossible.
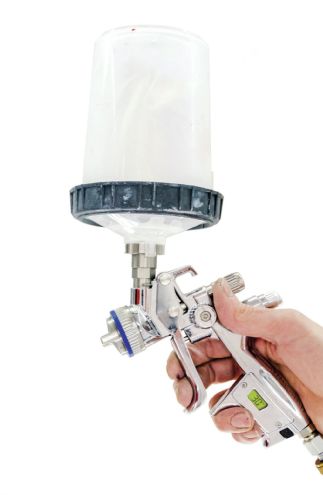
While there certainly is some room for personal preference when choosing a spray gun, it is essential to only use a top-of-the-line professional gun if you want results like this. It's also critical to have a regulator and pressure gauge at the gun—28–29 psi is the target pressure. MCR uses Sata guns. A 2000 RP gun is used with a #1.9 air cap and needle for the polyester primer and with a #1.3 needle for the NCP 271 and final prime. A 4000 B HVLP with a #1.3 needle sprays the sealer and the base color and an 4000 B RP with a #1.3 is used to apply all of the clear.
Wet-sanding with 1,500-grit comes next, followed by a final round with 3,000-grit paper. These steps are done with a dual-action (DA) sander. Because the jambs were the last areas sprayed with clear, they should require no sanding or buffing.
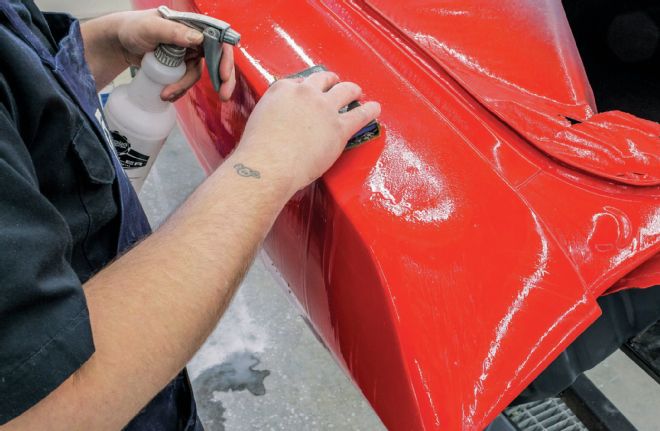
The first step to sanding and buffing the clear is to wet-sand with a block using Meguiar's 1,000-grit paper. The guys add a drop of Dawn dish soap to the water to break the water's surface tension.

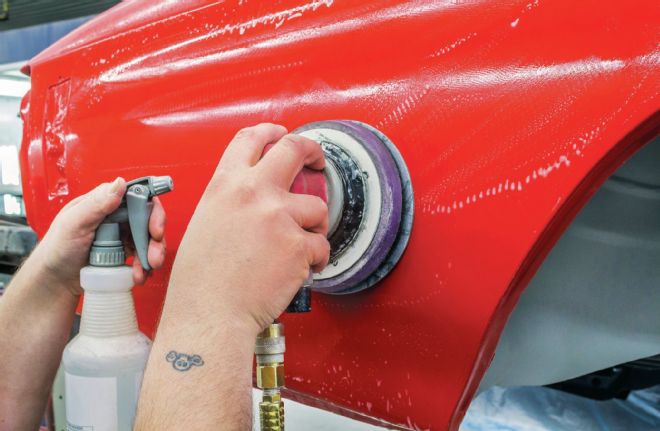
Once all of the sanding is completed, an American Buffing Corp. foam pad is used with 3M's Perfect-It 3000 rubbing compound.
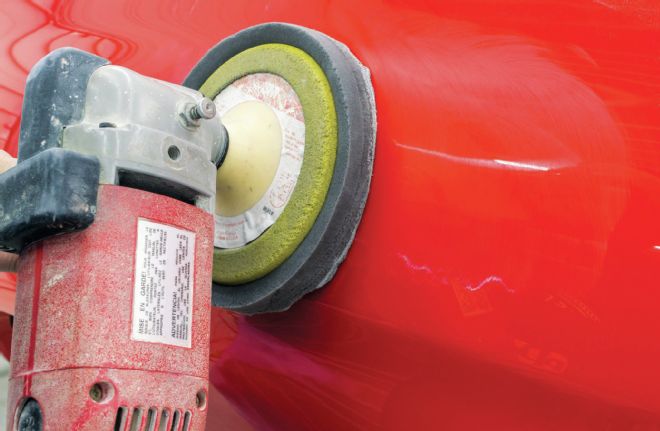
The final step to a mirror-like finish is accomplished with a 3M gray waffle pad and 3M #2 Buffing Glaze.
We are going to pick up the process at the point where all of the final body work has been completed and there is a clean, fresh coat (actually three) of block-sanded NCP 271 corrosion-resistant primer on all of the external body panels and a coat of DP50 non-sanding epoxy primer on the backsides of all the panels and in all of the jambs. The bottom of the car, the firewall, and so on have also had any bodywork completed and have been sprayed with DP-90 epoxy primer. Also, the entire body has been thoroughly washed and flushed to remove any last traces of sanding residue and any part of the body that will not be body color is completely masked off.
We found it interesting that MCR only performs this process in a three-day block of time. If the weather looks like it might turn bad, they will wait until they can expect three good days in a row. For that reason, they really prefer to paint in the winter because the humidity is always very low and they can precisely control the air temp in the booth.
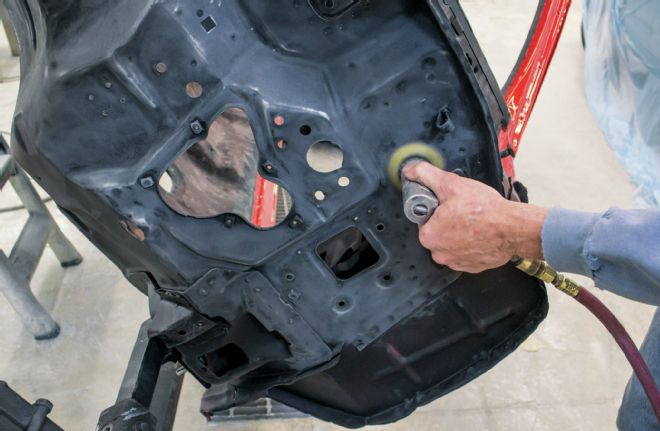
Once the final buffing is completed, attention turns to the undercarriage and firewall. DP-90 epoxy primer was applied to these areas after the final bodywork was completed. It now needs to be scuffed with 180-grit paper prior to receiving a coat of acrylic enamel chassis black.
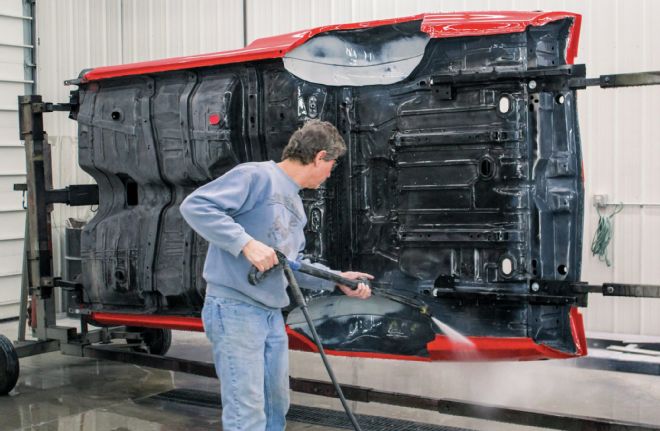
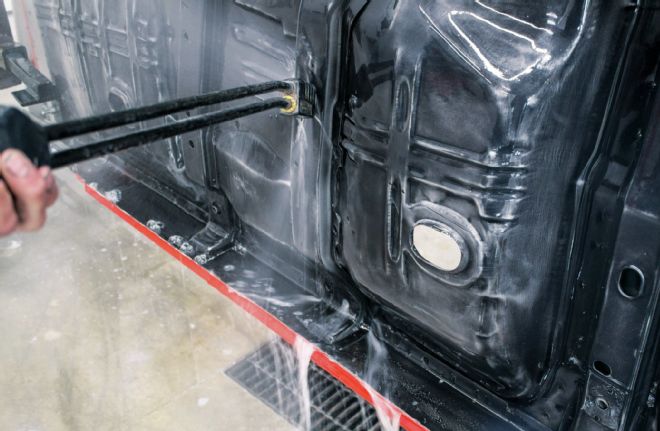
Wet-sanding the clearcoat and scuffing firewall and undercarriage produces a lot of residue that must be removed before the chassis black is sprayed. MCR has found that only a thorough pressure washing will remove this debris and any wet-sanding stains. Don't use any type of soap product. It doesn't improve the job and only leaves behind its own residue that is more difficult to remove than the sanding debris. The hood, trunklid, doors, and fenders all receive the same cleaning.
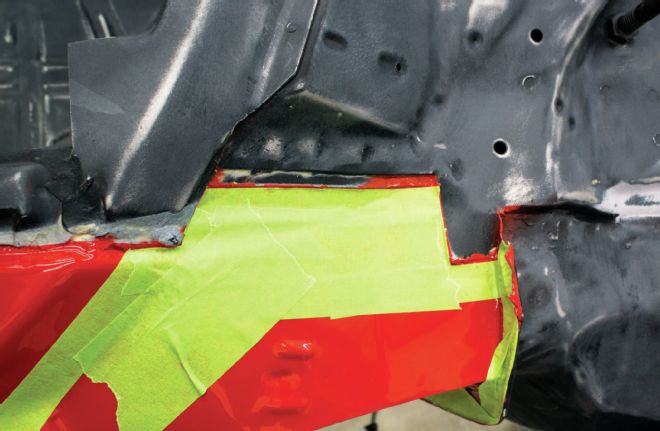
After the entire body has been blown dry, all of the color is masked off to prevent any overspray from the chassis black. The primer is wiped down with DX 330.
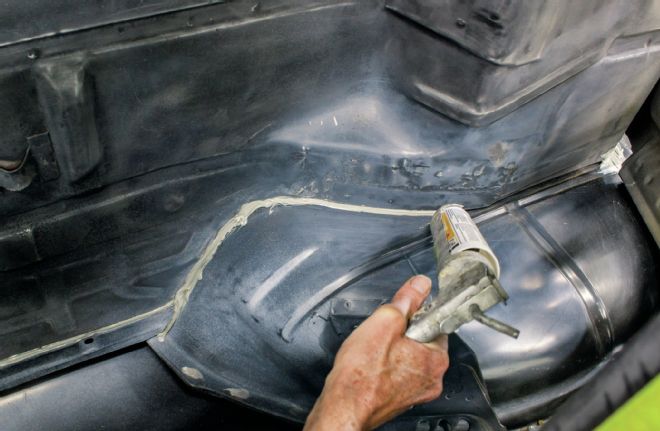
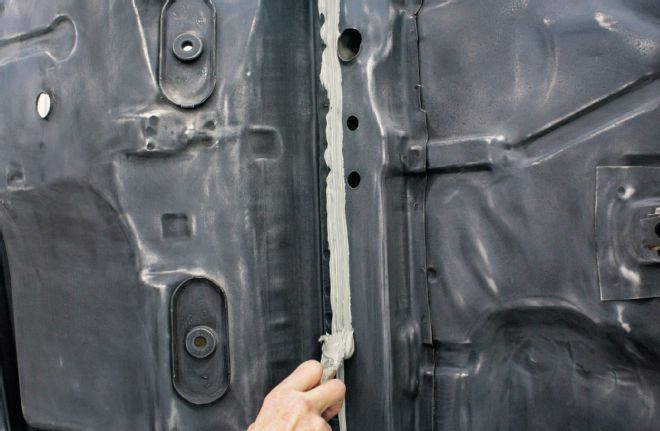
Mimicking the factory applications, MCR coats the seams with 3M's Ultracoat Sealer before the black is sprayed.
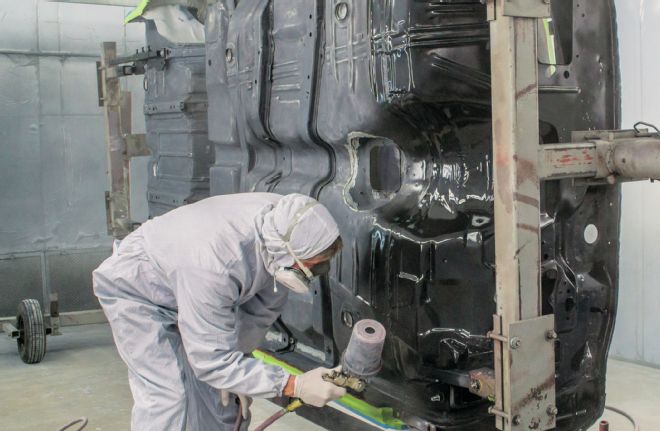
Everything not body color is covered with a single-stage acrylic-enamel chassis black. Any interior parts that require paint are masked and sprayed also at this time.
In this case, the bottom of the hood and the backs of the fenders are also painted black. Again, all of the body color is masked to prevent overspray.
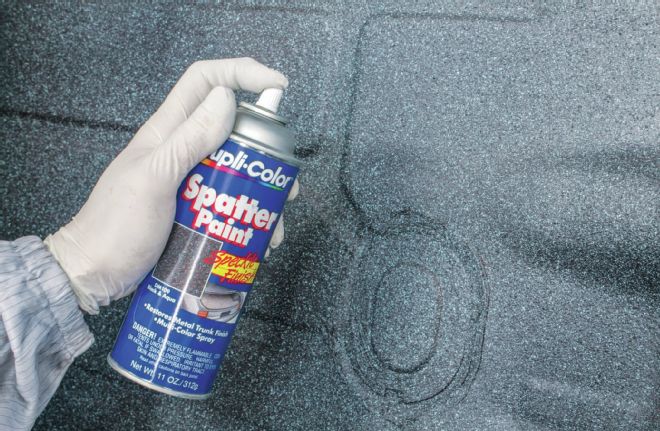
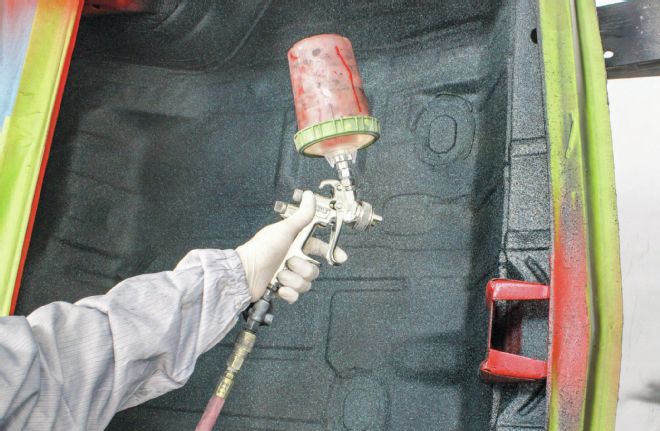
Spatter paint is applied to the trunk on applicable models over the top of the chassis black. A clearcoat is applied to the spatter paint to provide additional protection and durability.
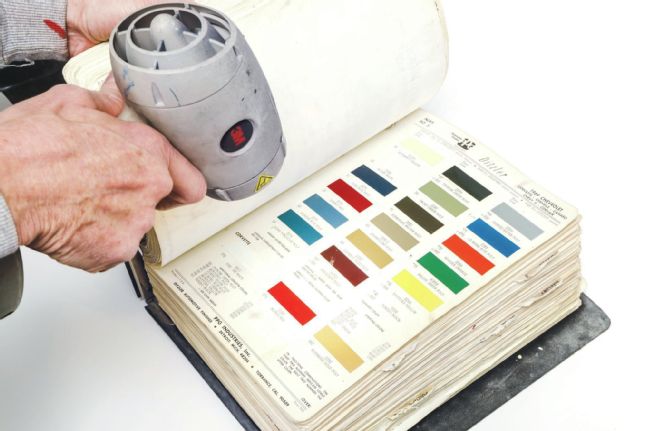
Choosing a color for your car is sort of like choosing one for the inside of your home in that the perceived color will change depending on the type of light it's under at any given time. While there are paint books available for your make, model, and year, looking at the chips under fluorescent shop lights will likely trick your eyes. Using a 3M Sun Gun, which replicates natural sunlight, to view your chips will give you the most accurate color perception possible short of taking the paint book out into the sunlight.
Parts List
Description PN Source Price Catalyst DCX3030 PPG $218.97 Chassis black DAR9000-01 PPG 507.11 Sealer DAS3025 PPG 376.91 Base/clear reducer DT885 PPG 113.06 Chassis black reducer DTR602 PPG 97.06 Mixer DX265 PPG 77.77 Base/clear activator DX57 PPG 77.49 Acrylic clean DX330 PPG 86.14 Base color DBC PPG Varies Clear DCU2002 PPG 497.31 Clear catalyst DCX61 PPG 221.54 Fast cleaner DX320-01 PPG 80.51 Non-sanding epoxy primer DP50 PPG 113.14 Lead-free catalyst DP401LF PPG 108.63 Black epoxy sealer DP90 PPG 364.14 Seam sealer 804 3M 22.69 Seam sealer 8300 3M 28.80 Black/aqua trunk spatter DM109 DupliColor 12.43 Mixing cup 16024 3M 110.88 Mixing pail 70165 3M 4.02 Cup and collar 16023 3M 36.10 Corrosion-resistant primer NCP271 PPG 387.29 Buffing compound 06064 3M 31.63 Meguiar's 1,000-grit sand paper S-1025 Meguiar's 40.50 Norton 1,500-grit sand paper 06043 Norton 111.27 3M Trizac 3,000-grit foam disc 02085 3M 147.29 Paint gun: Sata Jet 4000 B RP Sata 750.00 Paint gun: Sata Jet 4000 B HVLP Sata 750.00
Paint Chemistry and Color Matching
Muscle Car Restorations is not currently using water-based paint because they haven't found the classic colors specific to the type of muscle-car restorations that the company typically performs.
Owner John Balow said, "The chemistry and the types of products used to mix paint are totally different than that of the lead-based products of years ago. The tints used in low-VOC urethanes are different, and they don't produce the same colors as they did years ago. The added expense of reformulating the new-style paints with new chemistry makes it extremely costly to formulate the old colors of the muscle-car era. That is also true with the water-based paints.
"In order to get [our preferred PPG] Deltron base coat to accurately mimic the colors of the muscle-car era, we spray a test panel of the color we need in an acrylic enamel that is still being mixed by PPG today. Once we have an accurate test panel, we do a spray out in Deltron [urethane] of the same color to see how closely they match. Many times we have to change the tint and/or the metallic size and amount in order to accurately match the acrylic enamel spray out. Once we've done that, we now have a custom formula that our paint store keeps on hand for us for later use. Years ago we went through an extensive process to get all the bright colors like lime green and Panther Pink and Lemon Twist to be accurately duplicated in Deltron basecoat/clearcoat. Spraying the acrylic enamel was the first step, then we custom-tinted the Deltron urethane to match the originals."
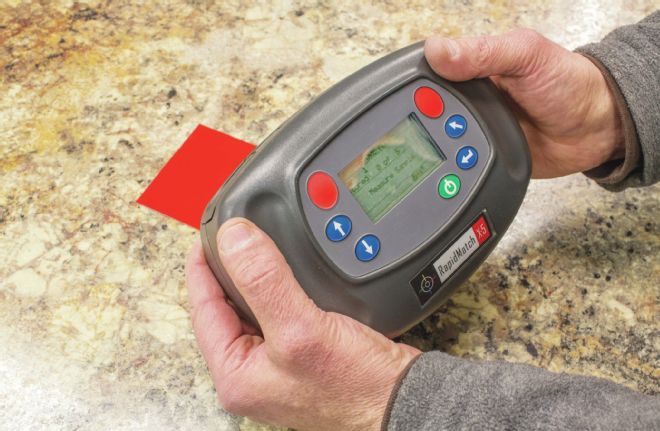
Balow added that using PPG's Prophet II Color Analyzer was a big help in this process. Basically, the Prophet II was used to read the enamel test panels provided the closest match in the current DBC line. Sometimes it was close, but sometimes it was not, so MCR would then work with its paint distributor to hand modify the formula until the company had an exact match.
It would often take multiple test panels to produce one that matched the original color. Additionally, this was only possible because the MCR paint shop still had an older computer with all of the older paint formulas still intact. Obviously, these are backed up and closely guarded.