Most serious restoration projects start with the body. If you are as lucky as we are, that body is a relatively solid and rust-free example of Mopar's best. Our 1971 Dodge Challenger R/T is a project abandoned in the late 1980s, after having undergone major disassembly. Part of the body had been stripped to the bare metal all those years ago, resulting in surface rust in the bare metal areas. We showed you how to handle that in the last issue of Mopar Muscle. Oddly, very close scrutiny of our Challenger showed no real rust in any of the usual Mopar places. The lower doors, quarters, fenders, extension panels, trunk, and floorpans were virtually as clean as the day the car rolled off the assembly line. We did have one area showing rust through—a section of the upper quarter just under the roof seam. Here we suspected a torn vinyl top collected moisture leading to the isolated localized rust through. Our job was to fix it.
Small rust areas on major panels that are otherwise sound are best repaired by patching. My preference is to keep as much of the original solid metal as practical, though heavy rust or body damage covering a large area is best handled by panel replacement. This area is not a portion of the body serviced by available patch panels. Not to worry, a section of repair sheetmetal can easily be fabricated for any smaller repair. There are two common ways of installing a patch; the first is flanging the adjacent metal and tack welding or even bonding the repair section. The other approach is fitting up the new piece to exactly the shape of the metal removed, and butt welding it in place. The latter approach takes more skill, but it results in a nearly seamless repair that is difficult to distinguish from the original metal.
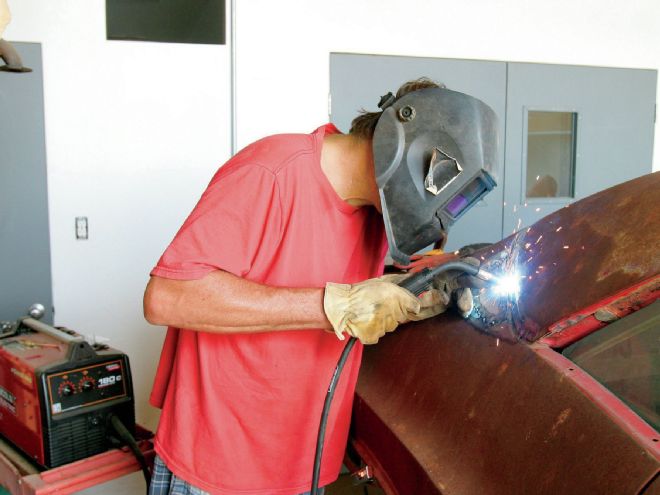
We prefer to butt weld the replacement metal. Success here relies upon a properly fitted patch section to begin with, and patiently welding the repair metal in place one tack weld at a time. The most important detail here is to make certain that the edges of the new metal line up exactly level with the existing metal. If any edge of the patch is misaligned, you will inevitably grind clear through the sheetmetal before the weld can be ground smooth.
Here we suspected a torn vinyl top collected moisture leading to the isolated localized rust through. Our job was to fix it.
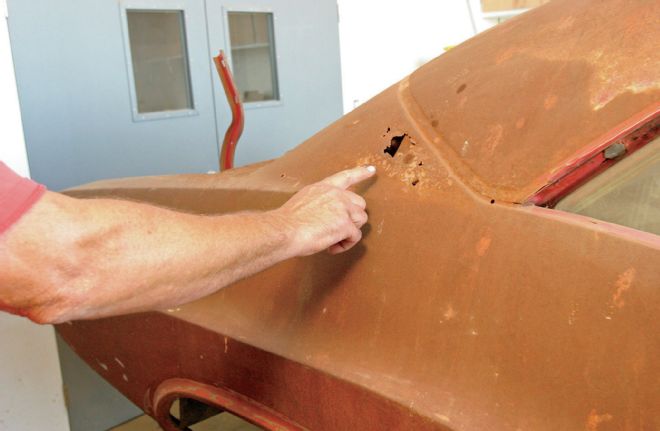
A detailed inspection of our '71 Challenger showed zero rust in the usual places, but oddly there was this one spot of full rust-through on the passenger-side quarter. A damaged vinyl top is undoubtedly the culprit here.
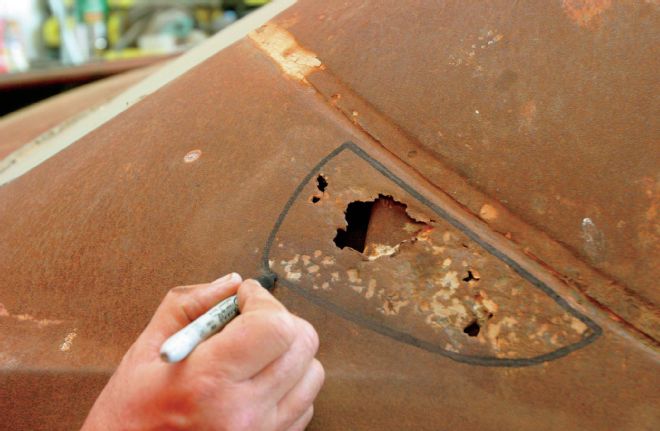
When planning a patch panel, starting with an appropriate cut line is step one. The shape is not relevant; the objective is to cut the area out to clean, solid metal without removing more metal than necessary. We marked just below the upper seam line and let the rust dictate the shape from there.
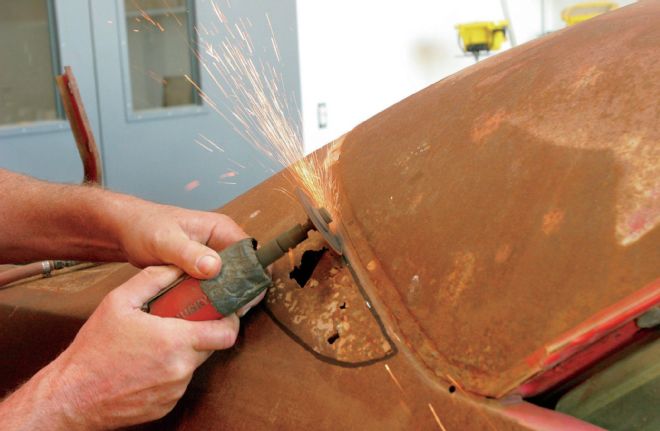
A cutoff wheel in a high-speed die grinder quickly slices through the metal. By keeping the blade engagement shallow, the cutter can easily follow curves. Take care not to cut through hidden panels or braces below the skin.
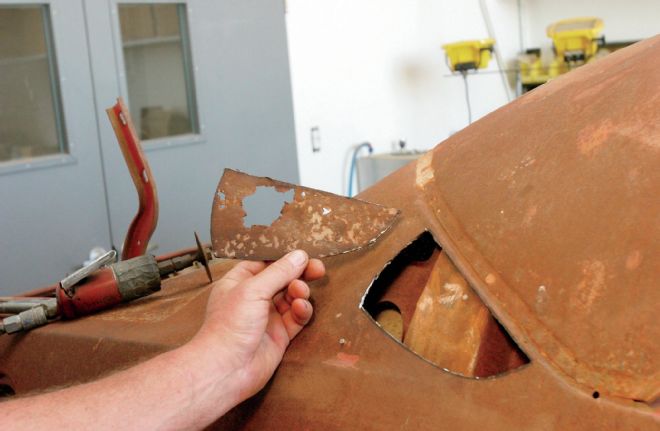
Using the abrasive cutoff wheel, the rusted section of metal comes off without distortion. This piece will serve as both a template for the shape and the contour of the patch piece.
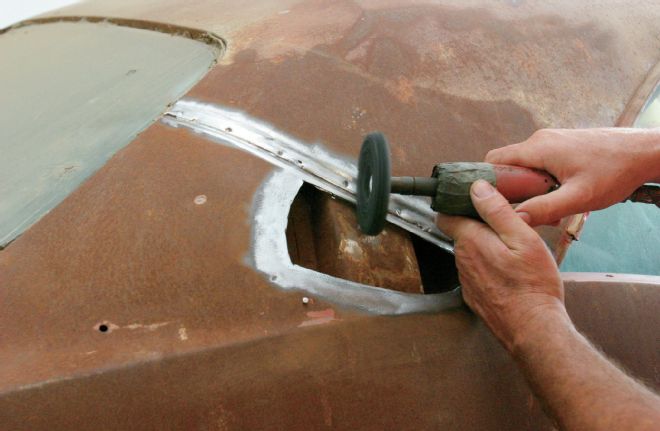
The area adjacent to the repair is cleaned to bare metal in preparation for welding in the patch. A fiber-stripping wheel such as this one from 3M makes quick work of removing any surface rust, paint, and sealant.
We cut our replacement metal from a damaged '72 Dodge truck fender using the rusted piece cut from our Challenger quarter as a template. Naturally, the truck fender yields a perfect match for the original steel of our Challenger. By floating the old piece of metal over the junk truck fender, we found an area that matched the compound curve of the original metal identically. This saved on the hammer work and shaping that would have been required if starting with a flat piece of metal. Those junk Mopar fenders had to come in handy some day.
A patch in a blind area of the car is difficult to fixture in place by conventional clamps, but there is really no need to be elaborate here. The fitted repair patch was simply aligned with heavy rubber tape, and then tacked into place. Any small adjustment of the edge height is easily accomplished with the tip of a small screwdriver while tacking. After a few tacks are made around the perimeter to hold the piece in place, the tape is removed and the tack welding proceeds. The edge should be checked and adjusted as each additional weld is performed. This process is continued, working from opposite areas of the patch until it is welded solid. A final check for pinholes is made by placing a bright light at the back of the panel and giving the welds a detailed visual inspection.
Our Challenger is equipped with a vinyl top, so the repair area will be hidden once the body is completed. A fairly rough grind to knock down the weld and a skim of filler would be a sufficient repair here, however, with the repair edge in perfect alignment with the adjacent metal and a patch with a perfectly matched contour, a little grinding resulted in a nearly perfect metal finish. Starting with a fairly aggressive grinding disc such as 36-grit is the most efficient way to quickly level the weld buildup. Care is taken here to work only the ridge of the weld beads, and not to thin the adjacent sheetmetal. After the bulk of the metal removal was complete, a finer 80-grit disc was used to perform the final leveling, followed by a D/A sander with 40-grit to remove the grinder marks. The resultant repair is nearly nice enough for primer and paint.
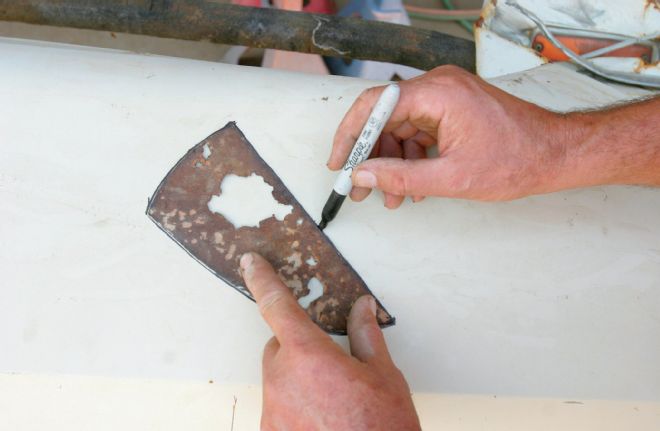
Instead of cutting the patch from a flat sheet, we harvested a piece of metal from a damaged Dodge truck fender of the same era. By floating the rusted piece over the panel, we found an area where it laid perfectly flat all around, indicating a perfect match of the contour. We marked an outline of the patch panel shape at that location.
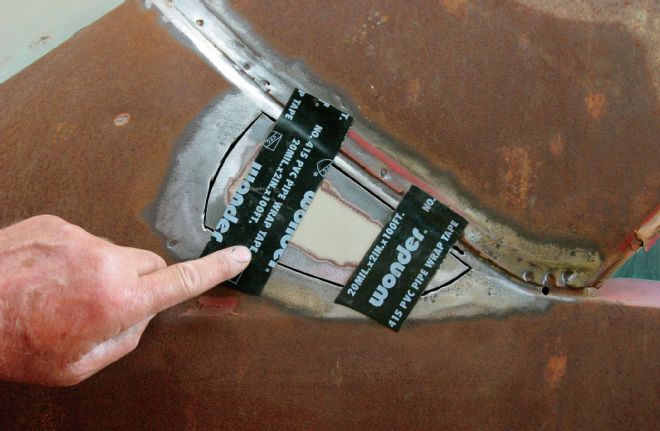
Using the original piece of metal as a template resulted in a patch piece that is a perfect fit for welding. Heavy rubber tape is a quick and easy way to hold the piece in position, and the flexibility allows slight adjustment. Note how the contour of the patch matches exactly.
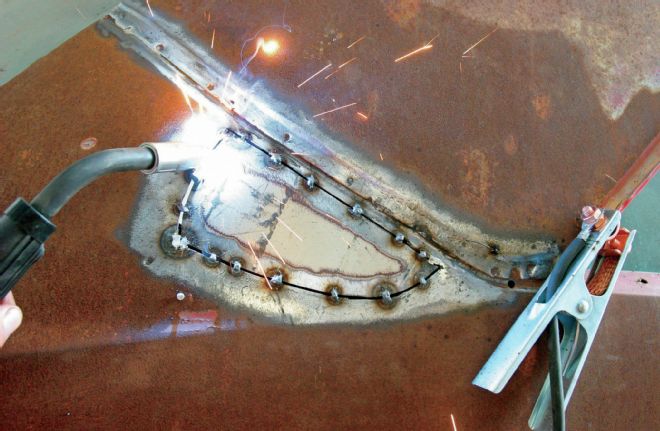
Start by tacking opposite sides of the patch to hold it into position. Make small adjustments using a small screwdriver to ensure the edges are perfectly aligned when welding. Continue tack welding at alternate positions until the patch is welded in completely.
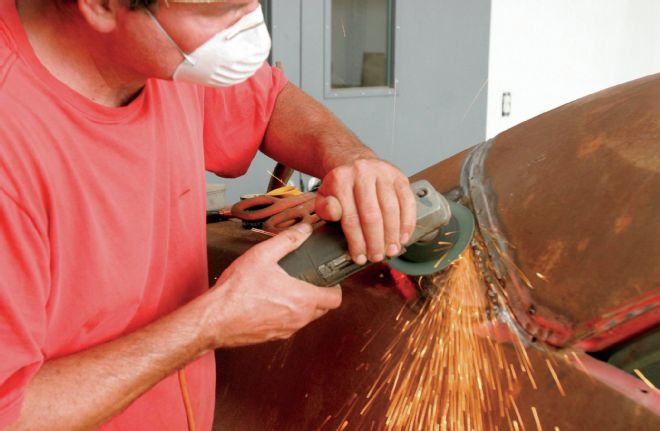
A nice finish and a sound repair will depend upon accurate grinding. A new coarser disc cuts more quickly with less heat and distortion than a dull or fine disc. Grind the weld beads down to nearly level and avoid gouging or thinning the adjacent metal. Check for any pinholes in the welds and repair as required.
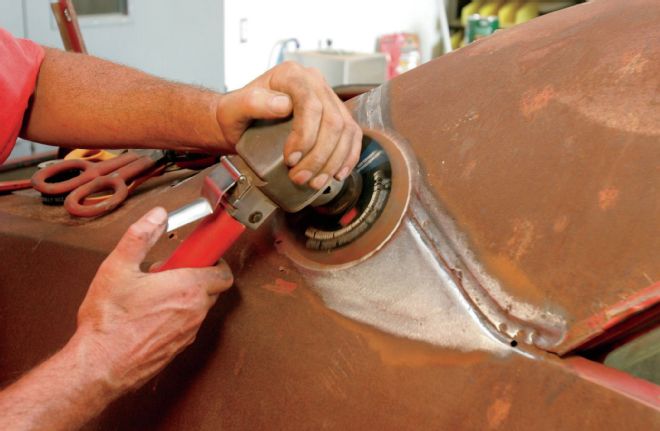
After grinding the weld, a D/A sander with a coarse paper will remove the grinder marks and finish the leveling. We worked the area using a 40-grit disc.
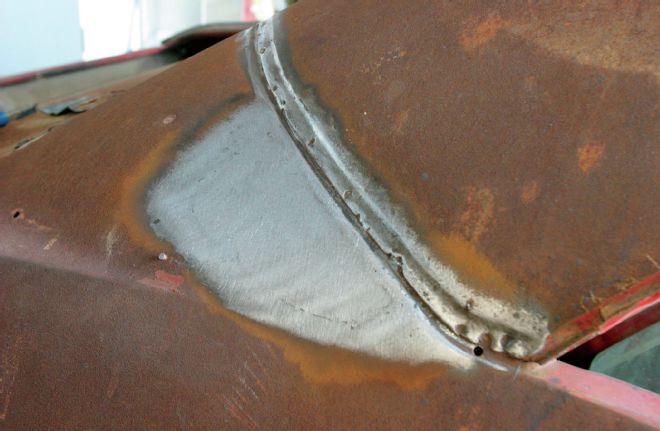
Although our repair area will be hidden by a vinyl top, pride in workmanship had us take the repair to nearly a perfect metal finish.