Regardless whether your hop-up is undergoing a full build or a number of well-planned enhancements, one of the most important facets to focus on is preserving the body's structural integrity. Starting at the bottom and working your way up is always a good way to build a strong foundation. Unless you're fortunate enough to have purchased a car from a bone-dry environment, chances are you will have to undertake either patching or replacing your floorpan.
On a recent visit to Competition Specialties in Walpole, Massachusetts, shop owner Peter Newell showed us a '55 Chevy Bel Air that had recently arrived to get the full custom treatment, complete with an Art Morrison GT Sport chassis. The car had suffered a lifetime of abuse thanks to the harsh New England winters, and its body, fresh back from the blasters, revealed its sad overall shape.
When having to deal with the devastation and abuse to classic steel bodies, where does it leave a hot rodder who needs to conduct a full resurrection? Thankfully Real Deal Steel specializes in top-quality, factory-style replacement panels for the Tri-Five with a myriad of components available to refresh even the most dilapidated example. Newell wasted no time in contacting Real Deal Steel for one of their one-piece stamped (like the original) full replacement floors. The unit is made from high-quality, original-gauge steel, is seamless, and includes all factory-style braces as well as inner rocker panels, rear floor brace, and all original mounting points for seats and the emergency brake spring bracket.
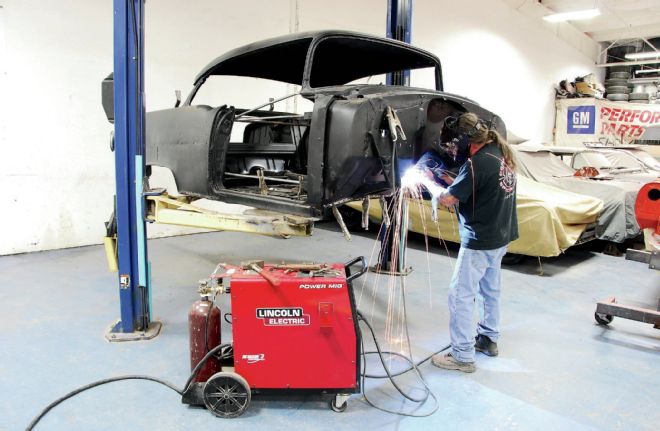
Taking on a job of this magnitude is no small feat and requires plenty of preparation for the installation. Our body had been picked clean and blasted as the car is undergoing a full build. Newell advised us that if you are taking on the floor replacement to a complete car you will need to remove the interior, carpeting, fuel and brake lines, as well as any other miscellaneous items to be ready for the removal and installation of the new floorpan. Getting started, the bare body was properly anchored on the lift using a combination of jackstands and a transmission jack at the rear to maintain balance. Since the floors are the foundation of the car, special care must be taken to maintain the body's integrity once they are removed. For this step, sections of 1-inch steel tubing were cut to size and tack welded in place using a MIG welder to adequately brace the doorjambs and inner body structure from any potential movement
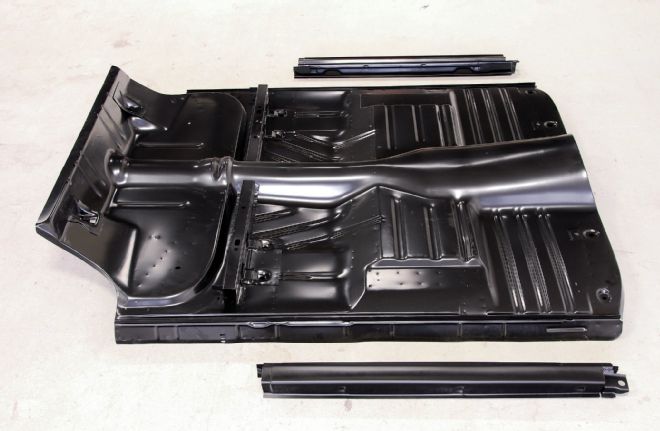
1. Real Deal Steel produces a one-piece high-quality stamped original gauge steel replacement floor, which comes complete with all braces and inner rockers included. The unit is completely seamless and looks factory original.
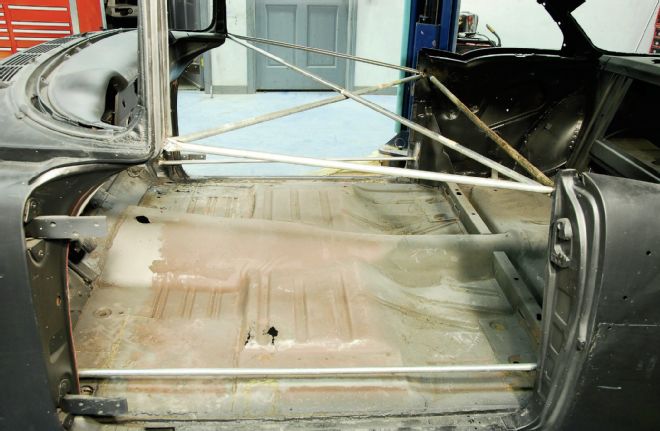
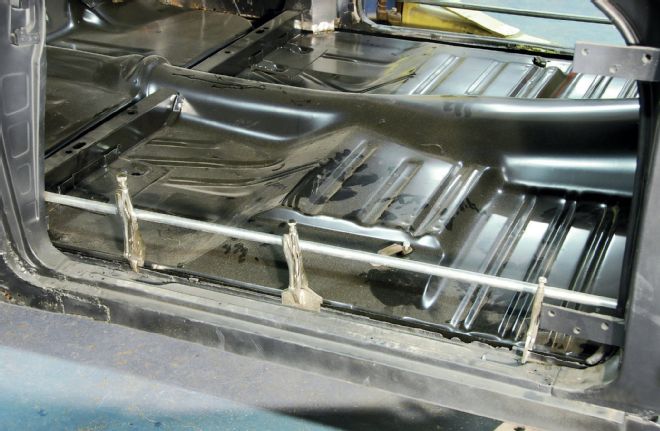
2. Here you can see the completed cross-bracing to strengthen the inner body structure. The floors can now safely be removed.
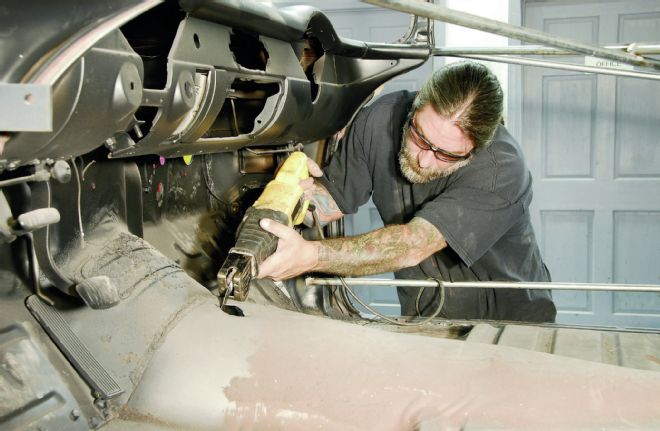
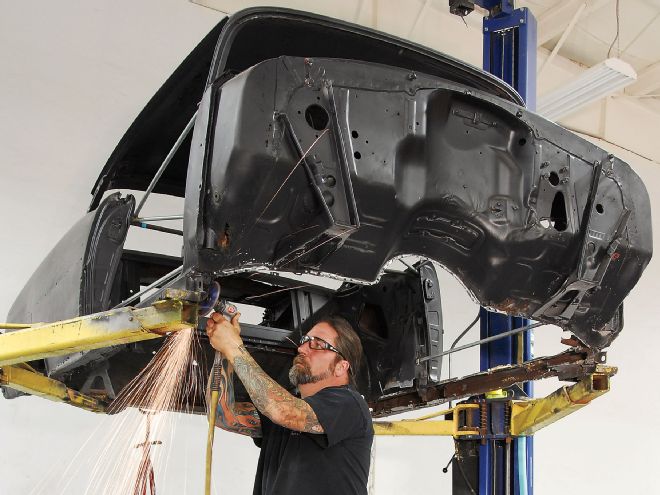
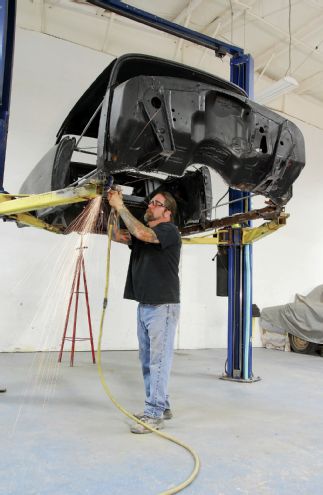
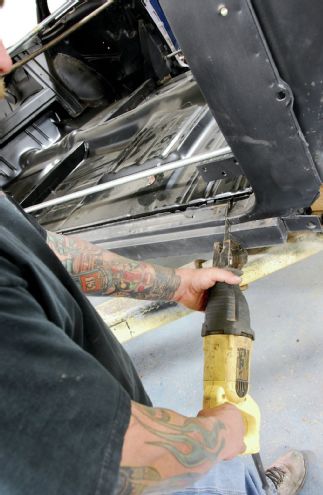
3. While wearing safety glasses, Newell used a Sawzall to begin gradually cutting at the original floorpan seam from side to side.
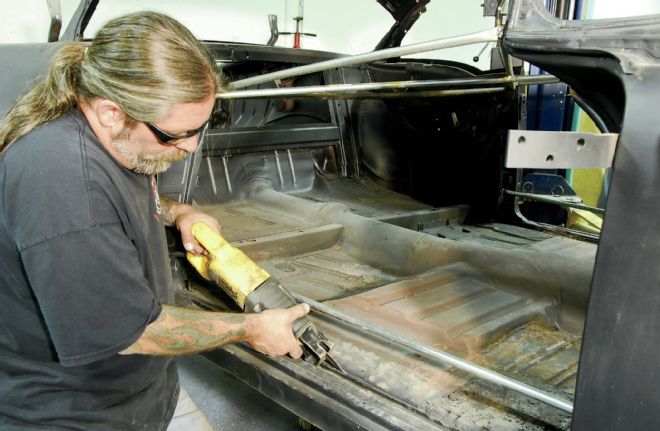
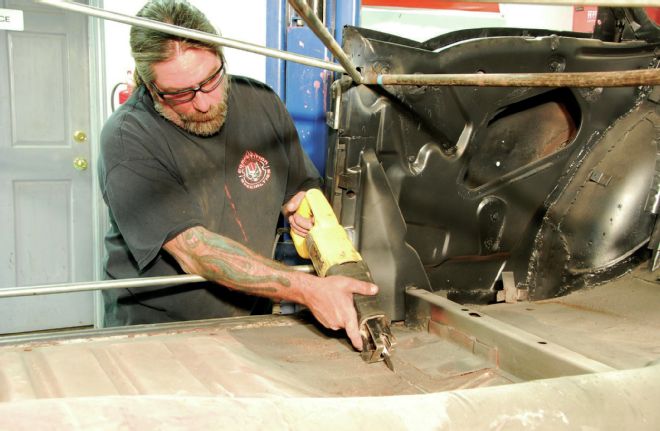
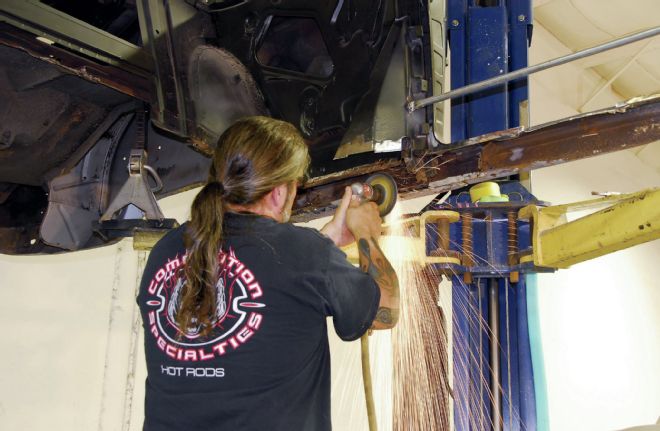
4. Continuing along the seam for the inner rocker panel area great care must be taken as you are cutting through multiple layers of steel and bracing.
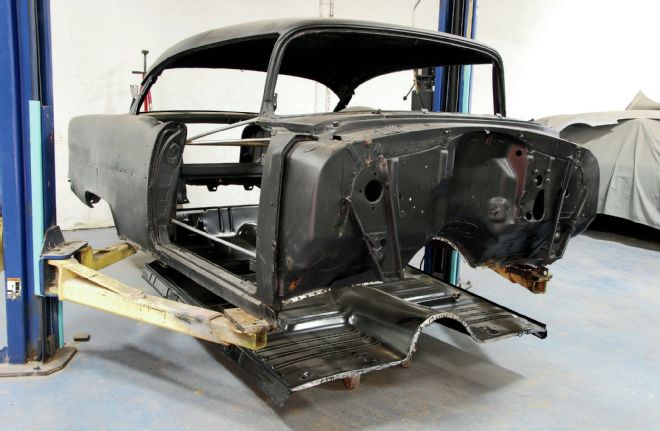
5. The tattered original floor of the '55 is now history and we're ready to take on all the prep work to fit the new one-piece floorpan.
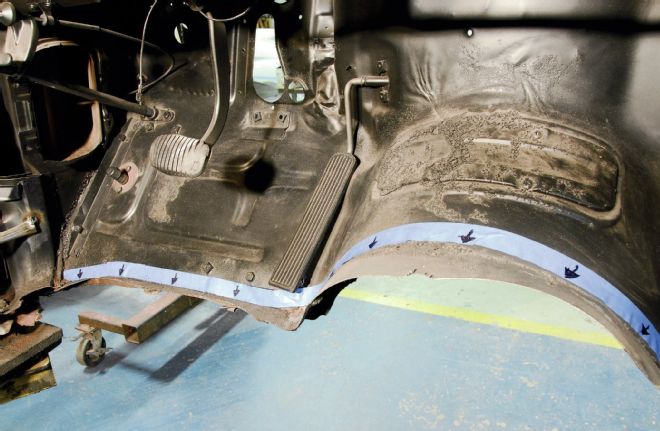
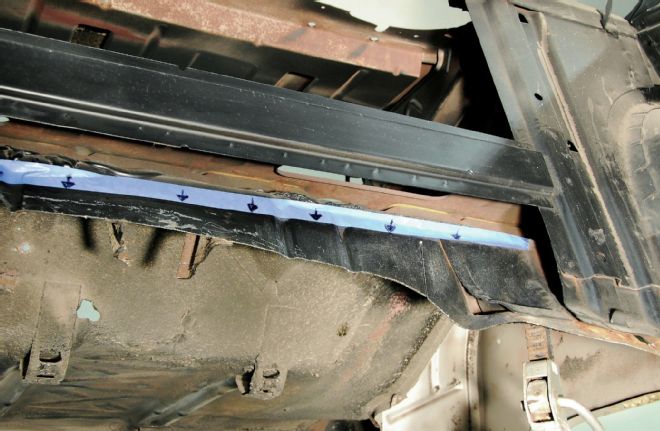
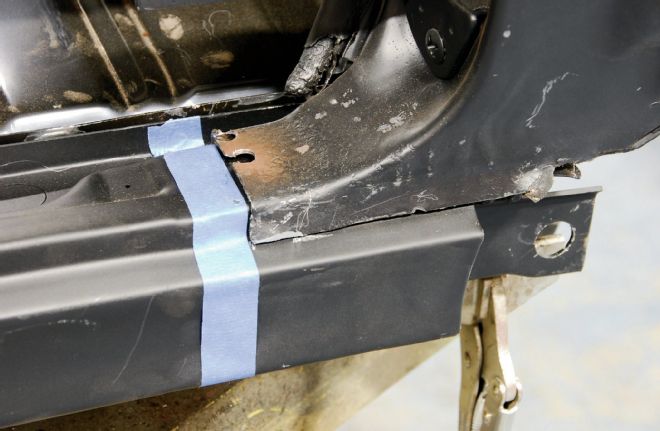
6. Using blue masking tape for a guide you can now see the slight amount of trimming required to the inner floor seam to make it perfect.
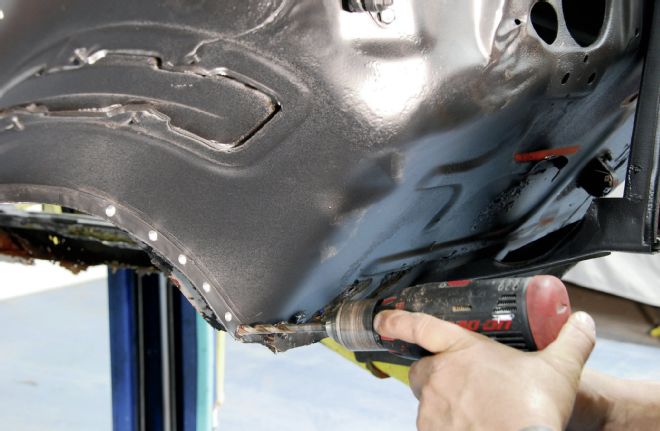
7. A 5/16-inch drill bit was used to drill out all of the factory spot-welds along the outer firewall area to separate and remove the balance of the original floorpan.
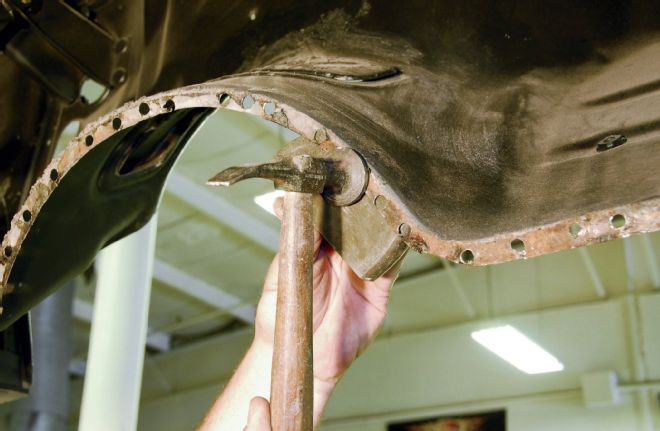
8. Newell followed with a body hammer and dolly to straighten the area and prepare it for the new floorpan.
9. Working his way to the back of the car there was more final trimming required as seen here of the rear floorpan to the trunk floor seam.
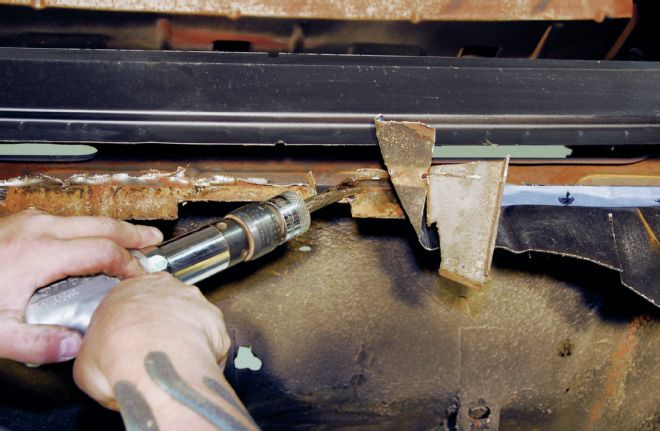
10. An air-chisel was then used to remove the balance of the rear floor bracing. This takes care and time to work through. A Sawzall was used to remove any remaining balance.
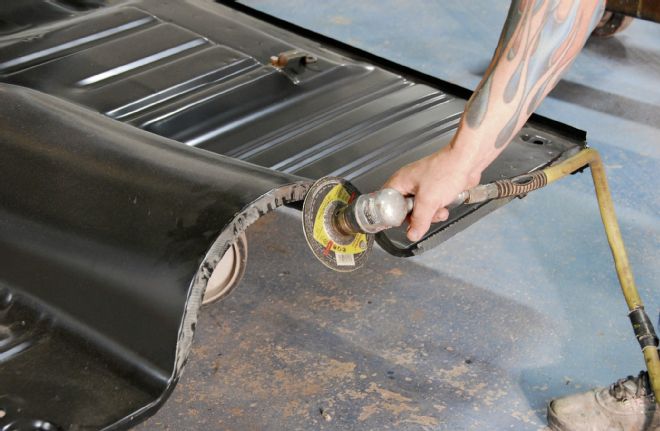
11. On the new floorpan any surfaces to be welded to were also ground smooth to remove any new paint using a 36-grit disc on a disc grinder.
12. To ensure a proper fit, the body was then lowered onto the new floorpan to check for any needed minor revisions prior to welding.
13. Using various Vise-Grips, the sides of the new floorpan were clamped in place to maintain their position for welding to the inner body structural areas.
To begin the removal of the original floorpan, Newell, wearing eye protection, used a Sawzall. He started at the center of the transmission tunnel adjacent to the front factory seam, carefully making cuts from left to right along the pan, allowing for a small amount to be trimmed away later. With the incision complete, he methodically moved onto the inner rocker panel area. Great care needs to be taken in this area as there are multiple layers to cut through, including much of the factory bracing. To complete the removal of the main floor section he then proceeded to cut across the pan following the rear of the doorjamb from left to right. This allowed him easy access into the interior to complete the removal of the balance of the floorpan, which included cutting through more factory bracing. Newell gave us a tip for when separating the rear of the floorpan from the trunk floor. He advised using caution so as not to damage it, as there is a structural cross-brace that will be reused to secure the two areas together. With the floorpan now completely removed it was time to follow up with trimming and preparing the opening for the installation of the new pan from Real Deal Steel.
Drilling out the factory spot welds takes time and Newell used a 5/16-inch drill bit to get the job done. Working a section at a time, he then followed with a chisel and hammer to break apart the areas followed by a Vise-Grip to remove the remaining portions of the original pan. To give the new floorpan a perfect base to weld to, a body hammer and dolly were used to flatten out any areas that were drilled out. Any remaining areas were cleaned and trimmed using an air-driven grinder topped with a 36-grit disc. The final preparation was to the new pan where all areas to be welded were cleaned up with a 36-grit disc to remove any paint for ideal welding adhesion. The body was then lowered onto the pan while still on the lift to test-fit the pan to the body. Once any minor details were dialed in, the pan was clamped to the body using various types of Vise-Grips. It was then tack welded in place using a MIG welder. After all mounting points were re-checked for the final time, Newell let the sparks fly as the new floorpan was securely welded in place. All welds were then ground smooth using a 36-grit disc to give the final product a factory-fresh look.
With the original outer rocker panels also in sad shape, a fresh set from Real Deal Steel were mocked up for installation. Much like the installation of the floorpan, the original rockers were removed and the new ones were welded in place following the same procedures. Taking on a project of this magnitude is very labor intensive but with the proper tools and replacement parts the job moves from start to finish at a great pace. Stay tuned as our '55 will receive one of Real Deal Steel's pre-narrowed trunk floor kits with mini-tubs as well as fresh quarter-panels to bring the body back to life.
14. A disc grinder topped with a 36-grit disc was used to clean up all areas to be welded to as well and tidy up and deburr all related surfaces affected by the floorpan removal.
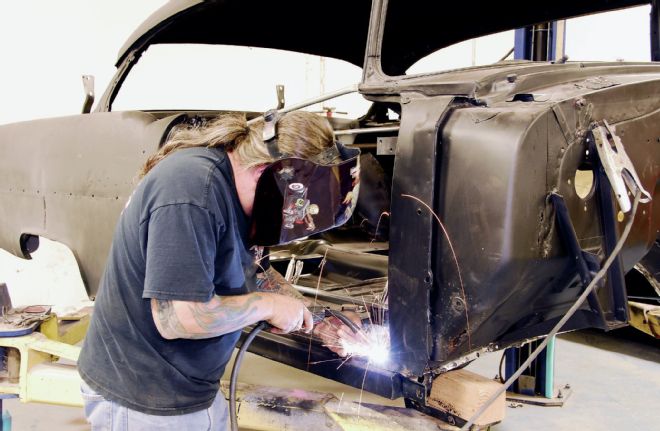
15. Once everything was tack welded in place confirming perfect fitment, Newell continued on to complete all final welding, working each region till completed.
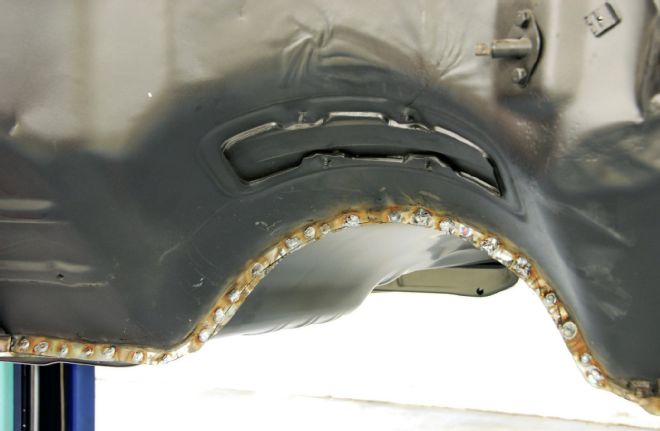
16. The plug-welding to the area where there firewall transmission tunnel meets the new floorpan gives you an idea of the amount of welding required to match the new with the old.
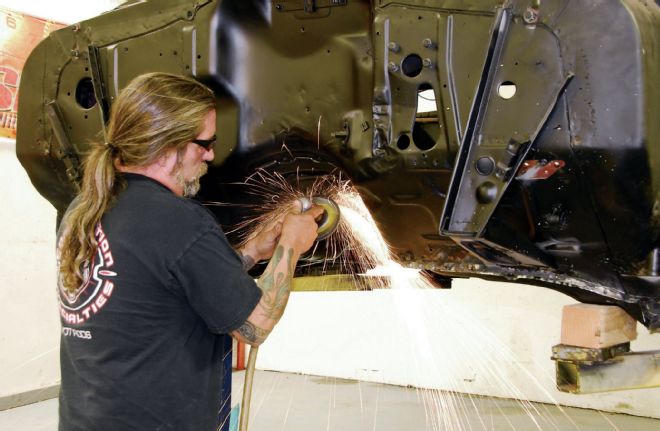
17. To smooth out all the welds an air-driven disc grinder topped with a 36-grit disc was used next.
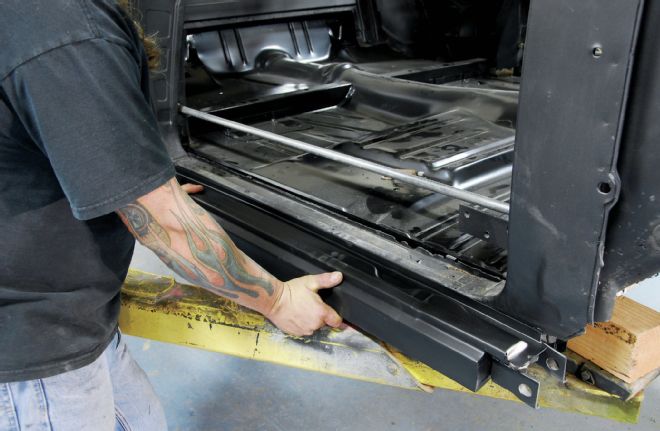
18. Since our outer rocker panels were also in rough shape, a decision was made to replace them as well with fresh one-piece units from Real Deal Steel.
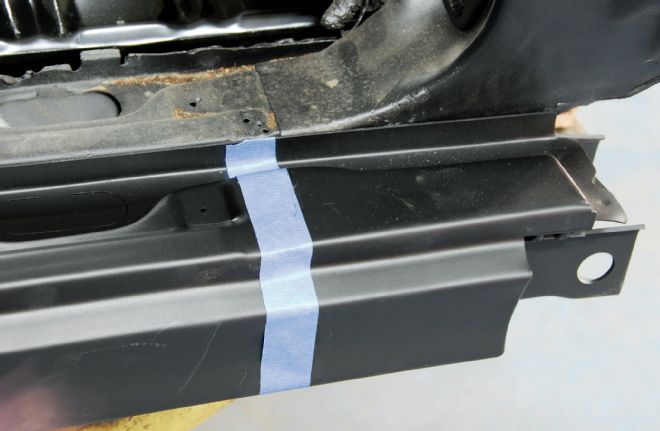
19. The new rocker panel was marked with blue masking tape to indicate where the trimming to the bottom of the A-pillar would need to take place.
20. A Sawzall was used to make the vertical cut just past the factory seam at the A-pillar. The balance of the original rocker panel was then cut out and removed.
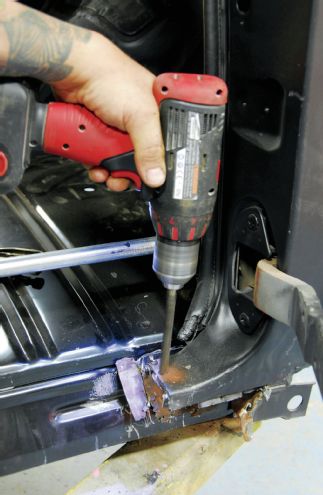
21. Next a 5/16-inch drill bit was used to drill out all of the factory spot welds at the seam.
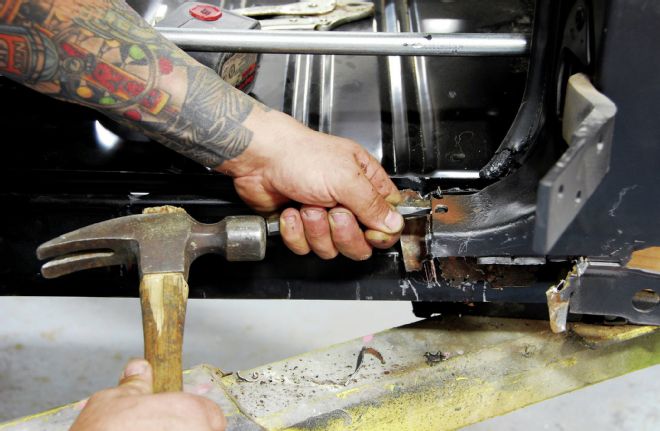
22. A hammer and chisel were used to separate the balance of the original rocker panel from the A-pillar in the 'jamb. The area was then cleaned up using a grinding wheel and a 36-grit disc.
23. The new outer rocker panel was then test-fit in place. Note the perfect alignment of the tape line to the seam.
24. Newell then proceeded to complete all the final MIG welding to the panels working methodically from front to rear.
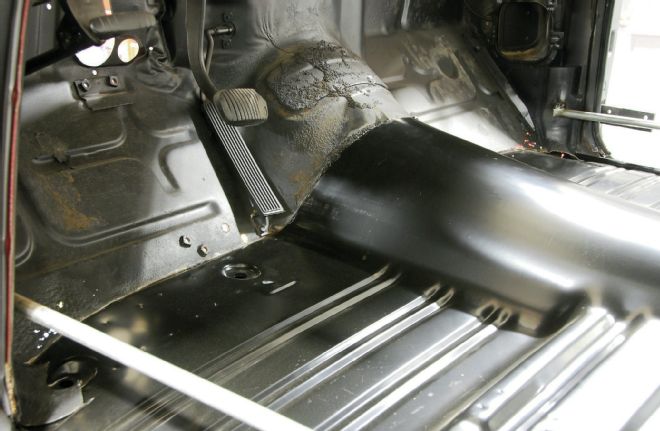
25. Check out the nice clean installation by Competition Specialties along all of the seams like where the front of the floor meets the firewall.
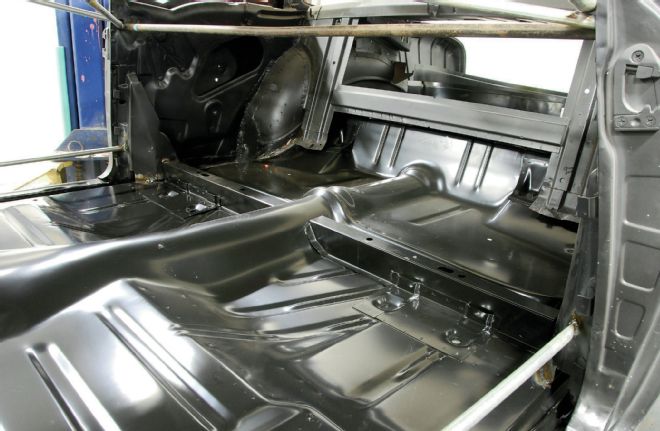
26. Every inch of the new Real Deal Steel replacement floor mirrors that of the factory original, including all of the ribs and stock bracing.