Sometime during the evolution of hot rods someone had the idea to ditch the front and rear bumpers. For those into speed, they would argue bumpers were unnecessary weight. For those into aesthetics they'd argue they were eyesores. Whichever the case may be, the fact remains the same; the lack of what was designed to be the preeminent collision protection looks killer. The hobby evolved once again and this time the stock bumpers were put aside to make room for a set of ornamental styled bars; or as we know them today: nerf bars. The nerf bar was the perfect solution to create a one-off look while retaining the "idea" of having some sort of bumper. For whatever reason, early hot rod trucks took to the concept of nerf bars and still to this day they are prominent fixtures in our realm.
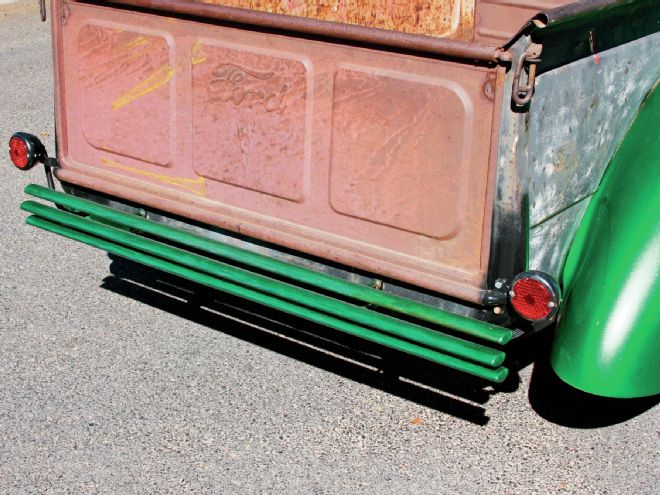
When it comes to nerf bars there are all sorts of styles to choose from. Head out to any rod and custom show and you'll see nerf bars in every shape, form, and size. For my particular application, a '40 Ford pickup, the only thing I knew was I wanted something that would stand out. Without a clue as to what direction I was headed I ventured off to the local metal supply house for some inspiration. As fate would have it, I wasn't but 10 paces into the scrap section when I noticed a ton of 12-foot sticks of oval tubing in the remnants section due to surface rust. What normally runs $20 plus a foot was discounted down to $6.75 for 12 feet … so I bought 11 sticks, every stick they had! Granted I didn't need that much oval stock for the nerf bars, but at that price I wasn't passing it up. With the oval stock in hand I set off back to the shop with one thing for certain, my nerf bars were going to be oval.
Like so many things, once you cross that first hurdle everything else just seems to flow into place. Immediately, I knew how I was going to go about making the nerf bars for the Ford. The plan was simple, being that the oval shape was distinctive enough, I chose to make three straight pieces and form some sort of a grille insert look at the rear of the truck. Instead of putting the pieces in a straight line I decided to stagger the three floating bars with the middle bar protruding the farthest. Custom end caps would be added to the ends of the tubes to create a finished look. The last step was to figure out the mounting. Again, I wanted to fabricate everything from scratch, but I also wanted things to go beyond just a simple straight bar style of mount. With plenty of oval stock to play with I decided I would make an I-beam-styled bracket and then insert 1-inch oval fittings inside the I-beam. All-in-all the nerf bars are pretty simple, but with some creative thinking (and a stroke of good fortune at the metal yard) I'll accomplish my goal of distinguishing the Ford.
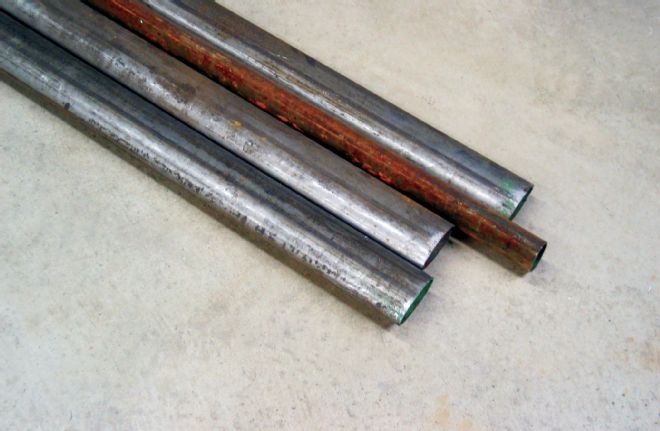
1. I scored a killer deal on this oval tubing, and figured it would be the perfect metal stock to make some nerf bar-styled bumpers. The first step is to cut three pieces to the desired length.
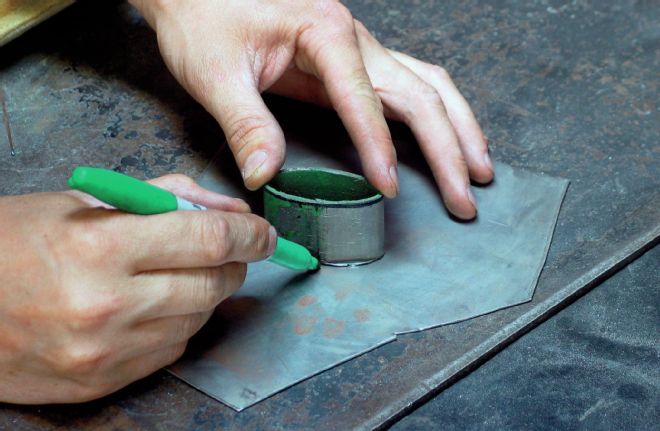
2. Instead of flat ends to the bars, I’m going to make some convex caps. My first chore is to outline a piece of tubing onto some 20-gauge sheetmetal.
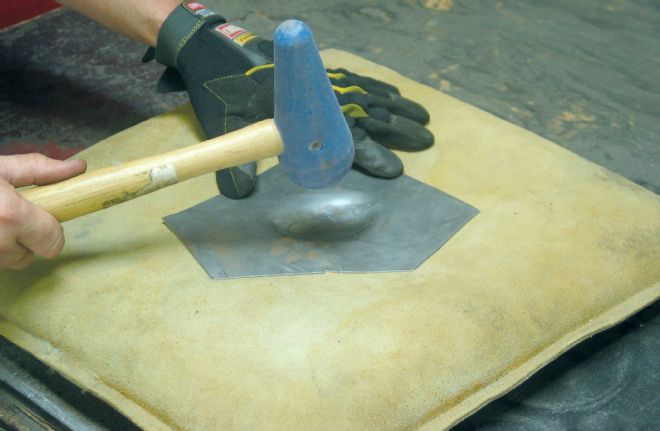
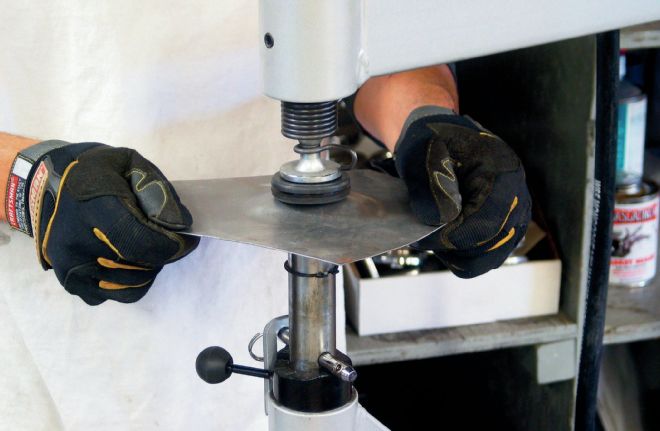
3. With a sandbag and my smallest teardrop mallet I hammered the desired form into the oval pattern.
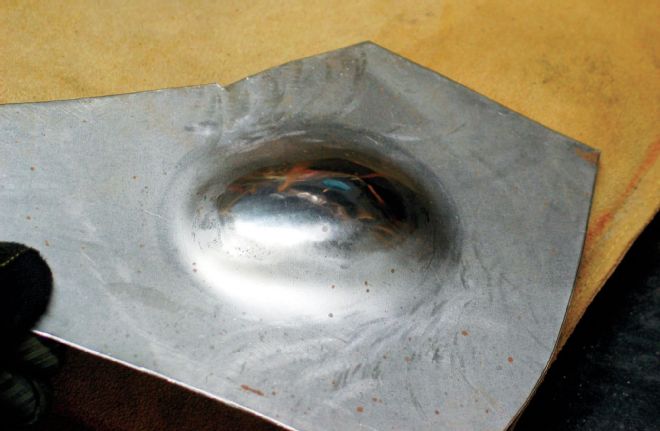
4. A plenishing hammer will smooth out the convex form to a perfect finish.
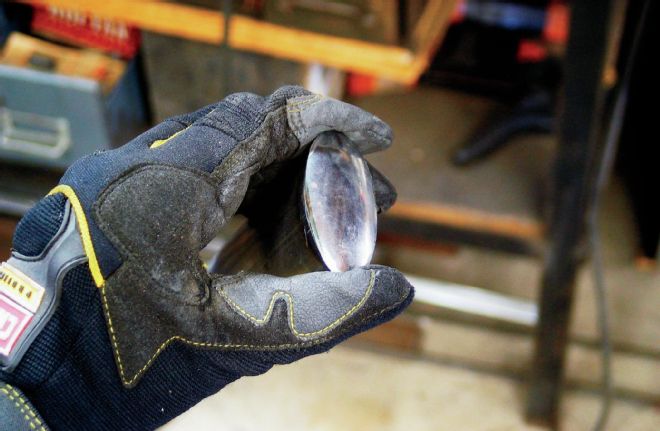
5. Here’s a look at the finished product. I’ll use the combination of a 3-inch cutoff wheel and 1⁄4-inch angle grinder to cut out my cap. This method will ensure no warpage or distortion.
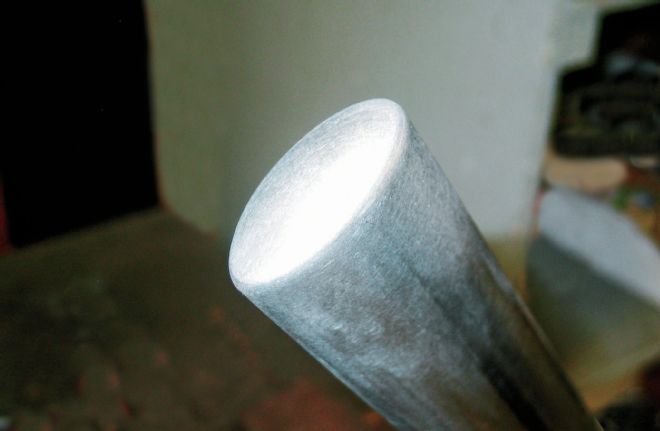
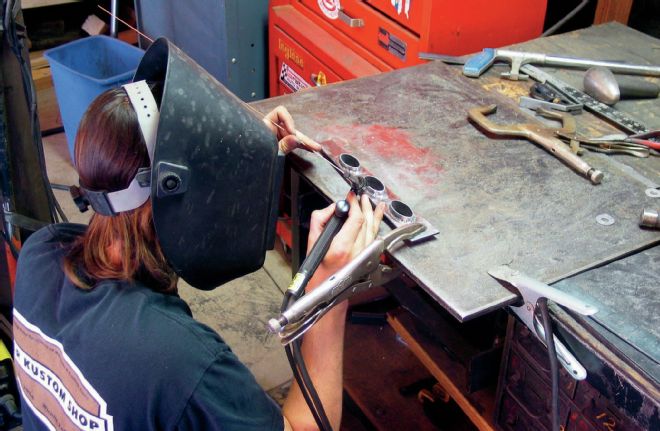
6. The caps will be edge-welded at the end of each tube.
7. I dressed the weld along the cap with some 80-grit paper on a DA. The DA allows me to round the edges in a uniform shape. I’m going to run these nerf bars bare so things need to be as dead-on as possible!

8. I want my nerf bars to have a floating look; therefore I’m welding two 3⁄8-inch bolts into the back side of each bar. Keep in mind, the length of the bolts depend on the distance you want the bars to be from the vehicle.
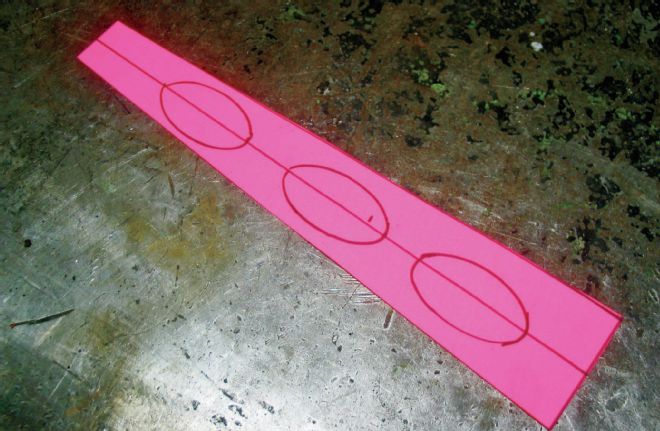
9. Along with the actual bars, I’m going to make a set of brackets as well. The idea is to make an I-beam style bracket with oval inserts placed inside of it. Here’s my template that I’ll trace onto 3⁄16-inch steel.
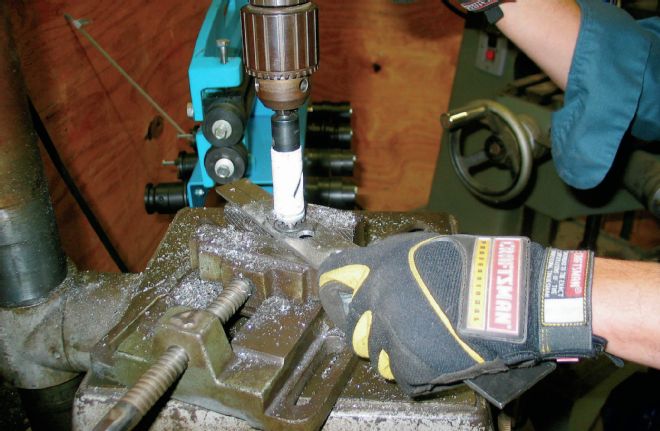
10. In order to cut out the ovals in the center section of the brackets, I drilled a series of three holes inside each oval outline.
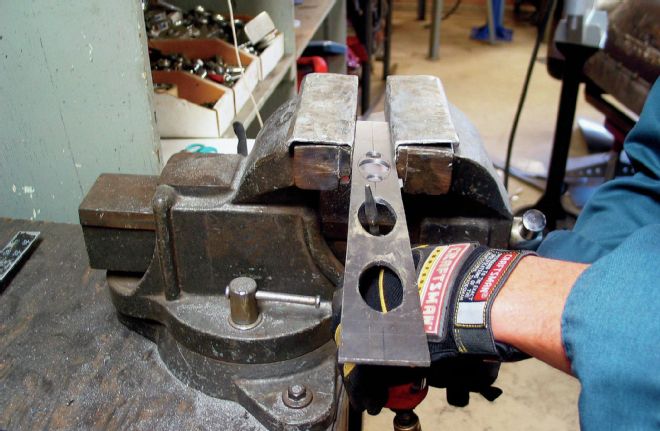
11. From there I used an air saw and die grinder to remove the remaining metal inside the ovals.
12. Three 1-inch-long pieces of oval tubing were cut and inserted in the bracket. Next, the bracket was spaced accordingly and the oval inserts were welded in position.
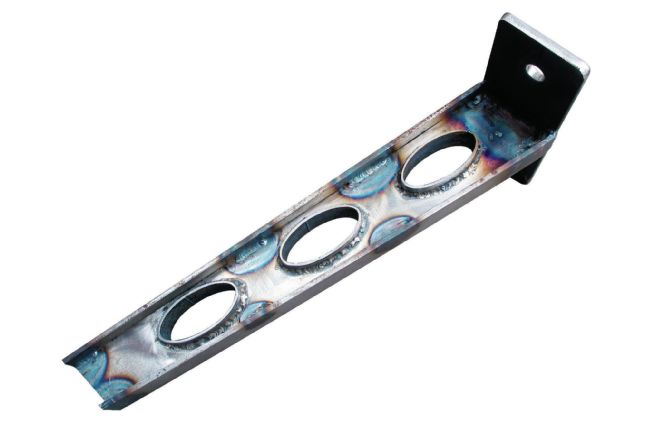
13. Fast forward a bit, and here’s how the finished product turned out. Once I completed the center section I welded 1-inch strap along the top and bottom to form an I-beam look. The mounting tab for the frame is welded to the end of the brackets, but I’ll hold off on the mounting pad for the nerf bars.
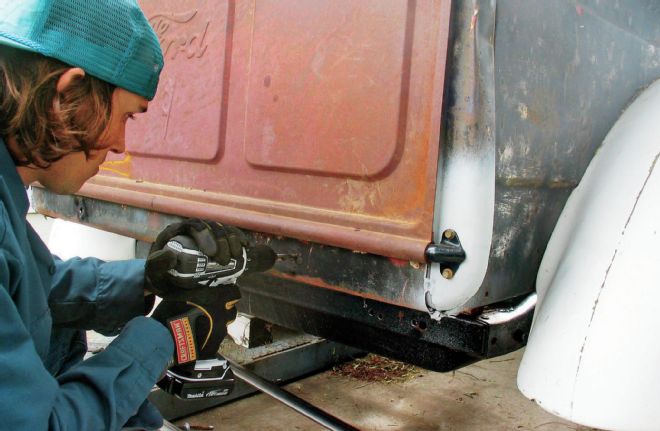
14. The top nerf bar will mount to the bottom of the bed bracing just below the tailgate, therefore I drilled mounting holes accordingly.
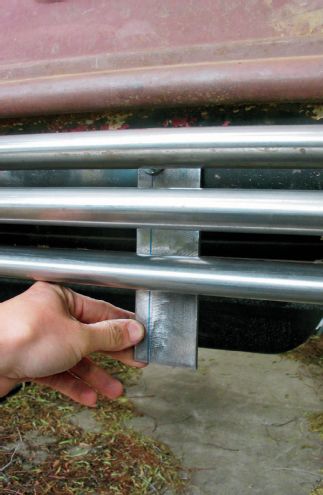
15. The mounting pad for the nerf bars is a 2-inch strap. I drilled three holes in the strap with the desired spacing for the nerf bars. The top hole will align with the hole in the bed bracing, and the top nerf bar will insert into both holes. The other nerf bars will simply mount to the remaining holes in the pad.
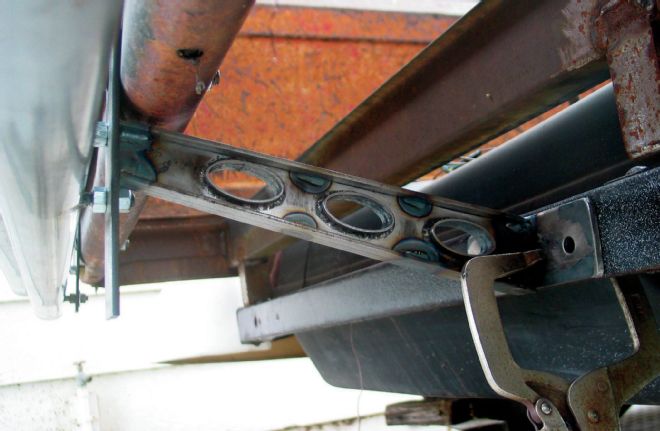
16. To keep things simple, the rear of my brackets mount to the stock Ford bumper bracket holes. With the nerf bars in position I mounted the brackets and welded the nerf bar mounting pad to the opposing end of the bracket.

17. The plan is to chrome the nerf bars and brackets, but for now it was time to get creative again. The nerf bars and brackets were ground with a DA and sprayed candy green. All-in-all these nerf bars and brackets are how you can make a big splash with a little coin.