In the list of typical spots for rust to rear its ugly head on vintage cars, there are a couple areas that strike terror in the hearts of body guys. Both of them are results of leaky gaskets around the front or rear windshields. Up front, it's the cowl vent and A-pillar; in the rear, it's the trunk filler panel area.
We say terror because windshield areas are notoriously difficult areas to patch correctly due to complex shapes, inaccessibility, and often the lack of availability for good patch panels. A lot of the cars lingering in vintage salvage yards will have the same issues, so running across good used parts can be a challenge.
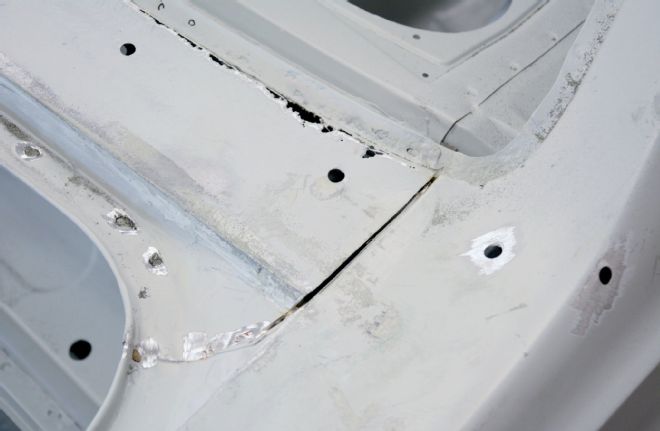
After our '67 Mercury Cougar—known around here as Max Effort—returned from mediablasting at Pacific Coast Powder Coating, our biggest surprise was that the bottom corners of the rear windshield had basically disintegrated. This is actually a super common issue on Cougars, especially those that were equipped with vinyl tops. We thought we had dodged the bullet since Max's top had been removed many years ago and the rust seemed small, but once again we learned that there is always more rust than meets the eye.
That's why we were revved up to hear about West Coast Classic Cougars' new replacement trunk filler panel for '67-68 Cougars. Though Cougars share nearly 100 percent of their chassis and suspension architecture with Mustangs, there really is nothing body wise that crosses over. That's really unfortunate since they seem to be predisposed to the same rust areas, but whereas Mustangs have a multitude of quality patch and replacement panels available on the market, Cougars have almost none. And good luck trying to find a used panel that's rust free.
After thanking the hot rodding gods for serendipitous timing, we sent one right over to Wes Adkins of Wild Wes Paintworks in Dover, Ohio, to mend Max. It's still a somewhat intimidating repair since most people haven't attempted it, but Adkins took the time to break down the steps and show exactly how it can be performed by anyone with a welder. We may be working on a Cougar here, but the steps will cross over to any vintage car unfortunate enough to need the patch.
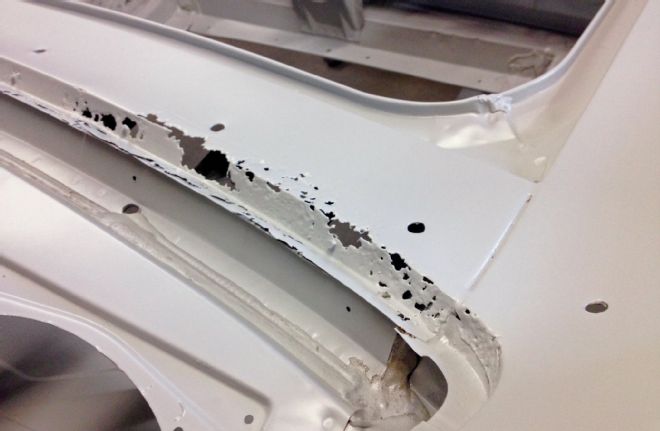
Here's what was hiding under what at first appeared to only be a nickel-sized rust bubble. The curvature of the lip makes this a really difficult patch panel to make by hand, so a stamped piece is definitely worth the purchase just for the time and effort it saves.
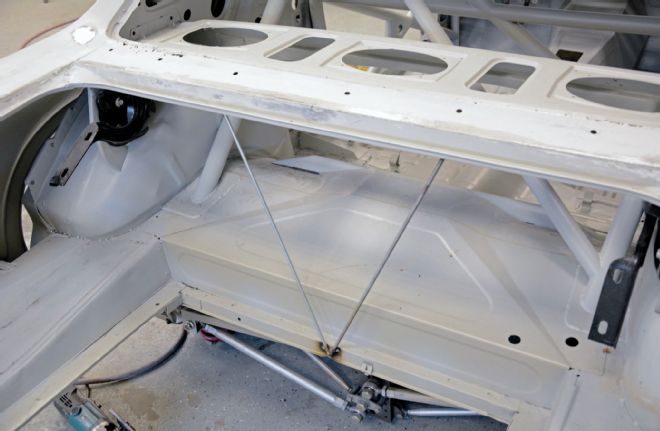
The trunk filler panel is actually the top of a structural element to the rear of the body, so before cutting can begin Wes Adkins braced the under-structure that will not be removed with two 3/8-inch steel rods tacked into place.
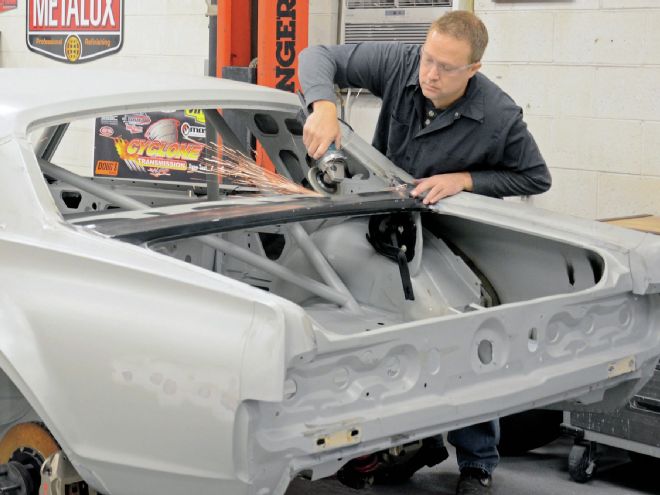
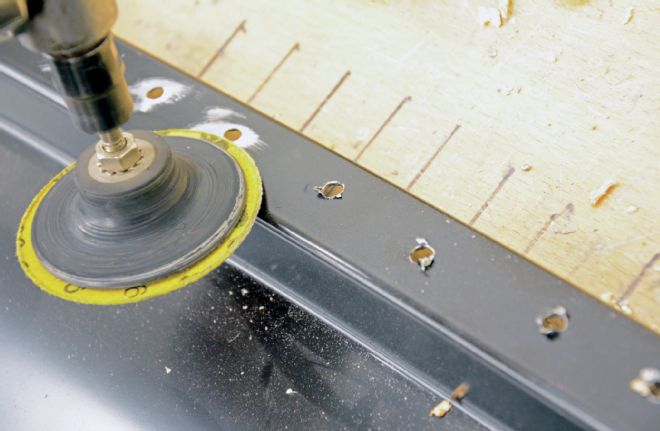
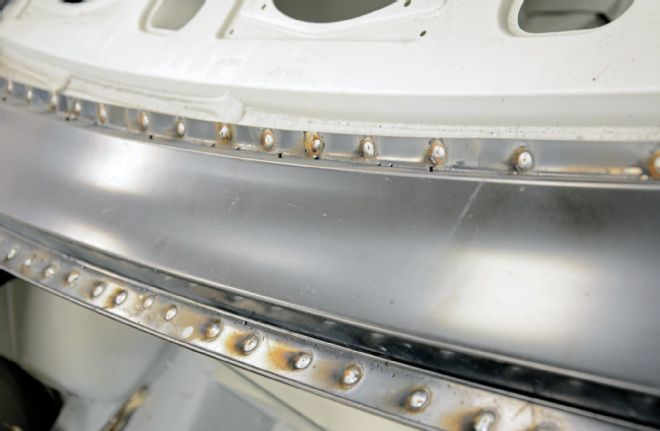
Dozens of spot welds hold the panel in place, all of which must be ground down to separate the top and bottom panels. This is by far the most time-consuming part of the swap.
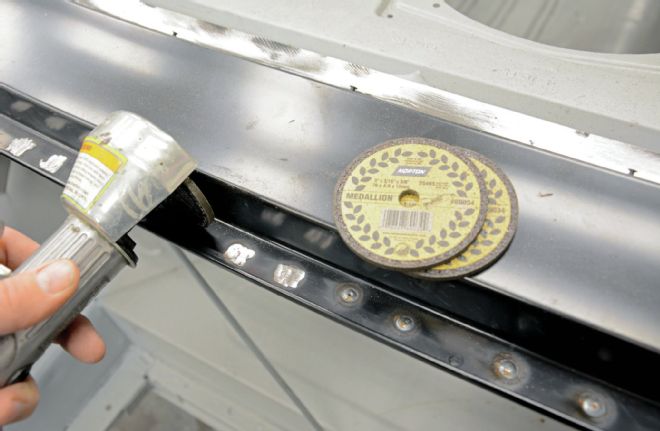
We want to leave the trunk water channel intact, but on the outer edge where the filler panel meets the quarter-panel, the spot welds aren't accessible. Here Adkins uses a cutoff wheel to cut the top panel away. Typically this area will have body sealer that will need to be removed first, but mediablasting removed Max's.
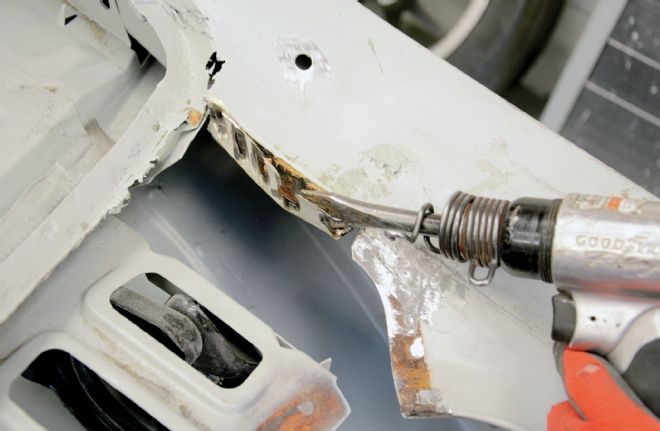
Once the filler panel can be lifted away, the flange that was tack welded to the quarter-panel must be cut away. Adkins used an air chisel here, but a grinder will work as well. Note that Adkins left the frame of the rear window intact. This will greatly simplify installation of the new filler panel and ensure proper fitment of the rear glass.
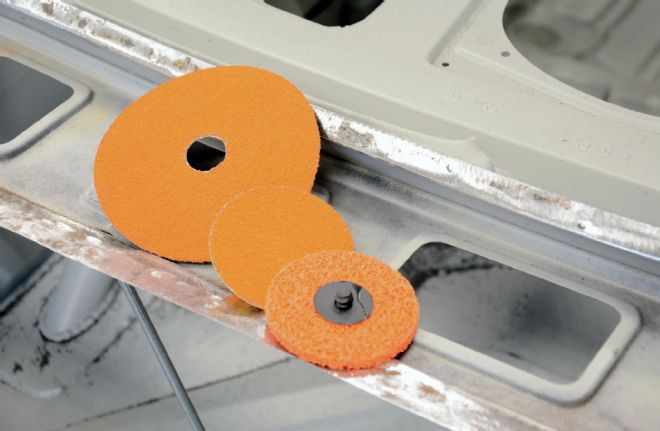
Perfect patch panel fitment relies upon a clean and flush surface, so with the panel removed Adkins used an assortment of abrasive wheels from Norton Abrasives to clean away any spot weld remnants and prep the steel for fresh welds.

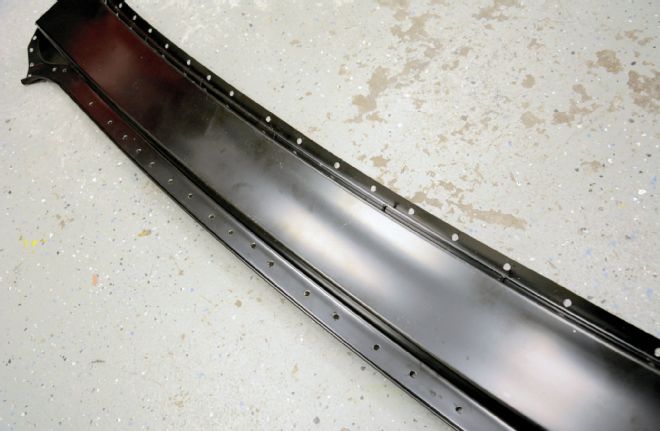
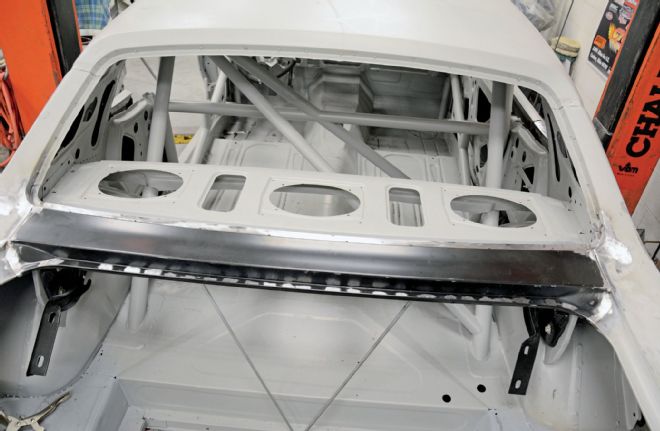
Here's the trunk filler patch panel from WCCC. With plenty of parts cars on hand to measure and fit, WCCC was able to ensure the panel was an absolute drop-in, which our test fitment confirmed.
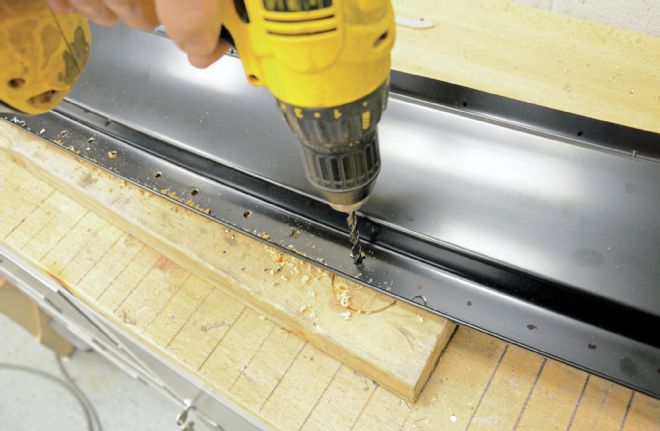
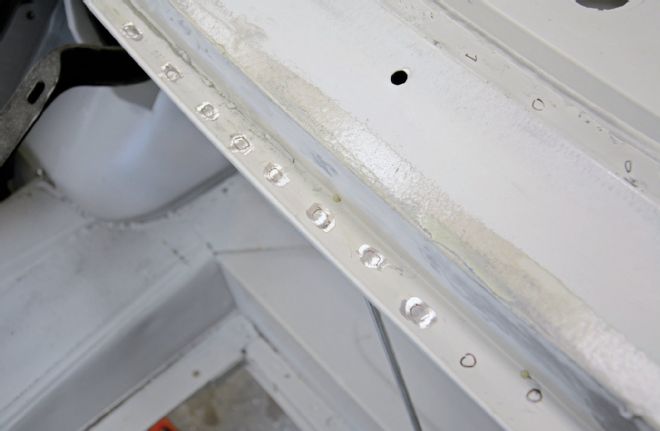
Rather than spot-weld the trunk filler panel into place, Adkins will use much more secure rosette welds. To begin, he drills 5/16-inch holes around the perimeter of the panel approximating the factory layout.
Using a Norton metal prep disc, Adkins removed burs caused by the drill bit and cleaned away the protective electroplate coating applied by WCCC.
There is strength in numbers when it comes to rosettes, so don't slack on the holes. When ready to be welded the panel should have three dozen or so welds to make.
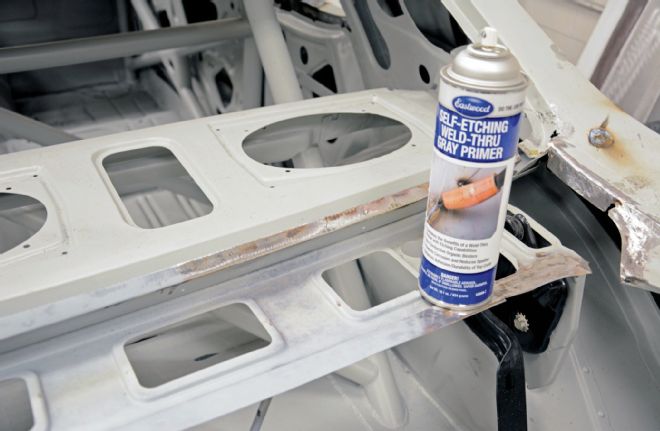
A weld-friendly surface is important, but bare steel is not something we want to leave in place under the filler panel. To solve that issue, Adkins sprays a layer of Eastwood Self-Etch Weld-Thru Gray Primer over everything. This will seal and protect the metal without interfering with the rosette welds.
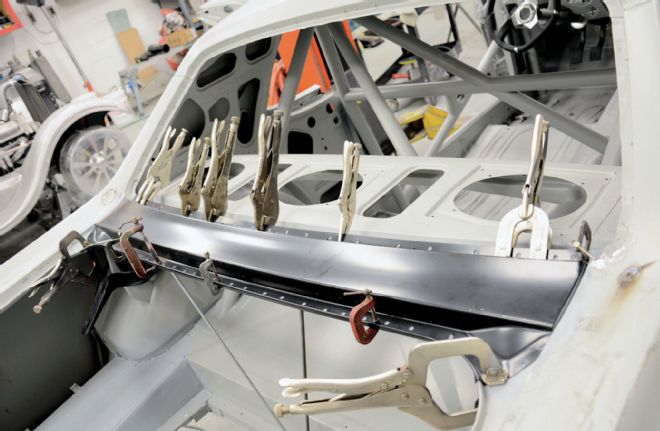
Clamps, clamps, and more clamps. The WCC panel is a perfect fit, but to squeeze the flanges together and ensure there is no movement during welding, Adkins spends a good deal of time adjusting and fitting the panel, then locking it into place.
 Rosette is basically a substantial tack weld that fully fills the drilled hole. The goal is to keep the puddle build low so very little grinding is required to hide them.
Rosette is basically a substantial tack weld that fully fills the drilled hole. The goal is to keep the puddle build low so very little grinding is required to hide them.
With any weld it's important to remove as little material as necessary since the strength can be compromised. Adkins uses a Norton grinding wheel on a 90-degree side grinder to just lightly flatten the rosette tops and make the welds appear like factory spot welds.
Using the Eastwood Shrinker and Stretcher tools, he slowly worked the edge of the patch until it mimicked the curve of the bottom edge of the rear window flange. For detailed tech from Adkins on how to make your own patch panels, check out the Apr. '14 issue of PHR.
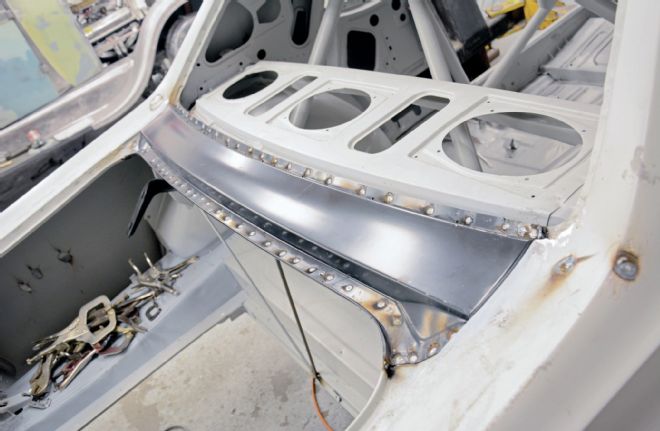
All those clamps did their job; the panel remained exactly where Adkins fit it. Now that the filler panel is fully welded in place, the section is structurally solid again and the supporting rods can be removed.
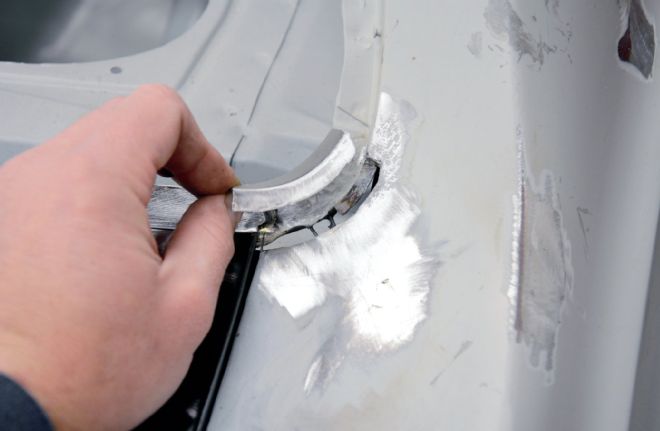
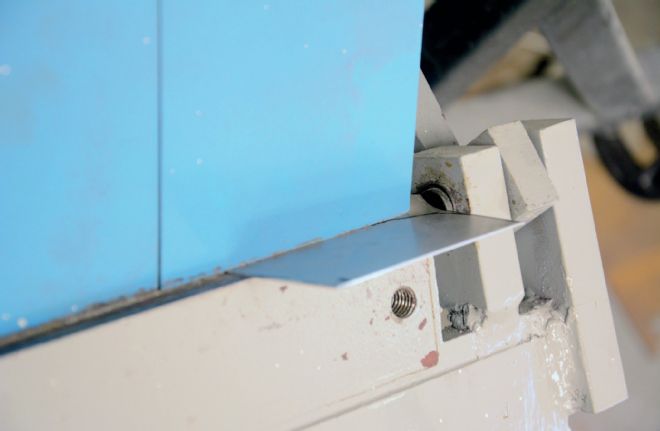 Unfortunately, Max’s rust on the rear window channel extended just a little bit past the filler panel. Nevertheless, making a 2-inch patch panel is far simpler than a 3-foot-long one. Adkins started by putting a 90-degree bend in a small piece of steel.
Unfortunately, Max's rust on the rear window channel extended just a little bit past the filler panel. Nevertheless, making a 2-inch patch panel is far simpler than a 3-foot-long one. Adkins started by putting a 90-degree bend in a small piece of steel.
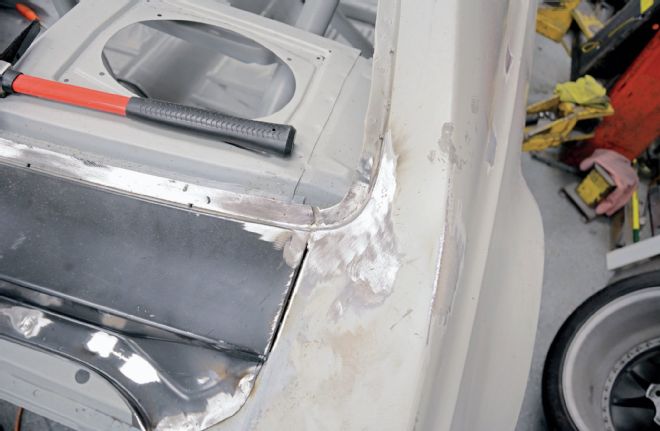
No rosette welds here. Adkins fully welded the patch into place then ground down the bead until it was flush with the filler panel and quarter-panel. The critical part here is making sure the rear window flange is consistent to prevent leaks.
Look at the fitment! Fully welded into place, the WCCC panel is a perfect patch that will be impossible to detect once painted.