As we all build our certain projects, we install creature comforts that our daily driver cars have. Things like power steering, power brakes, air conditioning, but overlook other such items like windshield washers.
When I was putting my last 1956 together and shooting some articles with it, Diane at Mid Fifty F-100 Parts sent me a complete new windshield washer kit that they sell. Sy Miller, the owner of Mid Fifty, had spent several years putting this kit together, kind of a pet project. As time passed, each piece came together and the kit was completed. The kit contains all the needed pieces to make it squirt.
When I received the box with the kit, I could never bring myself to drill a hole in my hood for the squirter nozzle so the kit just sat on a shelf. I figured I could talk somebody into it and shoot the install then. Well time went on and now I'm building another 1956 Ford pickup and the theme of this truck is kind of car meets truck. With this truck, having the squirter in the hood and the reservoir bag hanging on an inner fender would go with what I was trying to accomplish.
My new truck is "resale red" so when I finally opened the box and pulled everything out, I saw that the storage bag was red also. Almost a perfect match! Well, OK! Now I have to mount it and again, drilling that hole was not easy. You can't go back once it's drilled. The installation is a snap. Mount the bracket for the bag, mount the pump, and run some small hose to feed the squirter. That simple. Then, as you are cruising down the road you can easily clean your windshield with the push of a button.
I have taken this one step further, because I can, and so can you. I also replaced my wiper motor and wiper switch. I replaced the motor with a new stock-style motor because I plan to daily drive this truck and it sucks not having wipers. Starting new here is just being smart. Anyway, now you can get a wiper switch that has the delay control built in. You just wire this intermittent wiper switch to the stock motor and you have wipers with delay. Plus the switch will activate a washer pump when you push the knob. The washer will squirt and the wipers will wipe three times automatically. That's pretty cool.
The whole kit is really cool and of very high quality for reproduction. The reservoir bag is an exact copy of the one available in 1956. It might not appeal to everyone, having water spots or trails on a show truck might not be that cool, but for us daily driver crowd, these are kind of the cat's meow. The squirter is so cool looking, you quickly get used to it in your hood. I did and I didn't think I would.
I love the kit. The pieces look like brand new stock parts. That just excites me in my old age. One thing though, I couldn't bring myself to use the stock foot pump that was included in my kit. It wouldn't work with my new switch anyway so I went with an electric pump. I went down to my local parts store and got a universal washer pump. As it turns out, it is the same pump you could get through Mid Fifty F-100 Parts as their electric pump option. That worked out well.
I'm still in the going together stage of my truck I run and drive, but need a few more important items, so mounting this kit and wiring it in was not that big a deal. The reservoir bag and its bracket went on the passenger inner fender and the pump mounted up under the top valance. The hose runs up the hood kit brace and up to the squirter. I think I might change the rubber hose on the hood kit brace to a piece of 3⁄16-inch stainless hardline. It will look a lot better.
Now, with my new wiper motor, delay switch, washer, and new arms and blades, I am ready for anything nature or the interstate can throw at me.
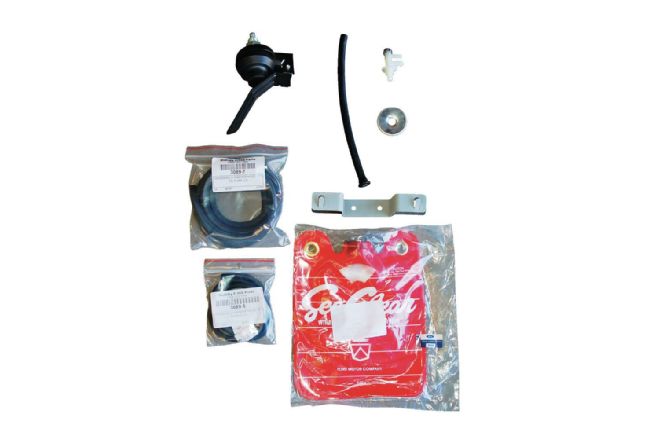 1. The kit is complete with everything you need to mount and connect your new washer system. The bag is an exact duplicate of Ford's original bag. For me, I love that it's red. It matches my engine compartment beautifully. This kit came with a neat foot-operated pump for the washer, which is stock, but I used an electric pump.
 2. The heart of the whole kit. This is the sprayer that mounts in the hood.
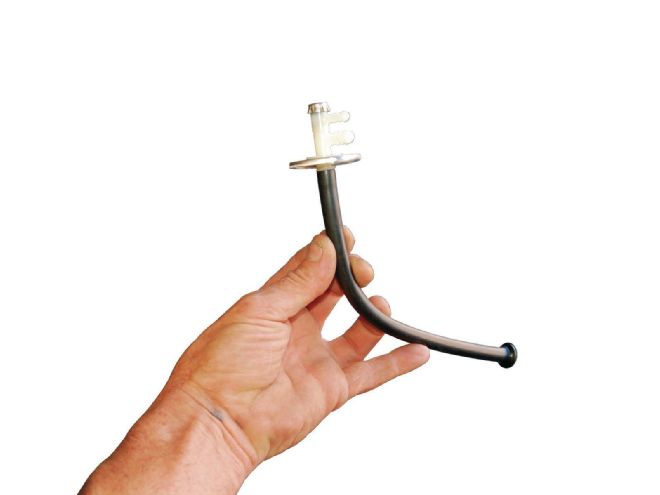 3. The white plastic F piece is threaded into the silver cap. Then the black rubber tube with the filter on the bottom connects to the F. Then the whole thing fits into the reservoir bag. The top can be screwed on so the F can point either left or right.
 4. The kit comes with two sheetmetal screws to mount the bracket to hold the reservoir bad. I opted for 10/32 machine screws and Nylock nuts.
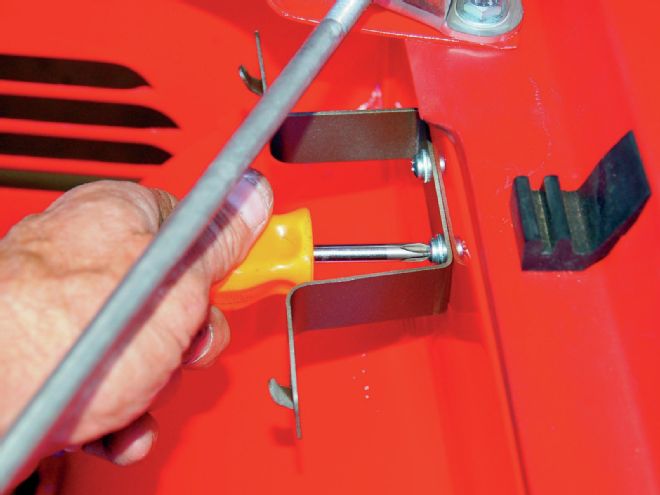 5.For me, I wanted mine mounted on the passenger side inner fender. There are a couple of reasons. For one, the heater hoses already confuse that inner fender so mounting something else over on that side would be OK.
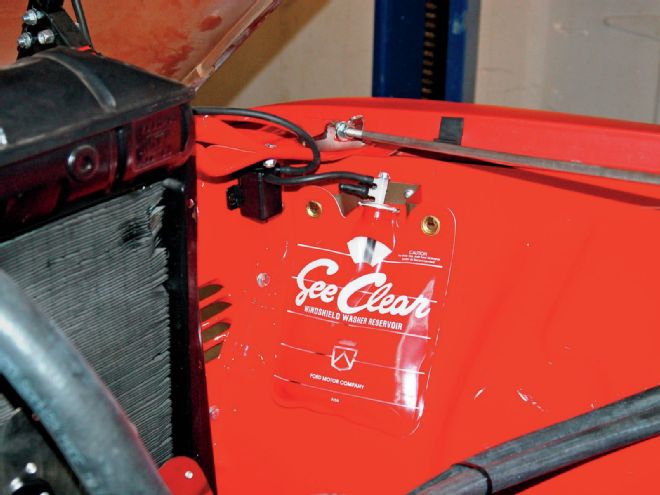
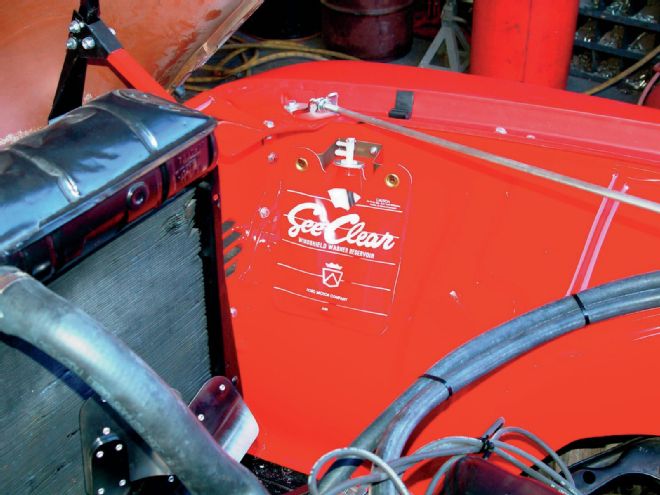 5. The other reason is there is a small bad spot in the paint. The bag covers it perfectly. Plus it looks like it belongs in that corner. I painted my bracket a cast iron color to match the heater fan motor and the windshield washer plate.
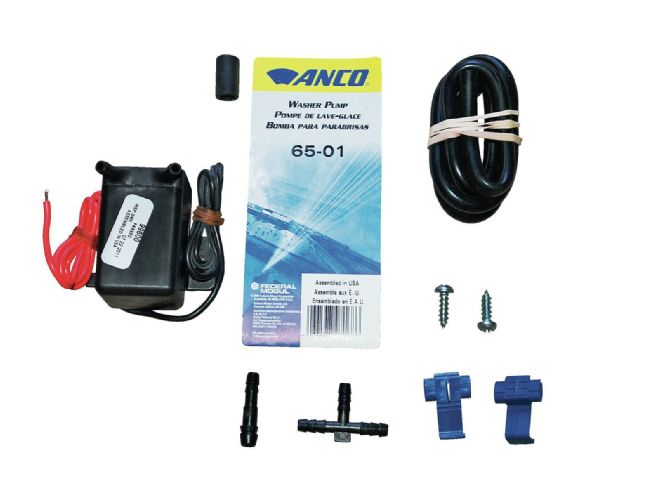 6. Since I am using the intermittent wiper switch for my wiper motor and it has the function of activating a washer pump, I ran down to our local parts store and bought a universal electric pump. Come to find out it is the exact same pump that Mid Fifty offers as an option.
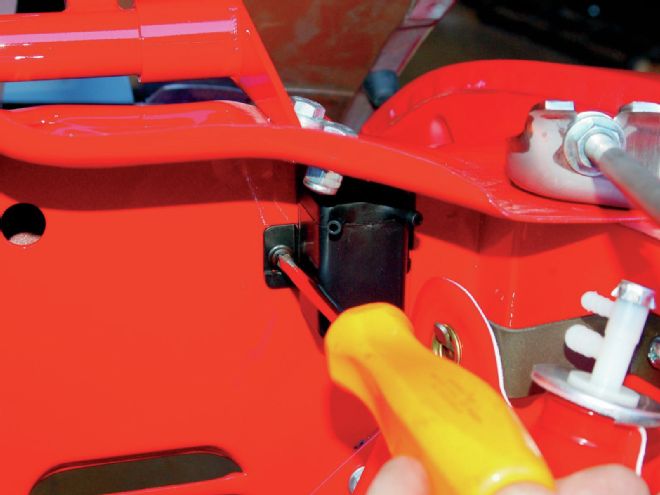 7. Keeping all of this fairly sanitary is pretty easy as the pump fits right under the top valance. The wiring can come up from the front with my right side headlight wiring and be hidden by the grille.
 8. With the vacuum hoses connected and the pump wired I can hit the wiper button and squirt the windows, then the wipers wipe three times. This is pretty darn cool.
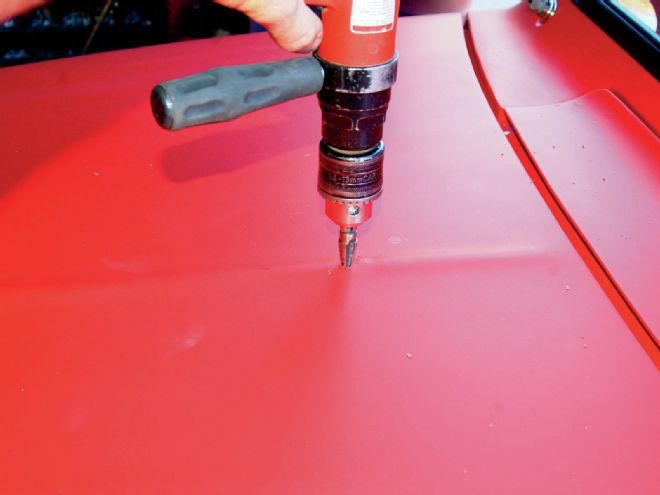 9. This was the hardest part. Not actually drilling the hole, but convincing myself I really wanted this bad enough to make a hole in the hood. I drilled a 1/4-inch hole, on the rib 6-inches back from the back edge. You want to be as close to the brace underneath as you can be.
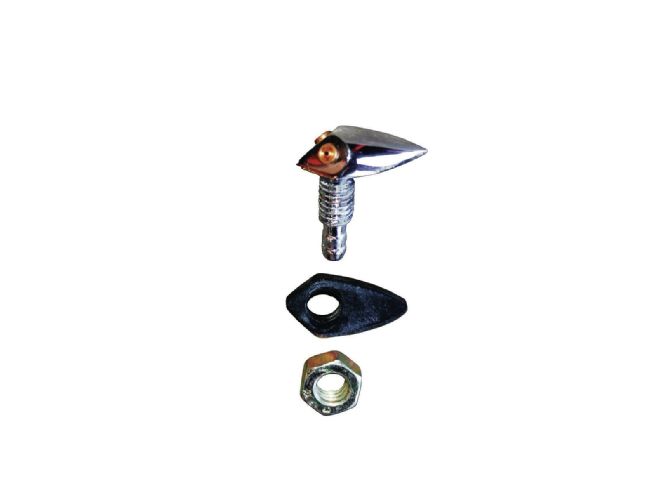
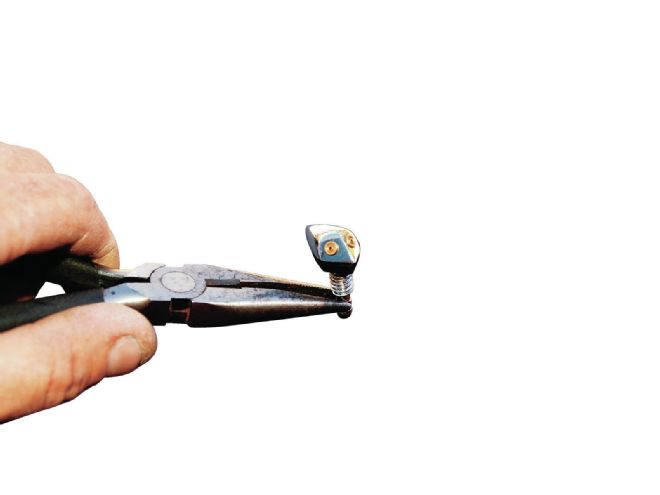 10. Here is the cute little squirter that Mid Fifty spent a lot of time developing. It squirts both sides. It mounts through the 1/4-inch hole and the 5/32 vacuum hose connects to the bottom of it.
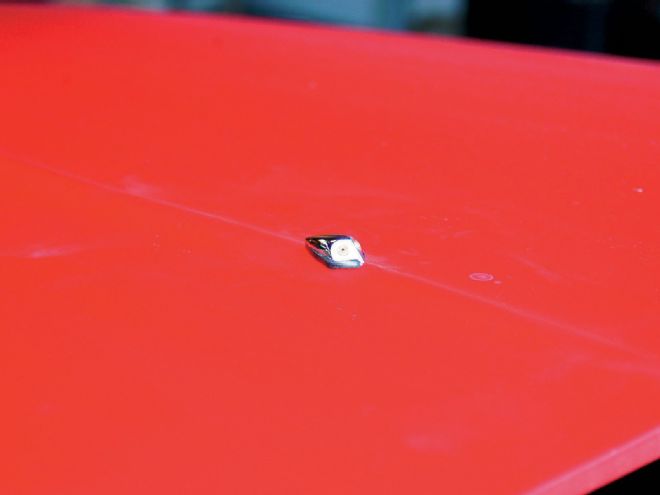 11. At first it kind of looked out of place on my hood, but after a little bit and looking at it from all angles, I think I like it. It goes with the theme I'm basing the truck on so I consider it a great addition.
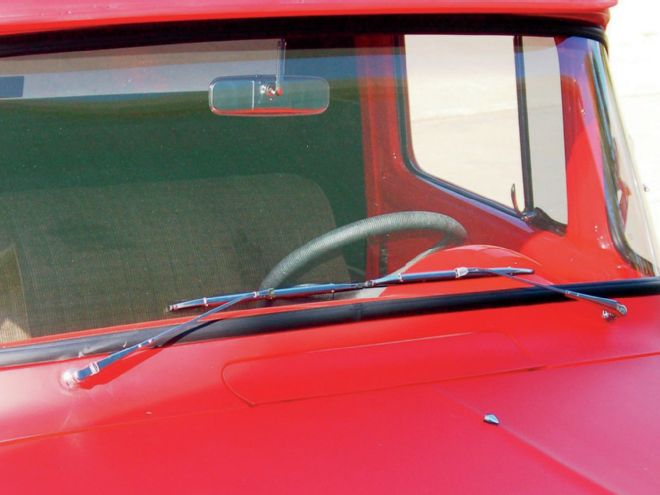
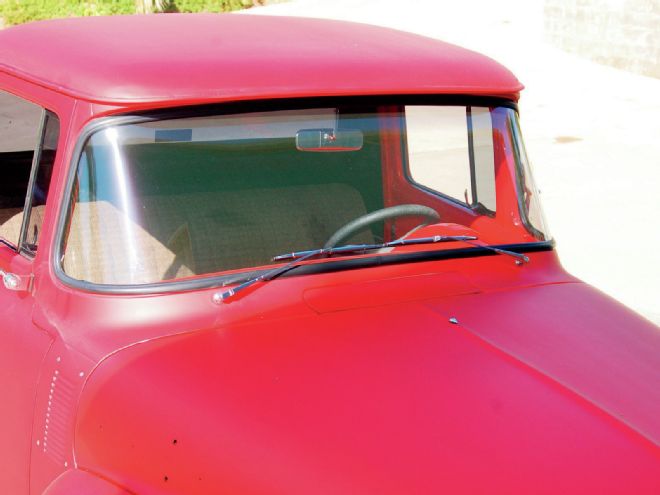 12. With my new wiper arms and blades installed, I can stand back and admire my handiwork. Now I'm ready for anything nature can throw at my windshield and the washer kit complements the new wiper motor and delay switch I installed earlier.