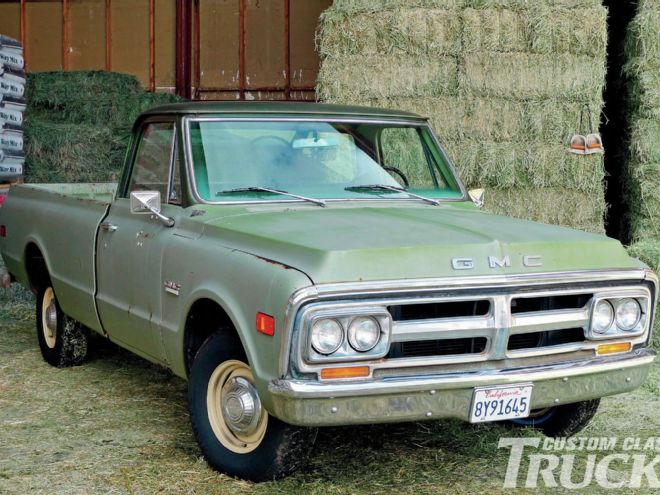
"If ya ever git tired of that ol' pickup, be sure to let me know." That's somethin' I'd been meanin' to say to my neighbor/buddy Darrel. Even though I never got around to sayin' it, I did indeed become the ol' truck's second owner. Buying it from Darrel's widow, however, made it hard to be happy about the acquisition.
For the last several years, this 1971 GMC ½-ton was used primarily for hay runs, to and from the corner feed store. With the stock 350 and granny four-speed still in service, she's a little weathered, but honest as can be in original dark 'n' medium olive metallic.
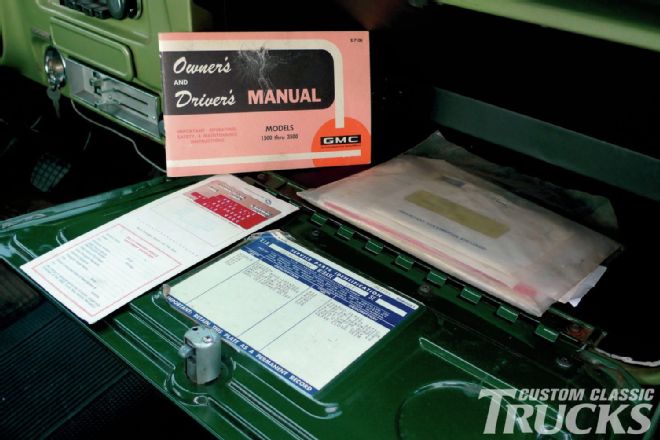
Darrel cared for this ol' truck, as the glovebox contents attest: owner's manual, authorized dealer Protect-O-Plate, maintenance records, and a pad 'n' pencil for recording all he'd done. This is the kind of find that just about any of us would appreciate.
However, we already had our pickup, so I offered this one to my son-in-law who gladly accepted the gift. That's when my dad got involved. Really, I thought the ol' truck ran fine, but dad didn't think so, and as one thing led to another, a complete overhaul and thorough onceover twice of all mechanicals was performed. And now dad insists that Mrs. Rotten and I fix the rusty areas that we'd previously intended to ignore. Considerin' all that dad's done for the cause, how can we not?
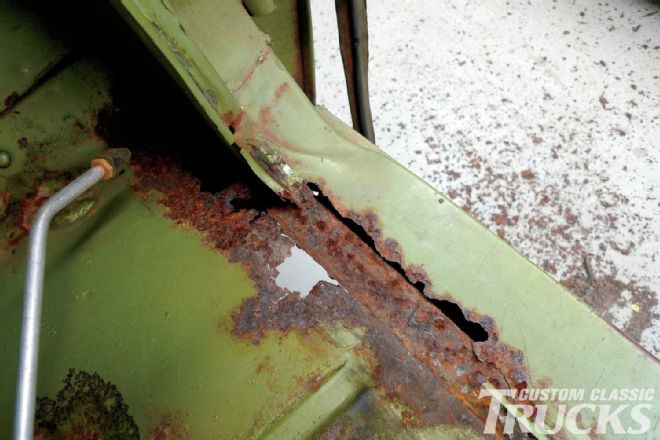
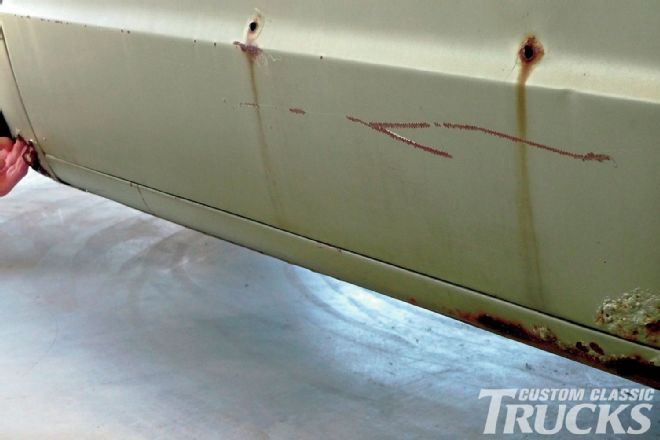 1. While this is minor rust to some, in California it’s typical for the outdoorsy type truck of this age. Sure, we could try to make the patch panels we need for this job, but taking into consideration the quality and affordability of new ready-to-go patch panels from Brothers Truck Parts, why should we?
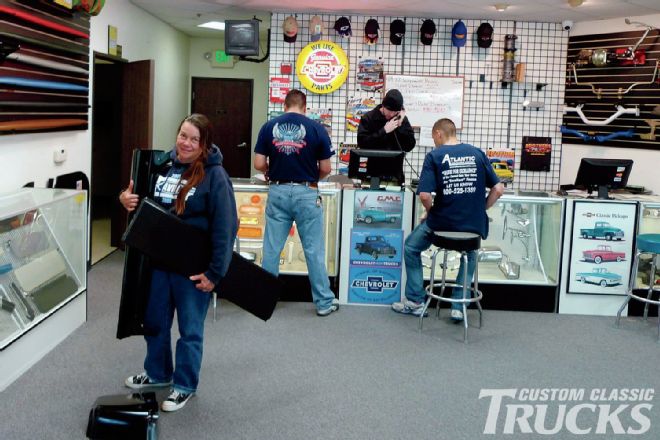 2. Although Brothers offers shipping, we wanted the walk-in counter experience, which for us was worth the trip to Corona, California. Can you feel the steel? Mrs. Rotten can. Now well armed with new outer rocker panels, lower doorskins, and a right cab corner, she can’t wait to begin.
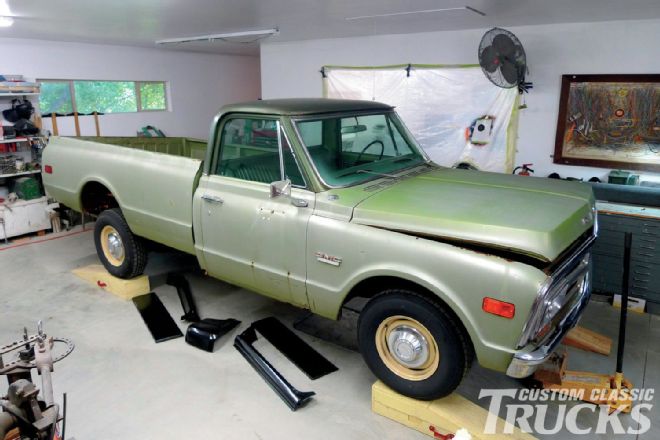 3. Here the truck is raised to a comfortable level. For panel replacement and/or bodywork in general, keeping the truck’s weight on its suspension ensures against flex and distortion. Checking for even tire inflation before the work begins is also a good practice.
 4. The plan is to replace a the lowermost section of this side’s cab corner only, so blocking the bed this way should allow enough workspace.
 5. There’ll be some trimming of the new replacement panels. For the cab corner and doors we’ll use only the necessary portions in order to keep our repairs small. However, from the looks of the lower doorjambs, the new outer rocker panel skins should be used in their entirety.
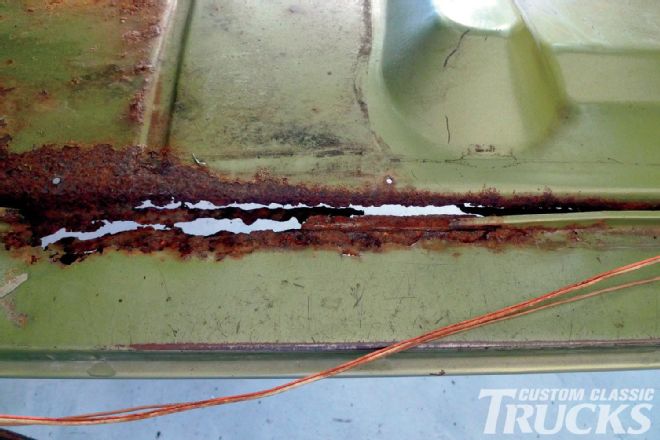
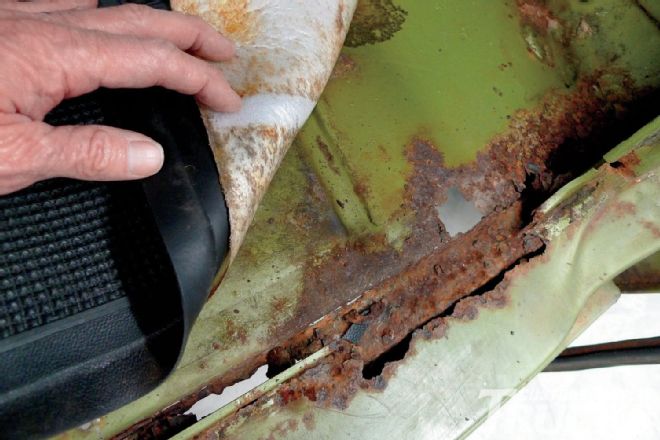 6. Oh my goodness! Look what the rust fairy has left under our floormat! Mrs. Rotten is not easily intimidated. She’s ready to begin forming additional patches, but first let’s call a brief timeout as we refer back to our well-worn Brothers catalog.
 7. Sure enough, Brothers has us covered. This time, however, before purchasing the next batch of parts, we’ll disassemble, scrape, poke, prod and blow as necessary to perform a more thorough inspection.
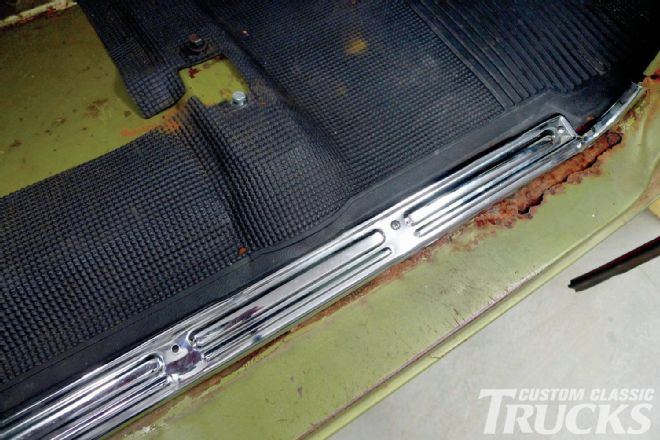
8. With the truck’s seat, doorsill plates, and floormat all removed and out of the way, we’re gettin’ down to the proverbial nitty gritty as the flakes begin to fly. Just outside of the right rocker panel, see the shop floor? That ain’t breakfast cereal—that’s rust.
7. Sure enough, Brothers has us covered. This time, however, before purchasing the next batch of parts, we’ll disassemble, scrape, poke, prod and blow as necessary to perform a more thorough inspection.
8. With the truck’s seat, doorsill plates, and floormat all removed and out of the way, we’re gettin’ down to the proverbial nitty gritty as the flakes begin to fly. Just outside of the right rocker panel, see the shop floor? That ain’t breakfast cereal—that’s rust.
 9. And what about the other side? Well, it’s no better. At this point, we’re clearly in need of inner rocker panels, inner cowl panels, and floor pans all the way around, in addition to our original order of the obvious.
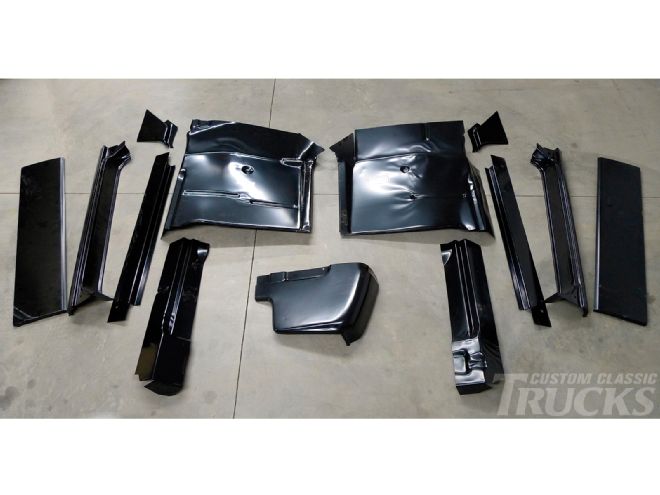 10. Here’s the whole enchilada: rocker panels (both outer and inner), lower doorskins, right cab corner, inner cowl panels, and all four floorpans. We’re now confident that we have everything we’ll need, but it ain’t time for cuttin’ yet.
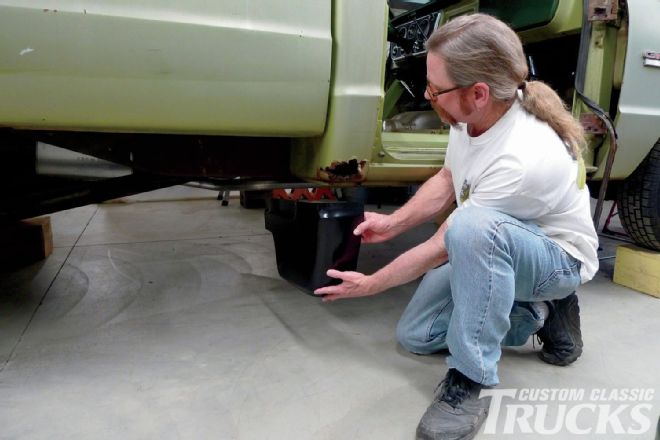
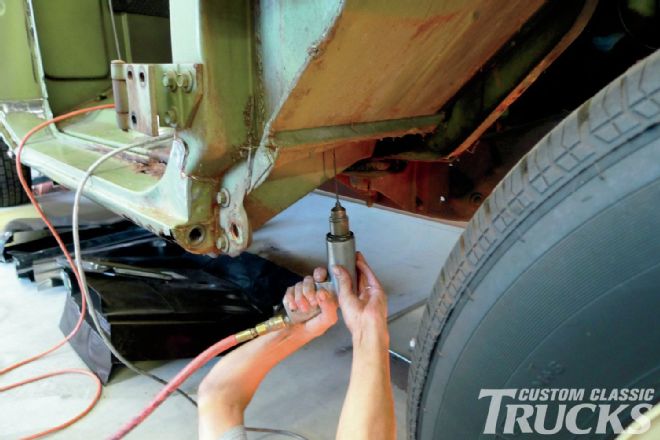
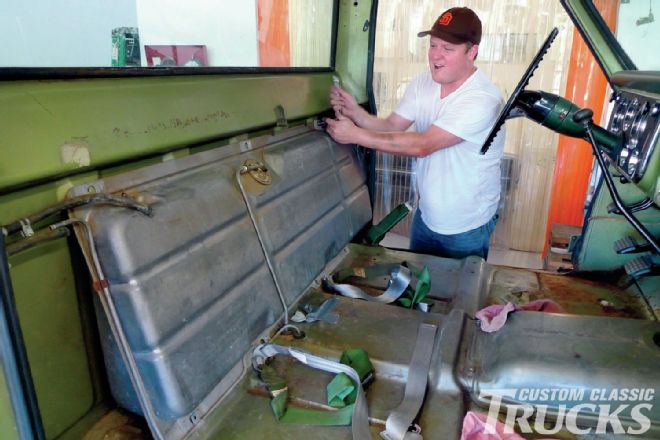 11. Because there will be sparks ’n’ arcs in close proximity to this stinky fuel tank, it’s got to go. So, son-in-law, Nathaniel stopped by to handle the dirty job, as well as the remaining disassembly chores. This ol’ truck is becoming more and more scattered as we go.
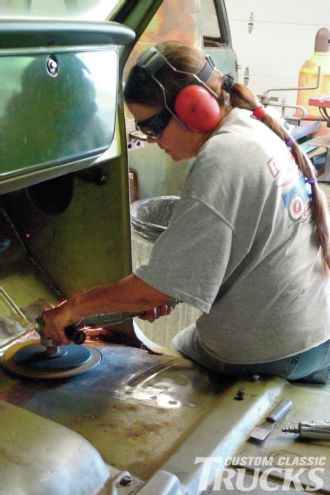 12. Hoping to discover just how bad our rusted floor might really be, Mrs. Rotten gives the larger areas the onceover two or three times with her 9-inch body grinder and a worn-out 3M 24-grit disc.
 13. Then in order to make the factory spot welds easier to see, she passes over these tight spots with an angle die grinder with a worn out 3M 3-inch Roloc disc.
 14. There are cab-mounting braces in the rust-affected areas. So far the braces look solid so we know we’ll want to stay clear of them during upcoming cutting procedures. Mrs. Rotten has decided to perforate an outline of the braces so a scribe can be made on the topside. For this a 1⁄8-inch drill bit works fine.
 15. So here’s a look at some of the surgical instruments that’ll be used for the procedures to follow—some old and some new. This project served as my excuse to go out and purchase a few goodies that we need around the shop anyway.
 16. With spot welds highlighted by earlier grinding, I like to drill a 1⁄8-inch pilot hole in their centers, but only through the first layer of sheetmetal. We’ve never had fancy drill-stops, but there’s always rubber hose in stock. This step will hopefully prolong the life of the new 3⁄8-inch spot weld reamer we’ll be using next.
 17. This shiny new spot weld reamer just arrived from Eastwood and Mrs. Rotten can’t wait to break it—in. The Central Pneumatic drill from Harbor Freight is new as well. I put that purchase off for as long as I could. The older air drill was last oiled on the assembly line in 1977. It’s been like a drill to me, but it’s tired.
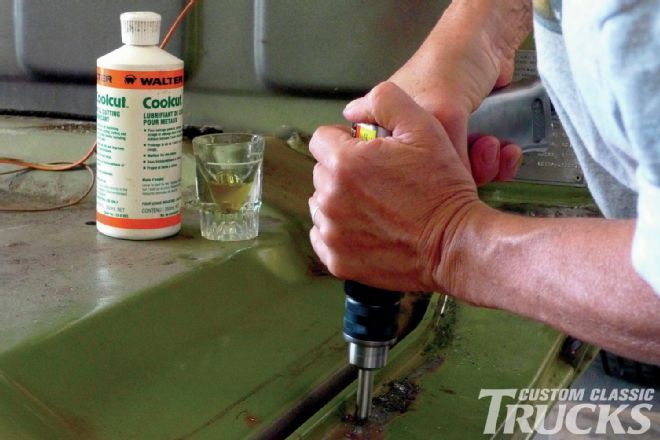
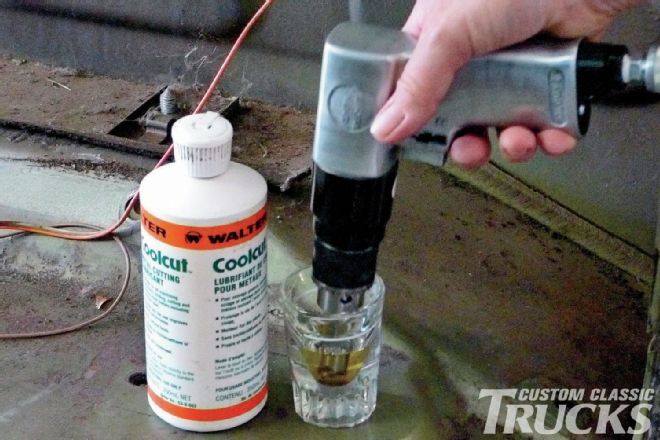 18. For good reason, the painter in me will not allow oiling of air tools. Central Pneumatic tools are priced right and I can get more (should I need to) right down the street. In theory, if spun slowly, the reamer itself won’t toss much oil into the air. We’ll take care of it, cooling and oiling as we go.
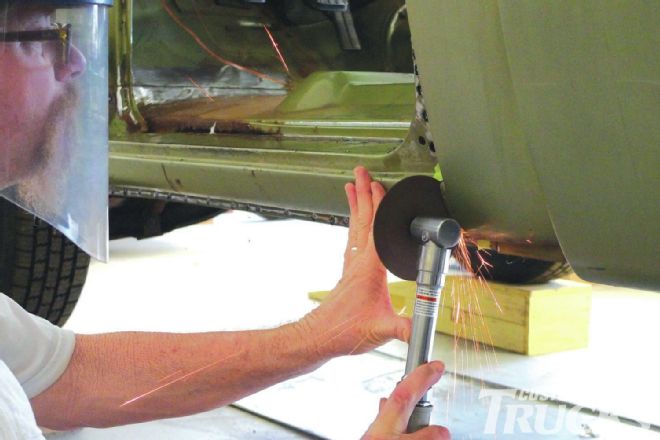 19. With the first layer of most of our spot welds reamed free, there’s still cutting to do in order to access inside seams. This is my chance to try out another new purchase from Harbor Freight—the Central Pneumatic 3-inch extended-reach cutoff tool. This is sort of like a larger angle die grinder.
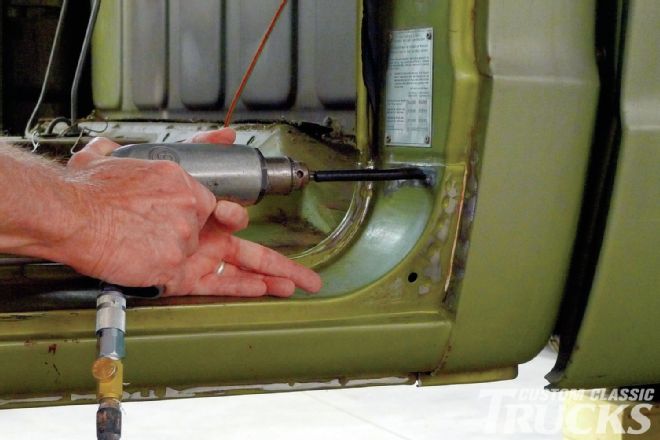
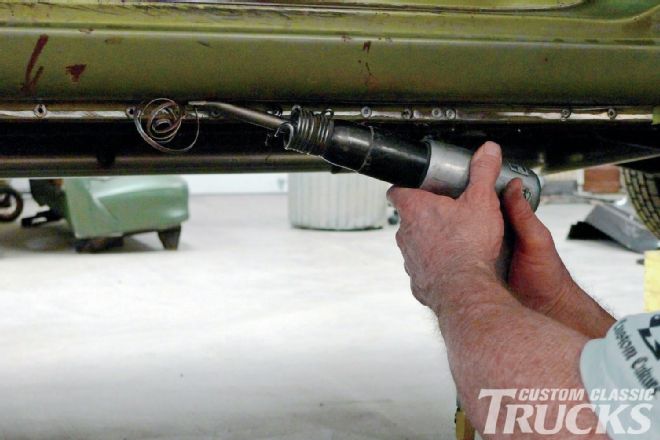 20. Next a section of the outer rocker skin is removed using a very old air chisel, backed by a new assortment of sharp Central Pneumatic chisel bits—also from Harbor Freight. New bits make a difference—they cut 18-gauge like butter. Soon the backside of the lower seam will be easily separated.
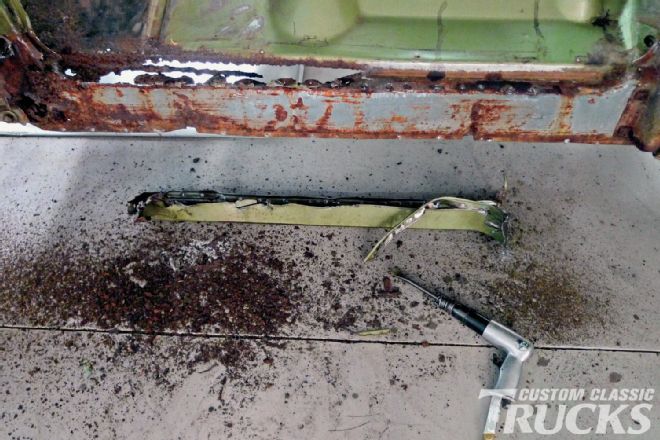 21. If we’ve learned anything so far, it’s that California trucks are subject to rust too. At this point we’re in deep, we’re committed, there ain’t no turnin’ back and there’s little doubt that we’ll uncover more unpleasantness as the layers continue to peel away. Are we just California crybabies? We’ll see in Part 2.