
Looking at the pristine beauties seen on the pages of CUSTOM CLASSIC TRUCKS every month it's easy to forget that many of these vehicles were driven off the dealer's lot and were put to work. While our trucks may be lovingly cared for today, more often than not they were used and abused carrying loads big and small.
Given the past use of some trucks it's not surprising that there are issues that need to be addressed—sometimes they're obvious, other times they're not. A case in point is this '85 Chevrolet C10. At a glance it looked like a pretty clean truck; however, there was a noticeable misalignment between the back of the cab and the front of the bed. Very often this is the result of collapsed cab mounts—the accumulation of time and miles often causes the factory rubber biscuits to deteriorate and compress.
The best cure we've found for distorted and worn-out original rubber mounts are replacements from Energy Suspension. Original-style rubber mounts are so soft they often crack or distort, destroying proper cab and bed alignment. One option that is occasionally suggested to prevent misalignment issues are solid aluminum body mounts like those often found on race trucks. Our experience has shown solid mounts are too stiff and unforgiving for street use and will often cause frame brackets and body mounts to crack. The best of both worlds are Energy Suspension's Hyper-Flex polyurethane cab mounts—they're soft enough to absorb road shocks and vibration, but will not compress allowing the cab to sag.
While it was obvious our Chevy's cab mounts were overdue for replacement, a more thorough inspection under the truck confirmed our fears that the frame was damaged. It was time for an expert opinion so we hauled the ½-ton to Mark Woznichak for his opinion. Mark, or Woz as he's known, is familiar with life in the fast lane as he pilots a Top Alcohol Funny Car that has run a best e.t of 5.597 seconds at 258.02 mph. Woz is also the man responsible for the paintjobs on some of NHRA's best looking race cars and along with his partner, Eric Hjermstad, Woz operates a first-rate collision repair facility, Color by Woz, in Riverside, California.
Once on the rack, it didn't take Eric long to diagnose our Chevy's issues, the frame had not only sagged on one side, probably from being overloaded, the bottom flange on the left side was bent, most likely from being bounced off something like a big rock. In addition, the 'rails were “diamonded”—in other words one rail had been pushed forward, probably as a result of being hit from the rear and the frame was no longer square. While the extent of the damage to our truck's frame makes it sound like a candidate for the scrap yard, correcting the various twists and tweaks can be done. The necessary repairs require the proper equipment and a technician with experience and Paint by Woz has both.
After a few hours on the rack and a few tons of pulling here and holding there our Chevy's frame was back to factory specifications. With the framerails square, the sag removed and new cab mounts in place and our C10 was ready to spend the rest of its life being pampered.
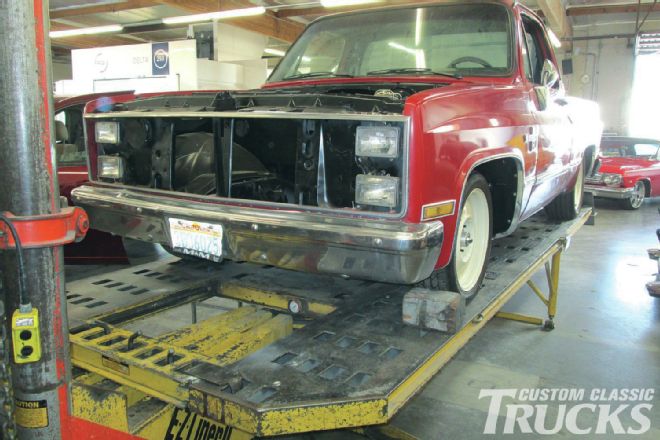 1. Our ’85 Chevy C10 had frame damage that was hard to see with the naked eye, but was obvious on the rack at Color by Woz.
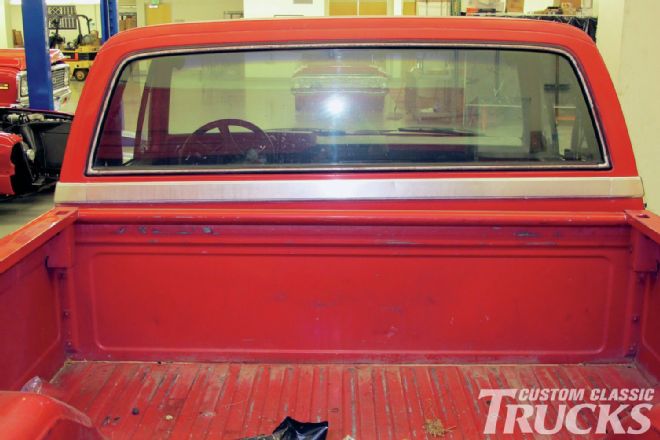 2. The obvious misalignment between the cab and bed was an indication that something was wrong. At first it was thought that cab mounts were the problem as they often are.
 3. Comparison measurements of the stock body mounts could account for some of the misalignment, so replacements were ordered from Energy Suspension.
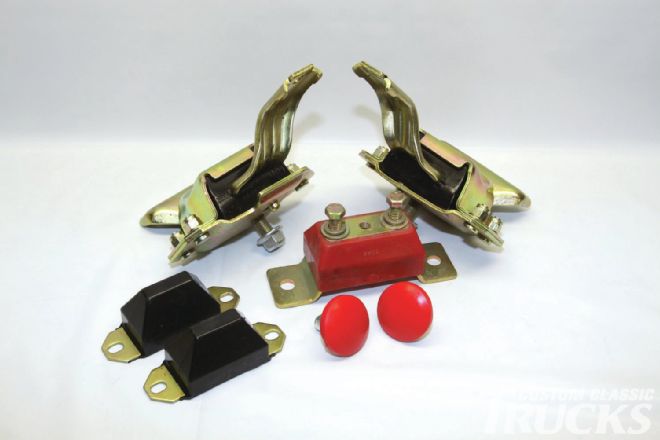 4. Energy Suspension is well known for their line of polyurethane suspension bushings, they also offer a variety of other products, including engine, transmission and body mounts, bump cushions and much more.
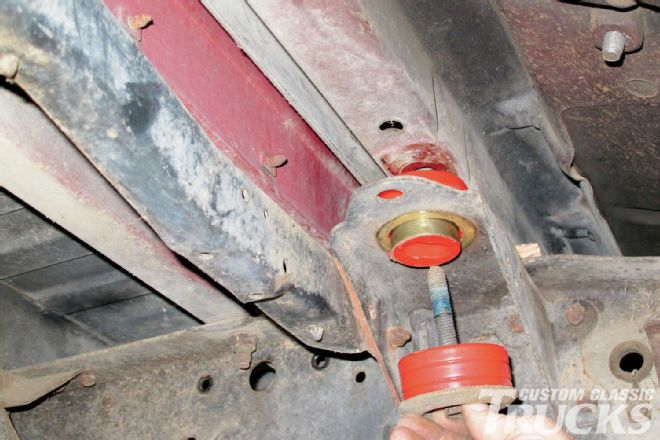
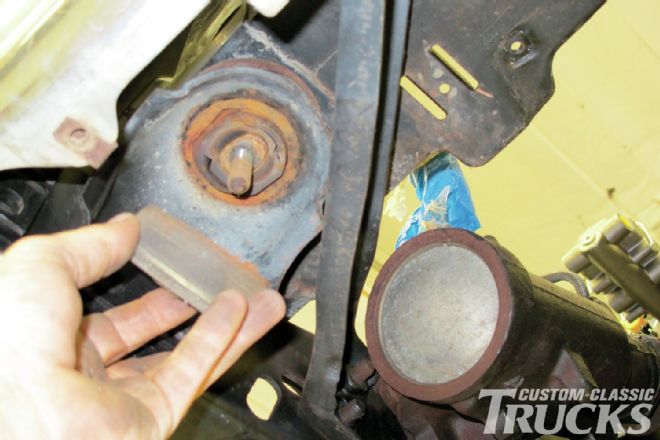
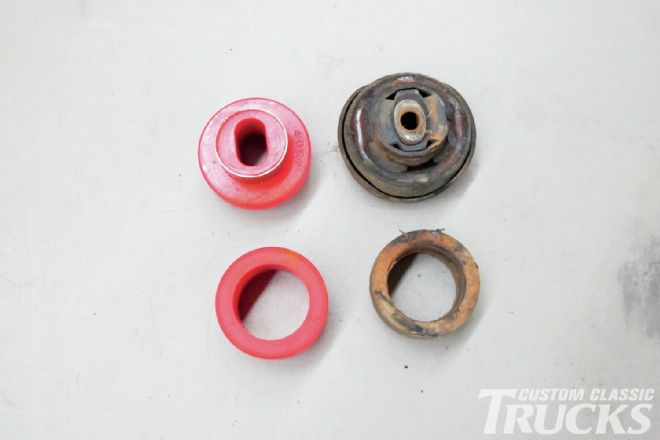
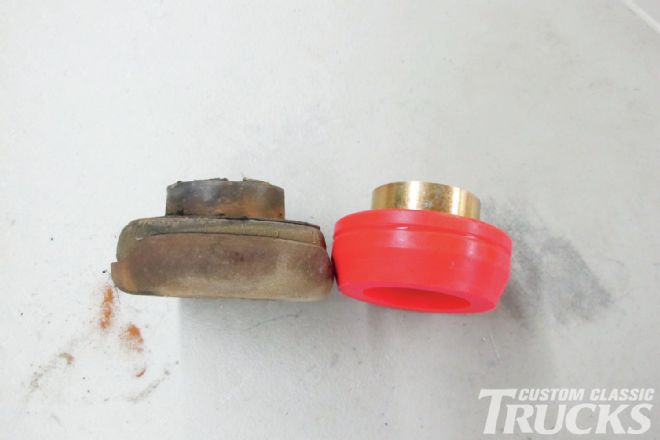 5. One of the original rubber cab mounts is on the left, an Energy Suspension polyurethane replacement is on the right. Note the difference in thickness.
 6. With the truck on the frame rack at Color by Woz it was obvious the ’rails had been damaged.
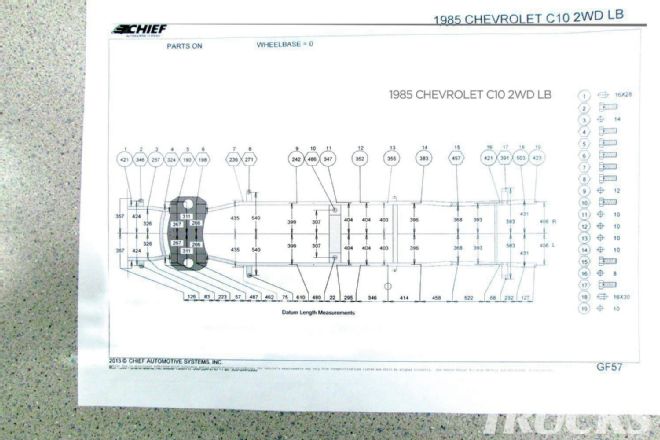 7. This chart shows the factory dimensions from the frame’s centerline to specific points on each framerail.
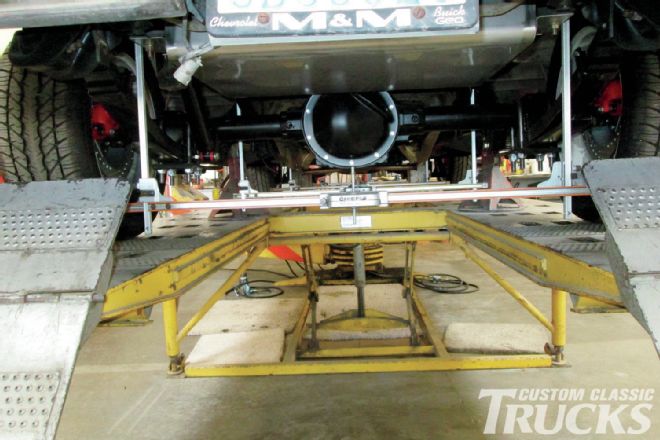 8. Adjustable trammels are used to check the dimensions of the frame; they also indicate a twist or “diamond” that may exist.
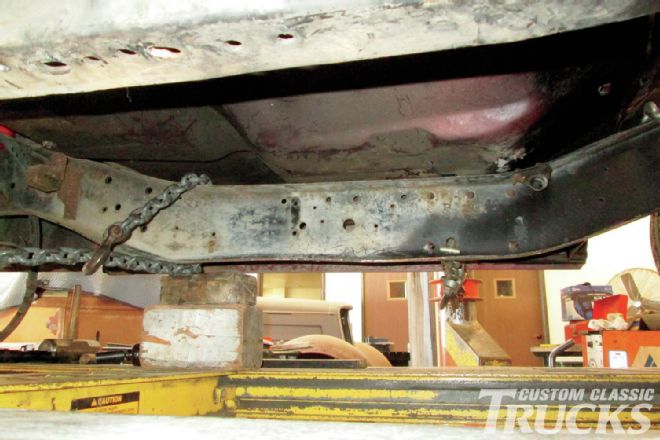
 9. Straightening a frame often requires pulling on the ’rails from different directions. Here the front and rear sections of the left rail are tied to the rack while the middle is pulled toward the centerline.
 10. The framerails have a memory and want to go back where they belong. However, it is usually necessary to pull the framerails past where they should be, as they will spring back slightly.
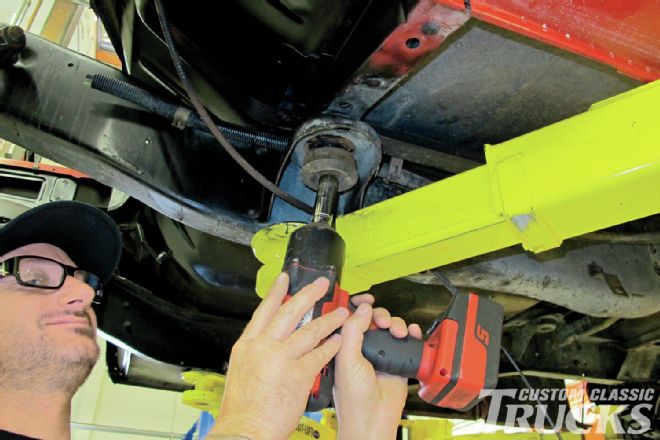 11. With the truck on the rack in the Source Interlink Tech Center, Jason Scudellari went about replacing the dilapidated original body mounts.
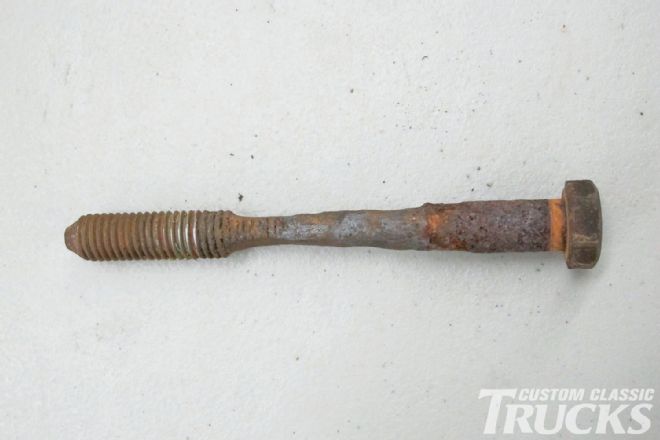 12. Not only were the body mounting bolts corroded, they also showed signs of wear from the cab moving on the collapsed rubber mounts.
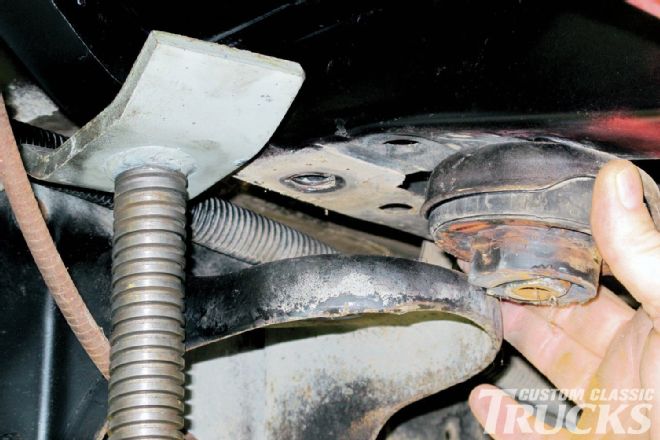
 13. Along with the cab mounts, the radiator support cushions would be replaced with a new set from the Energy Suspension kit.
 14. After removing the cap screws, the body was lifted off the frame with a jack and the original mounts were removed and replaced one at a time.
 15. Unlike original rubber parts, Energy Suspension’s Hyper-Flex cab mounts will not break down and deteriorate. Hyper-Flex cab mount kits are available in red or black.
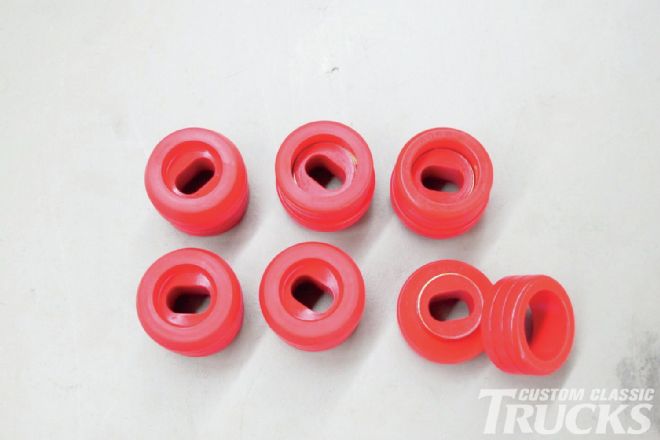 16. Energy Suspension’s kit number 3.4116 includes body to frame and radiator support bushings for ’81 to ’87 Chevy standard cab pickups.
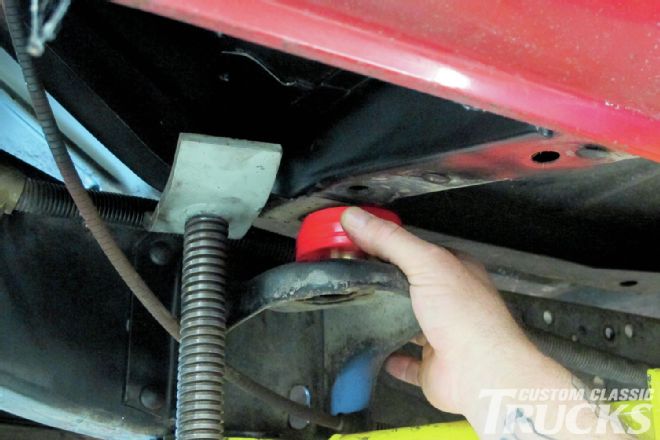 17. Energy Suspension’s new bushings simply drop in place. A steel sleeve in the bushings registers in the frame brackets to locate them properly.
18. To ensure alignment, the lower portion of the mount fits over the shoulder on the upper half.
17. Energy Suspension’s new bushings simply drop in place. A steel sleeve in the bushings registers in the frame brackets to locate them properly.
18. To ensure alignment, the lower portion of the mount fits over the shoulder on the upper half.
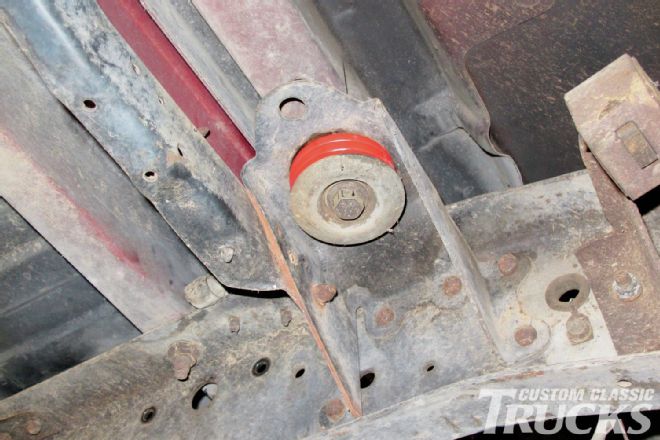 19. Thanks to the steel insert, the new bushings can’t be over-tightened. Snug them up and you’ll never have to worry about replacing body mounts again.