Over the years a variety of materials have been used to add eye-catching bling to automobiles. Nickel and chrome-plated pieces were common and stainless steel was used extensively, but in the late 1950s something new cropped up: aluminum trim. Lightweight and inexpensive it was also easy to stamp into elaborate shapes for grilles and other trim parts. To provide resistance to the elements that would cause the aluminum to dull, and to resist light scratches, trim pieces were generally anodized.
While aluminum trim had a variety of advantages, the major drawback was its susceptibility to dents. Stainless steel trim was tough as trim goes but it could be dinged; pot metal parts broke when hit with any appreciable force, but by comparison aluminum was downright fragile. As a result aluminum trim that's as old as STREET RODDER's editor usually isn't in any better shape than he is, as both have suffered the ravages of time. But while there's not much that can be done for Brennan, in most cases aluminum trim can be made good as new.
We've learned the hard way that straightening aluminum trim is sort of a combination of body repair and brain surgery. The trick is to go slow and use a light touch to keep from stretching the soft material out of shape. But while that's easy to say, the truth is after trying it ourselves we would have had better luck taking dents out of Jell-O, which is why we turned to Sherm's Custom Plating for help. Sherm's has been responsible for the outstanding chrome plating as well as stainless repair and polishing for our AMSOIL/STREET RODDER Road Tour cars for many years. They also have the capability of restoring aluminum trim to better-than-new condition.
Sherm's resident metal master is Dave Dougherty. We've watched in amazement as he's straightened stainless trim and recently found out he's just as skilled at saving aluminum. We brought him a banged up trim piece from our 1960 Dodge station wagon (Brennan calls it the "Wagon Queen Family Truckster" after the equally visually challenged movie car of the same name) because we knew it was beyond our capabilities to straighten it.
Dougherty carefully hammered the various dents and dings out of our trim piece, then it was sanded with various grits of abrasives and polished with several different compounds. When finished the aluminum looked like chrome. Once polished there are several options: the part can be clear anodized again, left as it is and polished when necessary, or covered with a clear coating.
Straightening aluminum trim is one of those chores best handled by pros, like the crew at Sherm's. Our only complaint it that the repaired section of the grille looks so good it makes the rest of it look bad—but Sherm's can cure that. We're still working on what do for Brennan.
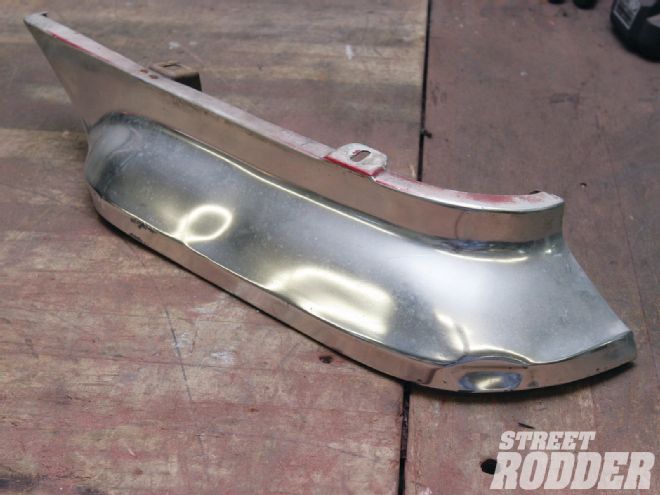 1. This is a portion of the grille that wraps around the fender of a ’60 Dodge. Over the years it picked up an assortment of dents and dings.
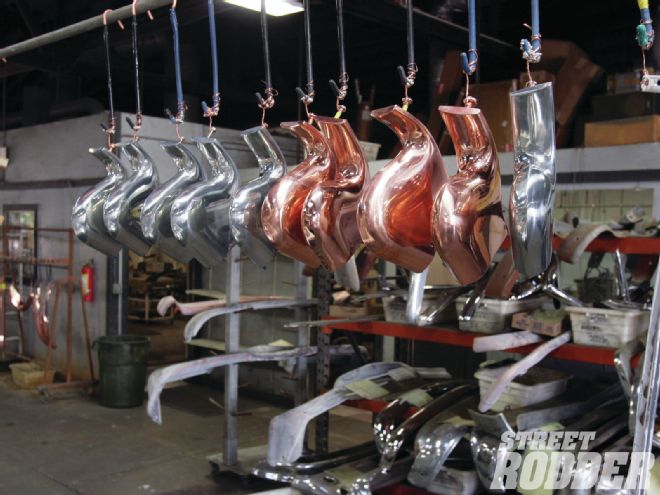 2. Sherm’s Custom Plating is well known for show-quality chrome. They also straighten and polish stainless and aluminum trim.
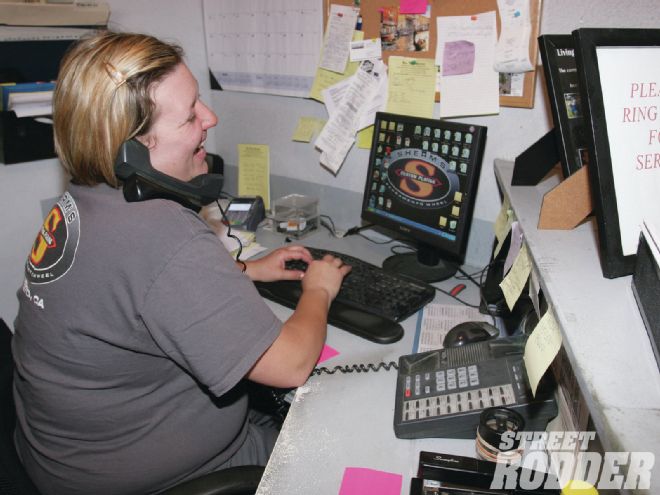 3. The cheerful voice on Sherm’s end of the phone belongs to Kelly Wiley. She’s the one keeping track of everything that goes in and out of the shop, no small chore.
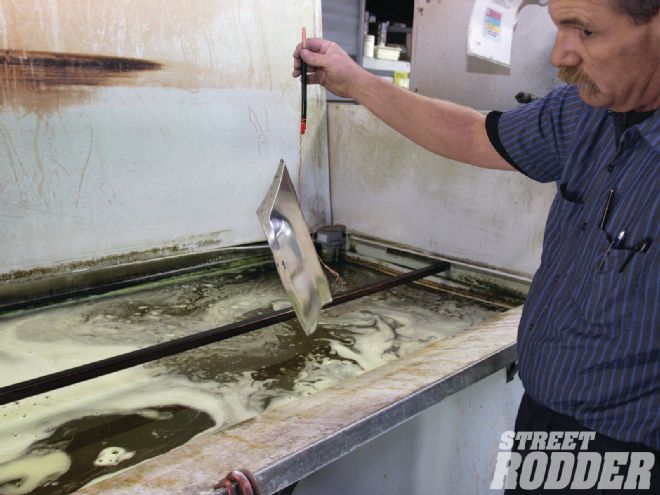 4. Art Holman takes the first step in straightening out our aluminum trim, dunking it in a strip tank to remove the factory-applied anodizing.
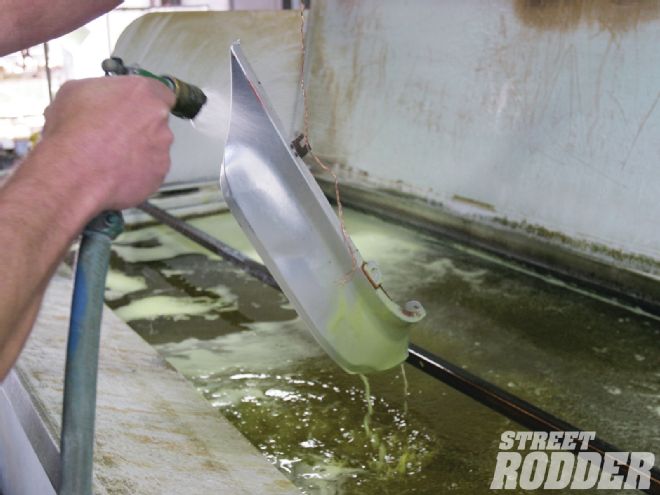 5. After a trip through the stripper, the next stop for our aluminum trim is the rinse tank.
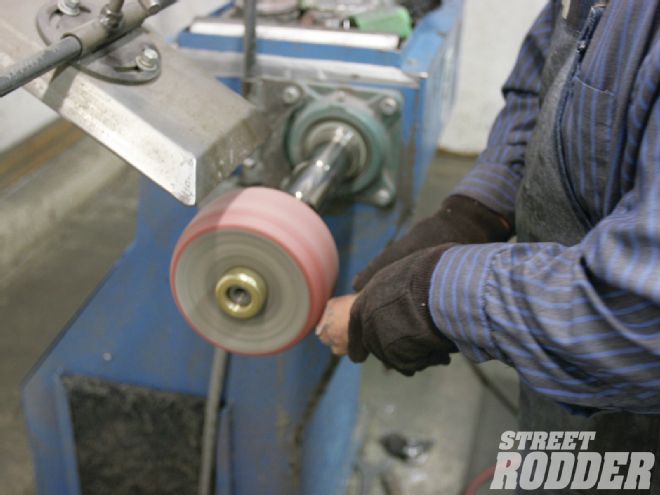 6. As is often the case, a mounting bracket had to be removed to gain access to a dent. Dave Dougherty used a small abrasive wheel to take the heads off rivets holding the bracket in place.
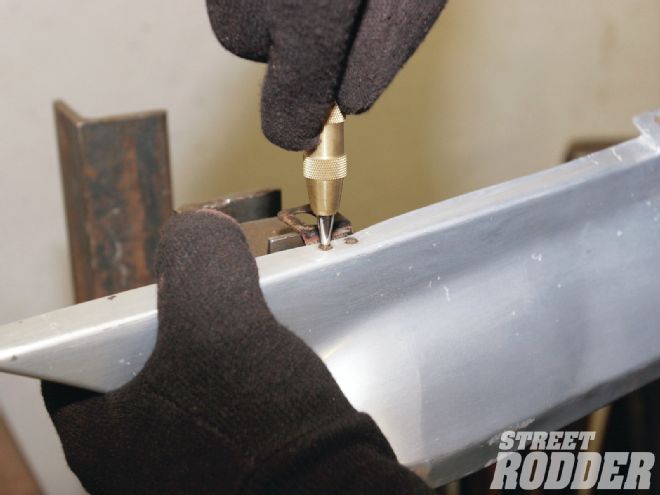 7. With the heads gone the rivets are knocked out with a center punch.
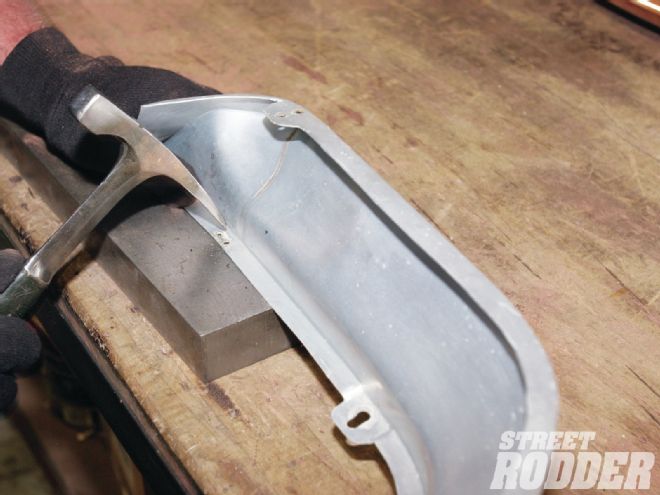 8. Here’s where things get tricky; hammering out the dents takes patience. The worst thing that can happen is to stretch the aluminum. Here Dougherty straightens the mounting flange with a cross-peen hammer and a flat piece of steel as a dolly.
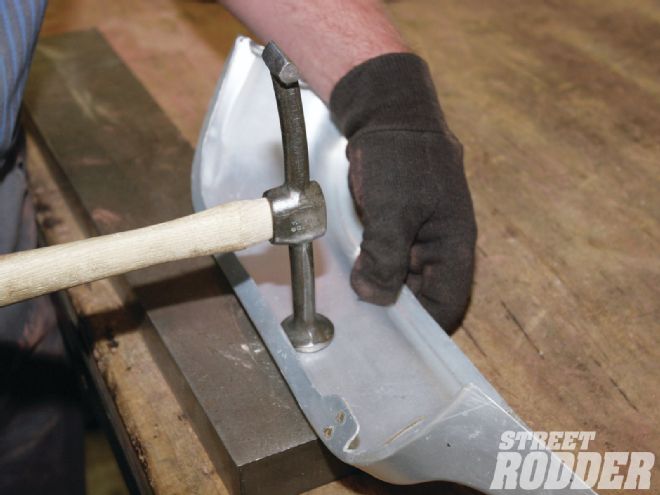 9. To restore the shape of the curved portions, Dougherty used a low-crown body hammer, again on the flat steel dolly block. The trick here is to support the outer edges of the dent and to gently move its center out where it should be.
 10. Dougherty uses a variety of dolly blocks to straighten trim, but since shapes are so varied lots of creativity is required.
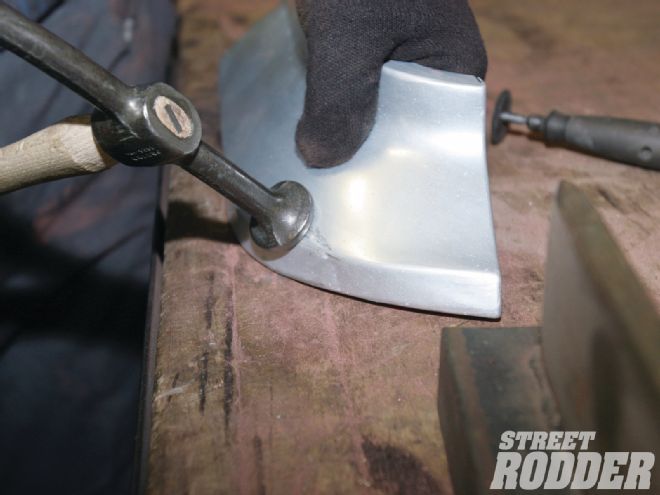 11. This is where experience really pays off. By knocking down a high spot with soft, glancing blows and backing up an adjacent low spot with a dolly (or sometimes even finger pressure) the proper shape is restored.
 12. With the hammer work done the surface is sanded with 180-grit. Like a guidecoat, high and low spots will show and can be straightened as needed.
 13. After the first round of sanding with a DA and a block the trim was near perfect.
 14. Next came more sanding with 180-grit. How much is done depends on the thickness of the material.
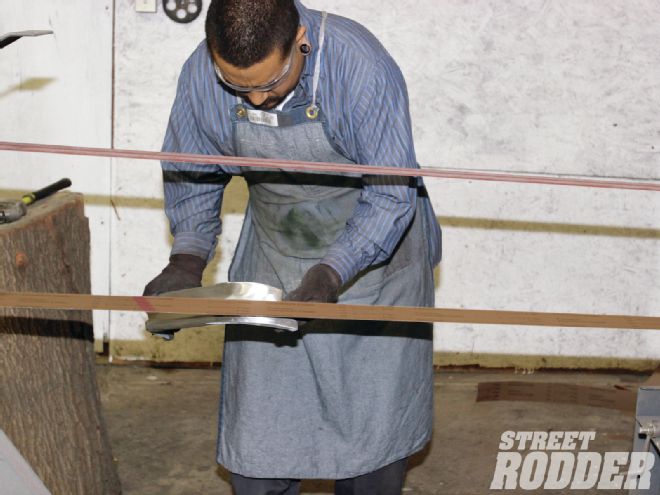 15. A belt sander is used to smooth the rounded and concave surfaces; 180 to 320 grits are typically used.
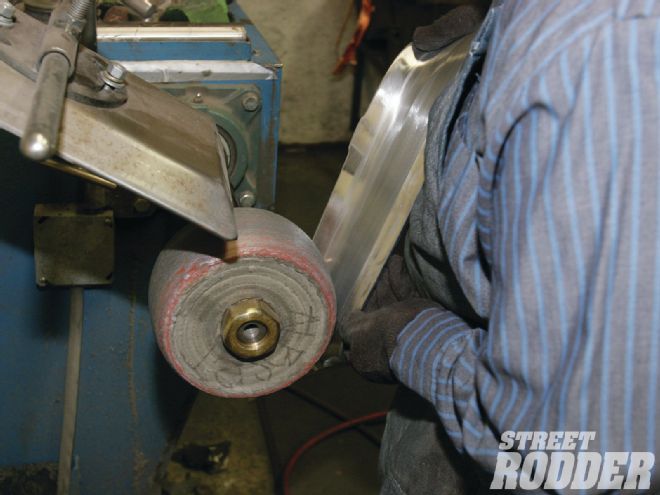
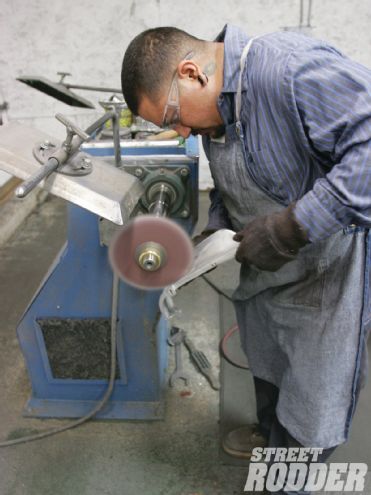
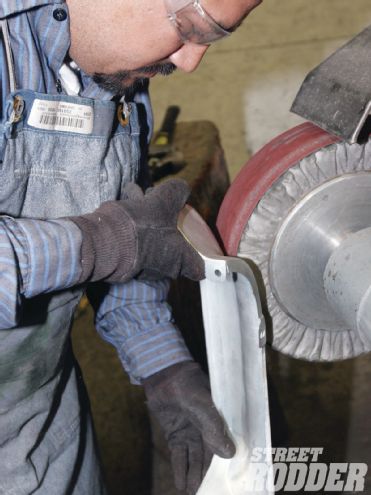 16. Flat surfaces are kept true by using a belt running over a rigid wheel. Just like knocking out the dents, this takes an experienced touch, as the material is soft and thin.
17. With the sanding completed and the surfaces perfectly smooth, polishing is next. A variety of compounds are used.
16. Flat surfaces are kept true by using a belt running over a rigid wheel. Just like knocking out the dents, this takes an experienced touch, as the material is soft and thin.
17. With the sanding completed and the surfaces perfectly smooth, polishing is next. A variety of compounds are used.
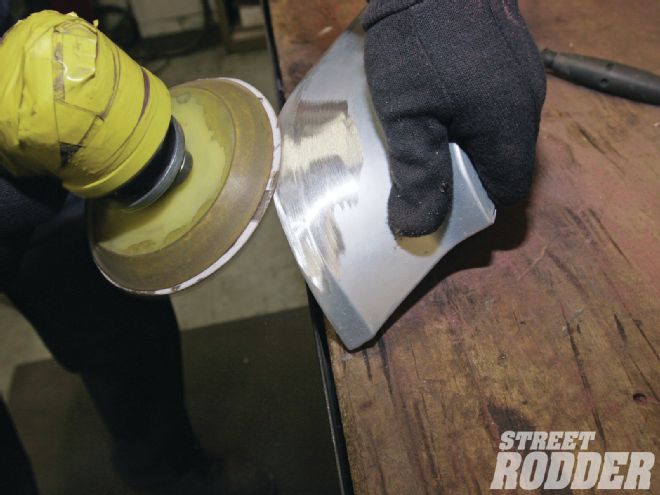
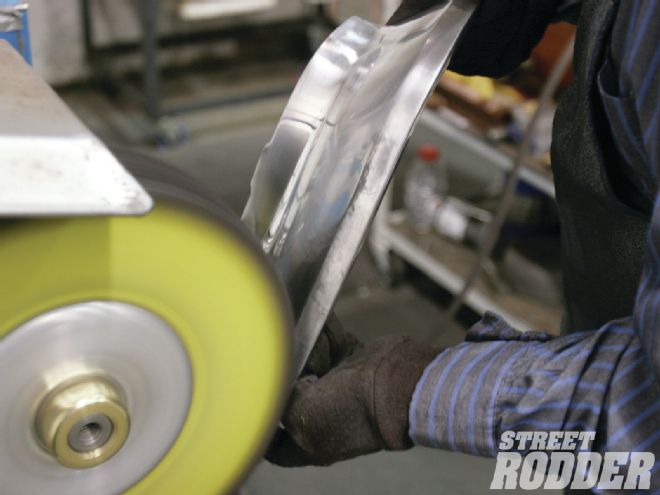 18. Like sanding, the first round of polishing is done with a coarse, faster cutting compound.
19. The final rounds of polishing are done with progressively finer compounds until the surface looks like chrome.
18. Like sanding, the first round of polishing is done with a coarse, faster cutting compound.
19. The final rounds of polishing are done with progressively finer compounds until the surface looks like chrome.
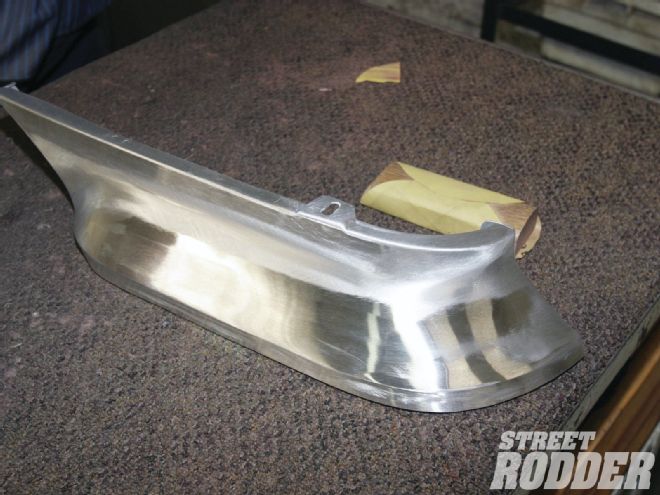
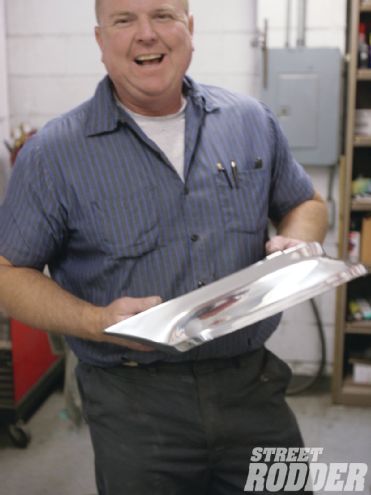 20. Dougherty holds the finished piece. Unquestionably a craftsman, he made our Mopar trim better than new.