Project vehicles, where do we start? Well first off, I would like to introduce the next project vehicle in our lineup. It's a beat-up 1979 Chevy C10 shortbed that our editor Jim Rizzo and Street Rodder Magazine Senior Editor Eric Geisert played a little swapping game with. Riz ended up with 1979 Chevy, and Eric, well he got a beat-up old Cadillac.
When Riz and I were brainstorming on how to go about fixing a square body, we thought we would try to keep it within the realm of the common build. The number $15,000 came to mind and, for the lack of going out and purchasing a new or used truck, from a dealer that number looked relatively small. A few months ago Riz wrote about looking for a new truck, but when he saw the price tag of $50,000-plus for a truck he started looking for something used. However, a used truck was not that much different in price – $35,000, and that was for a truck with roll-up windows and plastic carpet.
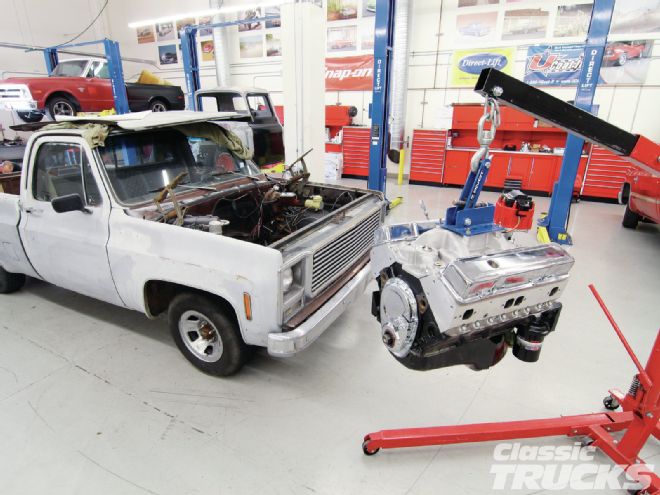
So with a budget in mind we looked at how much it would cost to replace the engine and transmission, plus the engine bay wiring harness. We went to BluePrint Engines for a replacement 350 with a little bit of attitude, or rumble, if you will. What we ended up discovering was that the price of a complete BluePrint crate engine was pretty reasonable and quite affordable for the average Joe.
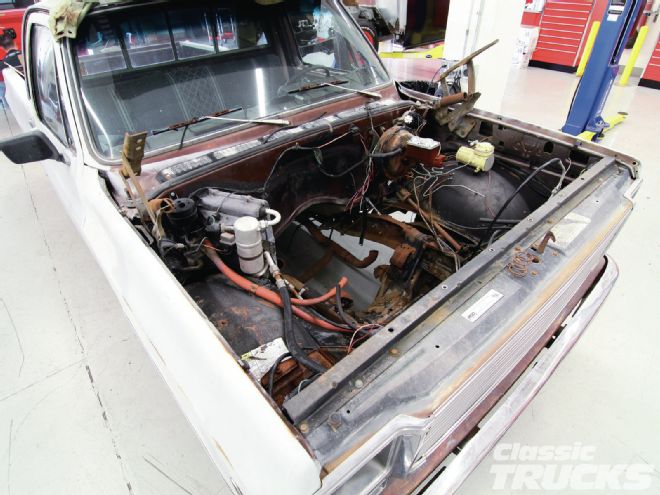
Next we turned to Summit Racing because the transmission was also missing from our project. Instead of spending tons of cash on a transmission Riz decided to add the tried-and-true Turbo 350 to the crate engine. So we have the drivetrain now, but we didn't have the means of hooking up the electrical because the rats chewed up the wires while in Eric's backyard. The engine bay also looked faded and in need of a good scrub down, so on the way to the Source Interlink Tech Center I stopped by the carwash to spray off the dust and rat turds. Riz and I found a replacement wire harness from Classic Industries that was a direct replacement, and for the most part, was plug and play.
 After pressure washing the engine bay at the carwash, I scrubbed the remainder of the dirt off with medium-grit 3M pads. This helped not only get rid of the thick dirt and debris, but it also promoted paint adhesion.
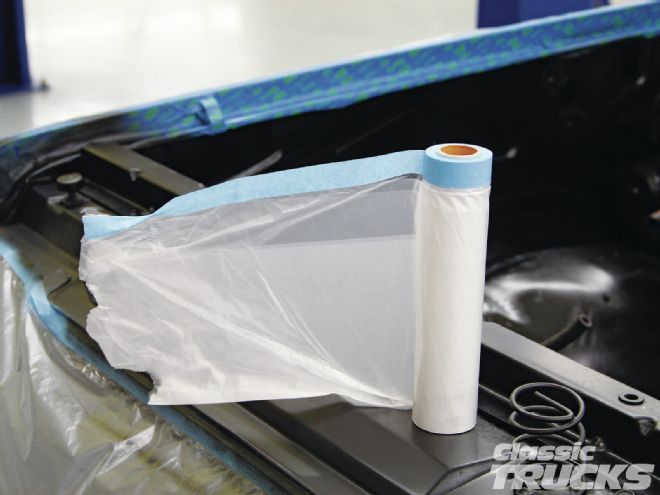 Prep is more important than actually painting the engine bay. Spend plenty of time here and the results will have a more professional look. I used a plastic masking drop found at the local hardware store, plus quality blue or green tape to mask the truck
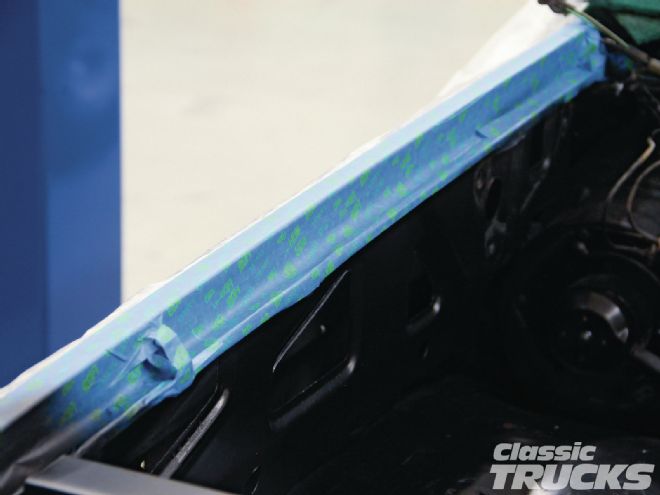 Don't forget to tape off the windows or anything you don't want overspray on.
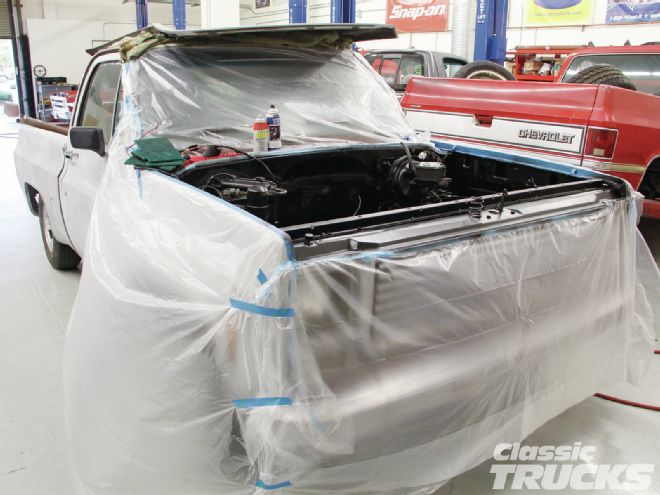 I covered the fenders and grille area so that I wouldn't be removing overspray later.
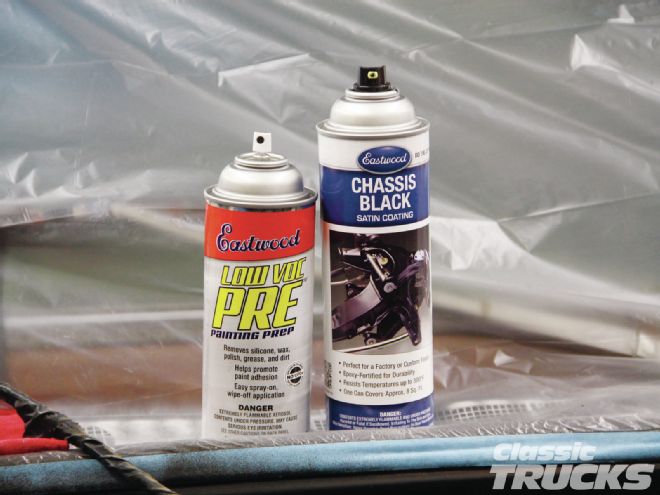 I like to wipe the surface before any paint is applied to the engine bay. Using the Eastwood Low VOC Pre Painting Prep spray to remove any silicone, wax, polish, grease, and dirt. Simply spray it on the surface and wipe dry with a clean rag.
 I sprayed the first coat at night with the Eastwood Chassis Black paint and let it dry overnight. Then I used the 3M pads to scuff the painted surface to lay down two more thick coats of paint.
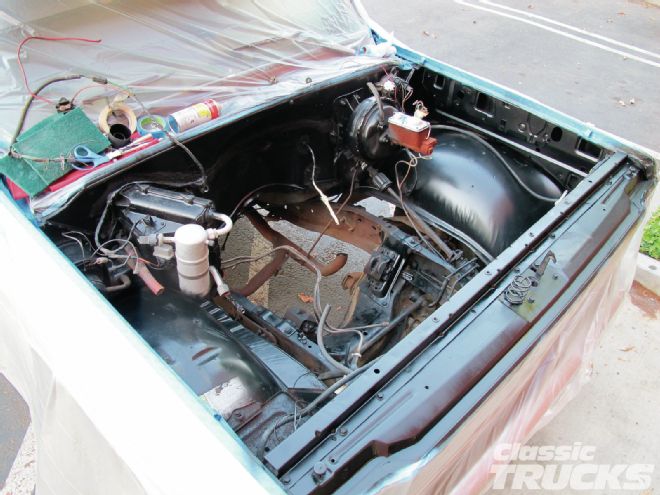 A few more coats and the engine bay should look a lot better than it did. It is not perfect, but I think the point is that you can do this at home and have the paint turn out really nice.
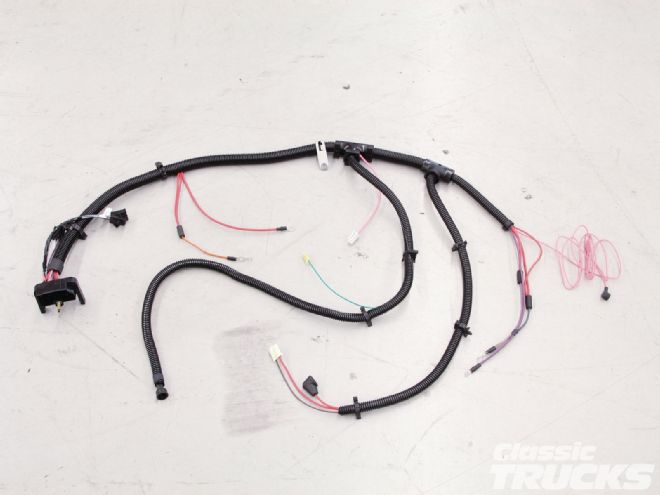 The replacement engine harness from Classic Industries we used provided us with an easy way to replace the old chewed-up harness.
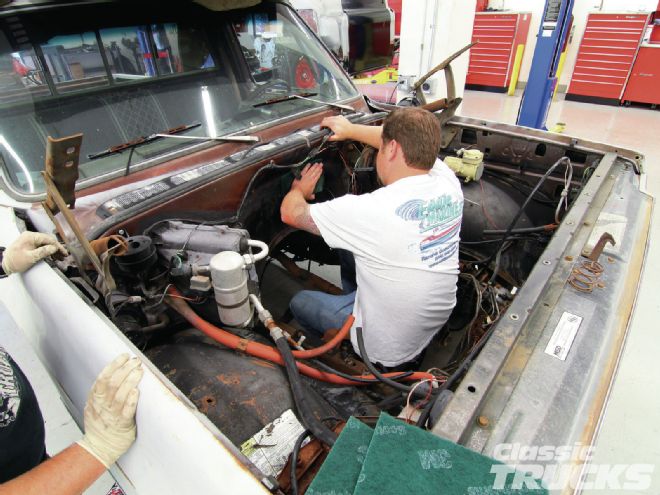
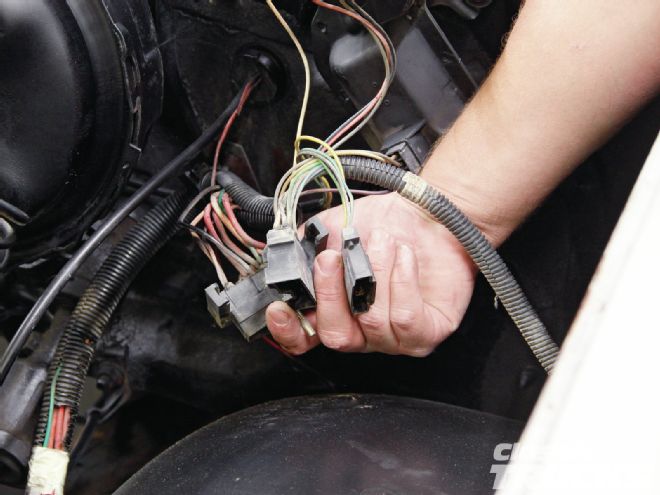 The factory engine harness was unbolted from the firewall and removed.
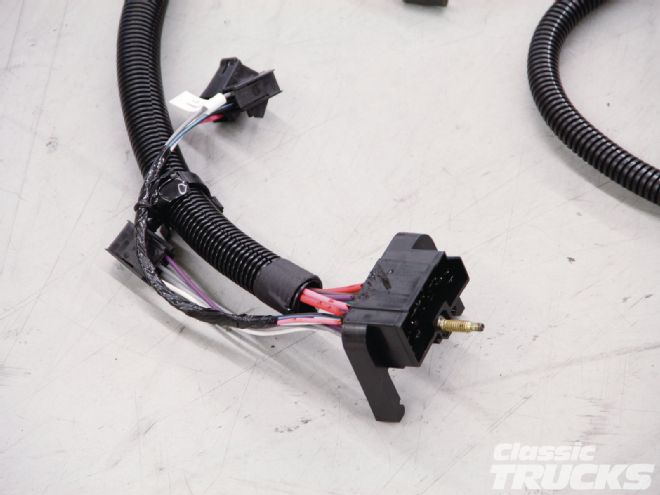 You also have the option to replace the front lighting circuit with the new engine harness. The new lighting harness completes the engine harness shown here and bolts back in the stock location.