Getting any project to a rolling chassis stage is a huge milestone. It's a definite morale booster and usually takes several weeks, if not months. The Tribute T we're building to celebrate the magazine's 60th anniversary is a little different as we got to this stage in less than a week! That's the beauty of Speedway Motors' kit: It literally bolts together, as all the brackets have been welded in place, and all the threads tapped, before it leaves Speedway's Nebraska facility.
Because it is a kit, and because we've seen several "kit cars" over the years that were anything but, we decided to immediately powdercoat and paint the components, meaning we'd not be able to weld anything to the chassis without ruining the coating. The idea behind this is to show that one of these cars can be put together by someone who does not possess a welder, or the ability to weld. Now, we may decide to add some parts later in the build that aren't part of the kit (Editor Fortier is keen to add seatbelts, which will mean fabricating suitable mounts, for instance), but such parts could be farmed out to professionals while the chassis stays in your home shop, then bolted in place.
Painting everything now also means we won't have to tear the car apart later for final finishing. Once it's bolted together, it'll stay together, again speeding up the build time. Long build times mean waning enthusiasm, as any builder of a long-term project can attest to!
We had our chassis, I-beam, and front and rear suspension links powdercoated, but chose to paint everything else with Eastwood's Chassis Black, for its semigloss finish, durability, and no-primer-needed qualities, as well as painting select parts in Spray Gray for a cast appearance. Of course all the parts were prepped prior to painting using a gray Scotch-Brite and Eastwood's Fast Etch.
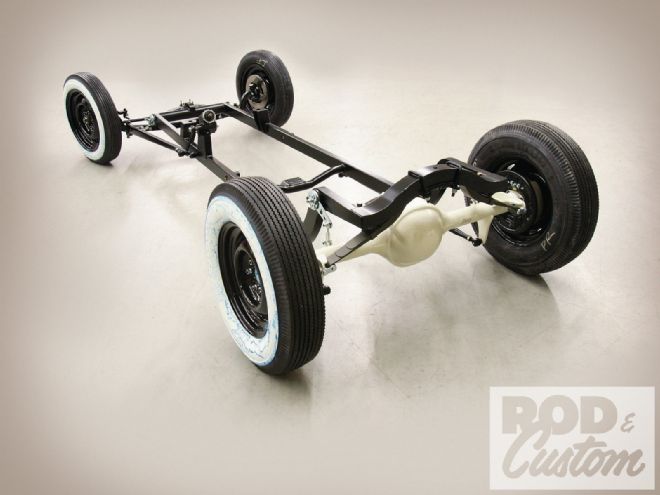
Wheels and tires can make or break any car, so with this in mind, and with a '60s theme to adhere to, our rolling chassis was completed with a set of powdercoated steelies wrapped in big 'n' little wide whitewall Firestone bias-ply rubber from Coker Tire. These will have baby moon caps fitted once the lug nuts are tightened for the very last time.
 1. Our first order of business was to haul the chassis, I-beam, and suspension links up to Cal Blast in Upland, CA, for blasting. These guys use a secret formula that leaves the surface ready for powdercoating with no further prepwork required.
 2. All important holes were masked prior to powdercoating, such as the kingpin holes and spring perch holes on our I-beam, and the brake pedal bushing on the chassis.
 3. Eddie Motorsports powdercoated our components in semigloss black. After they were sprayed, they were baked at 400 degrees for 30 minutes.
 4. Speedway Motors offers this Model T handbook, an assembly manual for its various T-bucket offerings. However, as the Tribute T is new and uses many unique components, some of the handbook was irrelevant to our project.
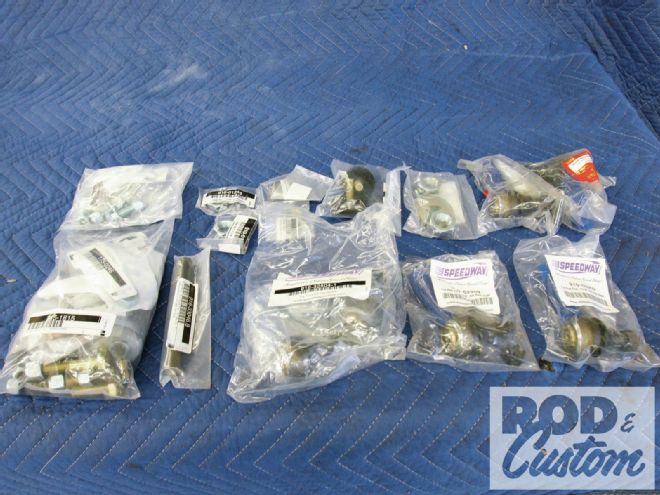 5. All the hardware to complete the rolling chassis is supplied. Readers who have built a car from scratch will appreciate the huge saving in time just by not having to make several trips to the supply house for nuts, bolts, washers, cotter pins, tie-rod ends, and the like.
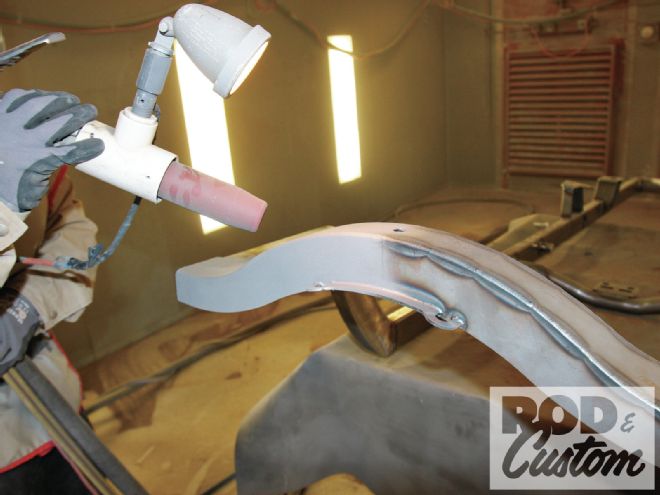
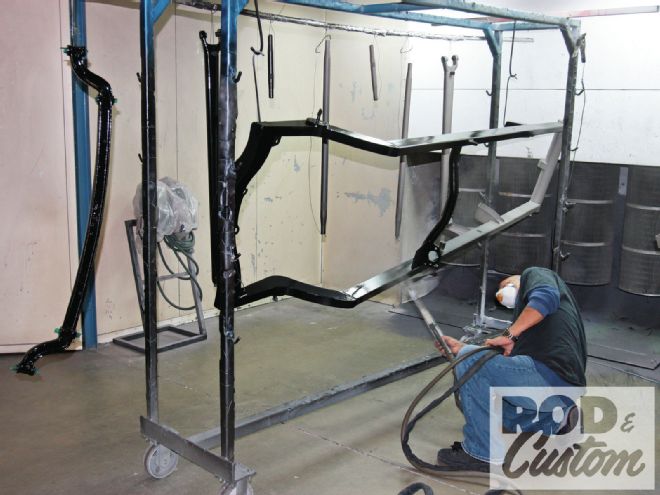
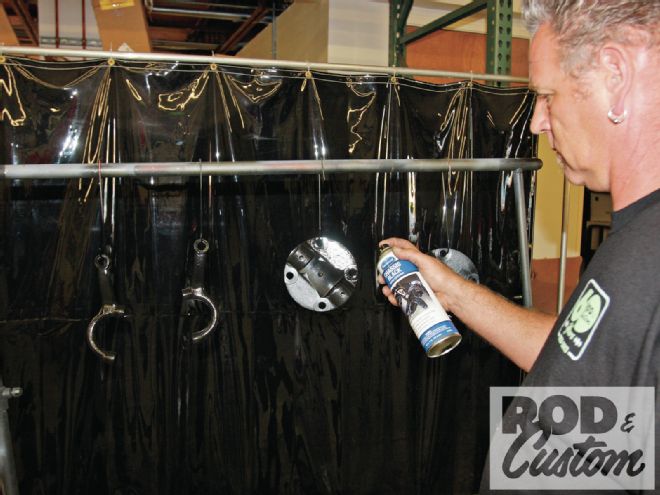 6. We use a wheel-around clothing rail from which to hang parts while painting them. Everything we didn’t powdercoat, we painted with Eastwood’s Chassis Black or Spray Gray.
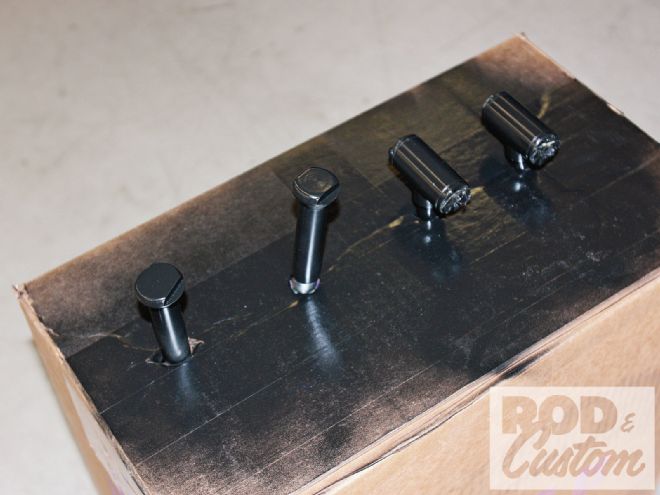 7. Small parts can be held in holes pierced in cardboard boxes while they’re painted.
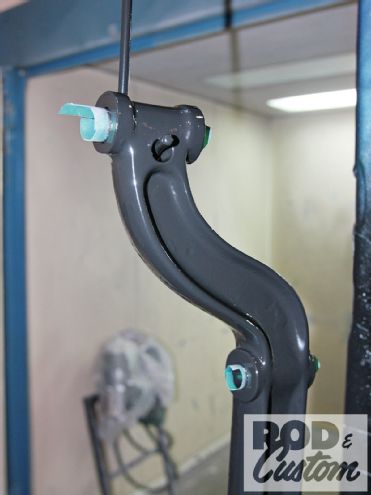
 8. Ensure important holes such as the pre-reamed kingpin bushes in spindles, or threaded holes in steering arms, are masked prior to painting. It’ll make assembly so much easier.
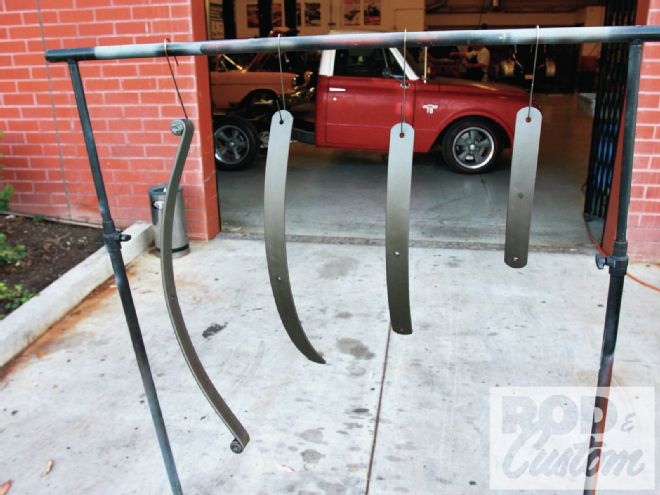 9. Here’s our front spring, the leaves separated for painting. This will ensure no unsightly rusty water trails from between the leaves after assembly. Details, details …
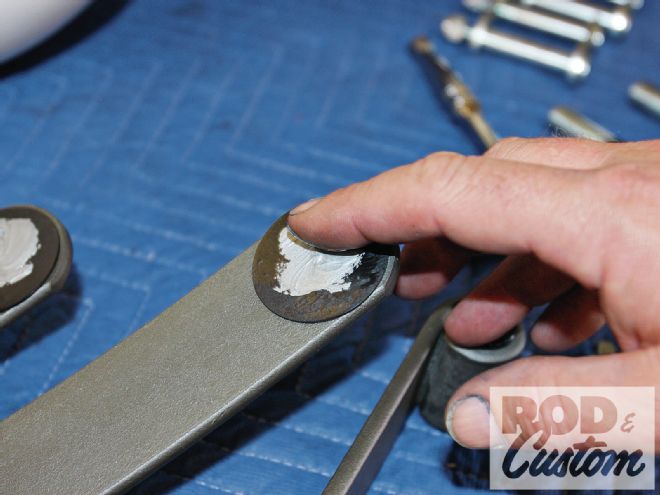 10. Prior to assembly we added some antiseize compound to the plastic sliders on each of the spring’s leaves.
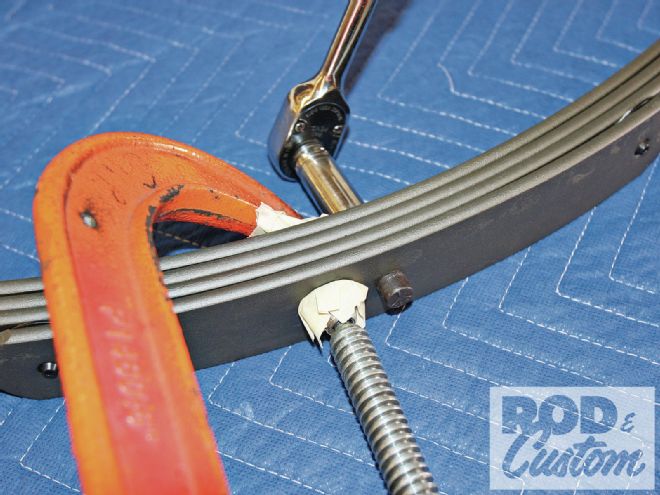 11. A C-clamp was used to compress the leaves together prior to installing the central bolt. Note the use of masking tape to avoid damaging the paint.
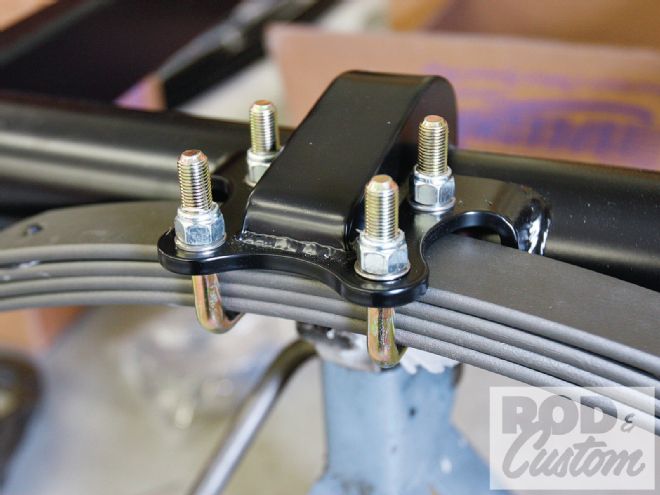 12. The spring was then bolted to the suicide perch using the U-bolts provided.
 13. The perches were bolted through the crush tubes in the wishbones, then the shackles installed.
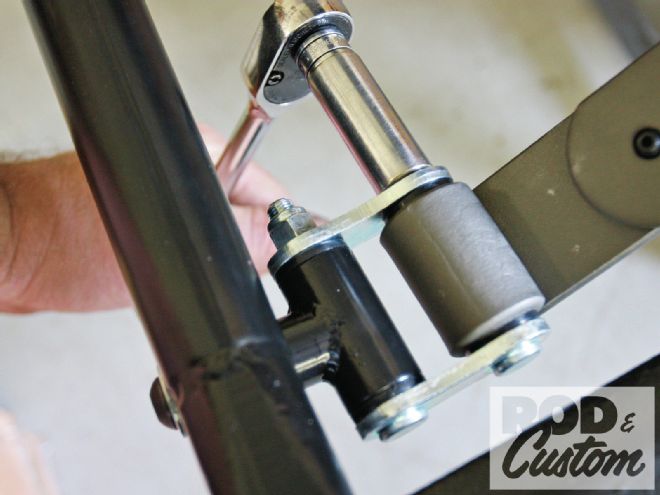
 14. These friction shocks are part of the Tribute T kit, located on the I-beam using pre-drilled and tapped holes, with Heim joints making the link to the axle.
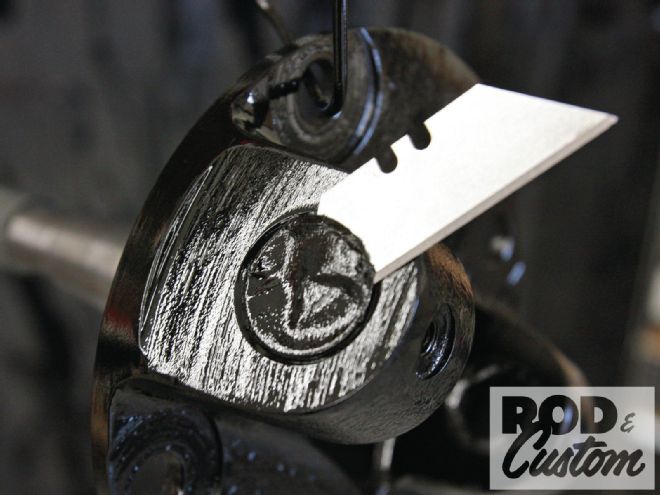
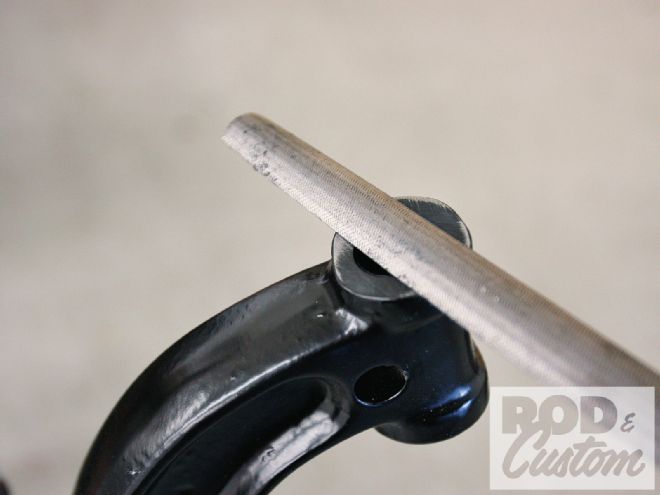 15. We had to file the powdercoating off the top and bottom of the kingpin bosses prior to installing the spindles.
 16. We won’t go into details on spindle installation as we’ve covered it on builds in the past. However, it’s worth pointing out that the thrust bearing should be packed with grease, and installed with the dust shield up toward the bottom of the axle boss. Shims are provided if required, and should be placed above the thrust bearing if used. Also, be sure to orient the notch in the kingpin with the lock pin hole in the axle during installation, unlike we’re doing here!
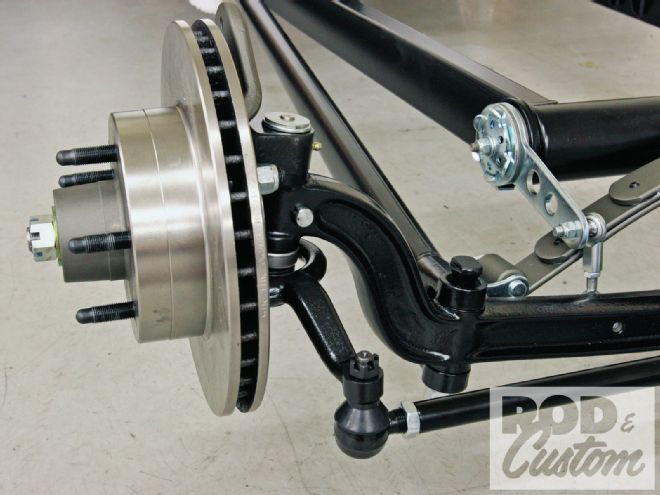 17. With the spindles installed, we fitted the steering arms and caliper-mounting bracket, then installed the rotor hat. Note that no cotter pins have been added, or any fasteners tightened fully, until final assembly is completed.
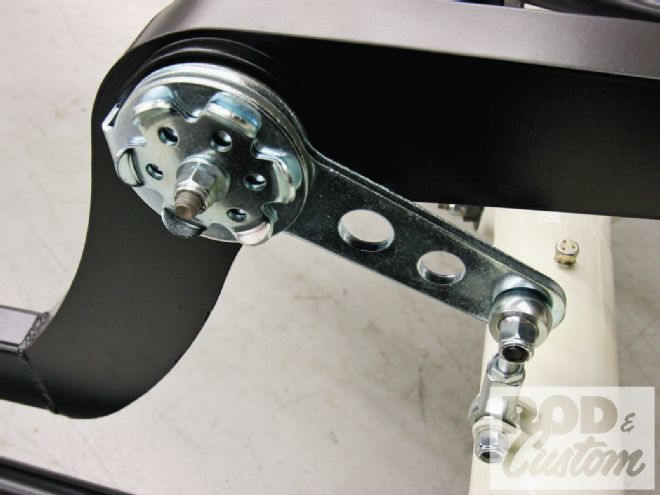
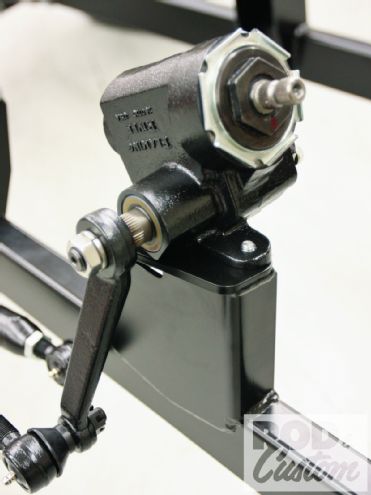 18. The Flaming River steering box is supplied too, and mounts on this bracket already welded to the chassis. The input shaft was turned lock to lock then centralized prior to the Pitman arm being installed.
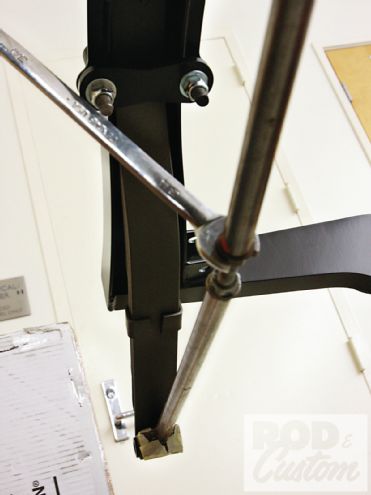 19. Moving to the rear, with the spring painted and installed, we used our homemade spring spreader to stretch the spring enough to install the shackles on the rearend. The spreader comprises a couple of lengths of 3/4-inch tubing with a length of all-thread inside them and two jam nuts. At each end there’s a short section of 1x1-inch angle to locate on the spring eyes, again wrapped in masking tape.
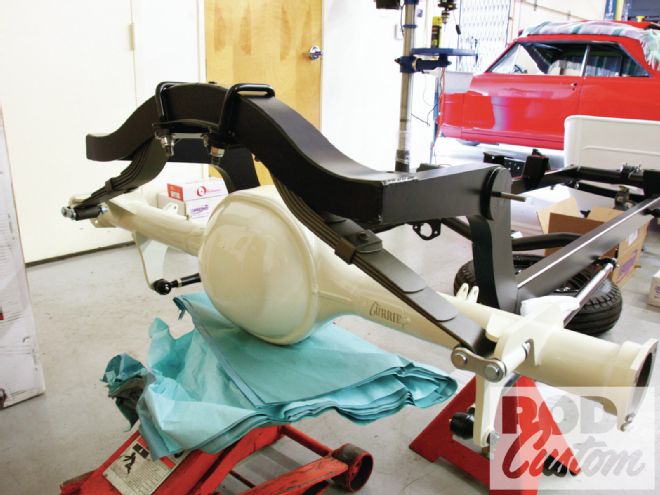
20. The rearend—painted off-white by Jimenez Bros. Customs in Riverside, CA—installed on the spring, and located using the Tribute T lower arms.
19. Moving to the rear, with the spring painted and installed, we used our homemade spring spreader to stretch the spring enough to install the shackles on the rearend. The spreader comprises a couple of lengths of 3/4-inch tubing with a length of all-thread inside them and two jam nuts. At each end there’s a short section of 1x1-inch angle to locate on the spring eyes, again wrapped in masking tape.
20. The rearend—painted off-white by Jimenez Bros. Customs in Riverside, CA—installed on the spring, and located using the Tribute T lower arms.
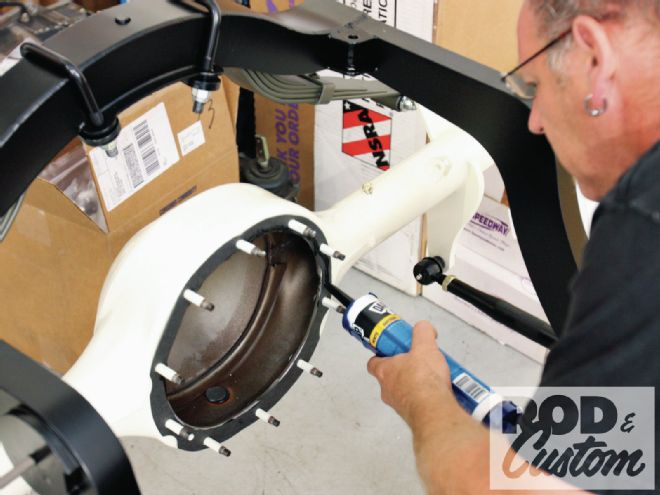 21. The third member gasket was installed, with a bead of silicone sealer to prevent oil leaking onto the white housing in the future.
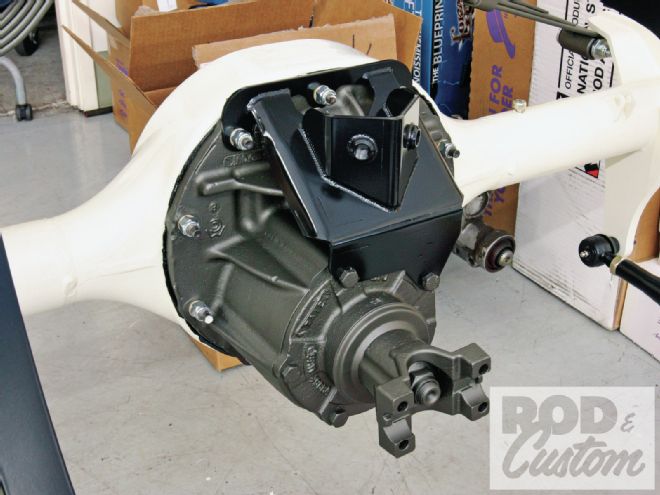 22. With the third member painted Eastwood Spray Gray and installed in the housing, this bracket was bolted in place …
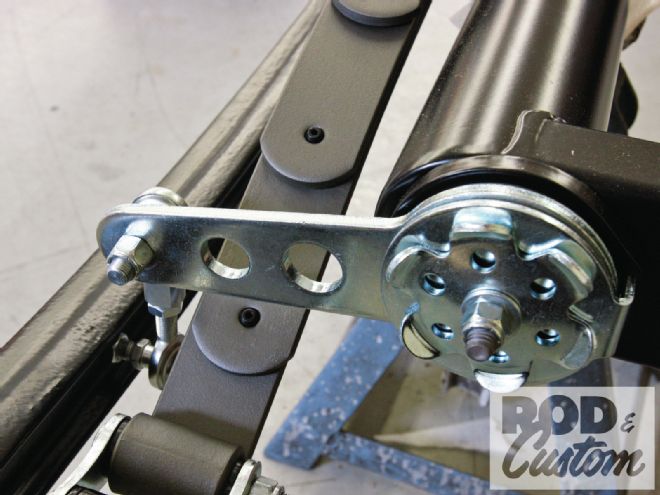
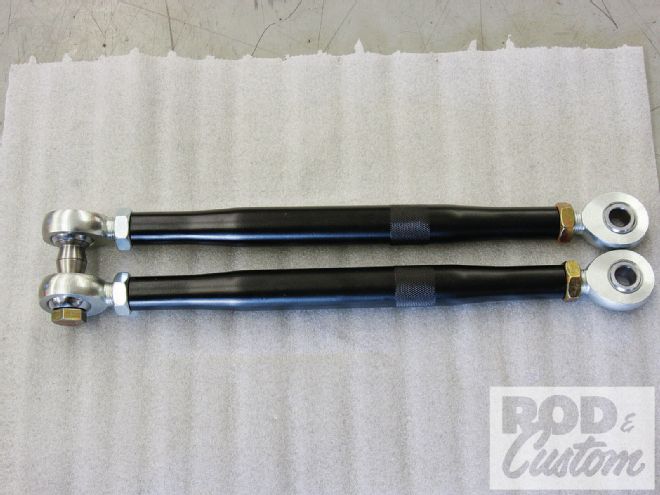 23. …to which bolt these upper arms. With left- and right-hand threaded Heim joints, they’re easily adjustable to set the pinion angle. We set them at identical lengths prior to installation. The tapered spacers seen at the left are supplied in pairs, and are used at the chassis end of each arm.
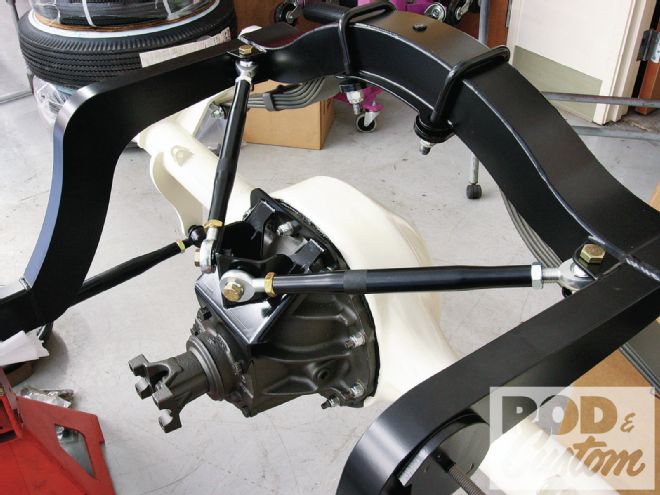 24. The tapered spacers allow for the Heim joints at the chassis mounting brackets to operate through high angles.
 25. Another pair of friction shocks are mounted at the rear, in a similar manner to the fronts.
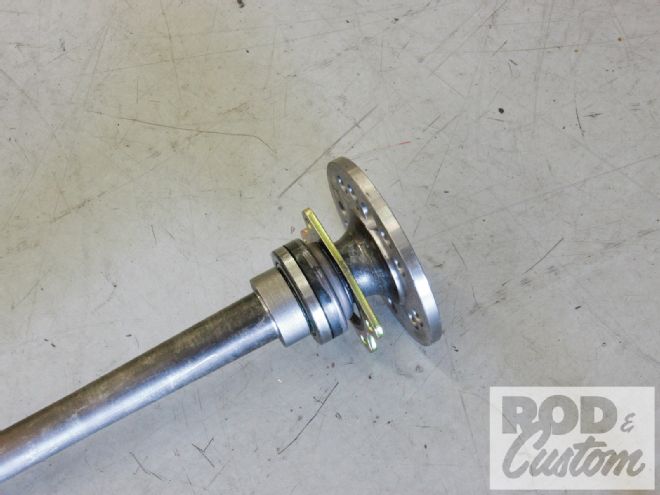 26. The Currie Enterprises–sourced rearend was supplied by Speedway Motors as part of the Tribute T kit, the 9+ shafts having a tapered roller bearing already installed, which require no oil seal in the housing ends.
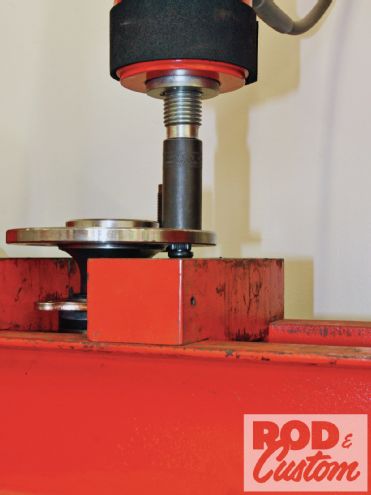 27. We used a press to install the wheel studs into the shafts, pressing the flange down over the upturned studs, using a high tensile socket as a spacer. We don’t recommend trying this with regular sockets.
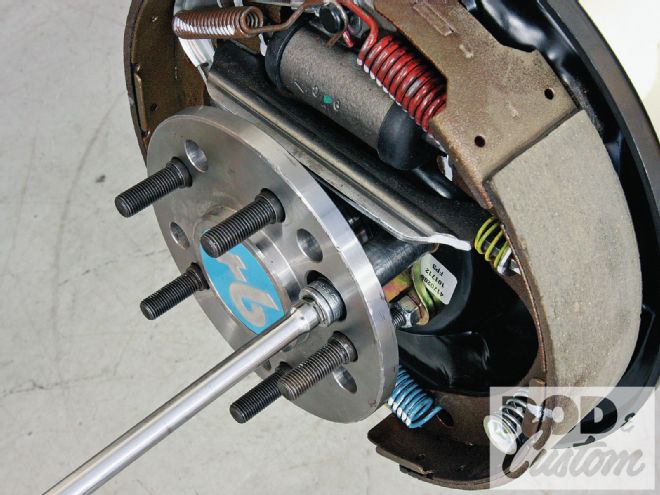 28. With the assembled brake backing plate located on the axle studs, the axles were installed and the nuts tightened on the studs as shown.
 29. Add a set of powdercoated black steel wheels and Firestone bias-plies from Coker Tire, and our chassis is a roller. Not bad for a few days work, huh?