
When it comes to basic bodyworking, most home builders have a pretty decent understanding of the ins and outs of blocking out a panel. Reveal the high and low spots, skim a bit of filler over the area, and block-sand until it looks and feels smooth. Nothing to it, right? The problem with that technique is that it uses body filler as a crutch. A fairly major dent can take quite a bit of body filler to repair; and we’ve all heard the horror stories relating to the liberal use of body fillers. And while there’s really no problem with a light coat of properly applied body filler, provided the area has also been properly prepared, there is a better method than just slathering filler over an area until it’s nice and smooth.
Recently, we were visiting Zane Cullen and the guys over at Cotati Speed Shop in Santa Rosa, California, where this topic came up in discussion. Zane mentioned that a customer had recently dropped off a new fender from LMC Truck for a Chevy pickup they were building. The fender was flawless, except for two softball-sized dents that the careless owner had inadvertently applied to the side of the fender during storage and transport. If ever there was a more perfect dent in which to use as an example, these were them.
Zane introduced us to his main metal man, with whom we spent the remainder of the day, looked closely over his shoulder as he repaired the two dents, and brought the fender back to its original, flawless state.
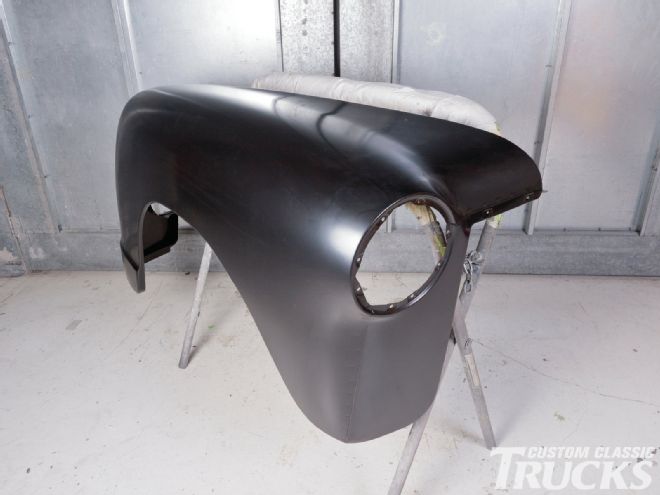 1. Though the LMC Truck fender was brand new when it arrived at Cotati Speed Shop, the owner had stored it in the rafters of his garage for nearly a year before bringing it down to the shop.
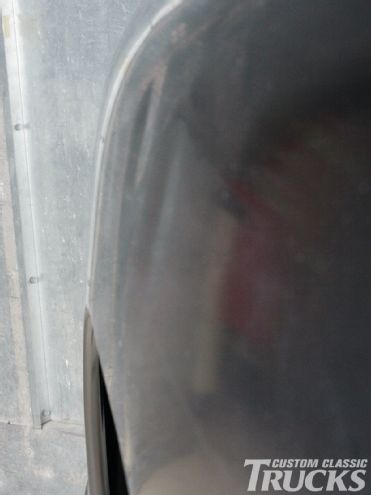 2. Unfortunately, during transit to the shop, it was the victim of a couple softball-sized dents.
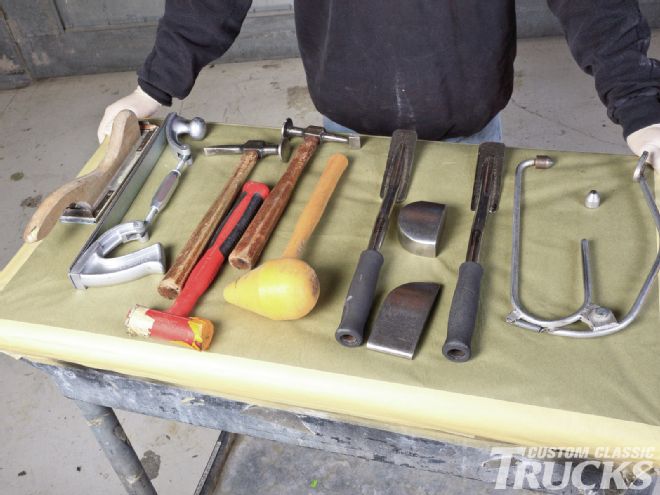 3. Not a terribly problematic situation when you have the talent on hand in addition to an array of bodyworking tools for even the toughest metal-bending tasks. From the left are a fixed and flexible body file, an assortment of body, rubber, and teardrop hammers, dinging spoons, heel and toe dollies, and a bullseye pick.
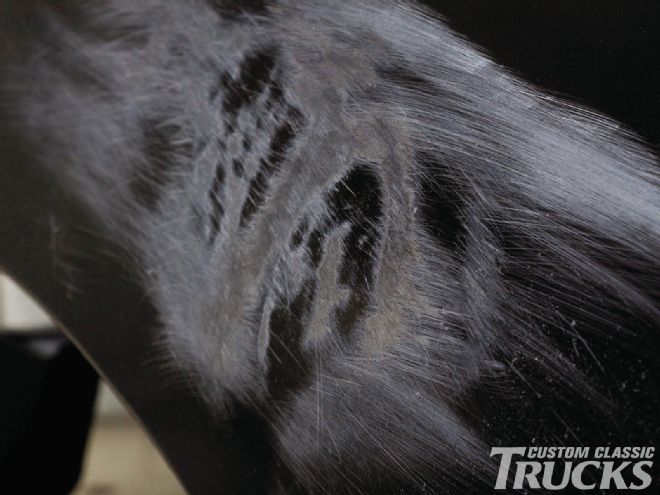
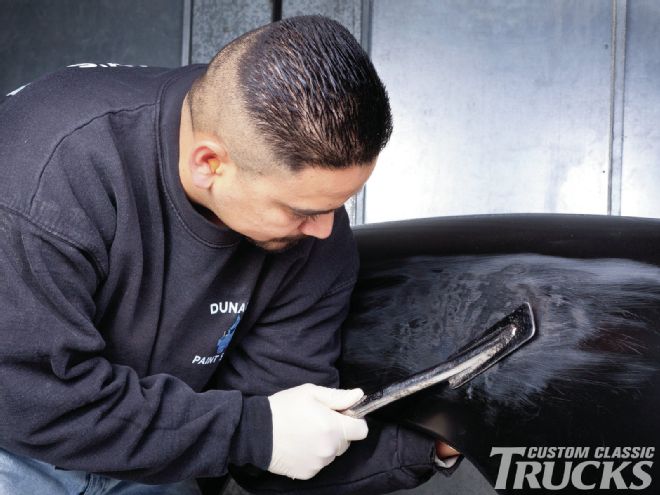
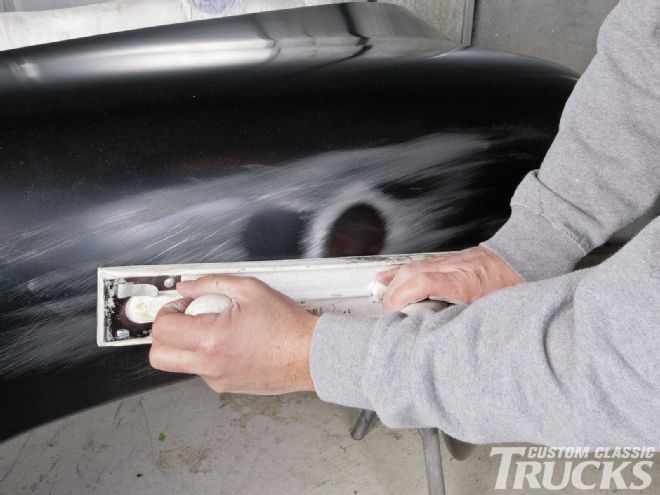 4. The first step in repairing any dent is to reveal the high and low spots on the panel. To do this, a fixed body file is used to skim the damaged area. The high spots are scuffed as the file is drug over the surface while the low spots remain unaffected.
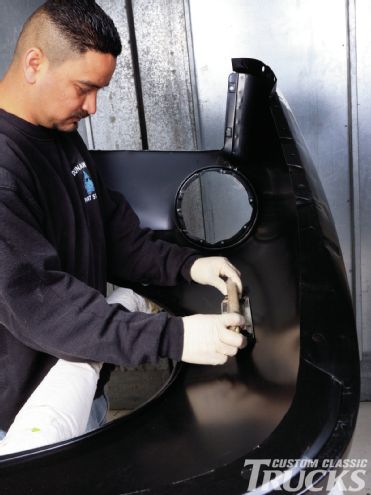 5. The same process is used on the inside of the fender.
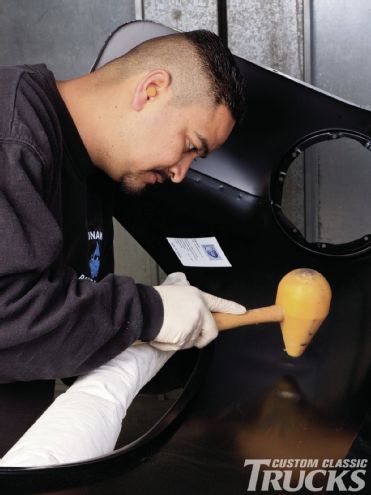
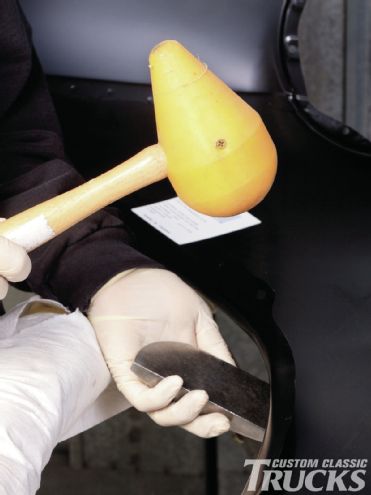 6. The first step is to raise the two low spots as close as possible to the surrounding area. A plastic teardrop mallet is used in an on-dolly manner, backed by a toe dolly. This method stretches the impacted area and causes it to raise up.
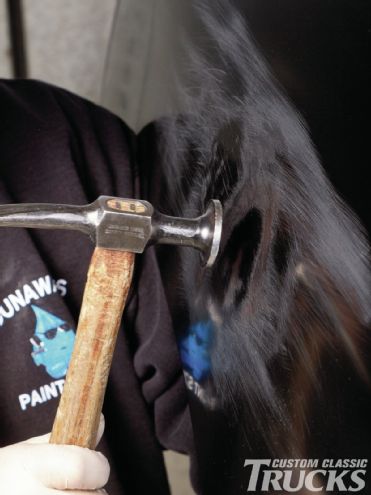
 7. The file marks left from the previous step are used in order to locate the strike points; note that the strike point is directly over the high point, which is actually the low spot on the outside of the fender.
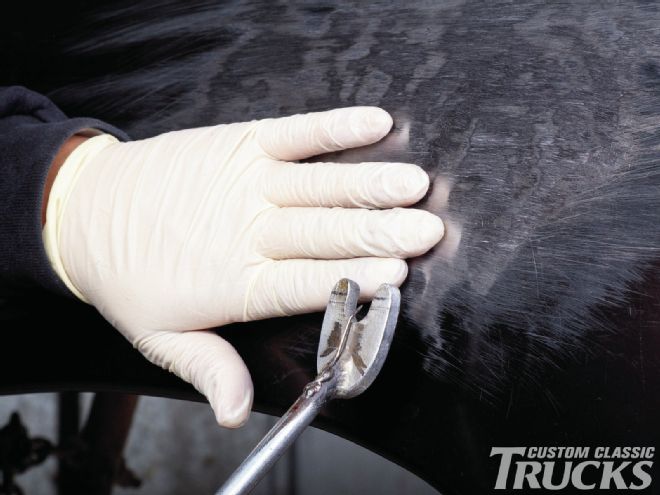
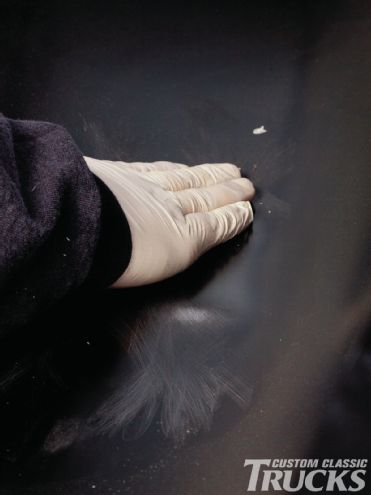 8. The well-trained hand doesn’t lie and is used often to check progress.
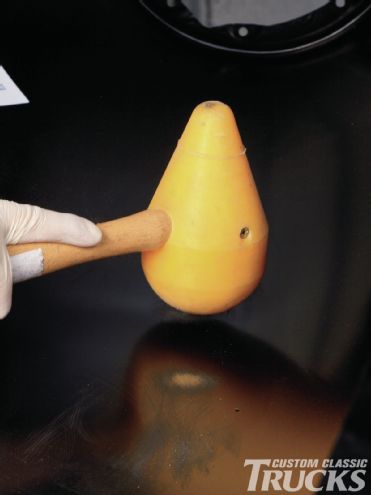
 9. With the majority of the low spot raised, the point end of the teardrop mallet is used to further massage the area flat.
 10. Another pass with the body file reveals what’s been raised and what needs to be hammer and dollied further.
 11. A flexible body file can be adjusted to conform to the panel’s shape, which makes revealing high and low spots incredibly easy and efficient.
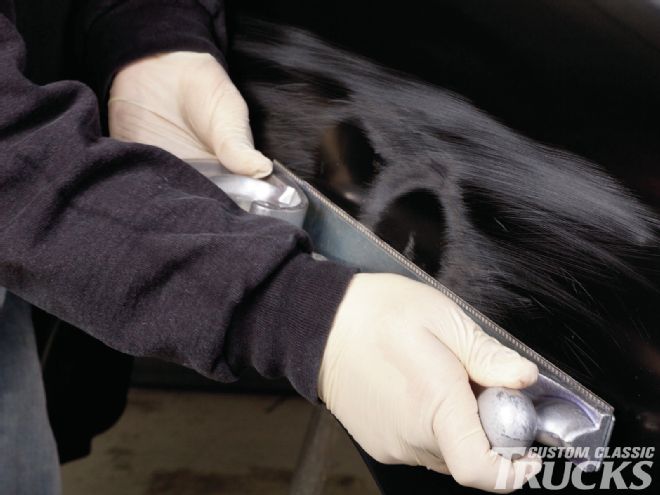
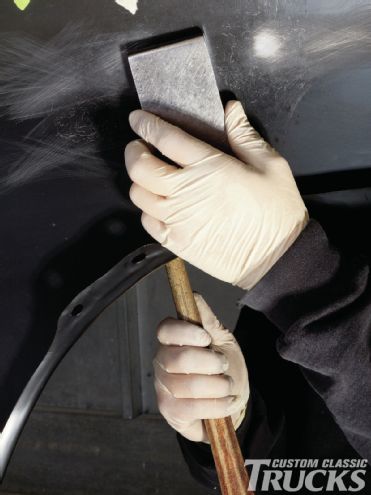
 12. Next, a dinging spoon is used, backed by a toe dolly. Dinging spoons are used to spread out the area of each blow, making a wide, flat, even affected area as opposed to the more directed impacts of a body hammer.
 13. Another pass with the body file.
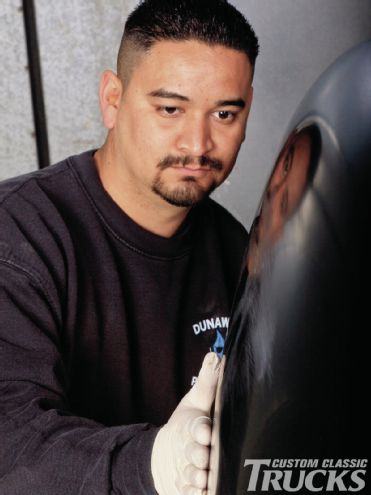 14. A quick check using the ol’ hand method reveals the areas that require further refinement.
 15. A traditional curved cross chisel body hammer is now used, backed by a toe dolly to massage the remaining low spots.
 16. An off-dolly method is used here, with the dolly held against the low spot on the backside of the fender and the hammer used to strike the high spot on the surface. This will effectively raise the remaining low spots and lower any high spots.
 17. This is the point where most fairly decent home builders might be able to massage a dent, using a little body filler to get it nice and smooth, but for a professional, it’s taken a few steps further.
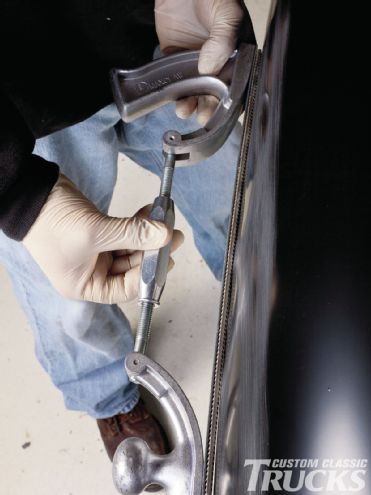
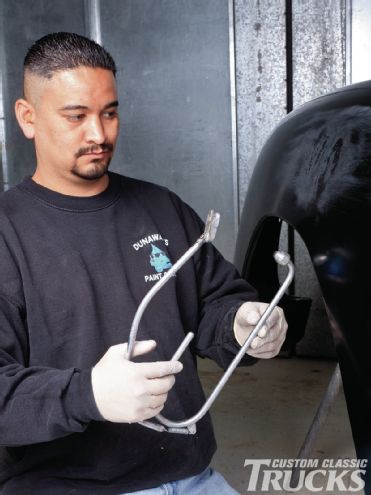 18-19. Something most of us probably don’t have in our tool arsenal is a bullseye pick.
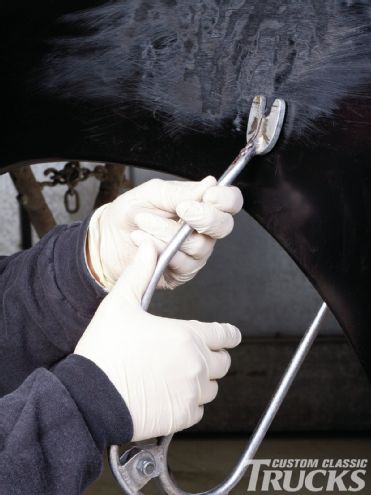 20. When placed over a low spot, the lever is squeezed, causing the pick to contact the sheetmetal surface, forcing the metal upward
 21. A little more finessing with the dinging spoon…
 22. …and a couple more strikes with the bullseye pick and the damaged area of the fender is looking pretty good.
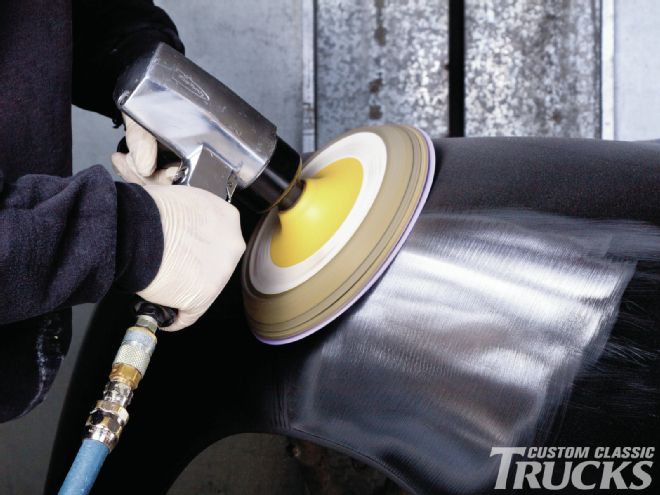 23. A quick pass using a dual-action sander reveals whether the low and high spots have truly been removed. Similar in method to how the body file was used earlier, the DA skims over the surface, revealing any low and high spots. Very minor surface irregularities can also be removed as the sander passes over the area, though care must be taken to avoid making the surface too thin. With the dents removed, the rest of the fender can be blocked out and prepped for paint.
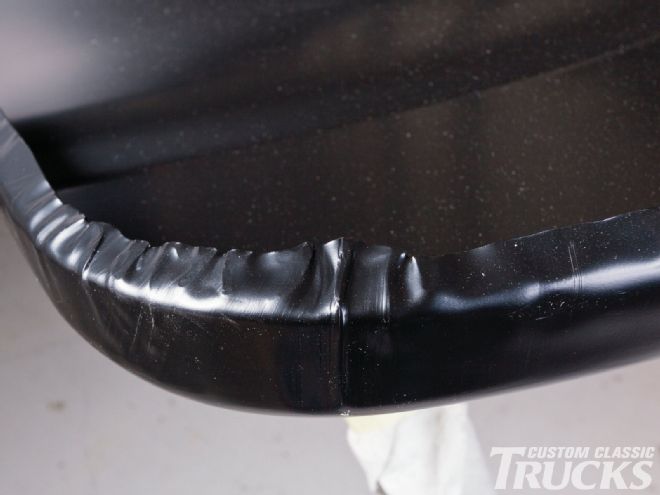 24. Wrinkling is a common side effect caused from stamping the sheetmetal into shape during the manufacturing process. This is evident on not only aftermarket parts, but also original body panels as well. Most of us aren’t too worried about the aesthetic left from the manufacturing process as the results are usually in a spot not typically seen.
 25. In this instance, it’s the inner lip below the headlight ring and the very bottom of the rear corner. Issues can arise when it comes time to gap the panels if the wrinkled area contacts the other panel, preventing the gap from being as tight as may be desired.
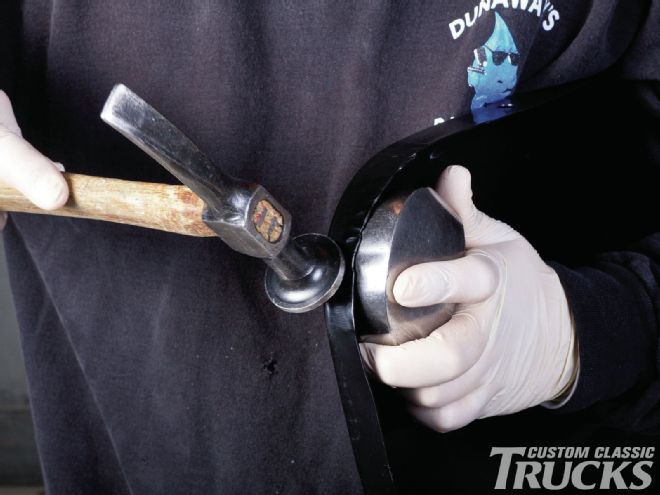 26. One simple solution is to use a hammer and dolly to both stretch and shrink the metal nice and flat without affecting the curvature of the panel.
 27. Once the hammer and dolly work is completed, the surface is sanded smooth to check for high and low spots.
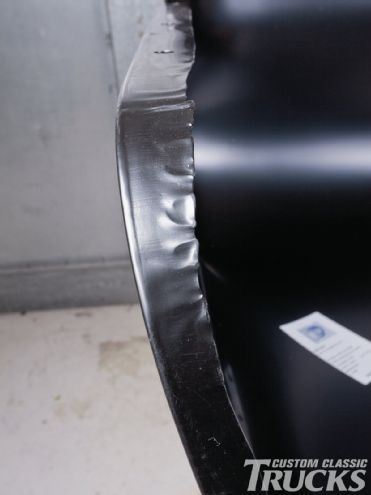
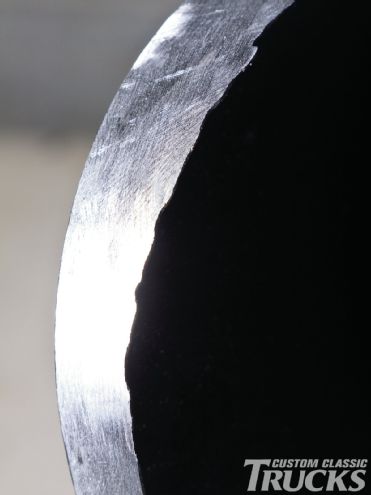 28. With the wrinkles removed, the surface of the fender is now nice and smooth. Note how jagged the edge has become. This is a by-product of the stretching and subsequent shrinking caused by the hammer and dolly method. The metal was basically forced to the edge as the lip was worked smooth.
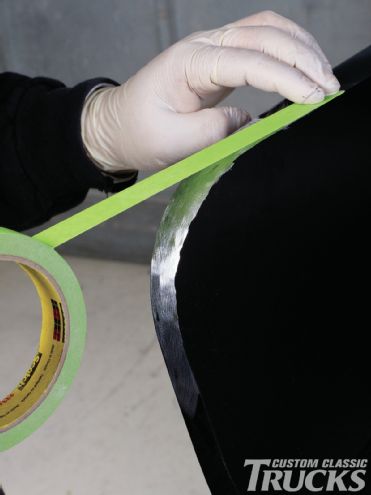 29. Masking tape is used as a guide to strike a straight line.
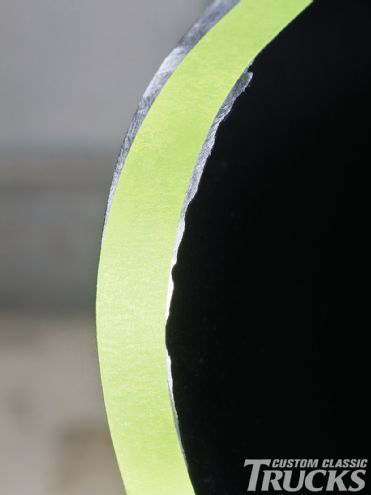 30. The jagged edge can be made nice and straight.
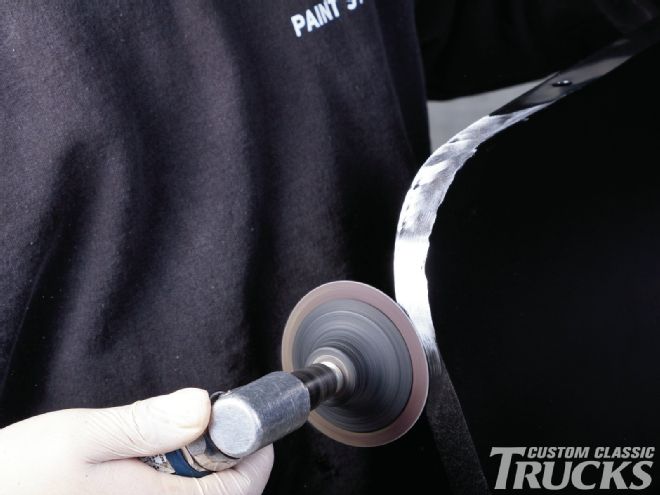
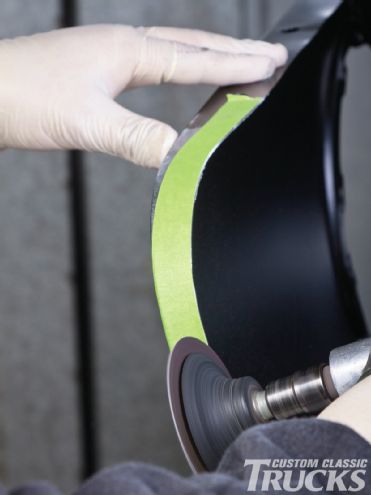 31. A few passes with the air sander and the fender now has a nice, straight inner edge.