There are a few things that we enter into pretty much every project expecting to have to repair or replace, and sitting near the top of the list is floorpans. Hot rodders in the rust belt and those in the way wet South know what we're talking about. Believe it or not, we're not immune out here on the relatively dry and salt-free West Coast.
Despite having an extremely straight and mostly rust-free body, the Max Effort Cougar surprised us during our rollcage fabrication with two very rotted-out front floorpans. We say surprised because some previous owner had taken the time to use aluminum cans and an unknown filler to sculpt in the rusty spots and undercoat the patch, so that when we looked underneath during the initial buying examination, we thought we saw good original floors. A pox upon deceitful resellers.
It's not that we would have passed on the obviously great project car, but it would have been nice to know what we were up against rather than having to backtrack later. Oh well, as it turns out Max needed a reshaped trans tunnel and bell to accommodate the engine setback and large Rockland Standard Gear (RSG) Tranzilla T56. So, we decided to take the opportunity to cut away the entire section ahead of the seats and create custom steel that conformed to what we needed rather than trying to use surprisingly pricey factory-style patch panels. It's a problem many hot rodders may face when pondering running a modern overdrive auto or manual transmission.
The good news is that you can do this yourself with simple and affordable tools. Our metal forming and welding skills are decent, but we'd like to run bare floors in Max, so to make sure we show you the right way to craft floors that will look good naked, we headed over to Sire Custom Performance in Los Angeles to get the assistance of Yannick (pronounced "Unique") Sire and fabricator Vlad Chioreanu to see how the pros make floors sexy. Sire has been fabricating extreme muscle cars, race cars, and off-roaders for more than 25 years, so both he and Chioreanu know how to construct strong structures with style, and we're trusting their expertise to make Max Effort whole again with stylish, strong, and safe floorpans and trans tunnel.
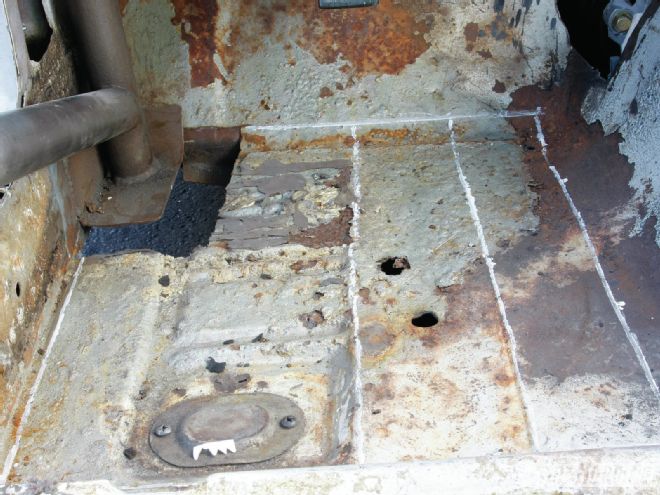
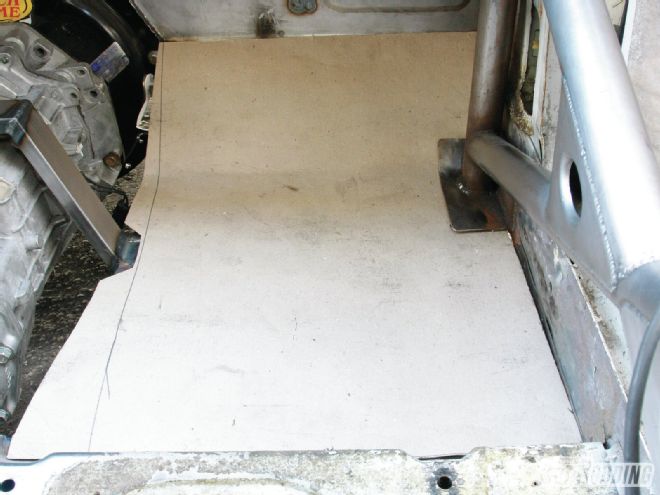
Here you can see the crusty condition of the old Cougar floor, and the non-existent spot below the rollcage plate that we had previously cut out. The paint lines represent where the stock subframe is located, the bottom of the front torque box (top) where the trans tunnel brace attaches to the floor (right), and the amount of overlap we want at the rocker (left).
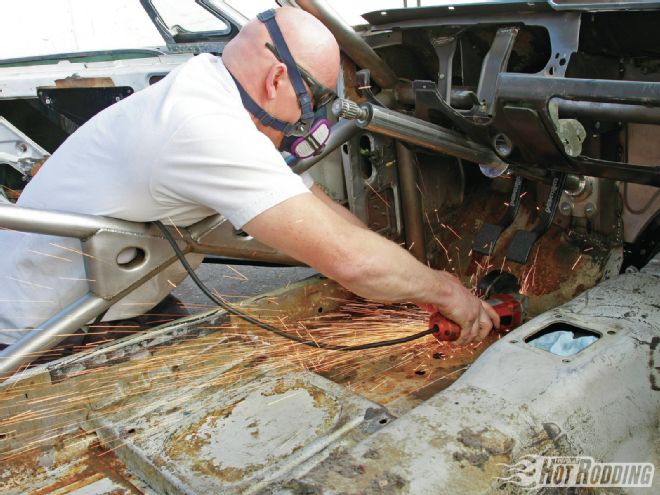
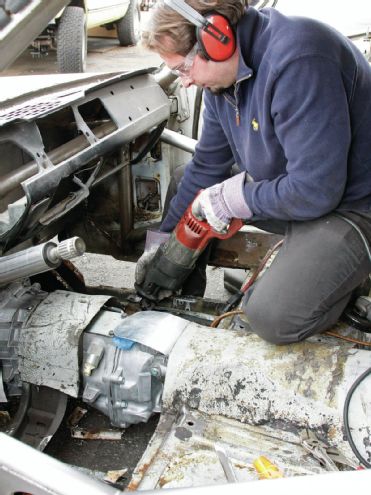
This is the worst part of the job, unless you love dusty, dirty cutting. A plasma cutter is an option if you have a very steady hand and clean up the metal a bit, but Sire prefers a cutoff wheel to keep his cuts extra straight, especially around the subframe.
We aren’t retaining the original tunnel brace, since we want more strength and clearance under our pans, so Chioreanu removed it via Sawzall.
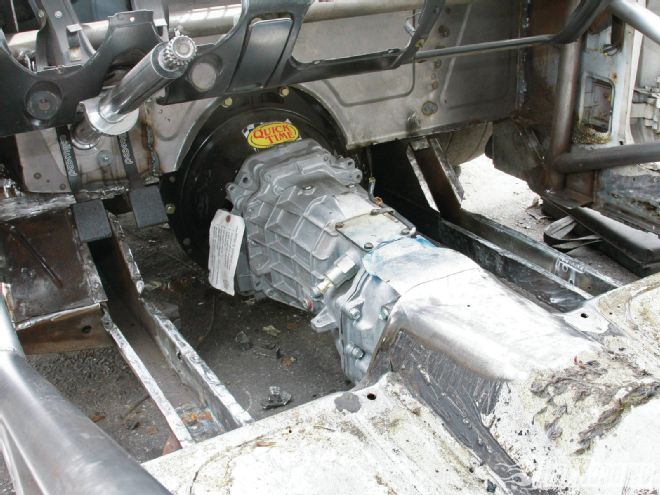
We removed everything back to the factory seat risers so we could lay the new pans on a factory seam for a cleaner look. Max has plenty of rigidity via subframe connectors and a full ’cage, so removing this much steel at once is not an issue. On stock coupes we’d recommend doing a piece at a time, or at least bracing under the rockers for safety sake. This would be mandatory for convertibles.
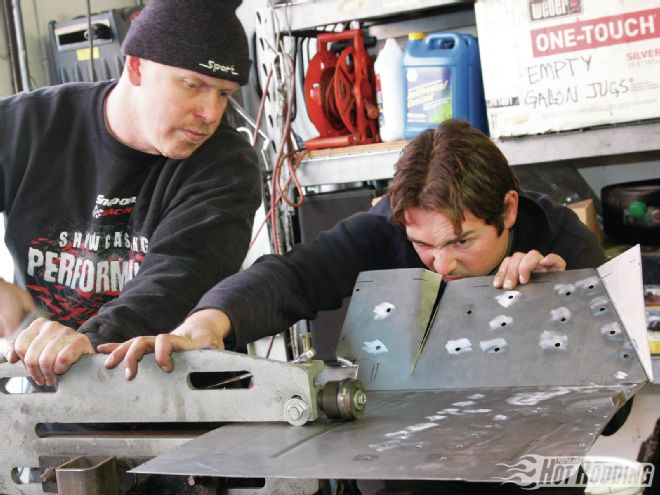
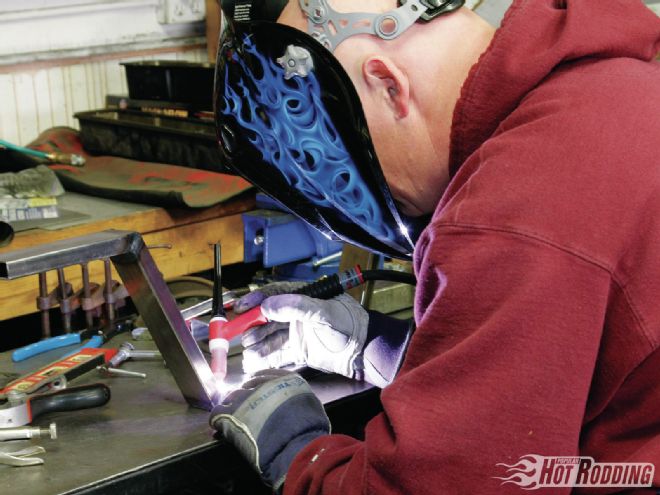
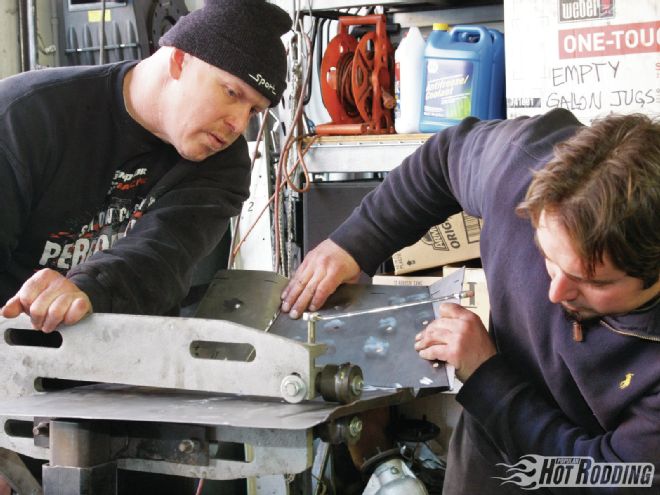
For our new trans tunnel brace, Sire welded up a simple structure from 1x2 rectangular tubing.
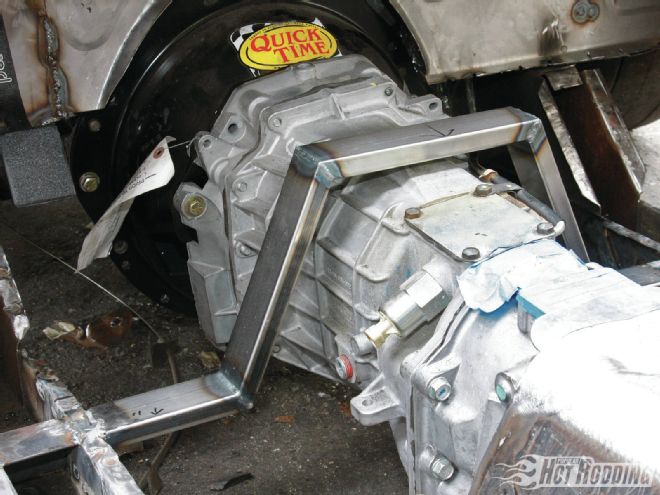
The new brace will not only be much stronger than the stamped original, it’ll give us much needed clearance around the trans for serviceability and potential exhaust routing. The height and shape of the tunnel and bell is established by the brace, so make sure to take foot and throttle pedal location into consideration. Note that Sire also braced the inside of the stock subframe rails with 90-degree angle iron for added rigidity.
Sire also created a matrix of flat steel attached to the subframe and firewall to create additional attachment points for the new floor. This will help create a much stronger base for the A-pillar downtube on Max’s rollcage.

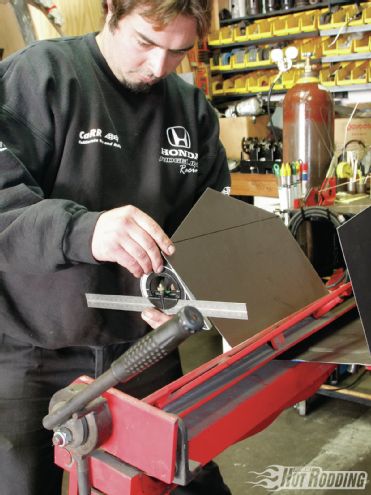
Anytime you’re fabricating a custom piece of sheetmetal, start with a template of poster board. The shape of our pans is very simple, but the template will show us where the bend for the toeboard needs to be placed. In many cars only one will be needed; just flip it over for the opposite side pan.
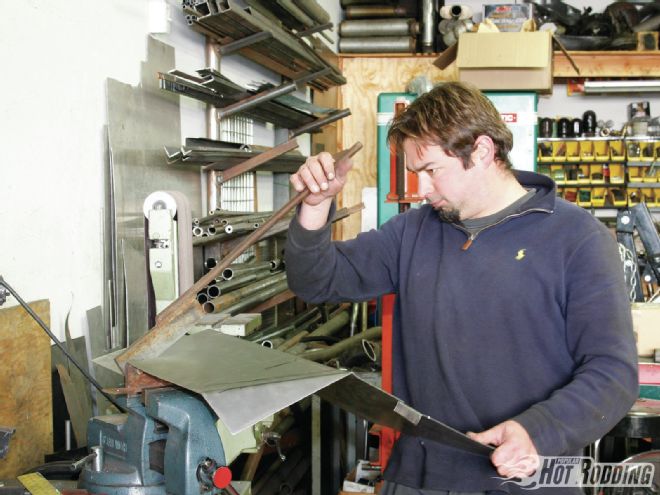
Sire and Chioreanu used mostly Eastwood and Harbor Freight tools during this project, but for shortcuts and trimming that hand shears weren’t right for, Chioreanu used a shear built by his grandfather many years ago in Romania. The super simple shear cut the sheet as cleanly as any we’ve ever seen. It’s hard to beat old-school ingenuity!
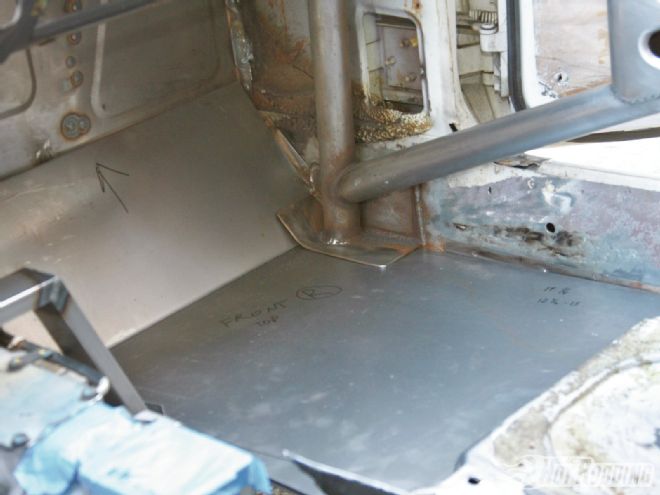
Once we had the outline of the pan and the toeboard break established, Chioreanu dropped it in to mark his weld points.
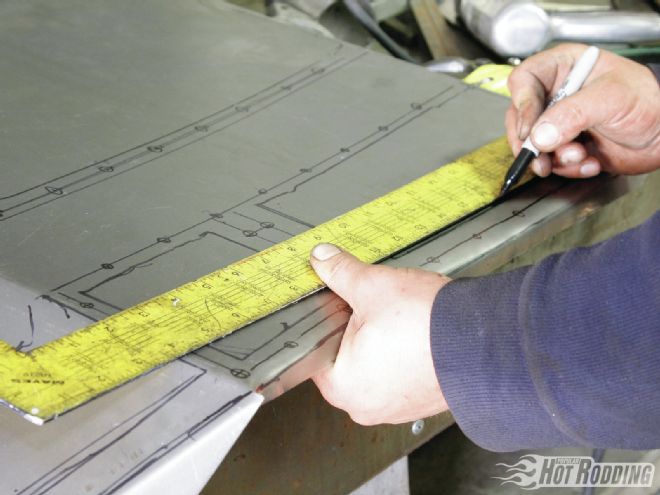
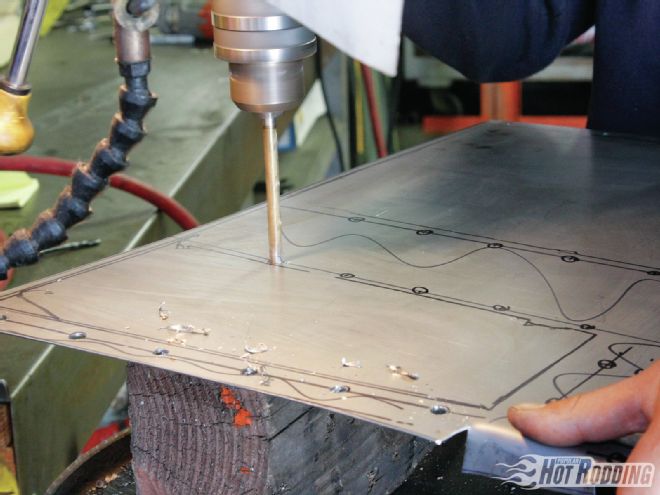
With the position of the subframe and the new steel matrix outlined on the pan, Chioreanu measured out points every 2 inches for welds.
Each of those points was drilled out so rosette welds can firmly attach the pan to the subframe and matrix.
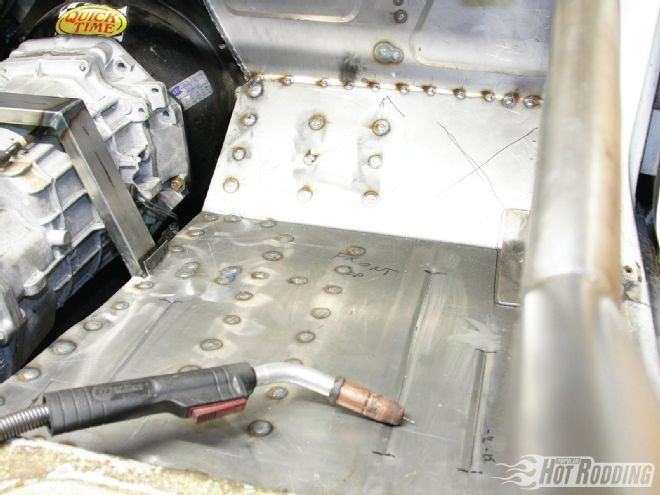
The new pans will already be dramatically stronger than stock, thanks to much better bracing and many more weld points, but to add a little style that would help them blend into the factory pans in the rest of the car, Sire and Chioreanu added a few straight beads via an Eastwood bead roller. Make sure to measure from the rocker side of the pan to establish parallel lines and roll with care!
Here’s the new floorpan with all of the rosette welds filled, and tacked into place on the firewall. The driver side is essentially a mirror of this.
While Sire was finishing the floorpans, Chioreanu was already working on establishing the shape of the trans tunnel. Due to the complex shape needed on the bell, he decided to make two separate pieces. Using the tunnel brace as the separation point, Chioreanu vee’d the shape back to the original tunnel.
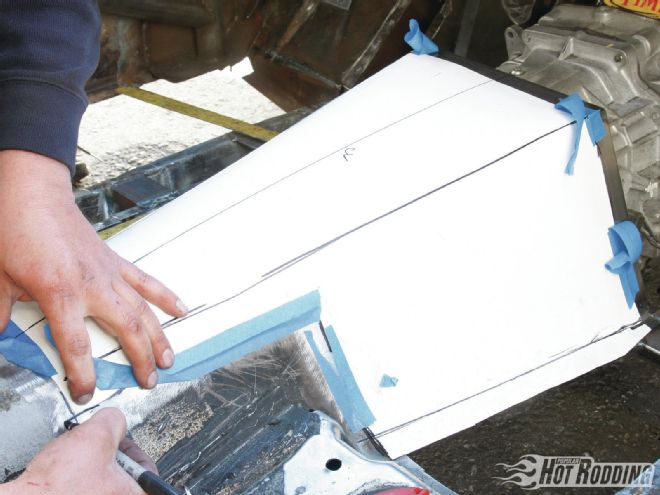
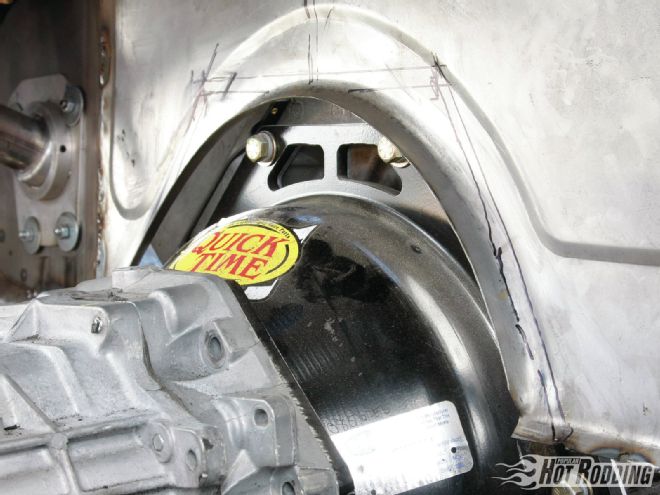
To ensure we had enough room to unbolt the Quick Time bellhousing to remove the RSG trans, and flow with the new tunnel shape, the shape of the firewall needed to be opened up a bit.
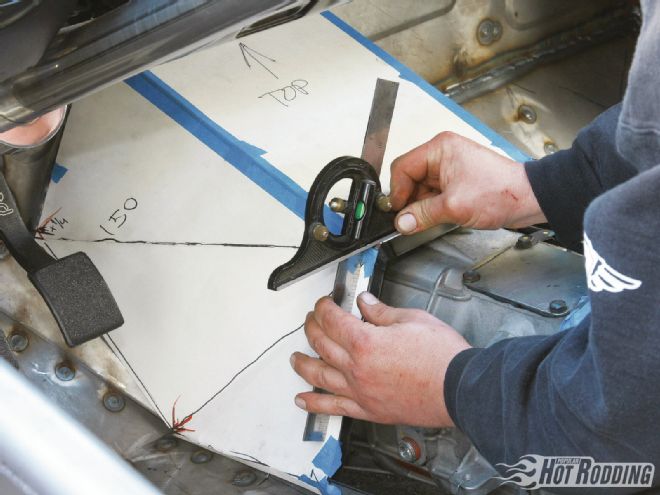
While the passenger side of the bell can be simpler like the tunnel, the driver side needs to account for the throttle pedal and the driver’s foot location. To create the needed space without impinging on the trans clearance, Chioreanu created an additional break line that will flatten the bell a bit at the critical point. Chioreanu also took degree measurements of the various breaks to re-create in sheetmetal.
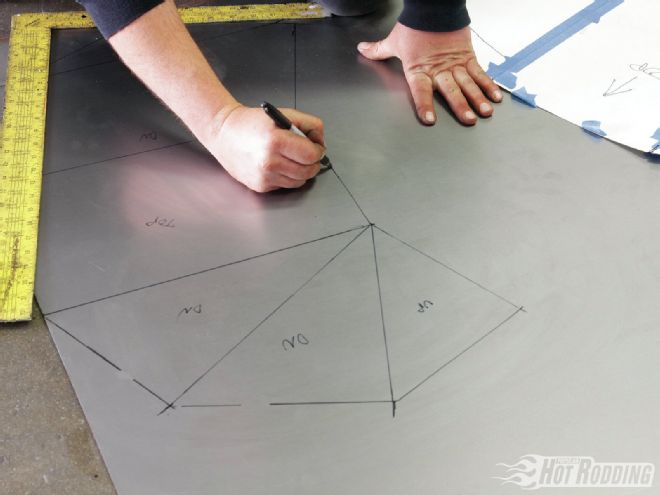
Even though the templates are three-dimensional in the car, to cut them out accurately we need to trace out the two-dimensional shape onto the sheetmetal. It’s also helpful to mark which direction the bends will go (i.e. up or down) and the degrees for each angle.
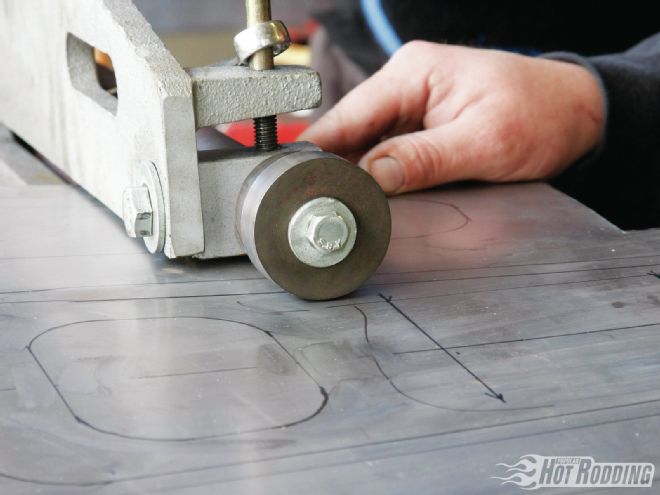
Before we create our bends in the sheetmetal break, Chioreanu opted to give the tunnel a little style with an offset bevel on the Eastwood bead roller. Any such shaping or beading needs to be done before any bends are made to ensure the sheet can be maneuvered through the roller.
Satisfied with the bevel, Chioreanu used a Harbor Freight 36-inch sheetmetal break to create the bends in both the trans tunnel and the bell. By setting the level, Chioreanu is able to bend the sheet to exactly reproduce the angles he measured in the car.
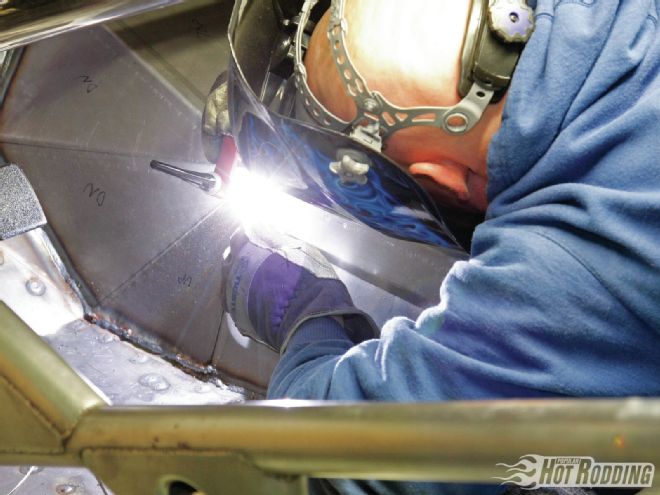
After a few rounds of minor fitting and trimming, it was time to lay some beads on our newly fabbed tunnel and bell. Sire first tacked everything into place to hold the fitment, and then ran solid beads over all the joints to create the strongest structure possible.
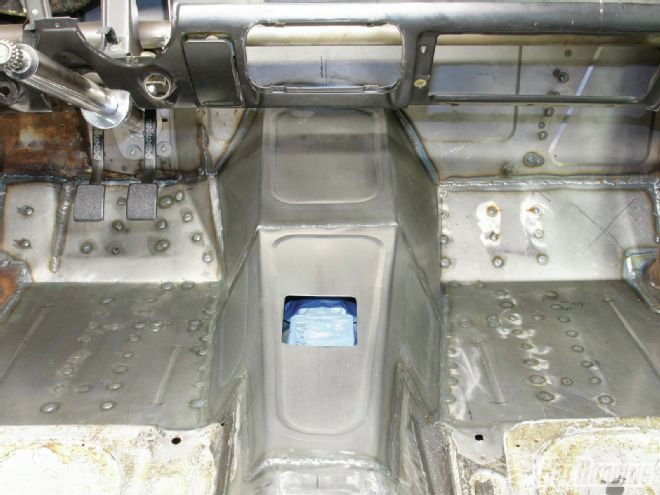
And there it is: a handcrafted trans tunnel and bellhousing that is both functional and very cool looking. We haven’t yet fitted our shifter into place, but we’ve got our shifter hole properly located. We absolutely love the attractive and simple style.
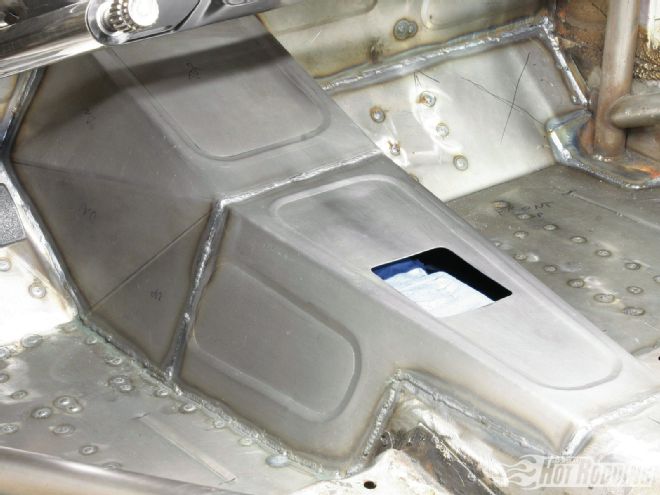
Now we not only have beautifully crafted floors that will look amazing enough to warrant no carpet covering them; we also have a much stronger and more structurally sound area at a critical connection point for the rollcage.