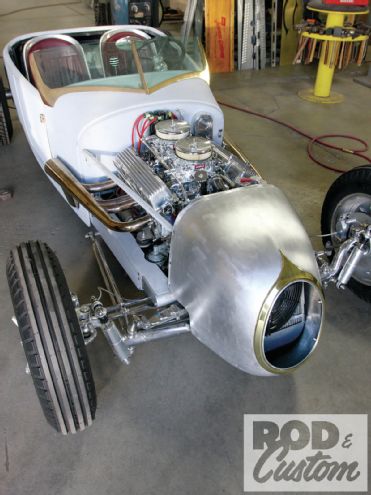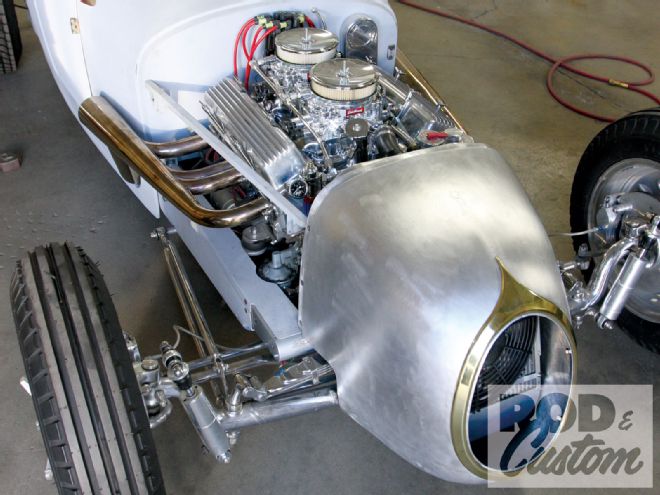
One of the cooler aspects of this job is getting to visit local—and sometimes not-so local—hot rod shops and looking on as neat projects take shape. Since his move to SoCal from Florida, we've gotten to know Gary "Chopit" Fioto of Chopit Kustom, where something cool is always happening. On one recent chance visit, we spied Gary's son Nick "Chopit" (we're pretty sure the whole family goes by the Chopit moniker) partway through fabricating a track nose for a customer's '27 T roadster, a car the shop has performed some pretty major work on over the past few months.
Luckily for us, Nick is as handy with a camera as he is with a body hammer, and had photographed what he'd done so far, enabling us to bring you the whole story on this neat nose piece. With the exception of the English wheel, and that's not essential, the tools used to create this masterpiece are not out of the reach of the average hobbyist, and hopefully seeing how this came together will inspire a few of you to have a go yourselves.

Nick started with 0.063-inch 3003 aluminum sheet, which is alloyed with 1.2 percent manganese, giving it excellent workability and ease of welding, then annealed it to further help its workability. Using a combination of mallets, sandbag, dollies, hammers, shrinker/stretcher, and an English wheel, the track nose began to take shape, Nick all the while checking its progress against a wooden buck he'd built prior to starting any metal shaping. Here's how it came together...
1. The '27 T that the track nose is destined for previously had a 'glass nose, and a wraparound nerf bar already fitted. Nick's first job was to fabricate a wooden buck to follow the shape of the nerf bar.
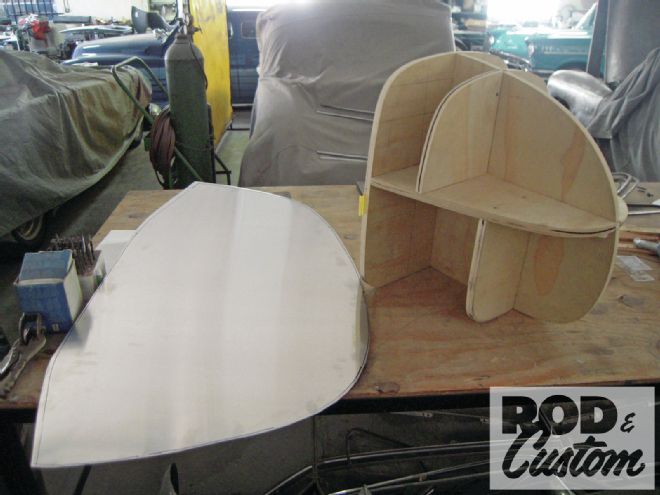
2. Most aluminum track noses are made in four pieces, but Nick wanted to see if he could make it from three. Here's the paper template for the bottom section, pinned to the buck. This enabled him to trim the 3003 aluminum sheet to size.
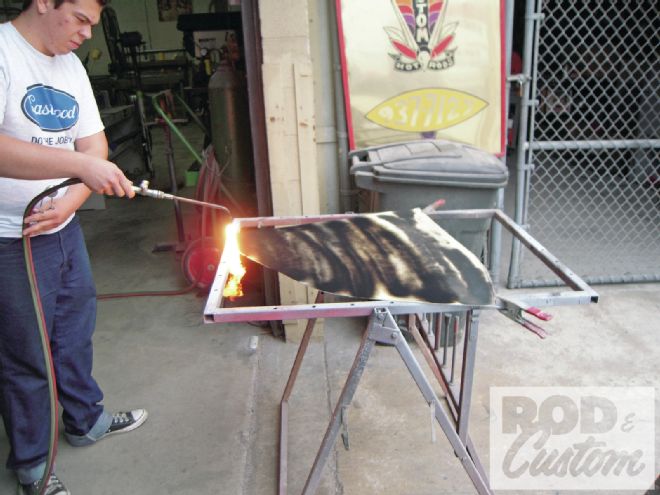
3. The aluminum was annealed using an oxy-acetylene torch to make it more workable.
4. Nick started to bend the bottom section to shape by hand.
5. The next step was to shrink the edges in order to start forming a compound curve. Specialized tools are available for this but Nick hammered the edge of the aluminum over a T-bar dolly...
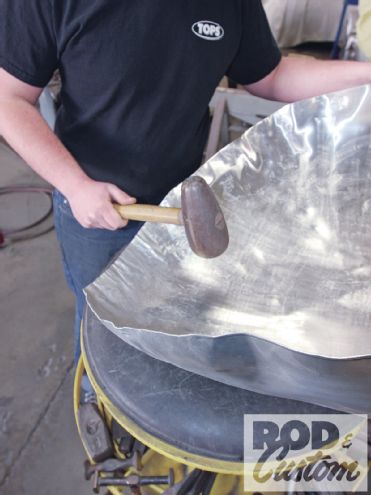
6. ... followed by using a teardrop mallet and sandbag to flatten the edges and form more curvature.
7. This dolly was also used to work the aluminum.

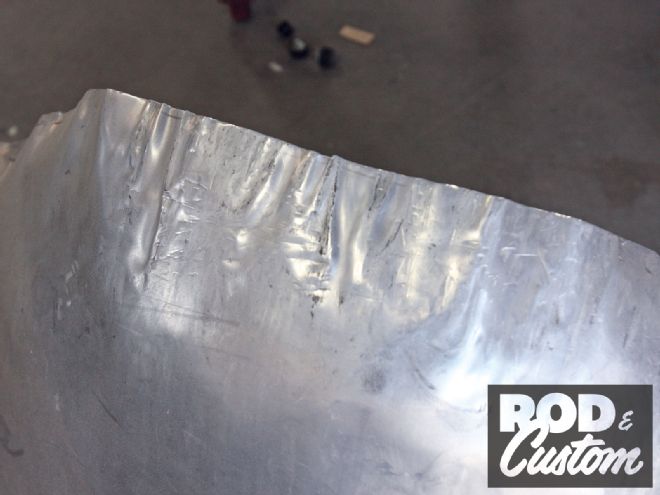
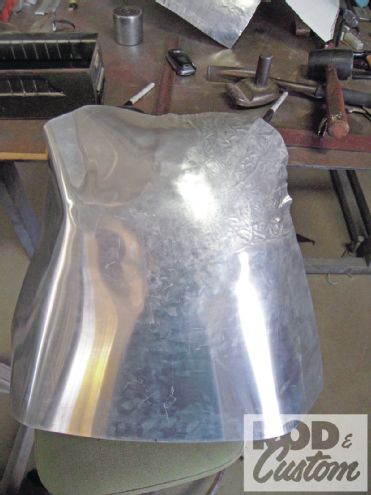
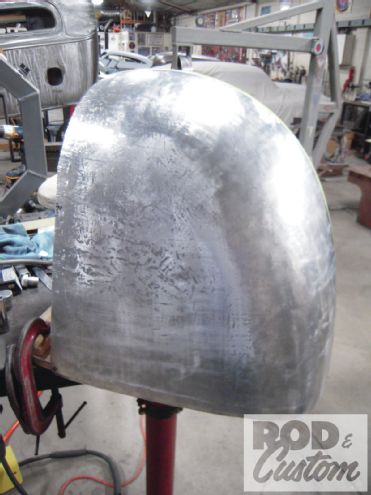
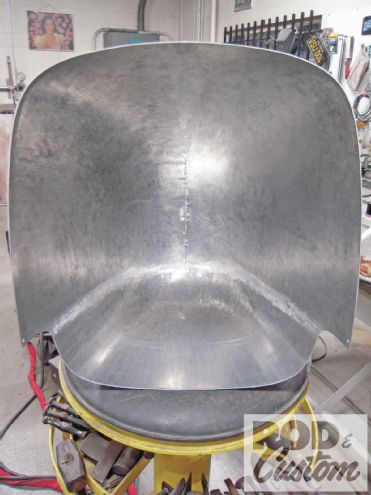
8. While creases formed in the aluminum, it was obvious it was taking shape after much mallet/sandbag and hammer/dolly work. Note how the righthand side is now curved, compared to the lefthand side.
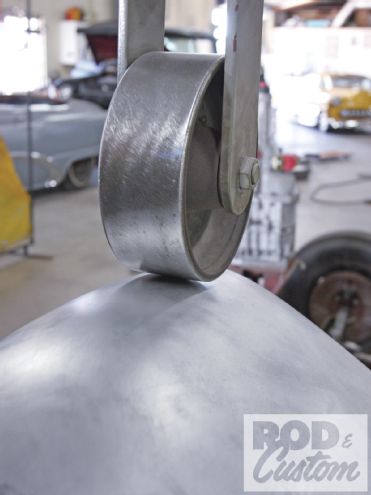
9. An English wheel was also used to work a curve into the aluminum. The surface is much smoother now, but the English wheel could only be used to a certain point, until it was physically impossible to get the sheetmetal into the throat of the machine.
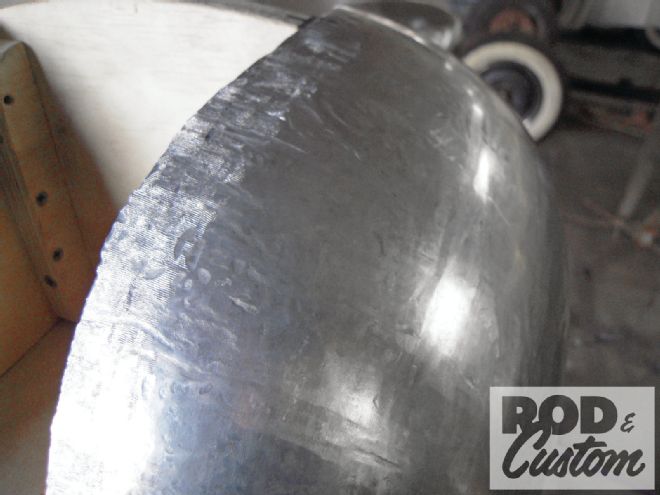
10. With the aluminum taking on the shape required, and the creases worked out for the most part, a shrinker/stretcher was used to work the edges.
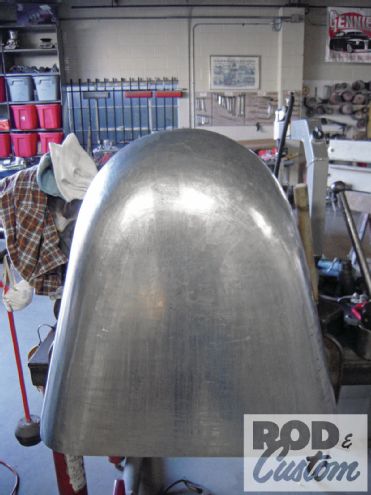
11. More hammer and dolly work saw the bottom section of the nose taking on the shape of the buck.
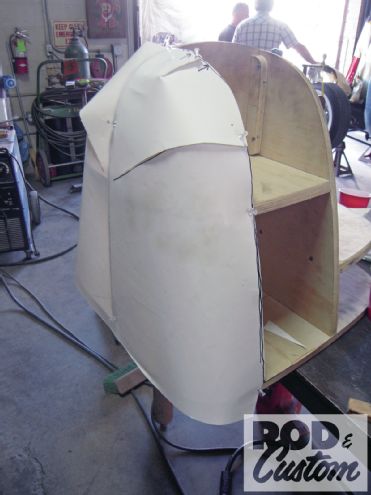
12. With the bottom done, Nick moved onto the sides, using the same methods. Here's the left side taking shape...
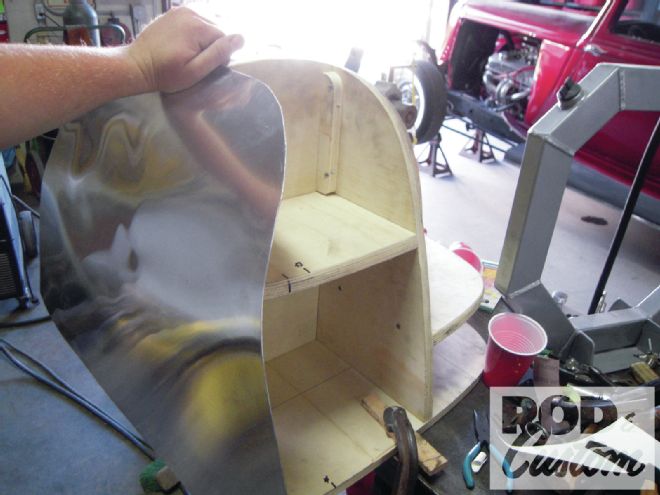
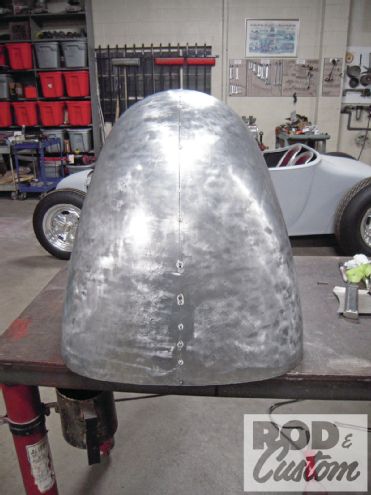
13. ...and here's the right, formed and screwed to the wooden buck.
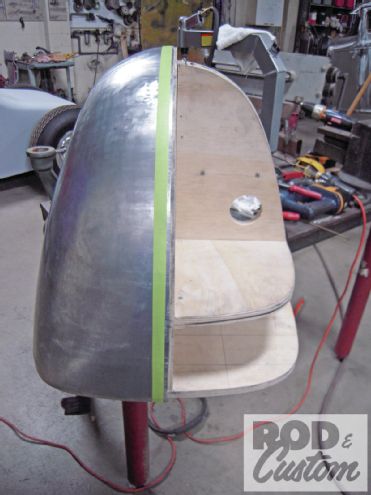
14. Once completed, the two sides were pulled tightly together using a ratchet strap, and marked for cutting down the center.
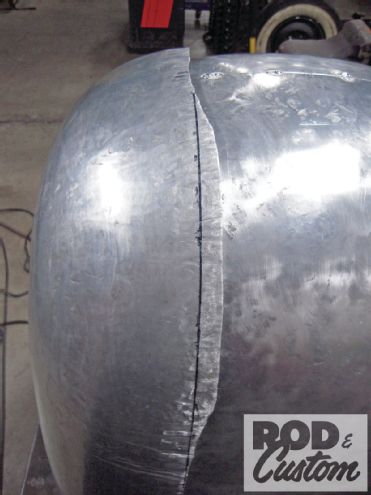
15. The green tape denotes the cut line.
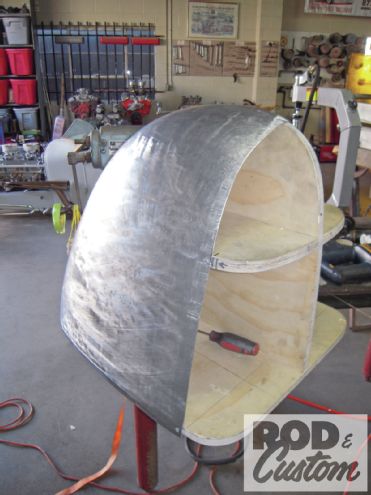
16. Trimmed and tack-welded together, still screwed to the buck so nothing moves.
17. The bottom section was marked and trimmed next.
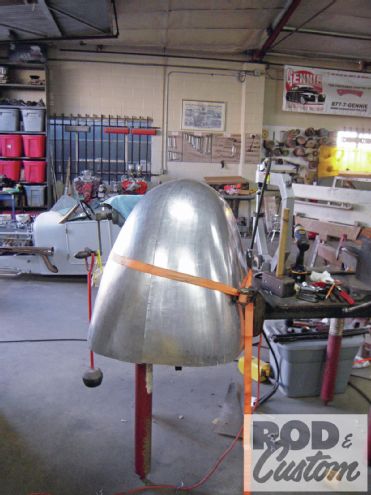
18. With all three sections tack-welded, Nick seam-welded them together, except the area that will be cut out for the grille, which remained tacked.
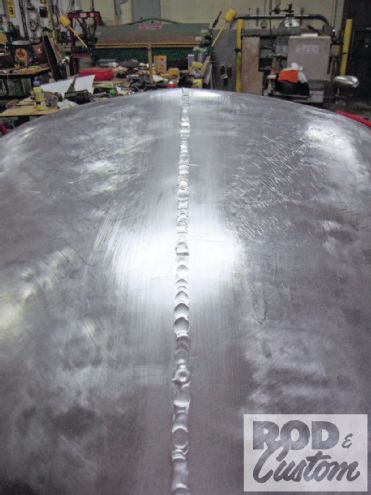
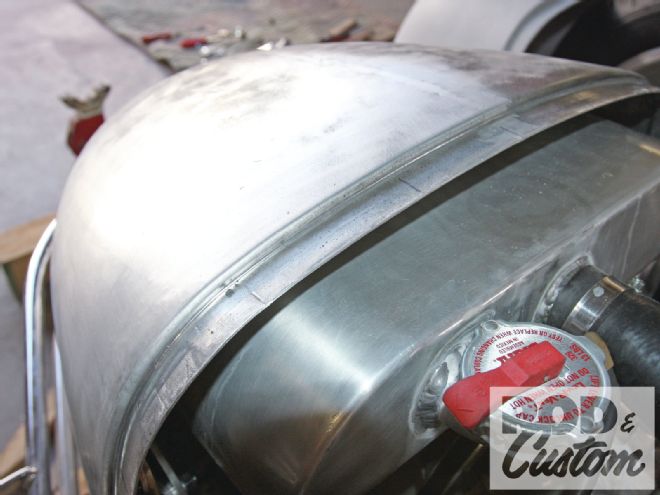
19. Finish welded, this shows how tightly the nose conforms to the wooden buck.
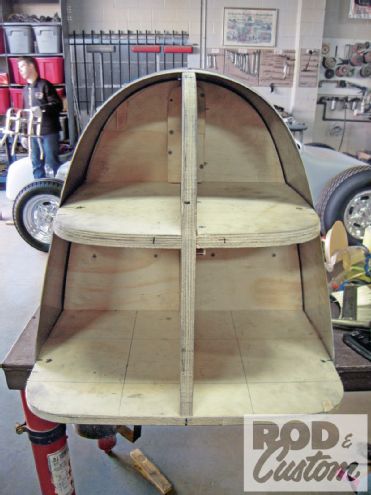
20. Looking inside the nose with the buck removed, and the rearmost part of the lower section trimmed to clear the axle.
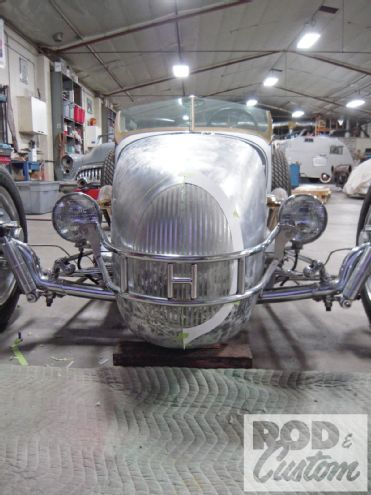
21. A test-fit showed all was well, the nose matching the curvature of the nerf bar. At this point the intended grille opening and the shape of its surround was plotted, and a paper template made of the surround.
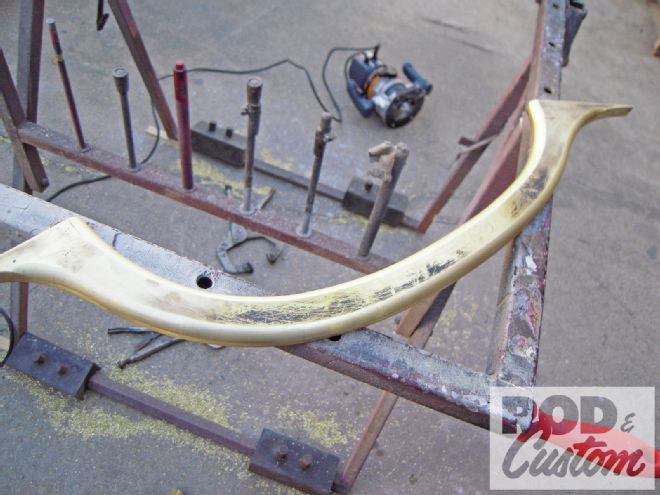
22. Prior to mounting the grille, a lip had to be formed around its rear edge in order for the hood top and sides to fit flush. Nick formed this in a wheeling machine.
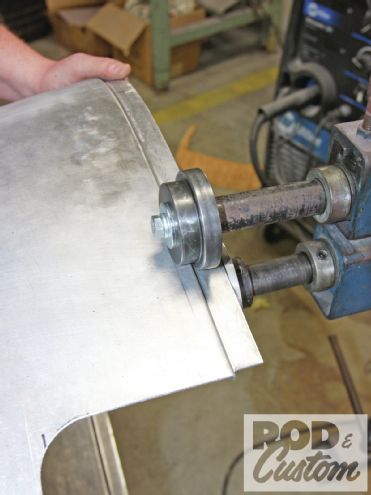
23. The finished lip. The tight radius of the top "corners" required a little shrinking in order for the lip to form perfectly.
24. From the paper template of the grille surround, an aluminum template was made...
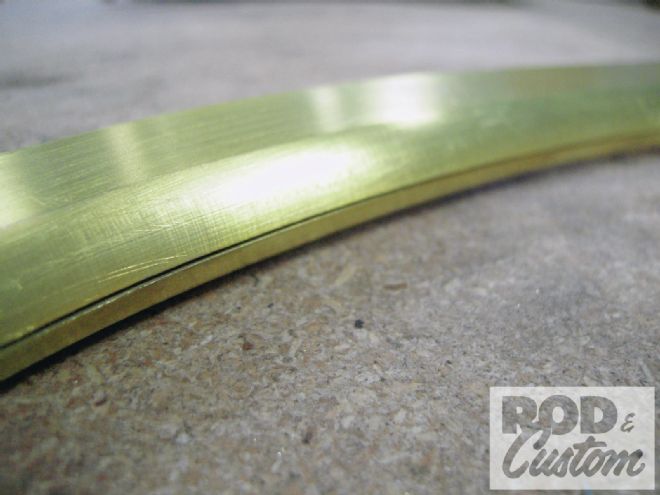
25. ... from which each side of the surround was cut from 1/4-inch brass using a water jet cutter. Nick had a third section cut, on which to practice bending and shaping.
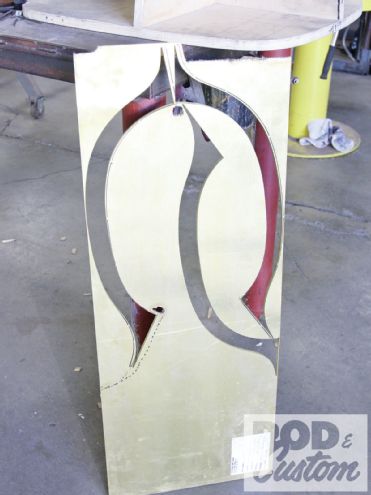
26. The grille surround halves, prior to shaping.
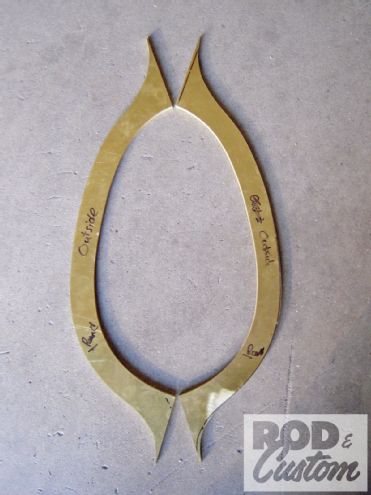
27. Using a router designed for wood, Nick machined a radius on each edge of the brass pieces.
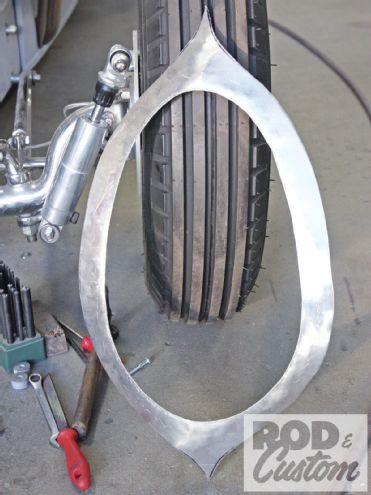
28. Laid on top of each other, the two halves are perfectly matched.
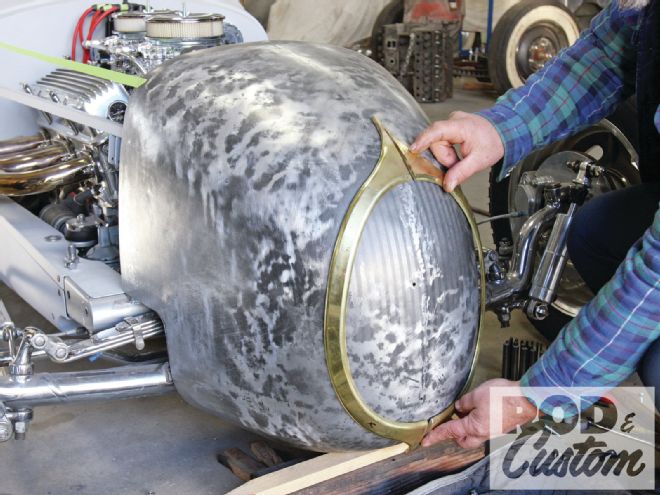
29. Using hammers, mallets, and hollowed-out wooden blocks, the brass was formed to match the contours of the aluminum nose.

30. Prior to welding the two halves together, they're held up against the nose for a final test-fit. The nose has been sprayed with a light guidecoat here, then sanded with a block to highlight the low areas that still require fine hammer and dolly work.
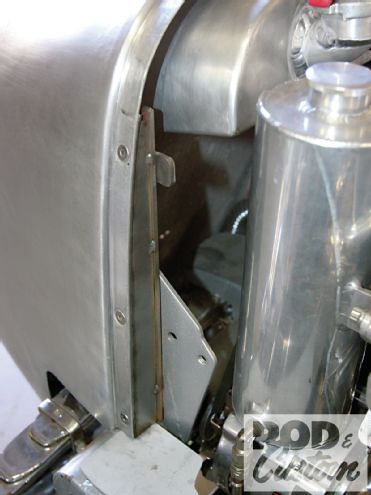
31. This fabricated bracket mounts the new nose using countersunk bolts, as well as the hood side supports.
32. Sure it's a lot of work, but a bespoke aluminum nose and brass grille to match the brass windshield will ensure this T stands out.