Whoever said love is blind must've been talking about what happens when you see a new project truck for the first time. It's not unusual to ignore a few imperfections in the new object of your affections, but at some point reality sets in. It's kind of like the letdown that comes from seeing some movie stars without makeup. So it also was with our '64 Chevy.
At first glance, the Fleetside looked pretty good, and truthfully, for a truck that spent the last decade in a wrecking yard and is about to turn a half-century old, it is in pretty good shape. However, the old girl could use some cosmetic surgery. Somewhere along the line, the left side of the bed had been damaged, repaired, and damaged again. The area around the wheel opening was stretched, creased, and rusted as was the lower rear section behind the wheel. Given what we had to work with, the decision was made to cut away the worst of the damage and substitute replacement panels from LMC.
To make the necessary repairs we called on Jake Brazille of Jake's Place. We regularly abuse Jake and take advantage of his talents by promising him wealth, fame, and the opportunity to meet celebrities like our editor, Ryan Manson. Of course he knows none of this is true, but he keeps coming back for more punishment, and we do buy lunch.
There are a variety of methods to install patch panels; some are good, others not so much. It's not unusual for patch panels to be installed by overlapping them onto the body, welding them in place, and smoothing the edges with filler—lots and lots of filler. Another option is to make flanges in the body and lay the repair panel in the recess, again filler is used to fill any gaps between the replacement panel and the original sheetmetal.
We've even seen patch panels held in place with pop rivets; the heads of the rivets were ground down to almost nothing and buckets of filler were used to smooth the repair. We elected to trim the bedside for a tight, flush fit and butt-weld the replacement panel in place.
The process began by holding the replacement panels in place and drawing their outline on the bed's side. Next, rough cuts were made ¼ inch inside the lines—this was done to avoid trimming too much and ending up with a huge gap to fill. With the worst of the damage cut away, hammers and dollies were used to repair areas that couldn't be reached before.
With the surrounding area repaired, the patch panels were held in place with clecos (spring-loaded clamps that fit through a hole and hold two panels together). Satisfied with the fit, final trim marks were made and the excess sheetmetal was cut away, the replacements were put in place and tack welded.
At this point, any adjustments to the position of the panels would have required the tack welds to be cut. However, the alignment of the edges looked great, and by comparing measurements to the other side of the bed, the panels were deemed ready to weld.
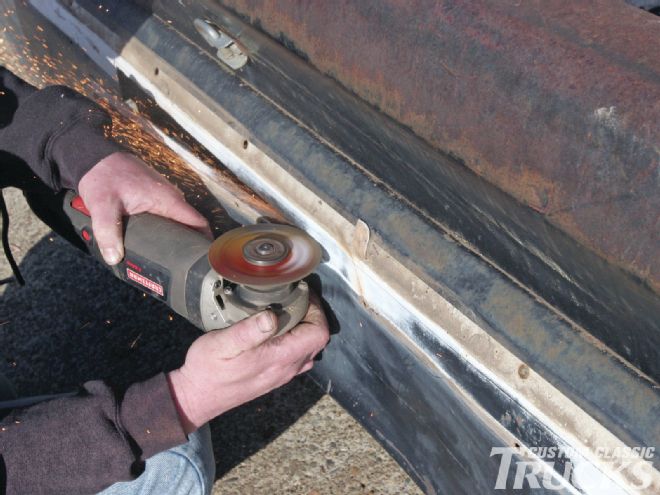
To finish the installation, a series of widely spaced tacks were made around the edges, then more tacks were made until the panels were welded solid. Light grinding knocked the weld beads flat, and since there is more bodywork to do we pronounced the project completed, at least for now. We've got a few more rust repairs to make, and then it's going to be time to put on primer and paint.
1. Our Chevy’s bedside had suffered abuse, poor repairs, and more abuse, all of which was corrected with patch panels from LMC.
2. A real 20-footer, this Chevy looks good from a distance, but up close there are issues that need to be addressed.

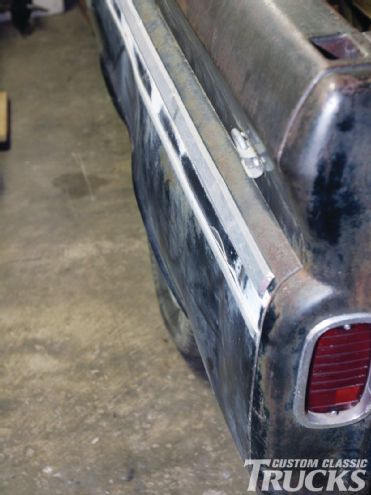
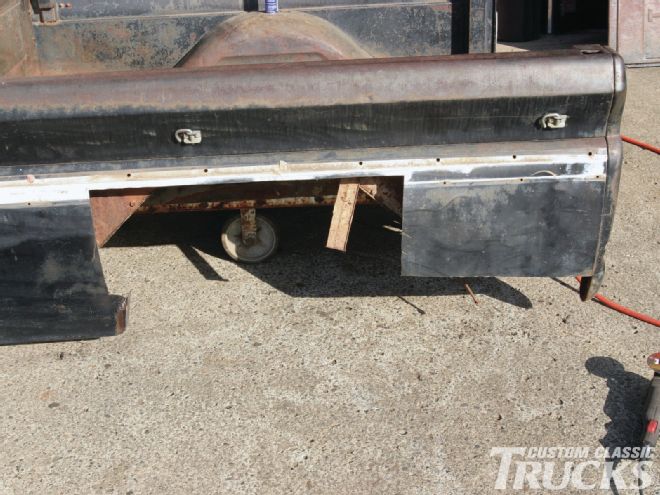
3. The damage to the bedside is hard to see and even harder to photograph. But trust us, it was more significant than it appears here.
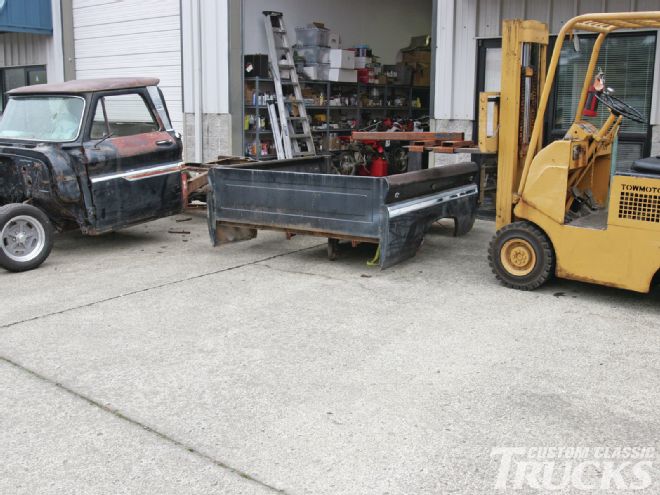
4. We decided that the necessary repairs would be easier to make with the bed off the chassis. The cab will come off soon so the chassis can be painted.
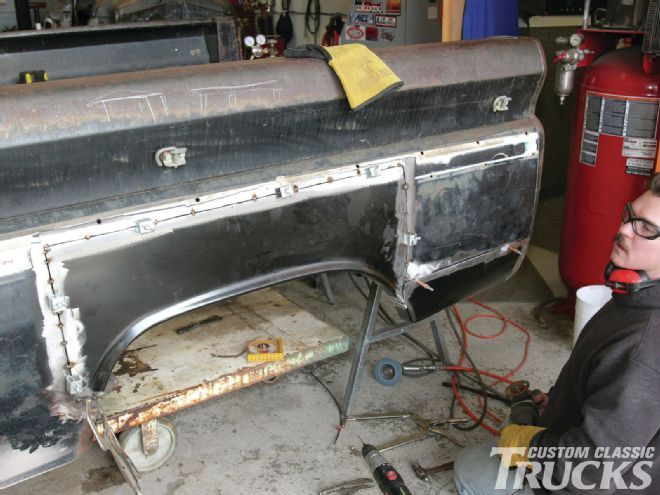
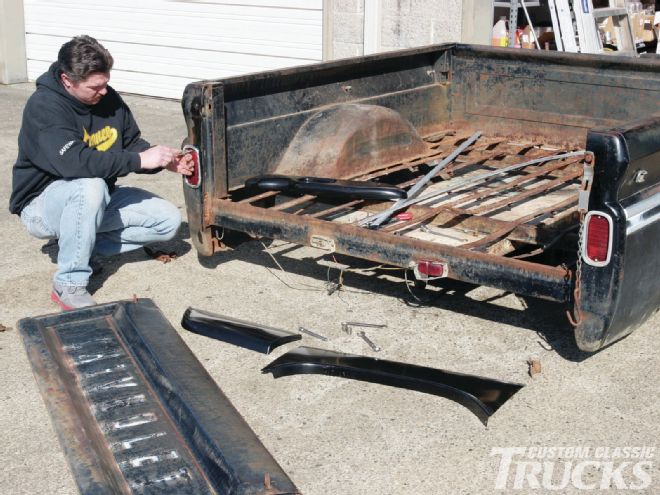
5. Jake Brazille began stripping the bed by removing the tailgate and lights. We’ll be installing the two LMC panels, one goes above the wheel opening, the other behind.
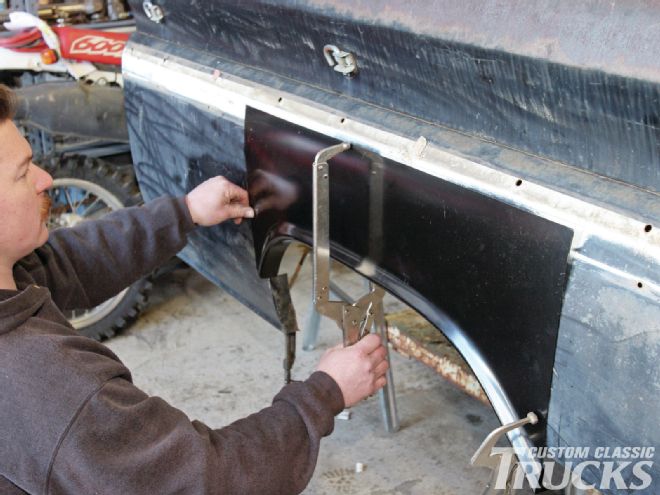
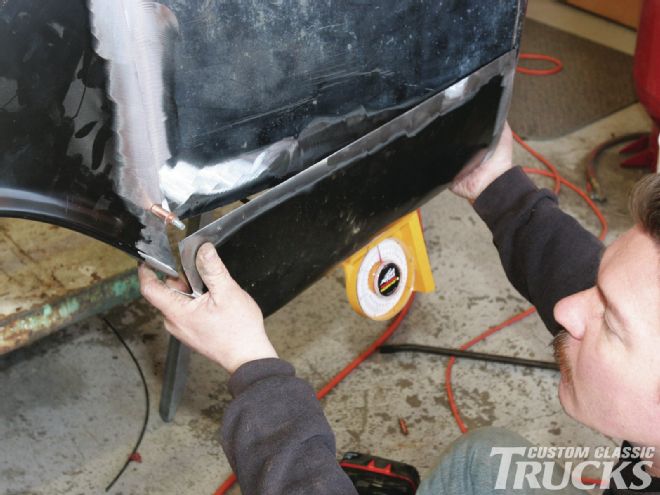
6. Before any cutting was done, the first panel was clamped in place to get a rough idea how it fit.
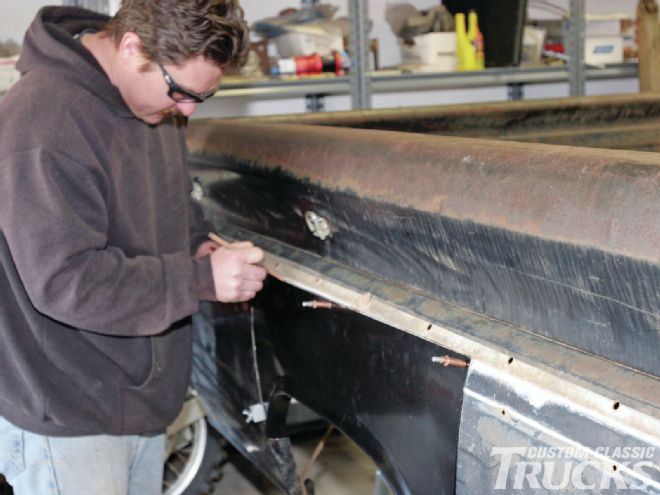
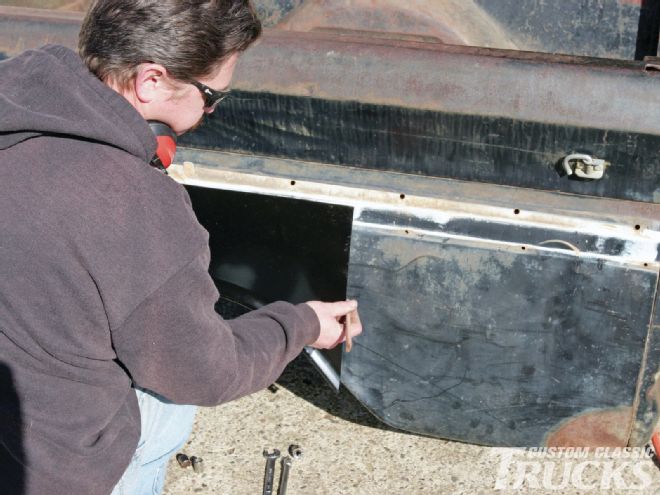
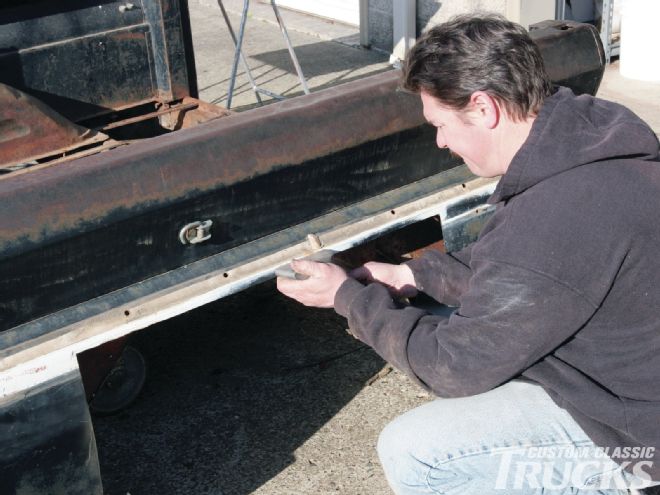
7. Satisfied that the location was correct, the edges of the panel were marked on the bed.
8. Next, the panel behind the wheel opening was checked for fit and the sheetmetal was marked.
9. Again, Jake cut away the damaged metal leaving room for adjustment. The bedside was cut well inside the marks—it’s much easier to go back and cut more off than add any on.
10. The rough trimmed box is ready for a final fit of the patch panels.
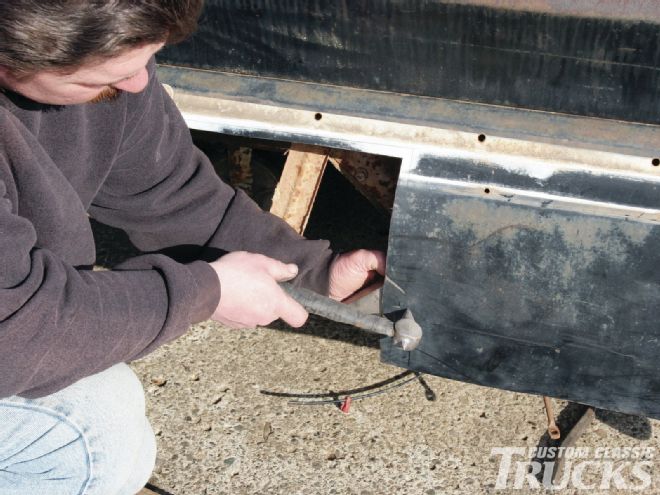
11. Jake prepped the edges of the cuts for welding by straightening them with a hammer and dolly.
12. Thanks to the gaping hole in the bed, access to the rear panel made knocking out the dents much easier.
13. As with the fender opening, Jake made a preliminary cut for the rear panel leaving plenty of material for adjustment.
14. The lower patch panel is positioned over the initial cut. Note the angle finder—it was used to duplicate the angle of the bed on the passenger side.
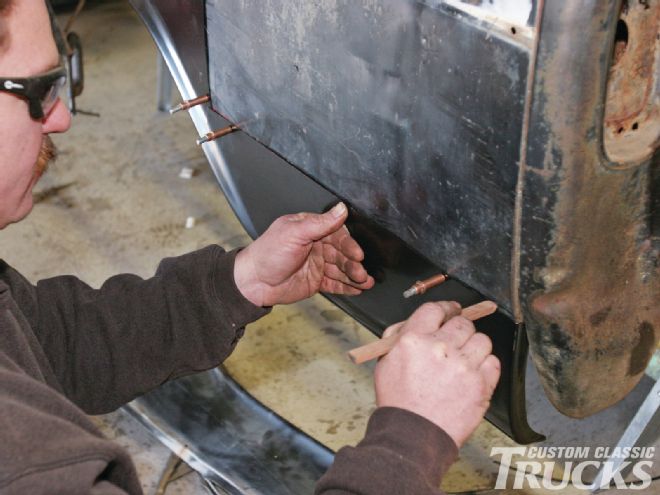
15. Jake positioned the wheel opening panel and after checking its position visually and with measurements from the other side, holes were drilled and the patch was held in place by clecos from Eastwood.
16. Another test fit and the precise cut lines were located. This takes time and patience, but that’s what it takes to get a tight, accurate joint.

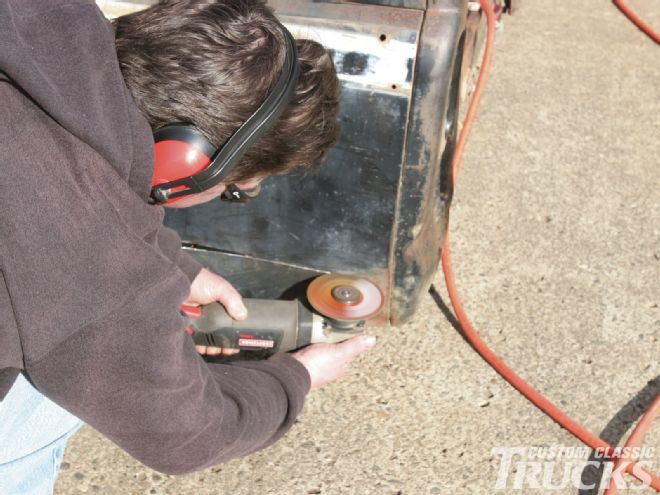
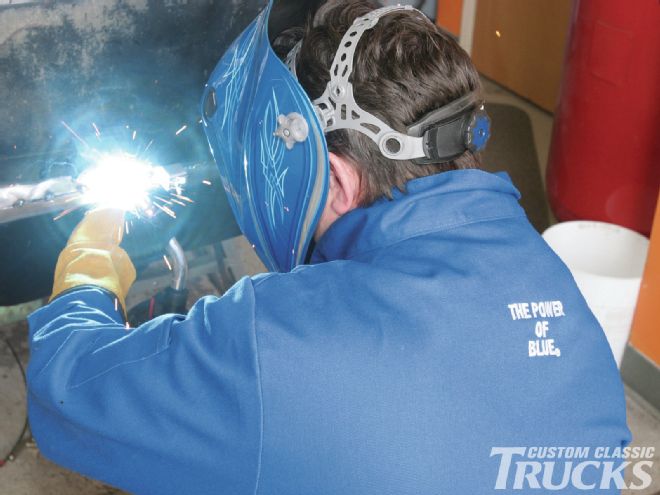
17. With tack welds roughly 4 inches apart, Jake made more tacks in between those, then skipped around repeated the process until the panel was completely welded without warping it.
18. With the new sections held in place with Eastwood panel clamps and a few tacks, Jake checked the fit one more time before welding it solid. With a fit this good, not a lot of filler will be required.
