When we left off last month, the wood was assembled in the bed and the strips were marked and ready to be drilled. It appeared that we were nearing the end to any unassuming passersby, but those in the know realize it was only the first of many times that the wood be installed and removed before the final fitment would take place. Measure twice, cut once, and all that.
This is due to the fact that we opted to use a custom kit from Bed Wood and Parts that featured equal-width sapele wood boards. The stock arrangement for the bed wood uses two slim boards in the center followed by a pair of wider boards on either side, a full-length board under each wheelwell, and four short boards at the corners. With an equal-width setup, it's necessary to re-drill most of the mounting holes in the cross sills, which necessitates an initial fitting of the wood kit prior to drilling any holes or applying any finish.
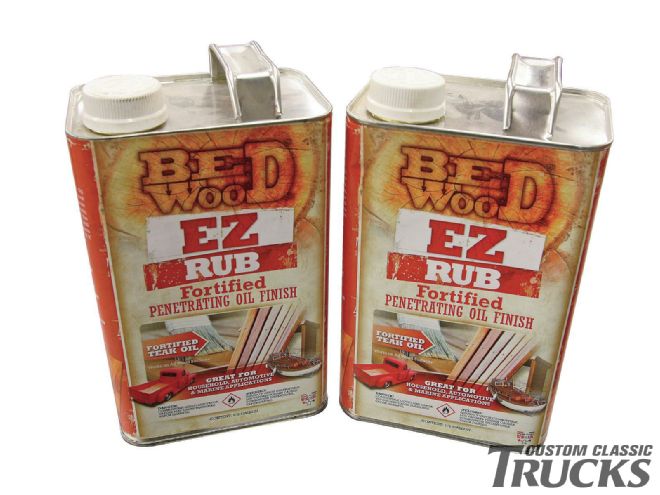
Once everything is fit and the bed is double checked for square, it's time to remove the boards for drilling and treating. For our kit, Jeff Major at Bed Wood and Parts recommended their EZ Rub, a fortified penetrating oil finish that is specially formulated for use on outdoor wood applications. Applied with a brush or rubbed on with a rag, EZ Rub effectively seals in the natural beauty of the wood while keeping out the weather, protecting the wood from moisture, mold, and mildew—bed wood's worst enemies. Durable and long lasting, it features two levels of UV protection and can be easily reapplied on an as-needed basis. The finish is maintenance free and provides a natural look that is different from the typical high-gloss bed finishes.
With the boards sealed and protected, it was time once again to slide the boards back into place in the bed—this time for good. I started by bolting the outside boards to the bedsides finger tight before installing the cross sills. The new shortbed will feature one less cross sill than it did in its past life as a longbed, with two up front and one at the rear with a smaller support sill at the front of the wheelwell.
Another aspect of our build that differs from the traditional setup is the fact that the hardware to fasten the bed to the frame will be hidden under the wood. This necessitates a notch to be made on the bottom of each board to clear the head of the carriage bolt that runs through the cross sill. At the very back of the bed, a special washer is used to keep the fasteners from spinning since these mounts do not accept a carriage bolt.
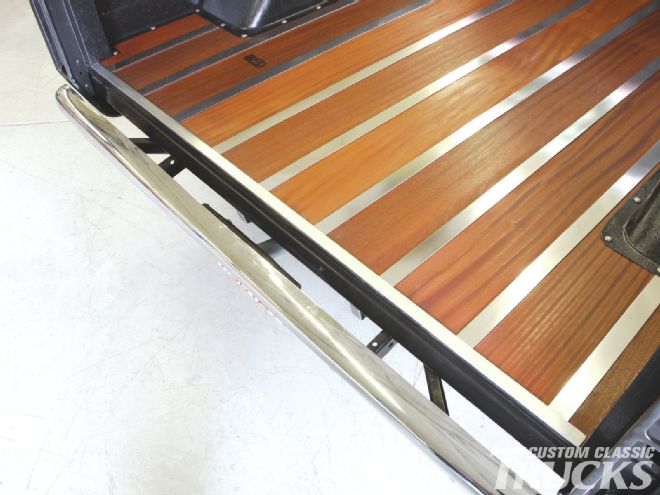
With the mounting fasteners in place, the bed wood can be installed along with the strips and their hidden fasteners. Due to differences between the strips and the modified bed, it was necessary to trim just a touch off of a few of the aluminum strips to get them all the same length. A bandsaw made quick work of this along with a file to smooth off the rough-cut edge. To cap off the back of the bed, I fastened a 1-inch strip of aluminum for a finished touch.
All in all, it took about a week to get the bed wood sorted, including two days' worth of finishing and coating the bedsides. The end result is a spectacular set of slabs that will really complement the rest of the bed, if it hasn't become the focal point already.
With the inner bedsides coated and finished, it will be an easy job for the painter to simply mask off the inner bed and shoot the caps, sides, and tailgate without worrying about removing the bed wood. A tonneau cover is in the works, as well as a rubber bedliner to keep everything looking as good as it does today, but still keep the bed somewhat useful. I won't be able to haul gravel or junkyard engine blocks back there any longer, but I think I can live with that given how nice the bed turned out.
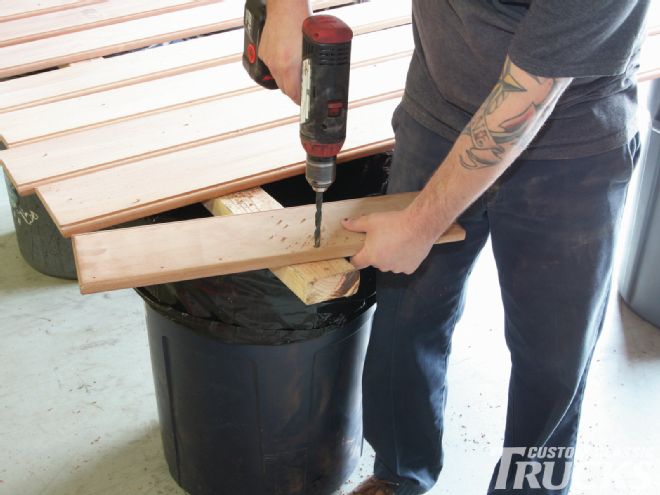
1. When we left off last month, we had the outer boards marked and the bed wood kit laid out in the bed. Continuing on, it's time to drill the holes for the 1/4-inch fasteners. First, I used a 1⁄8-inch drill bit as a pilot so that the larger bit wouldn't walk across my perfect boards. Note that I'm backing the hole up with a 2x4 to keep splintering down to a minimum when the bit breaks through the backside of the board.
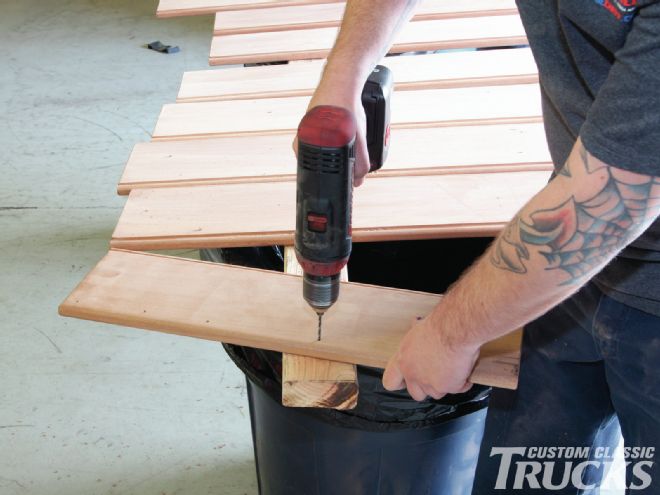
2. Next, a 3⁄8-inch bit is used, giving plenty of room for later adjustment given the 1/4-inch fastener size. I found that by drilling about halfway through the board, then flipping it over and drilling the remaining bore, I kept the splintering at bay. Note, I still backed up the hole with a 2x4 just in case.
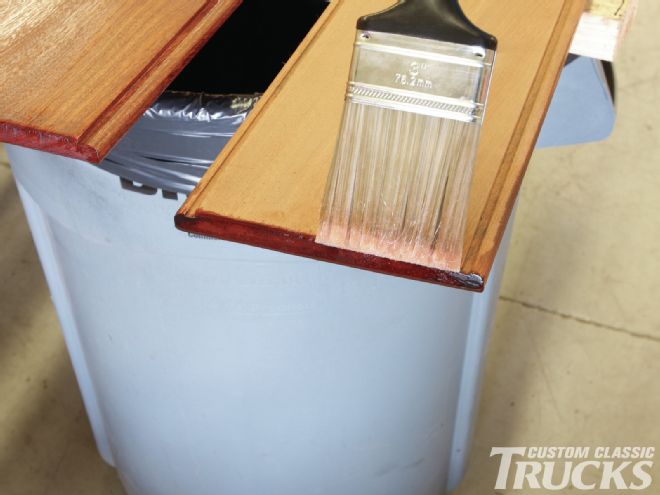
3. Once the holes are drilled, it's time to get our rub on. EZ Rub is a fortified teak oil specially formulated for Bed Wood and Parts to inhibit mold, mildew, and moisture on their bed wood kits. It comes in a variety of sizes for a variety of jobs, both large and small. Half a gallon should be more than enough for a three to four coat bed wood job.
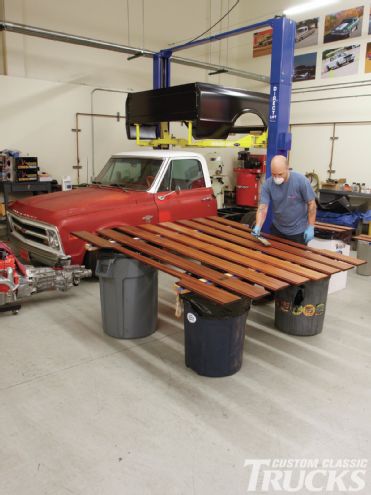
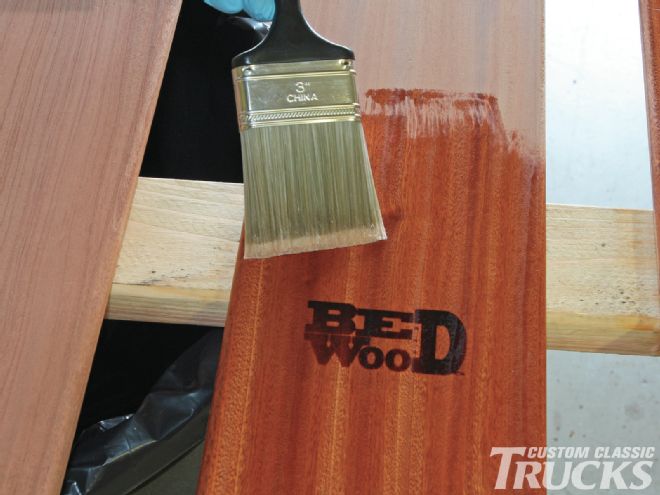
4. EZ Rub can be applied using a brush or cloth and is specially formulated to be applied easily and evenly. An initial, even coat followed by three "wet" coats was applied to each side of the boards.
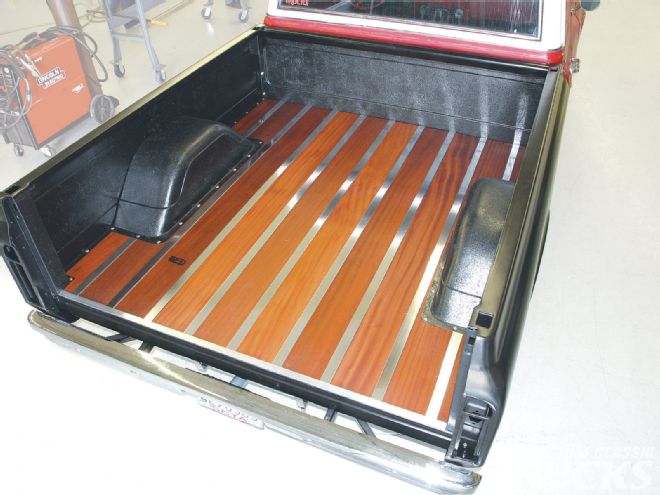
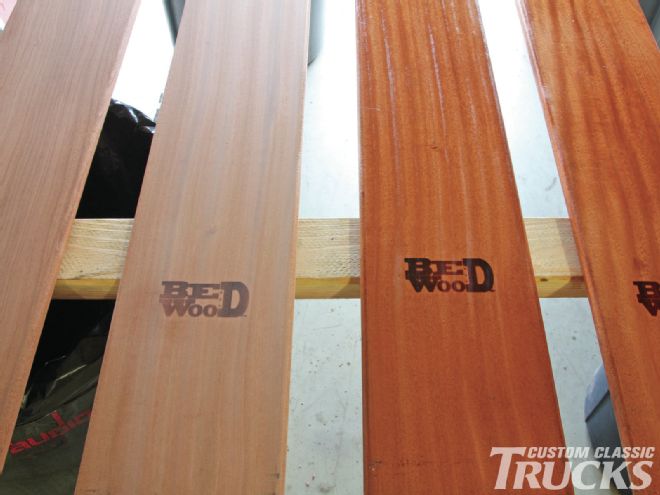
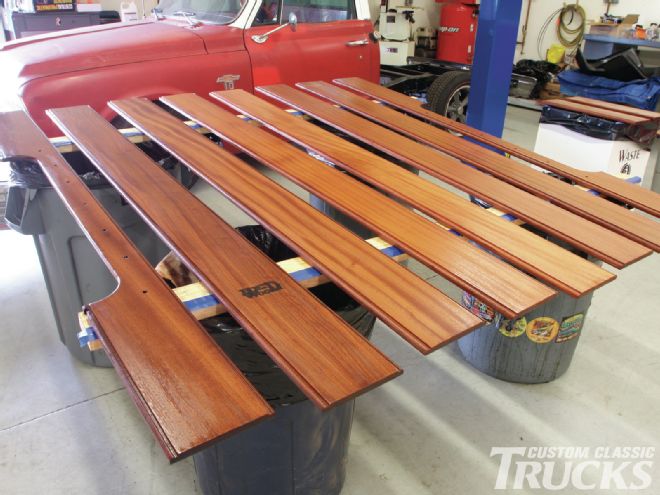
5. The EZ Rub really brings out the color and grain on the sapele wood, as shown in this comparison.
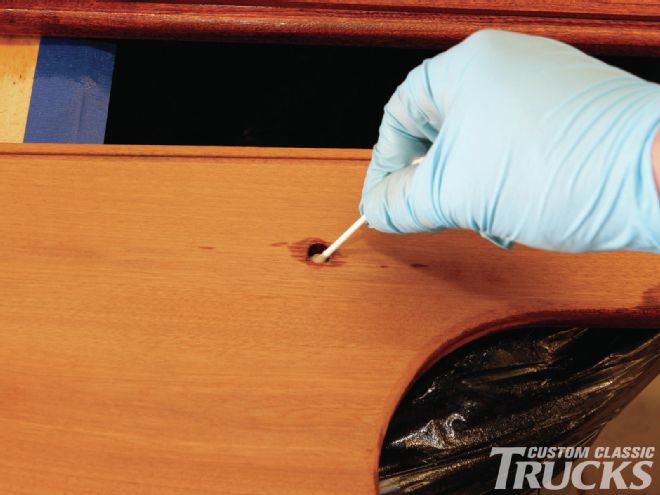
6. It's important to treat any and all surfaces, including the holes we drilled for the mounting fasteners. A cotton swab dipped in EZ Rub makes this an easy job.
7. The ends of the boards are equally important and need to be treated liberally, ensuring that the EZ Rub is effectively absorbed by the end grain.
8. I started on the bottom of the boards on a Friday and by Tuesday had finished up the tops. Bed Wood and Parts recommends two coats on one day followed by another two coats in 24 hours, so that's exactly what we did. The end result did not disappoint.
9. With the boards ready to rock, it's time for final assembly of our bed. I start by placing the four corner boards in place, held in with a fastener or two.
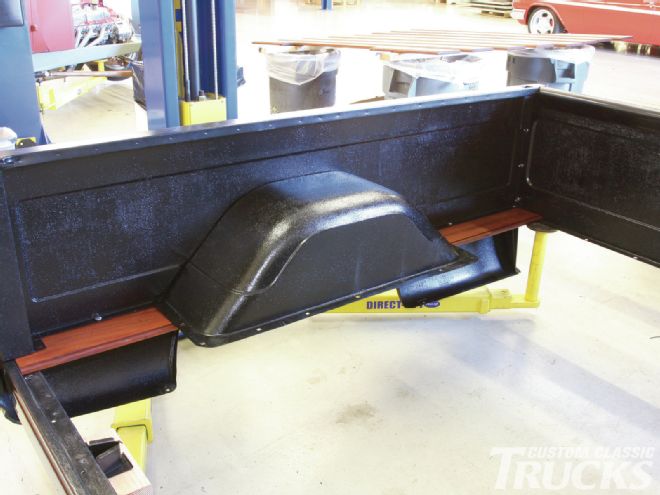
10. Next, I slid in the first of the full-length boards before loosely attaching the cross sills.
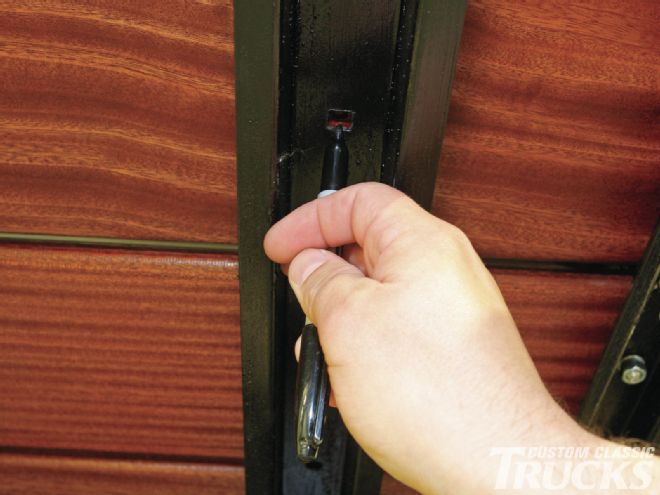
11. I still had a few holes to drill in the cross sills as this is the first time I had all the components in place. With the boards spaced out appropriately, I marked each cross sill and drilled the mounting holes using a 3⁄8-inch drill.

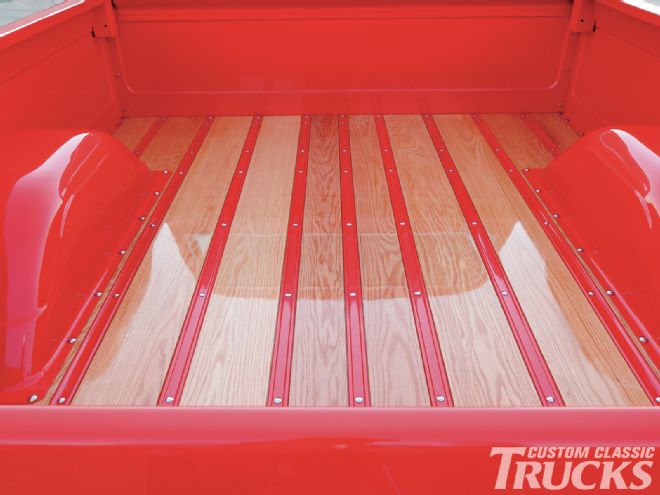
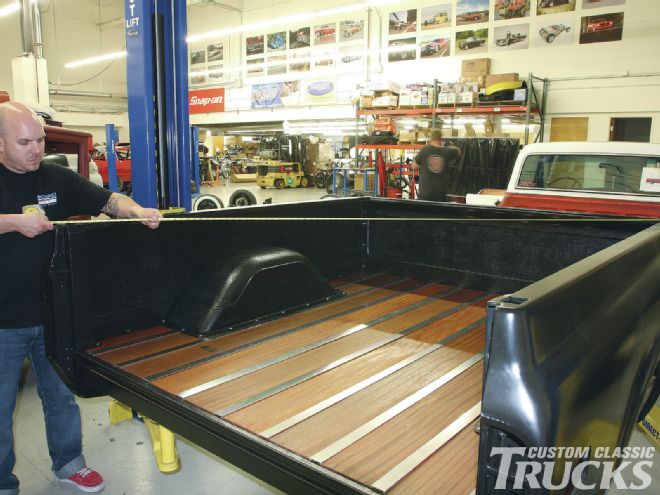
12. The bed in Kenny Reid's '68 illustrates the layout of the stock bed wood compared to the equal-width boards of our Bed Wood and Parts custom kit.
13. The hardware that will fasten the bed to the frame is hidden under the bed wood, but the boards need to be notched so that they can sit flat over the fasteners.
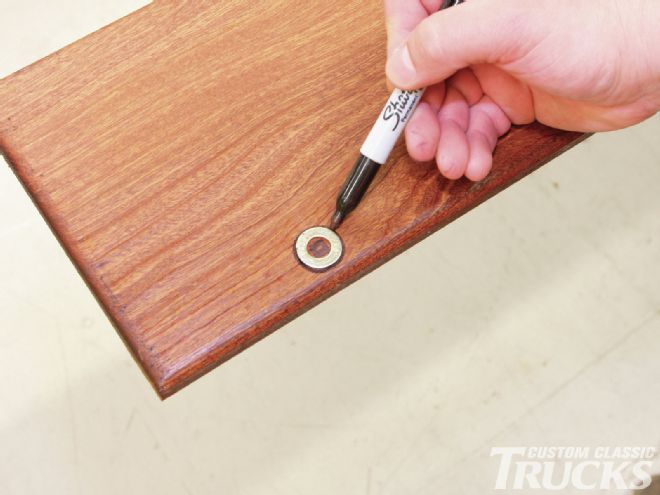
14. First, I marked the bottom of the boards using the mounting holes on the cross sills.
15. Then, I traced a circle guideline using a 5⁄16-inch washer.
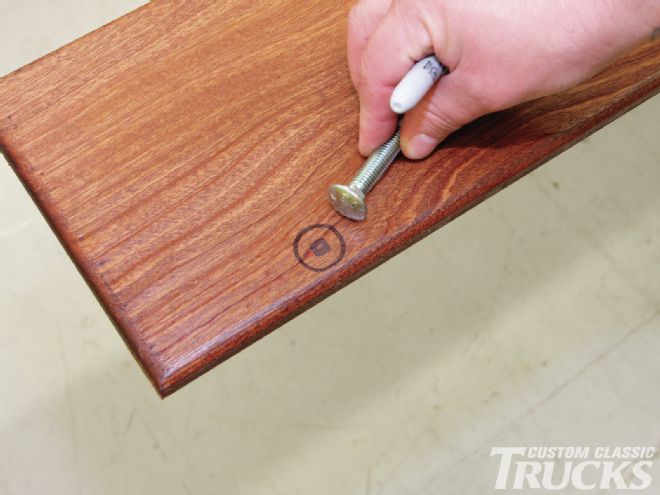
16. This is the same size as the head of the carriage bolt and will allow it to sit flush inside the board.
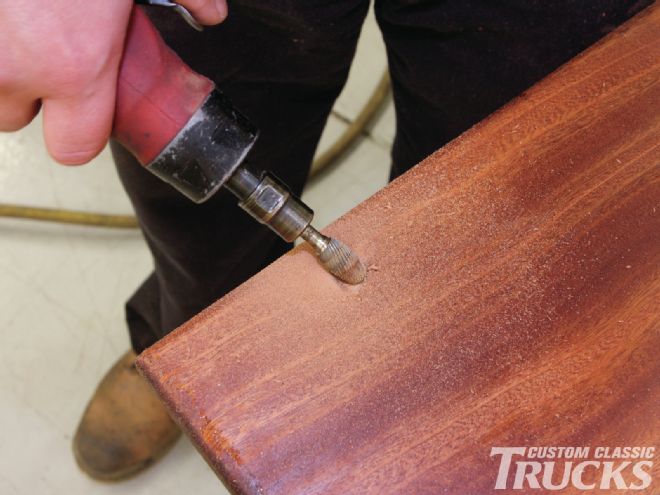
17. A rounded burr on the end of a pneumatic grinder makes quick work recessing the area.
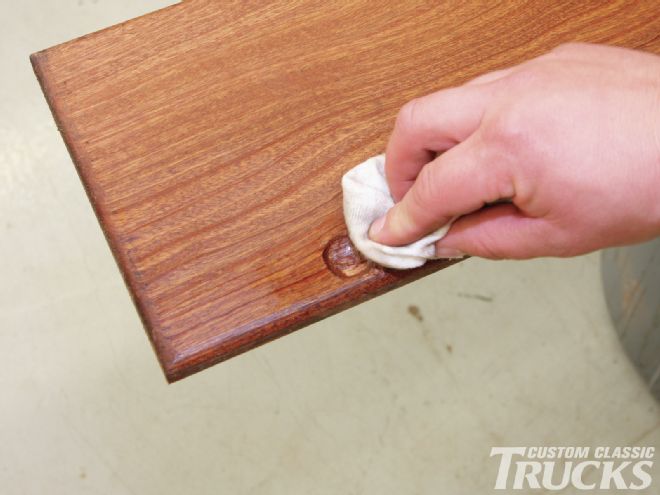
18. Once it's deep enough to flush mount the carriage bolt, a dab of EZ Rub is applied to protect the unfinished wood.
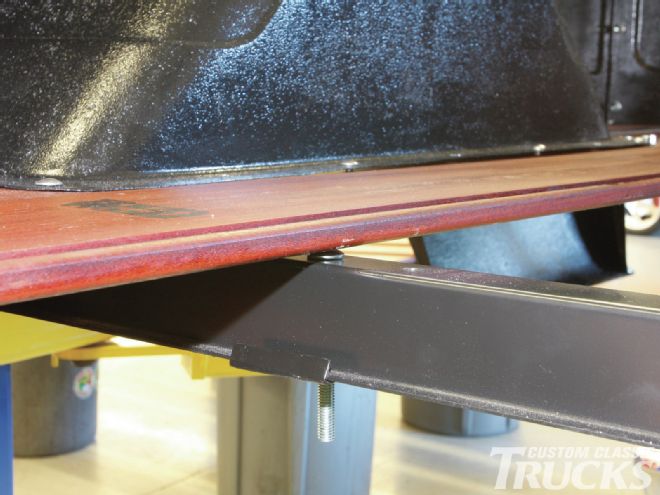
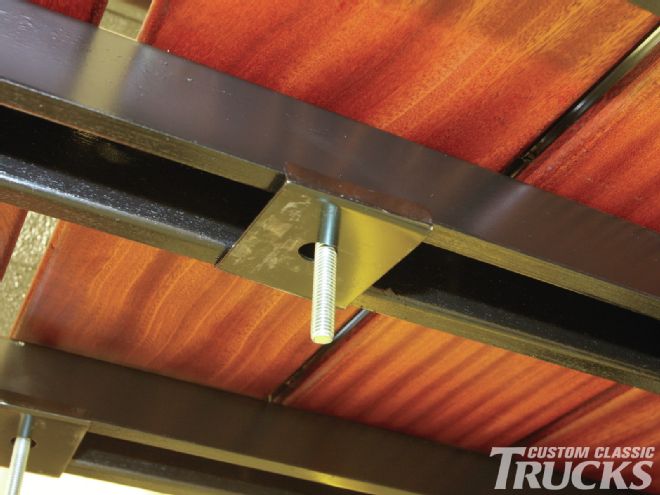
19. Now the boards will fit flush against the cross sills...

20....without impeding the bed fasteners.
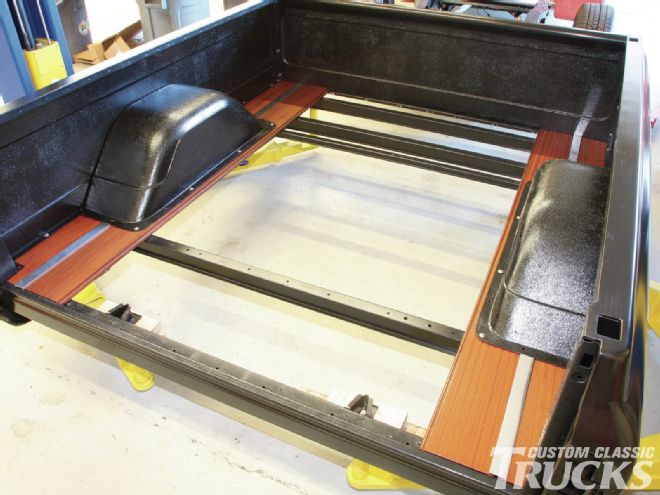
21. One final check for square and it's time to tighten all the hidden fasteners that attach the wood boards to the bed structure.
22. I added a strip of 1-inch aluminum to cover the rear cross sill and to tie in to the bed wood strips, which were slightly proud. This piece is replaceable as its attached using two-part epoxy and will prevent a load from snagging a bedstrip and damaging it.
23. With the bed mounted on the chassis, we're one step closer to wrapping up version two of the Laggard Longbed.
