One thing about hot rods is there's always more than one way to handle any project. Such is the case with filling body seams. One way to remove a body seam can occur by replacing the area with fresh metal or to use a modern seam filler material such as 3M Platinum Plus.
In going over recent bodyworking stories we noticed that two different STREET RODDER project cars (Road Tour '40 Ford and our '55 Chevy Project Gassed) underwent similar bodywork—seam removal or filling. Simple enough, but what we noticed was each was done in a different but equally acceptable manner. The Road Tour '40 had its seams filled by removal of the seam and the area replaced with fresh metal—leaving the once seamed area seamless. The '55 kept its seams intact but covered (filled) with seam filler. Both cars were relieved of their seams and in the end both cars went through the traditional bodywork and primer stages.
Follow along as we remained attentive with the metal crafters at Troy Ladd's Hollywood Hot Rods (HHR) and recorded how they approached seam removal. In the meantime, we watched the staff at Chris Sondles' Woody's Hot Rodz as they filled the seams with seam filler.
Seam Removal
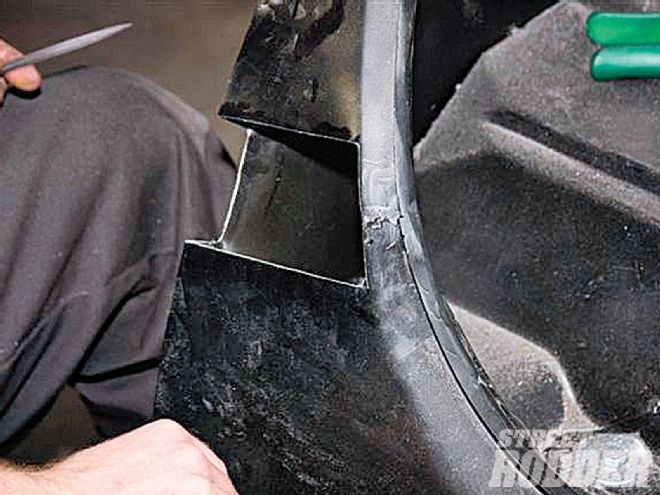
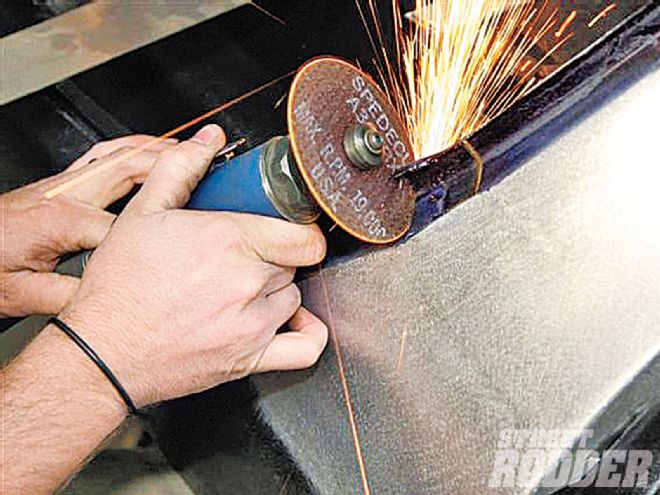
The first step is cutting away the seam, so cuts were made about 1-1/2 inches above and below the joint to remove a generous section. While a smaller portion of metal could have been removed, it is better to keep some distance between welds, when possible; it eases the finishing process and makes for a better job. Ladd's crew used an abrasive cutoff wheel in a pneumatic die grinder to make the cuts, but notice that they left the inner channel of the panel intact. This is an important point because leaving that "bridge" between the upper and lower panels goes a long way toward ensuring that the proper alignment of the panels is maintained as the seam is removed and replaced.
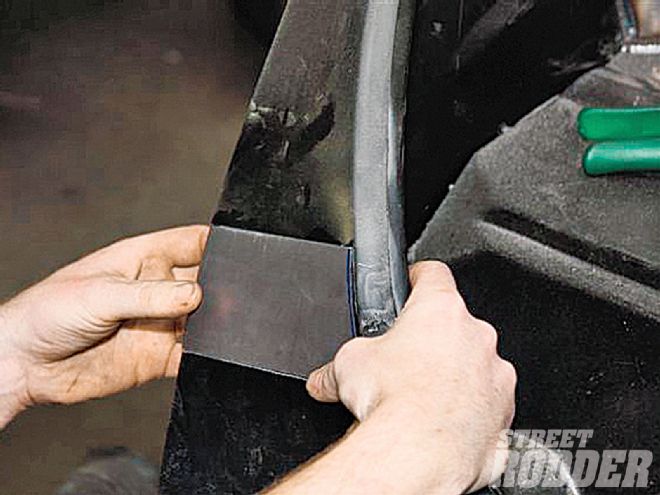
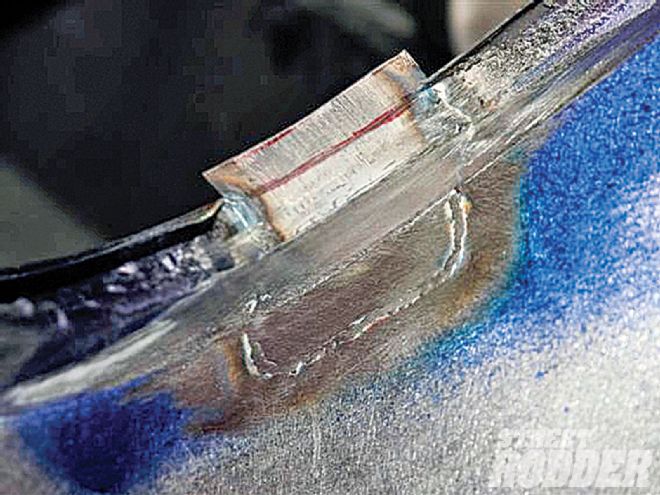
After the rough cutting with the abrasive disc, the cut edges were carefully sanded and filed in preparation for fitting the filler piece, which was made from 18-gauge cold-rolled steel sheet. Look closely, and you'll see that it was not just a flat piece of metal welded into place. A flange was formed on a bending brake, creating an edge that perfectly matches the original panel that the fender bolts to. While this flange could have been welded on, bending it from the same piece of metal is better in every way. It lessens the amount of welding required, it automatically creates a nicely radiused edge that matches the rest of the panel, and it eliminates any distortion from welding on an edge, which is difficult to fix. After the flange was folded, it was run through an Eastwood shrinker to give it just the right amount of curvature to fit the opening perfectly.
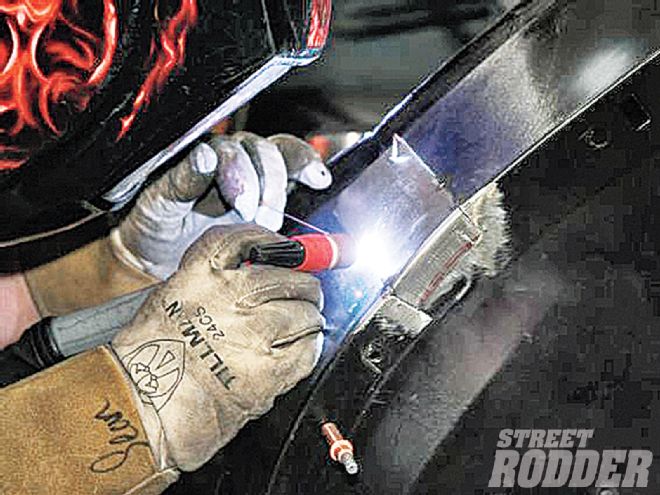
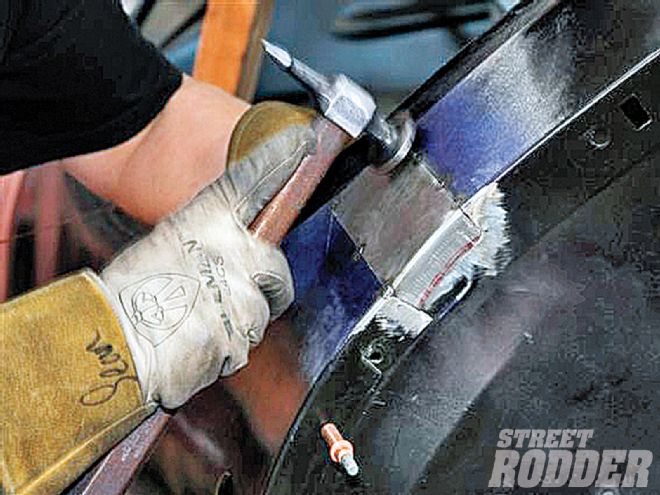
Next, the patch was tack welded into place, with a Miller Diversion 180 TIG welder, and the joint was carefully worked with a hammer and dolly to ensure that all the edges were in alignment before being finish welded. After welding, the weld beads were sanded flush with a 50-grit disc on a 3-inch right-angle sander. Some careful hammer and dolly work brought the panels into perfect alignment, and a little more sanding was used to finish the joints to perfection.
With the panel brought back to its original integrity, the inner channel could be cut out in preparation for making the filler piece there. If you look closely at the photos, you'll see that the filler piece has been folded in such a way that no welding on edges is required—again, a great technique to use for doing top-quality work. After the filler piece was tack welded, and "tuned-up" with a hammer and dolly, it was ready for the finish welding. After welding, the joints were carefully sanded, and in the end, everything was metal finished so that the filler piece is blended in perfectly.
1. The rear section of the body has an overlapped seam, which Hollywood Hot Rods decided to smooth out.
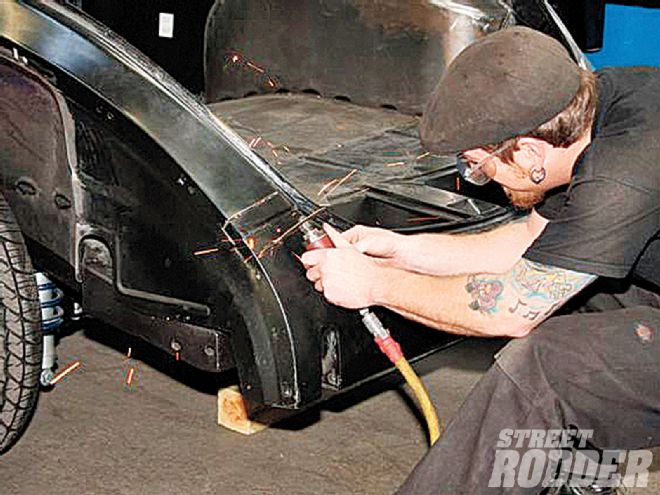
2. After the fenders were removed, an abrasive cutoff wheel in a die grinder is used to cut out the seam.
3. After cutting, a 2-inch diameter right-angle disc sander is used to clean up the cut edges in preparation for fitting the filler piece.
4. A small file is used to clean up the corners.
5. Here's the filler piece being fitted to the opening. You'll see that it has a flange formed on the side of this piece to match the fender mounting edge of the body.
6. Here's the filler piece being tack welded with a Miller Diversion 180 TIG welder onto the passenger side of the body.
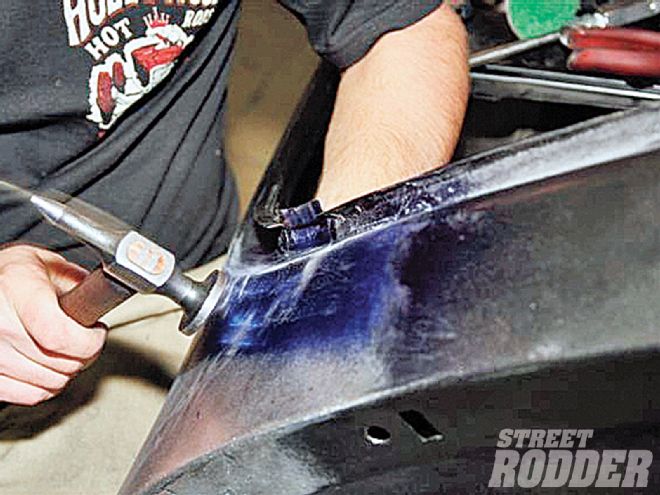
7. After tacking, the joints are worked with a hammer and dolly to ensure they are perfectly aligned before being finish welded.
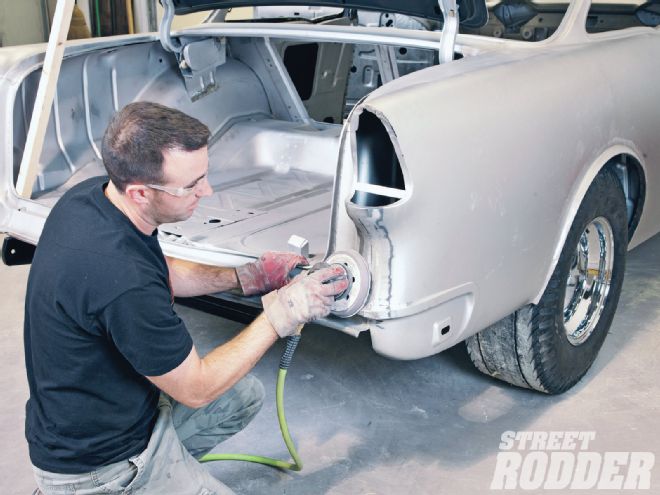
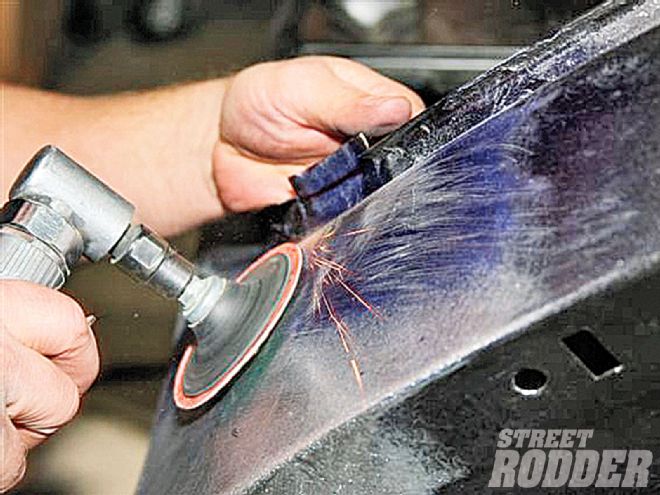
8. Here the welds are being sanded smooth with a 3-inch-diameter right-angle sander.
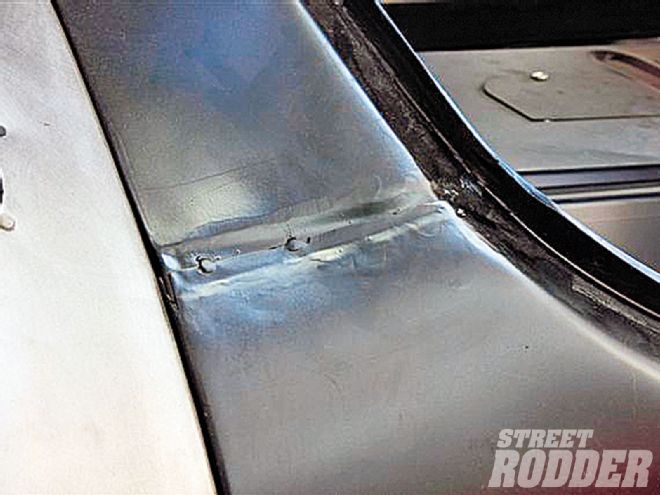
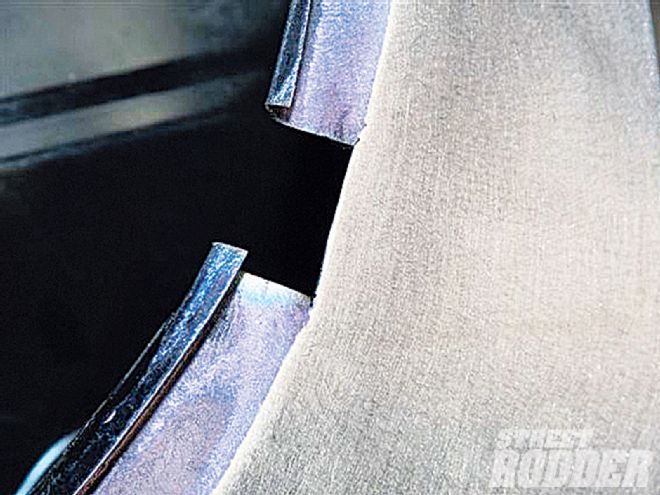
9. The channel on the inside lip of the panel was intentionally left intact until the outer portion of the panel was metal finished. This held everything in proper alignment.
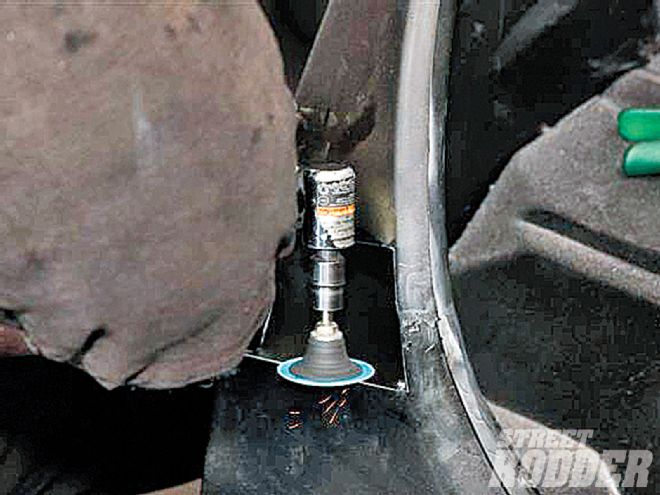
10. After the inner channel was cut out with an abrasive cutoff wheel, a filler piece for the channel can be formed.
11. Here the channel is formed and welded into place. Notice that all of the corners are bent; this ensures a clean, strong edge.
12. A little hammer and dolly work is used to dial in the final shape at the joint.
13. A light sanding gets rid of the last traces of the welding. The filler piece is slightly oversize at the channel, and will be trimmed flush.
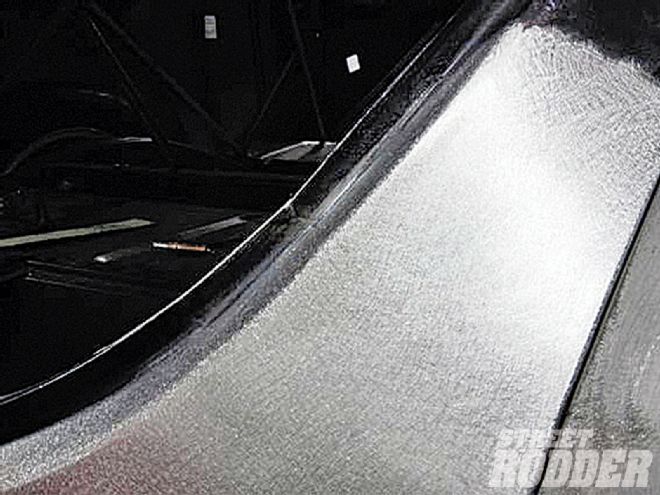
14. And here's the finished job. Looking at it now, you'd never know there was a seam here before.
Seam Filler
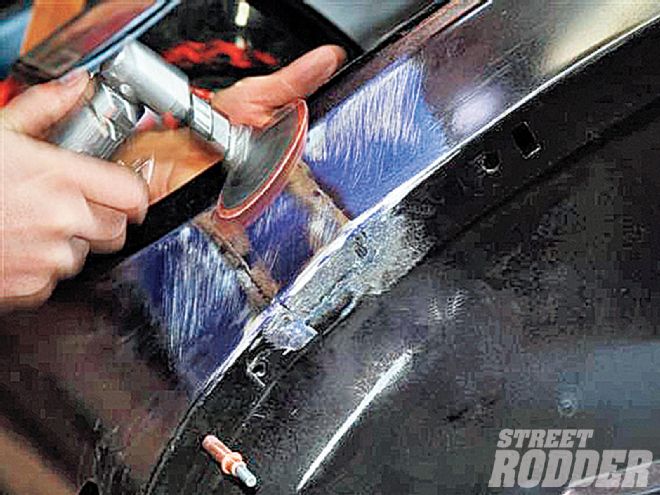
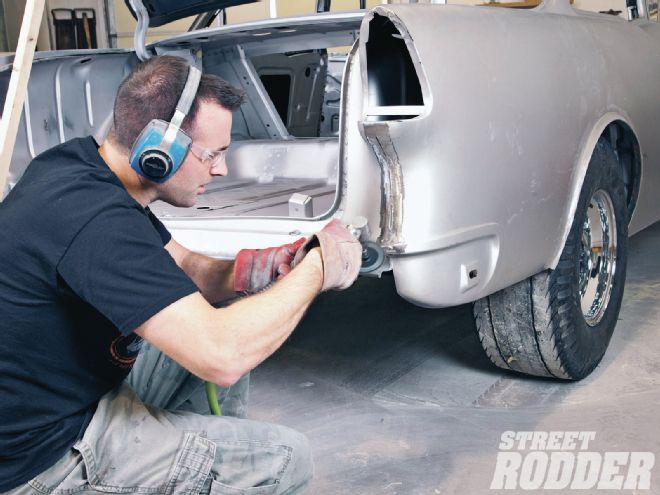
The first step at Woody's Hot Rodz was to prep the metal prior to the application of the 3M Platinum filler. These steps required grinding and prepping the metal surface to accept the filler.
There are a number of 3M products but for our purposes Woody's selected a self-leveling, flowable glaze (creamy) body filler, Platinum Plus. (Today most major car and truck makes have been constructed of double-sided galvanized steel, or in some cases aluminum. These specialized metals require products that have a built-in adhesion promoter that "bites" into the surface.) The Platinum Plus will adhere to almost any surface, galvanized steel, E-coat, metal, aluminum, fiberglass, SMC, cured epoxy, urethane primers, and cured or aged paint. What makes this product also very appealing to hot rodders is its curing time; sandable in just 15 minutes, and is compatible with most basecoat/clearcoat and waterborne paint systems.
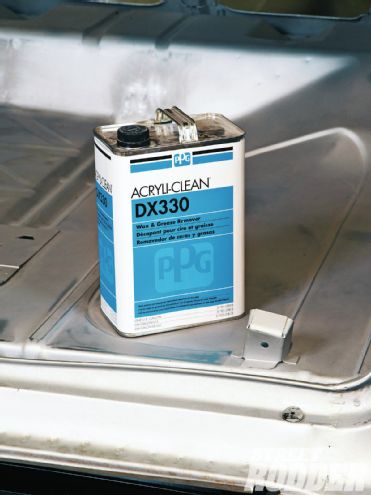
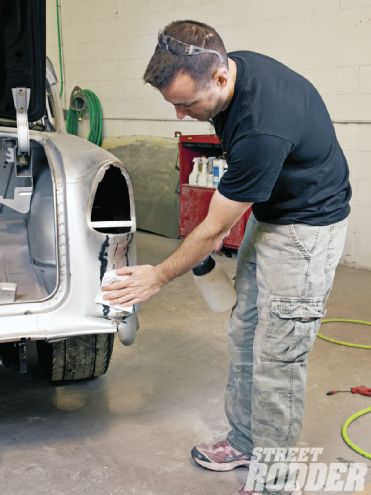
1. PPG Acryli-Clean DX330 is used to pre-clean surfaces before and after sanding seams when prepping for filler.
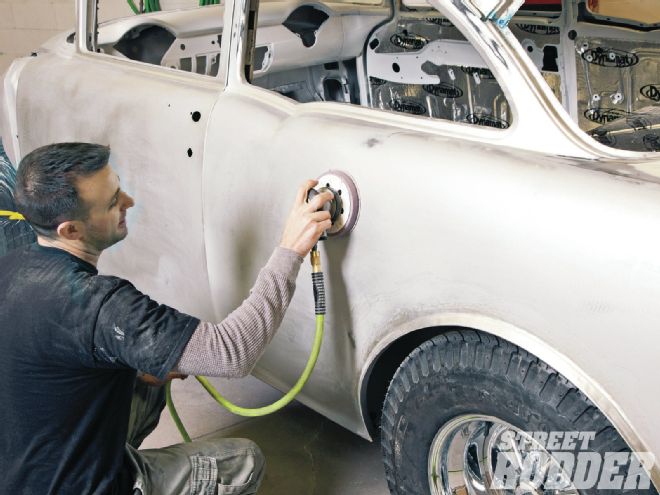
2. James Reedy uses a grinder with a 36-grit Norta Disc clean out the seams and remove the weld through primer, creating a better filler adhesion through a rougher surface.
3. Again Reedy, using a DA with 80-grit to feather the outer edges from section that was ground down with an air grinder.

4. Use PPG DX330 cleaner to remove dust and degrease oil that might have splattered from the air tools.
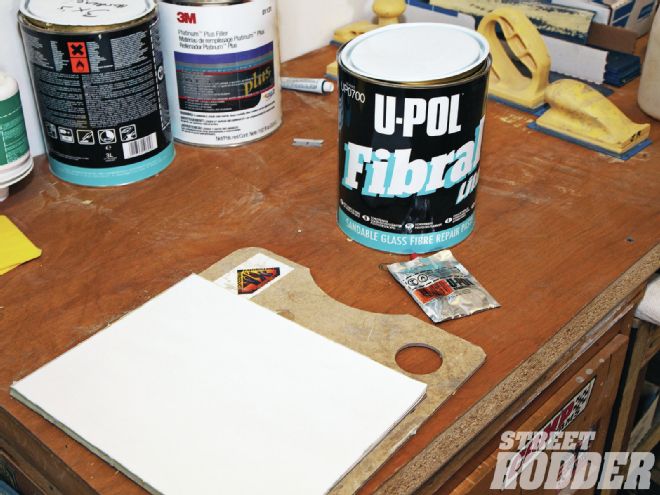
5. U-Pol Fibral Lite forms a hard durable surface, however its short strand formulation enables it to be easily applied and sanded; can be topcoated with putty or directly topcoated with paint.
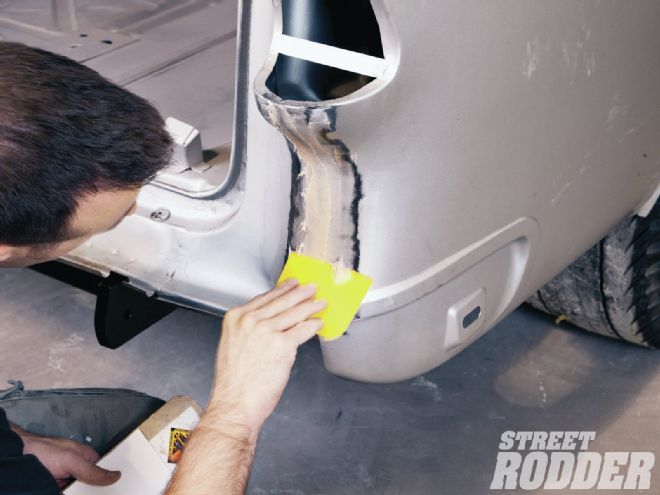
6. Apply U-Pol to the seam, pressing and filling in the seam evenly and let it set about 15 minutes. Will flex and then you can degrease and abrade with 80-grit paper.
7. Using the sanding blocks, smooth the filler until the surface is smooth and even. Degrease and sand with 180-grit when fully cured.

8. 3M Platinum filler is a stain-free, tack-free, super premium lightweight filler that offers adhesion to steel, galvanized steel, aluminum, E-Coat, and SMC. The smooth, creamy texture of Platinum filler makes it easy to apply and a breeze to sand.

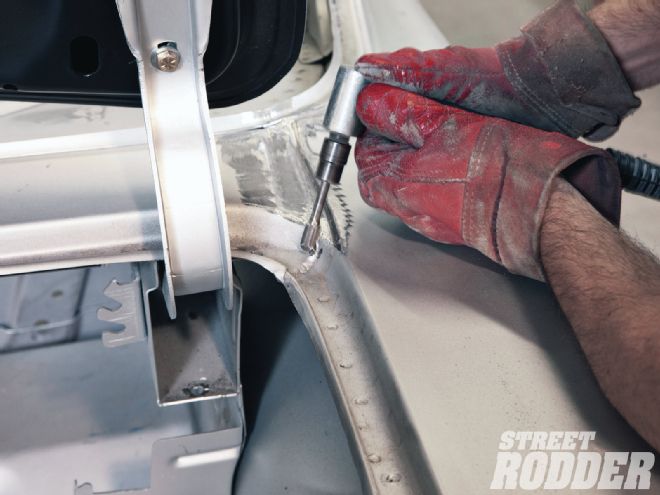
9. Use an angle grinder with burr tool to get into the deeper seams to smooth and prep. Prep the remaining surface in the same manner as earlier.
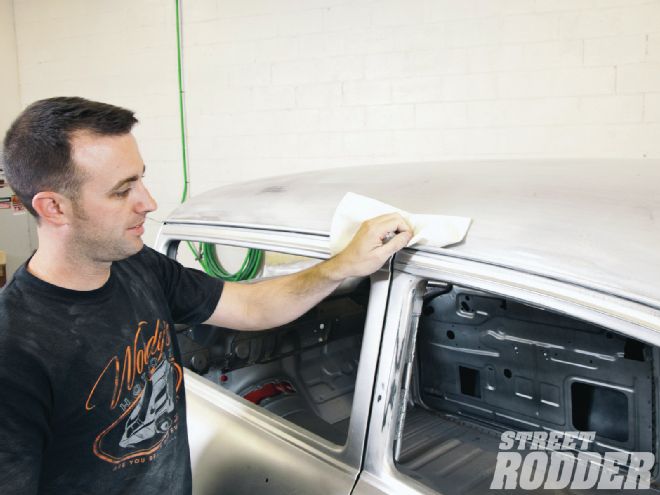
10. Prepping the driprail: scuff with red Scotch-Brite and clean with PPG DX330.
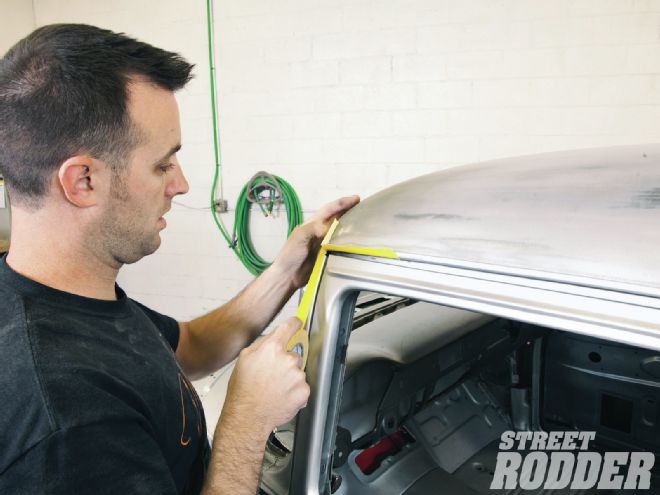
11. Tape off the ends of the driprails to hold the self-leveling sealer.
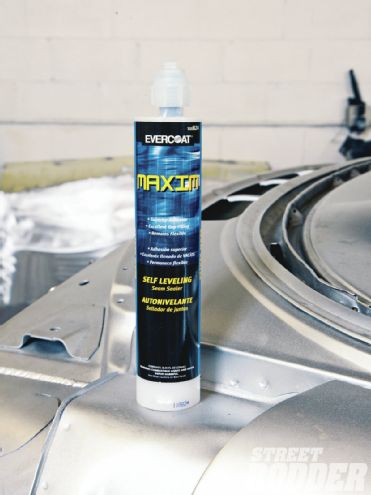
12. Evercoat Maxium self-leveling seam sealer used to seal the driprail.
13. Prior to spraying the final sealer, scuff surfaces with Scotch-Brite and to speed things up use a DA.
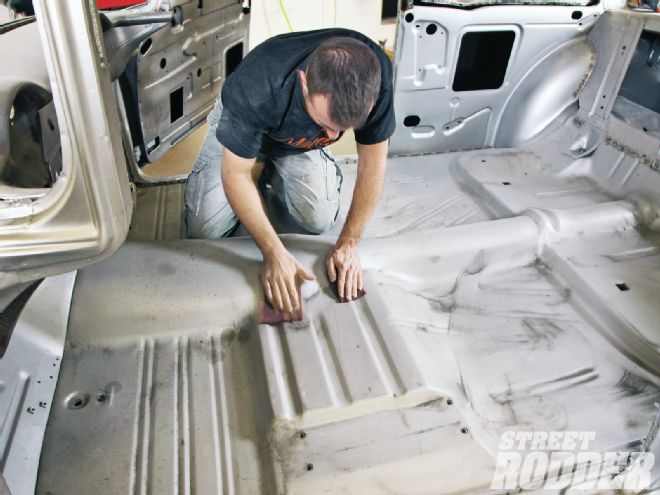
14. Apply sealer to the interior and allow to dry.
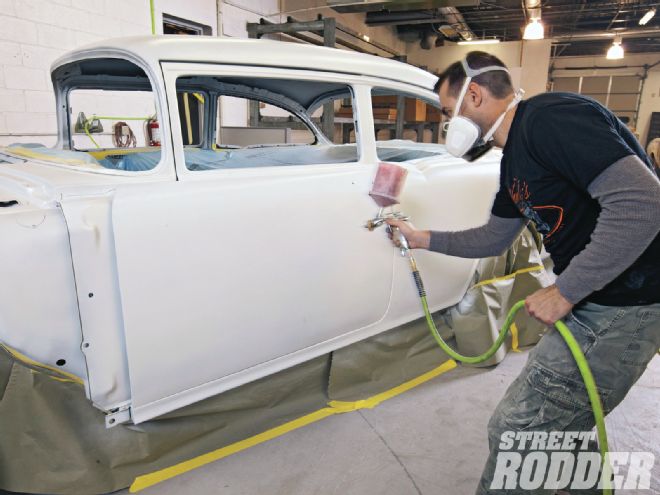
15. Using a DA, scuff all the body surfaces to be sealed and clean with DX330 prior to sealing.
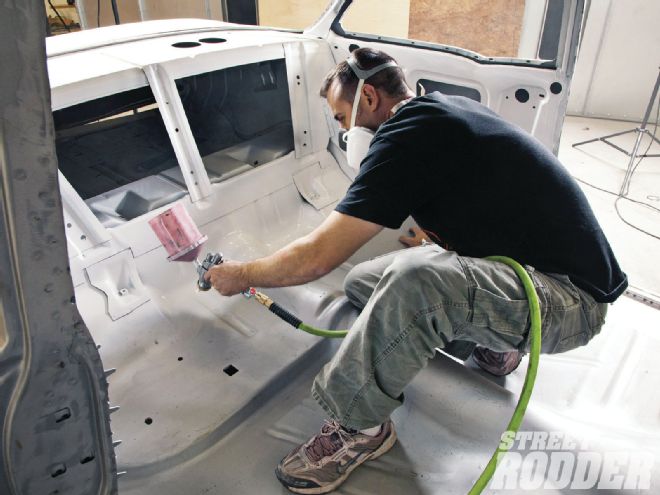
16. Once the body is masked thoroughly, apply sealer and allow to dry.
Guidelines
The following times have been determined with ambient air temperature and substrate temperature at 77 degrees F (25 degrees C) and are considered typical values.
Shape and Sand Time 8 to 12 minutes when mixed, with 2 percent hardener by weight at 77 degrees F (25 degrees C).
Finish Sand Time, 20 minutes when mixed with 2 percent hardener by weight at 77 degrees F (25 degrees C).
Recommended application temperature: above 45 degrees F (7 degrees C)

Service temperature: minimum -20 degrees F (-29 degrees C); maximum 180 degrees F (82 degrees C)
Minimum hardener: 1.5 percent
Maximum hardener: 2.75 percent
Follow along and you can decide for yourself what best suits your talents, time, and desires.