
When it came time to reassemble the bed components for the shortbed conversion, my initial plan was to use as much as possible from the longbed to keep costs down. That included the tailgate, header panel, wheelwells, and cross sills. Upon further investigation, however, it became painfully obvious that using all the original components meant disassembling the entire longbed.
After looking at the undertaking long and hard, it was decided that it made more sense to give the bed away complete and to order up the panels I needed new from Brothers Trucks. That made someone on the ’67-72 Chevy truck forum the proud new owner of a longbed and saved me a lot of work.
That said, assembling the new wood bed wouldn’t be without its fair share of labor. First off, all the new sheetmetal parts ship in what’s called E-coating or electrocoating, which is a process used to deposit paint on a metal surface using electricity to promote adhesion. While a great process in which to protect the panels in transit, it’s not really designed to hold up to everyday use, as it doesn’t have the UV resistance, among other things, necessary in an automotive exterior coating.
Since we’ll be painting the exterior of the truck in the near future, we need to treat the inner panels so that they can stand up to the elements, without having to remove the bed wood when it comes time to paint. To achieve this, I decided to coat the inner sheetmetal with a bedliner product from Eastwood called Gator Guard II. By coating the sheetmetal at this point, the bed wood can then be installed and everything from the upper bedrail down will be in finished form. Then all the paint shop has to do is mask the upper bedrail and spray the exterior of the truck, as opposed to removing the bed wood to spray the inner bed panels.
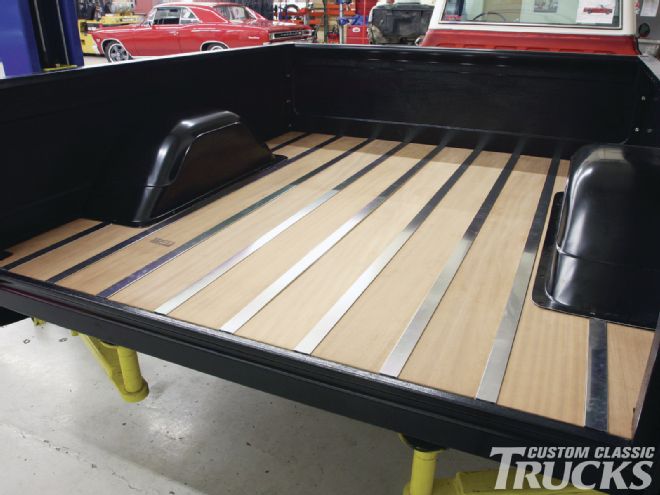
Speaking of bed wood, when it came time to decide on what to use for the base of our new bed, we turned to Jeff Major and his company Bed Wood and Parts to see what they’d recommend for a bulletproof yet show-quality stack of lumber. Jeff recommended sapele, a ribbon-grained wood native to tropical areas of Africa. A member of the mahogany family, sapele is known for its beauty and durability. Combined with a number of generous coats of their EZ Rub fortified penetrating oil finish, the result will be a bed that looks like a million bucks and can stand up to the rigors of a regularly used pickup truck, with all the protection necessary to keep that wood looking good for the long haul.
Typically, a bed wood install is fairly straightforward as most kits are a simple drop-in application. For this project, however, we decided to veer slightly from the norm and will be using a wood kit that consists of equal-width boards. This throws the stock bolt pattern across the sills out the window and requires each cross sill to be redrilled according to the layout of each board. A simple task really, and one that allows the user to keep all the boards nice and tight.
Once the boards are all laid out, the left- and right-side boards surrounding the wheelwells need to be marked so that they can be drilled to accept fasteners. At this point, the bed is dry fit and any issues with fitment will need to be addressed before going any further.
Next month, we’ll tear the bed back apart, drill the outer boards, treat all the wood, apply another coat of bedliner, and then reassemble the whole ball o’ wax. Then our long to shortbed conversion will be complete!
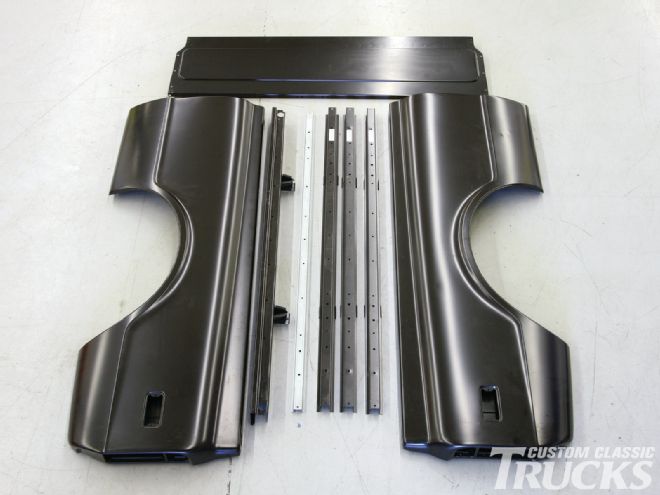
1. My initial plan called for using everything but the bedsides from the original longbed. Once I started disassembling it, however, I soon realized it wasn’t worth the time it was going to take to completely disassemble it just to save a few bucks as the fasteners were rusted in place and the sills needed to be sandblasted. Shifting gears, I contacted the guys at Brothers Trucks to add a new header panel, three cross sills, a reinforcing strip, and the rear cross sill to the already-ordered shortbed sides.
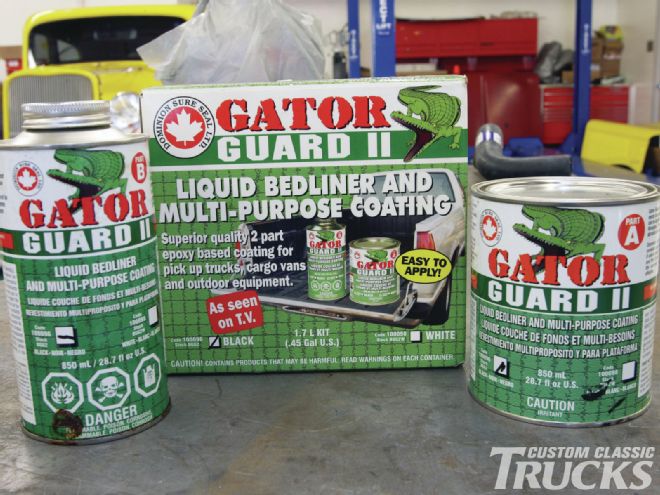
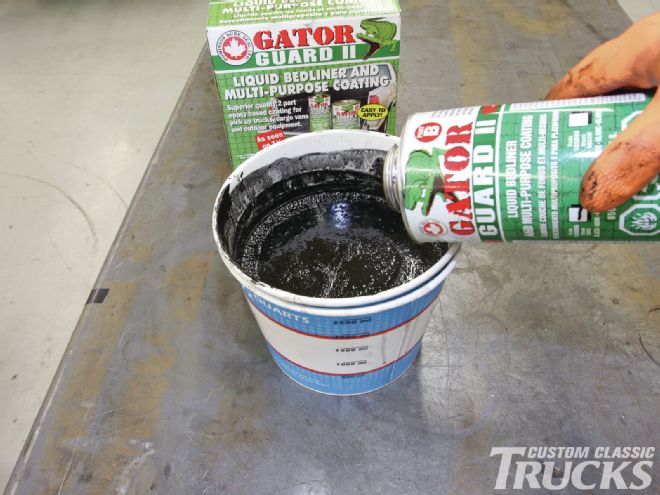
2. To protect the inner sheetmetal, Gator Guard II liquid bedliner will be applied before the bed wood is installed. A two-part epoxy system available in either white or black, it can be brushed, rolled, or sprayed onto the surface. We’re going to brush on the initial coat so that we can be sure it gets into every nook and cranny, followed by a rolled-on coat for a more even final finish.
3. To promote adhesion to the sheetmetal parts, a Scotch-Brite pad is used to scuff the entire surface. Due to the E-coating’s excellent adhesion characteristics, most finishes can be applied directly over it.
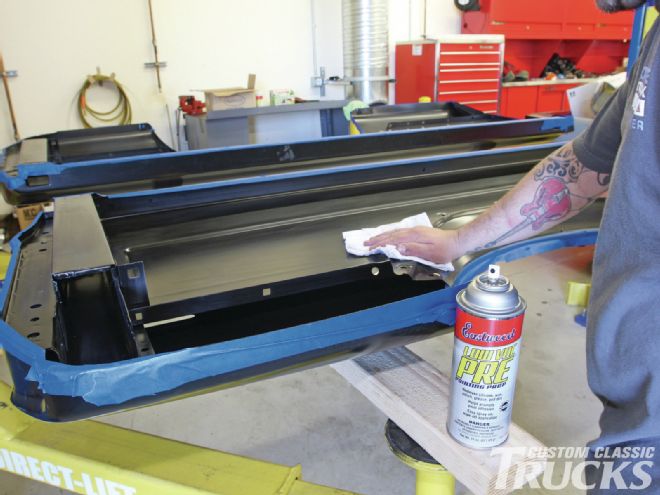
4. Next, the panels have been masked in order to limit the liner’s coverage to only the inner panels themselves before the surface is wiped clean using Eastwood’s PRE paint prep to remove any impurities.
5. Gator Guard II is a two-part epoxy, which means it’s necessary to mix Part A with Part B thoroughly before applying.
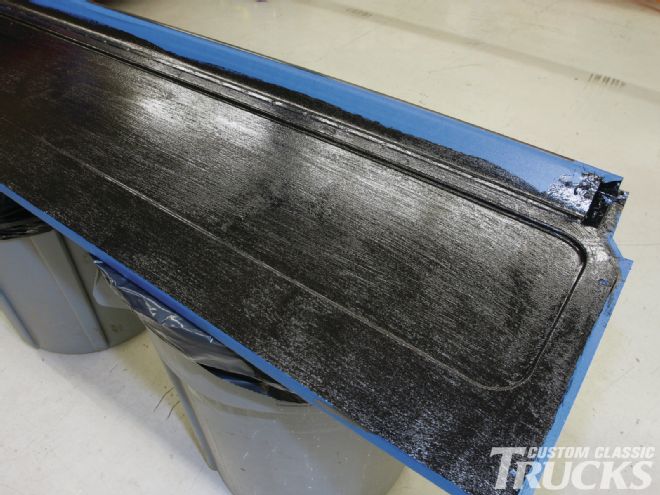
6. Then it’s just a matter of cutting in every corner with a brush before filling in all spaces in between.

7. This shot of the header panel shows why brushing the bedliner on may not be acceptable as a topcoat application process due to the appearance of brushstrokes.
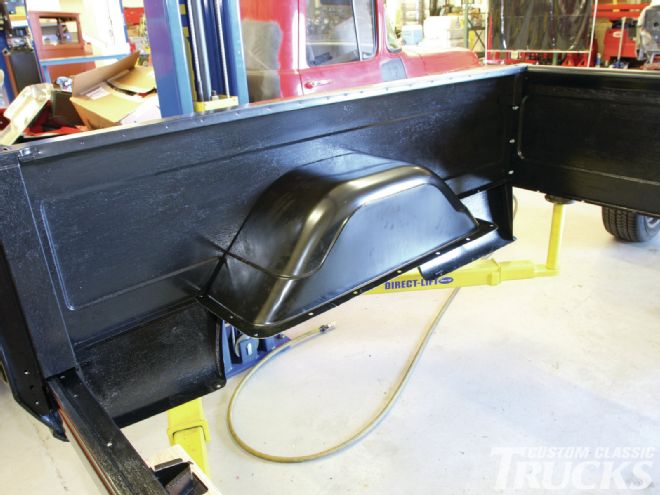
8. With an initial coating on the inner panels, the perimeter of the bed can be assembled. Here, I’m checking for square to get the bedsides in the ballpark so that the bed wood kit can be fitted.
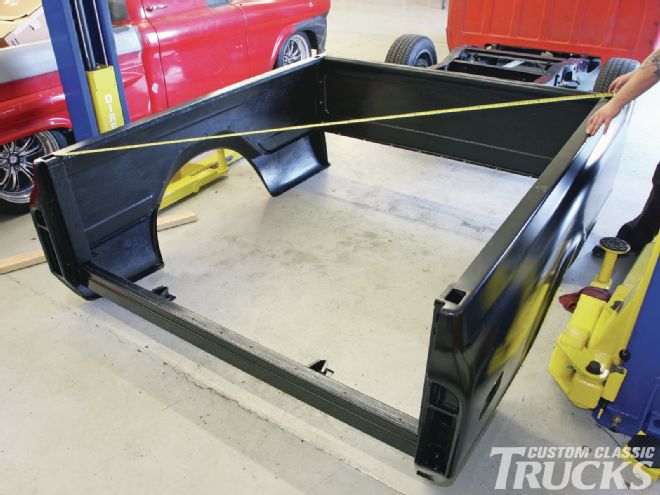
9. The wheeltubs also needed to be installed at this point as we’ll need to mark and drill the side boards for the mounting fasteners. These will get lined when we apply the final rolled-on coat a little later.
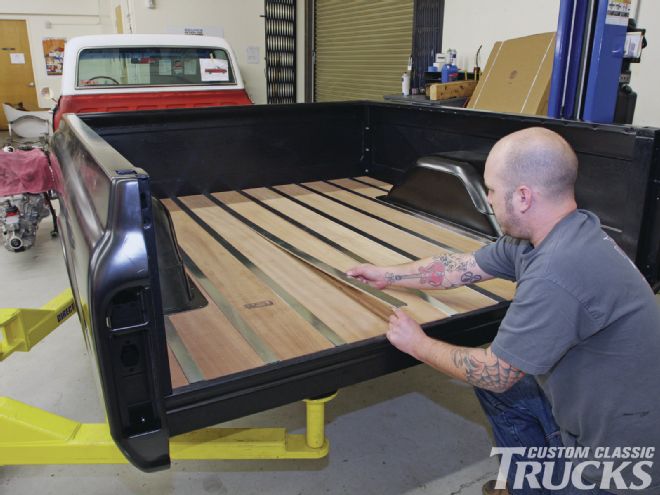
10. The original layout for the bed wood used a variety of different-width boards giving the bed a slightly asymmetrical feel. For a more balanced look, Bed Wood and Parts offers a kit that uses equal-width boards for a totally symmetrical aesthetic. The layout starts in the center of the bed, using the stock fastening holes on the cross sills as well as the header panel.
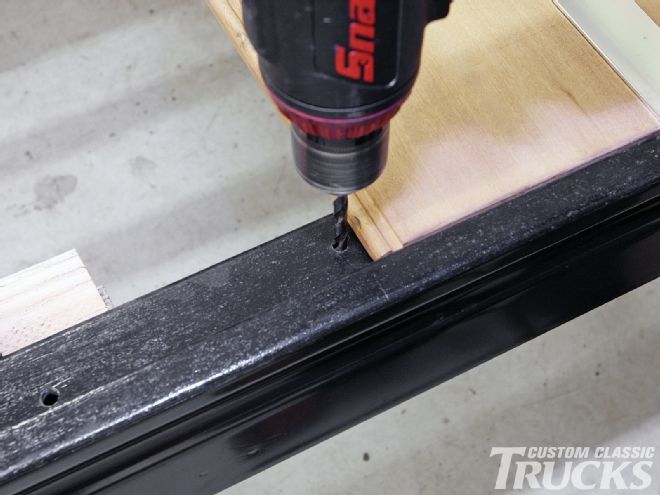
11. The remaining fastener holes, however, need to be drilled using each board as a guide as the two center boards are slightly wider than the stock items.
12. A 3⁄8-inch drill enough clearance for a ¼-inch fastener to have a bit of wiggle room.
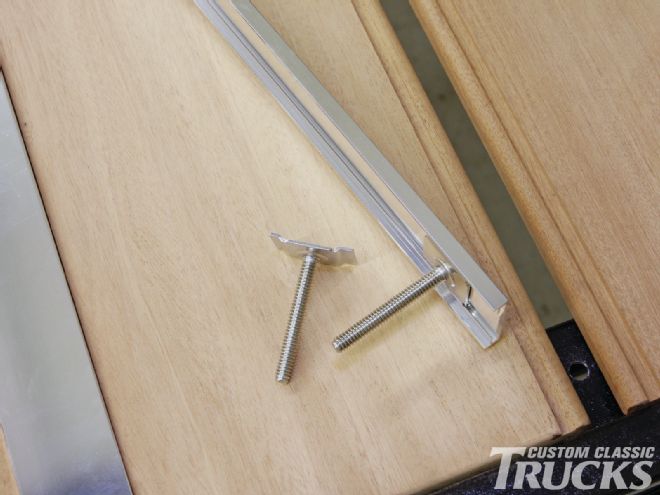
13. To attach the bed wood to the sheetmetal, we opted to use Bed Wood and Parts’ FlatTop strips, an aluminum extrusion that features a bright dip anodized face for a shiny, durable finish. The strips fasten down the bed wood using custom 1⁄4-inch T-bolts that slide through the aluminum extrusion.
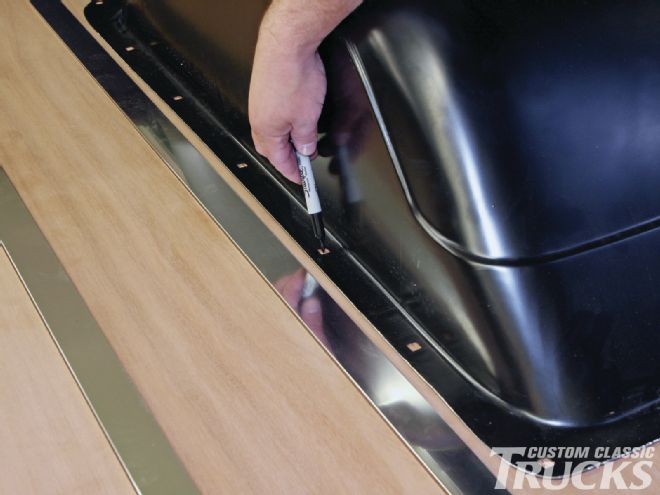
14. Working from the center outwards, each fastener strip is tightened enough to hold the respective board in place, retaining perfect alignment until we reach the wheelwells. If everything is square and plumb, the fastener strip and the edge of the wheelwell should be parallel. If not, a little bit of coercion may be in order to not only get the two lines nice and straight, but the gap between the two on the left- and right-hand side of the bed even as well.

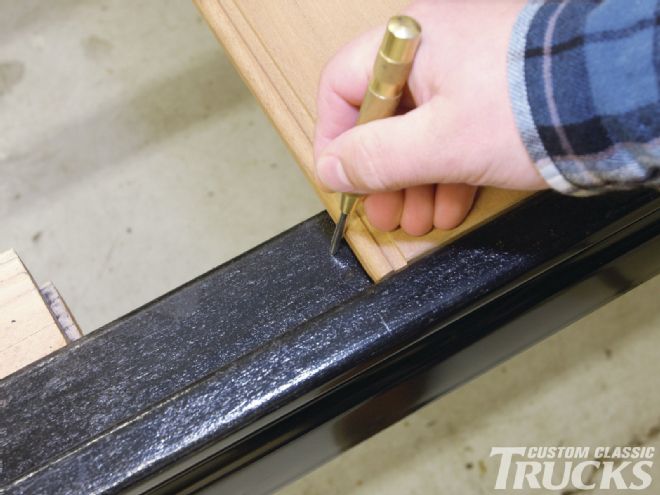
15. Once everything is nice and straight, it’s time to mark the holes so that the wood strips can be drilled.
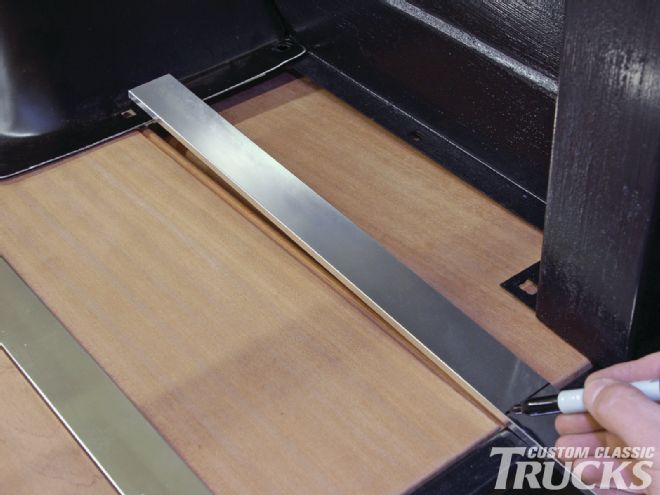
16. The two fastening strips that intersect the wheelwells need to be trimmed to fit before the final four corner wood slats can be marked for their attachment holes. A bandsaw makes quick work of shortening the aluminum fastener strip, which is then fastened in place between the two end boards.
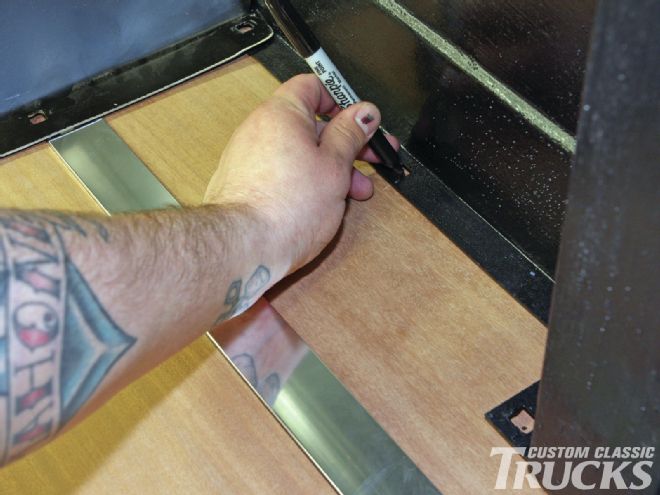
17. From there, the attachment holes for the end corner boards can then be transferred.
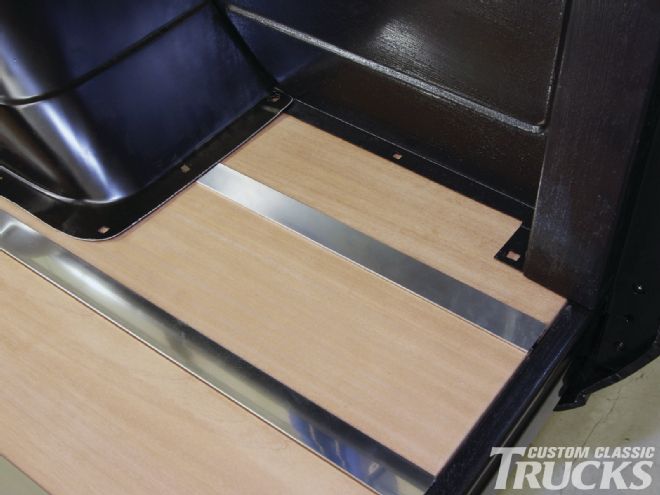
18. Here’s what the end boards look like in place. The same technique is used at the other three corners.
19. With the bed assembled in a dry fit condition, it looks like everything checks out and it’s time to blow it all apart to drill the boards, treat the wood, and apply a final coat of bedliner before assembling the bed for the final time.