Fitting sheetmetal is one of my least favorite things to do on any vehicle. Do it wrong and the ugly mess of bad bodylines turns people away from what otherwise might be a really nice truck. I've been to plenty of shows where doors, fenders, and the hood fitment are perfect. When I say perfect, you can take a ruler and measure all the gaps and it would match from top to bottom and left to right. But for the sake of my sanity I will try to point out some things that help me get a better fit.
For starters, everything is lined up off the cab, so the cab should be the starting point. The rubber that mounts the cab on any old truck is just that – old, and has either sagged or flattened out. If you are lucky, then the body stayed in alignment with the rest of the body parts, but for the most part, replacing the cab mounts is step one.
If your truck is like most then you have removed the front clip and installed an independent front suspension or boxed the frontend, which required welding. With any kind of heat on metal from cutting or welding, the frame likes to move if not done correctly. So slamming on the old shims that were on the truck before the frontend install may not align the fenders like it once was. In this case, shims are needed and plenty of them to help align the fenders to the cab.
What about the rubber that goes on the fenders or in between the rear fender and the cab? If you don't install the rubber where metal on metal can make noise, then your truck might sound like a squeaky mess. Let's get into the basics, shall we?
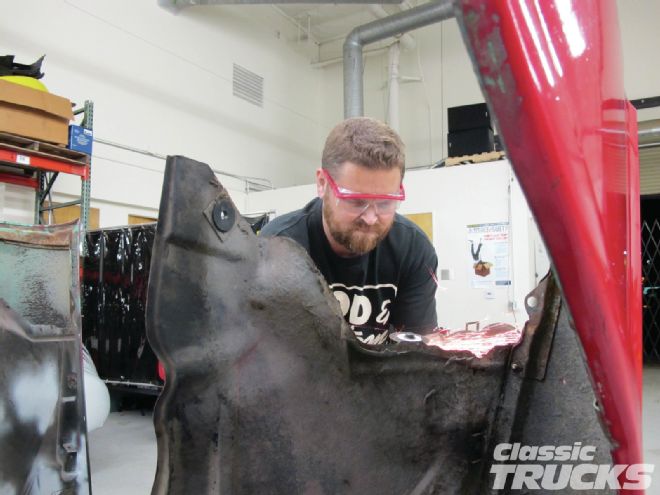
01. Like I said before, the best way I have found to start aligning all the panels is to use fresh cab mounts. I ordered a set of '55-59 Chevy truck cab mounts from LMC Truck. I put the truck on a rack and used a screw jack to lift the cab off the frame. I then removed the rear cab mounts and cleaned the dirt and grime away from the cab and frame.
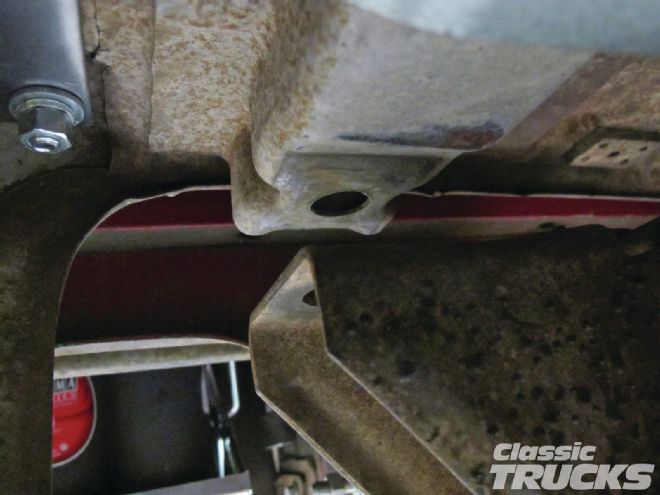
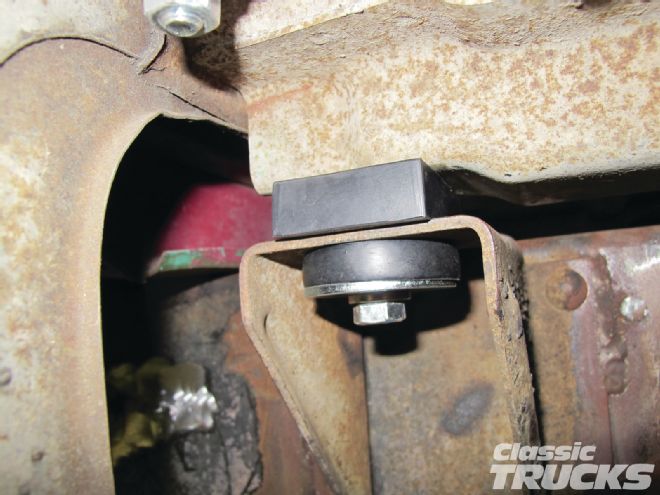
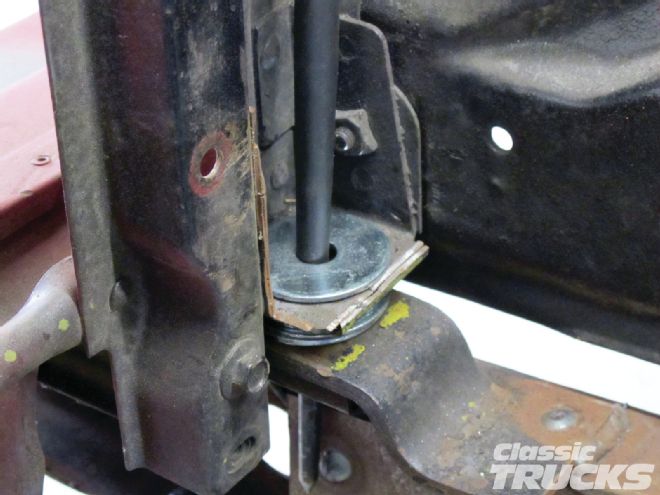
02. The new mounts are bolted on as such. This is the rear of the cab and the large rubber square mount that goes in between the cab and the frame. Notice the round metal sleeve that goes on the inside of both mounts; this helps rubber from moving when tightening it. The round rubber is mounted on the frame side with a large fender washer and bolted to the cab.
03. The rear cab mount should look like this when finished.
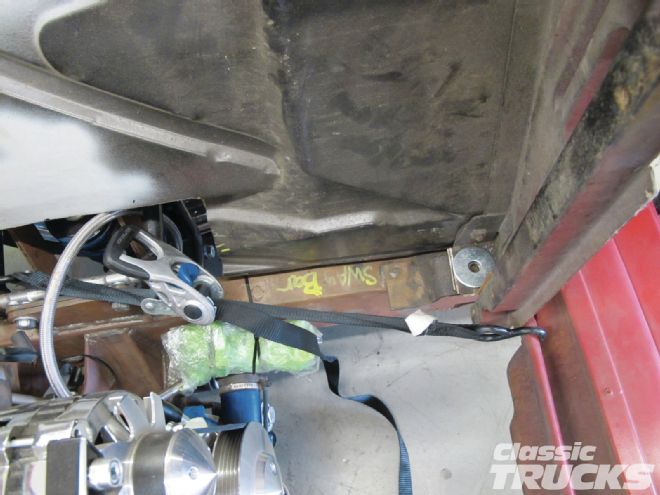
04. The front cab mounts are not like the rear mounts, but share the same concept. Notice I have several slotted spacers in the front and a small rubber pad that hold the front of the cab. Slotted spacers are used to help gap the front of the cab so that the fenders can be aligned to the cab.
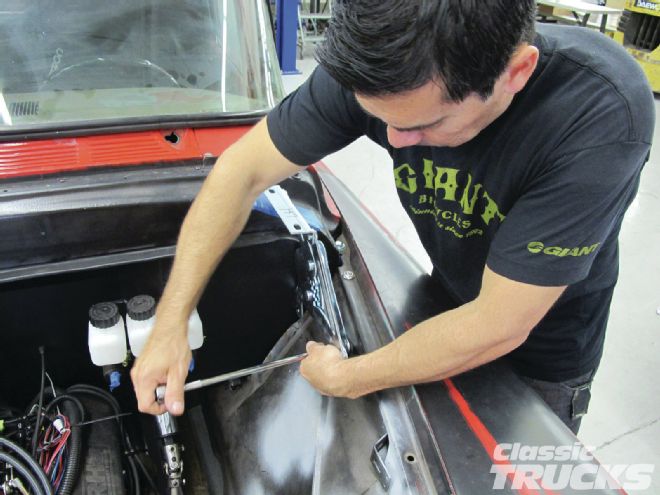
05. The doors are now adjusted to the cab to help with better fitment of the front fenders. In this photo the lower door adjustment is shown on the right. Three bolts hold the lower door hinge to the door.
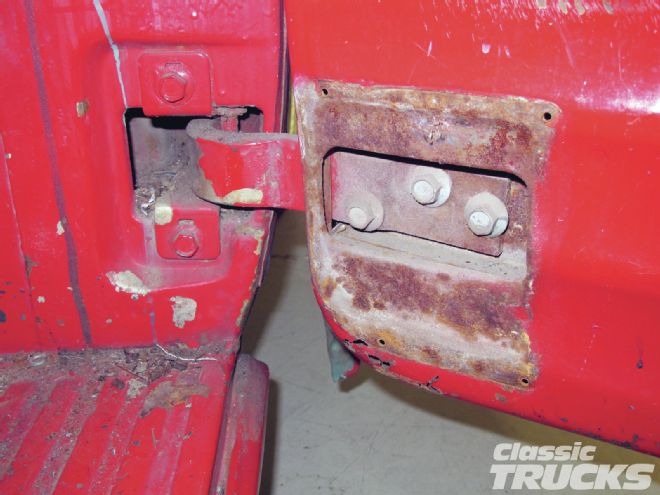
06. The upper door adjuster is found behind the door handle and window crank cover. Remove the cover and three more bolts are used to adjust the door.

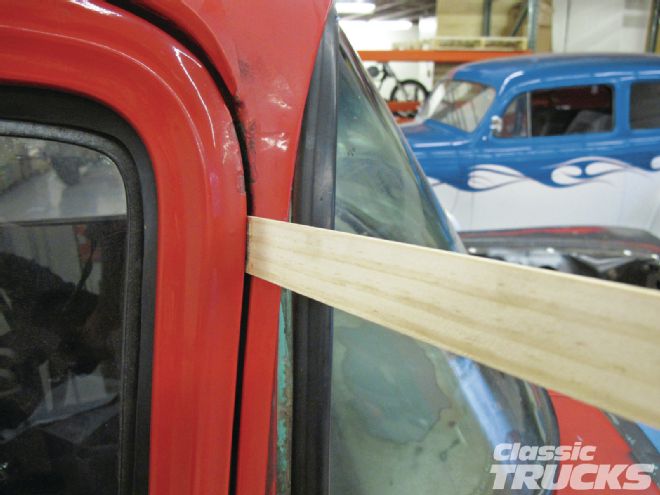
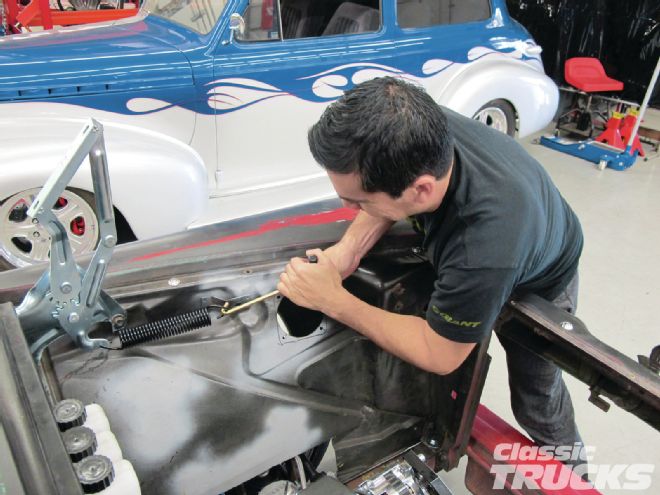
07. Aligning doors is one of those trial and error things where you just need to try it, and then do it all over again until the door fits. I loosened all six adjuster bolts and used paint sticks to help align the door gap. Then, with the door shut, I tightened all the bolts and rechecked the alignment of the door. Repeat as necessary.
08, 09. I'm not ready for paint yet, but I can test fit the LMC Truck door bumpstops on the door. I installed these after I was happy with the door gaps and rechecked the door to make sure these were not pushing the door out.
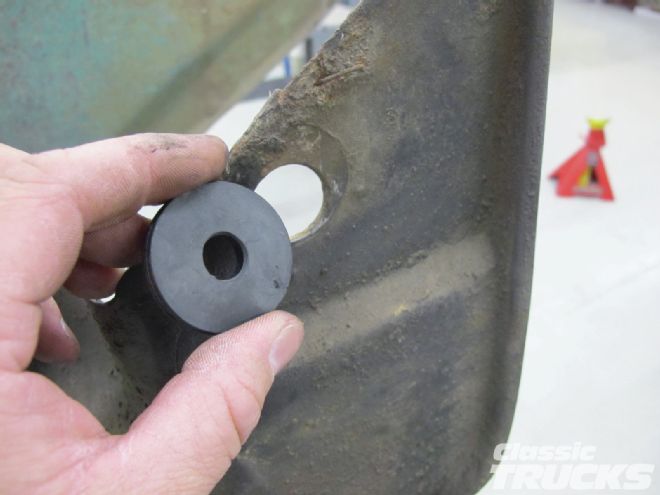
10. The inner fenders have a small rubber donut that helps reduce noise and rattles.
11. The inner fenders have what look like staples that were used to hold the weatherstripping. I cut the staples off with a cut-off wheel because the new LMC Truck weatherstrip is glued on with adhesive.
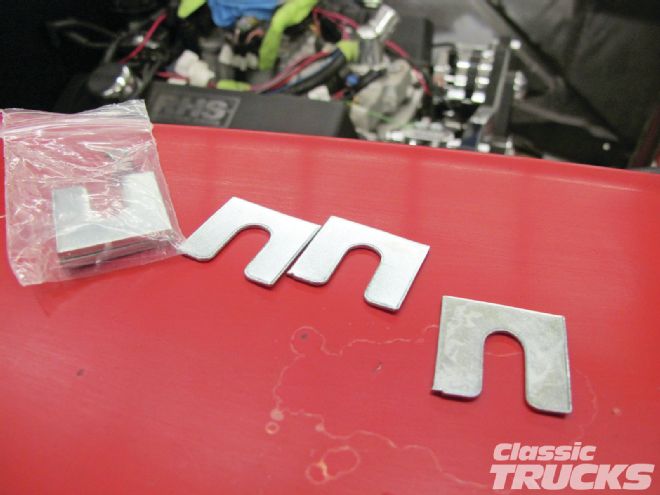
12. Order more shims than you think you'll need because ultimately you don't know how many you'll end up going through.
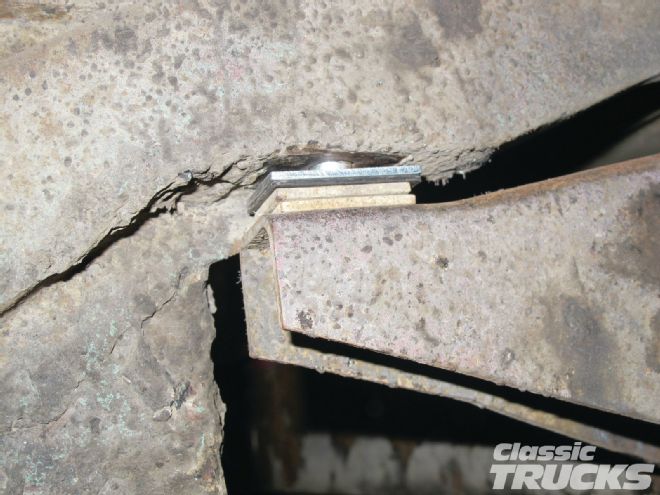
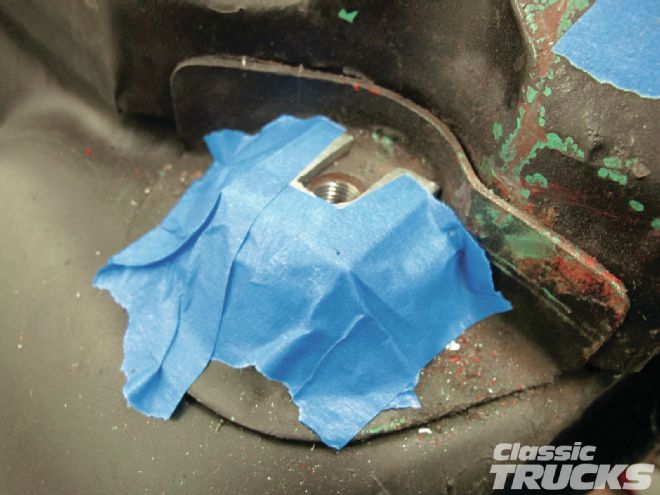
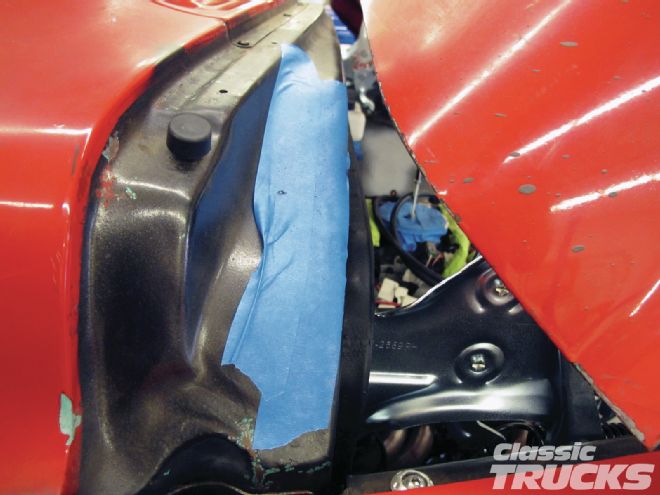
13. Since this is just a test fit, before ripping it back apart and painting it I used tape to hold the shims in place. This is the top of the cab near the cowl and holds the upper front fender on the cab.
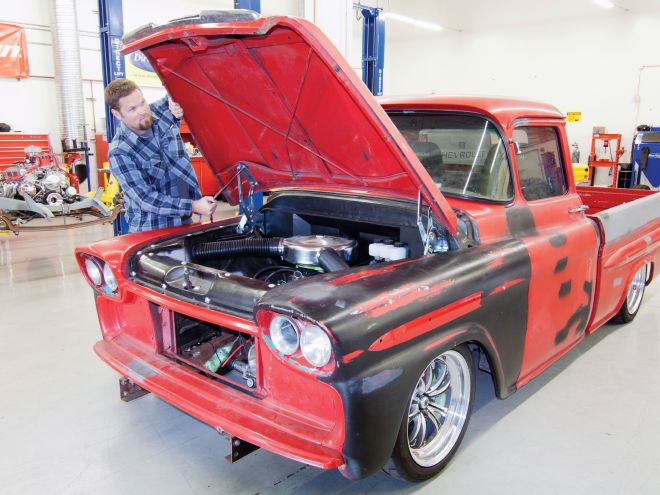
14. Saul Vargas from Lowrider Magazine lent a hand by aligning the upper part of the fender to the cab. We were both watching the fender to door gap and the fender to the cab gap. The lower part of the fender, near the bottom of the door, is adjusted by raising or lowering the front of the fenders near the core support.
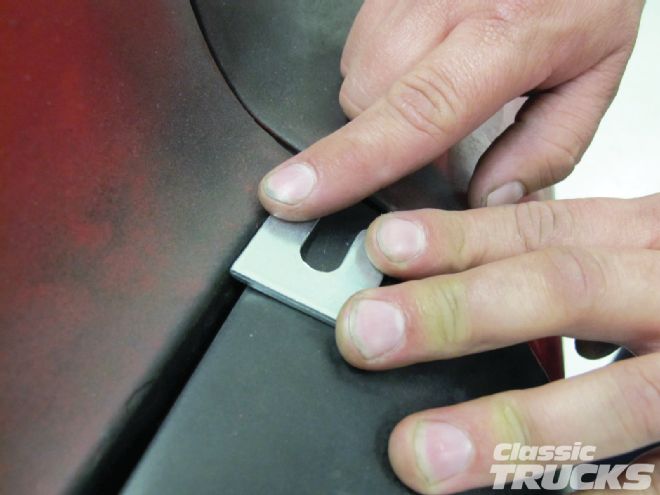
15. Not sure on how many shims to use? If you place a flat shim on the outside of the fender it will give you a clue on how many to add.
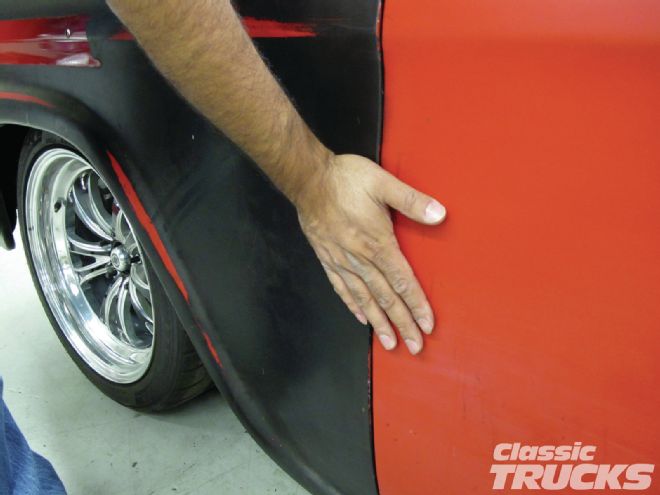
16. Use your hand to check the panel alignment from the fender to the door. The fender should be slightly raised from the door to prevent the air from entering the front of the door. Think of the direction of air travel when traveling down the road, air is moving rapidly from the front of the vehicle to the back. If the door is sticking out more than the fender, then wind noise may be heard entering the cab and/or water leaks can happen during rainy weather.
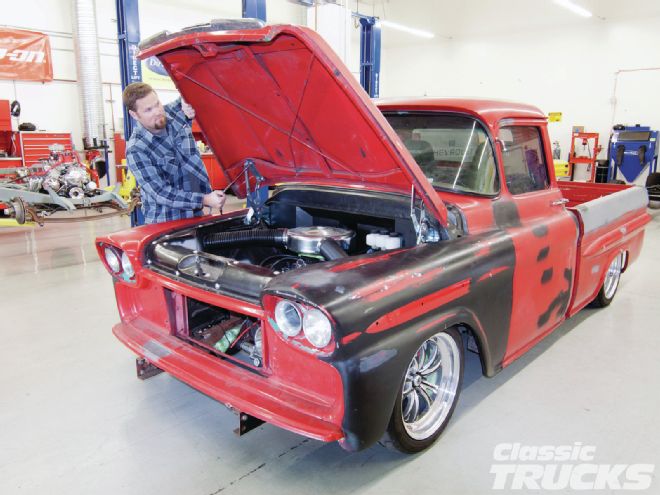
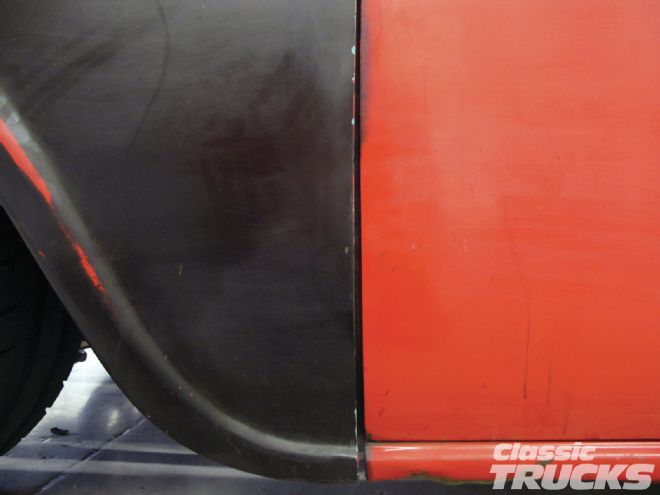
17. Notice the fender gap is bigger on the bottom of the fender; this means I need to take away a shim from the front of the core support area.
18. This is the core support area near the bottom where the radiator is mounted on. I used flat fender washers to adjust the spacing that I needed until the fender was aligned at the bottom of the door. I used a large prybar and set it in the hole to align the washers.
19. I was so close to just dropping the bolt right into place. It was only off by a 1⁄8 inch, so I used a ratcheting tie strap connected to the upper control arm to pull the core support that last little bit. It worked great.
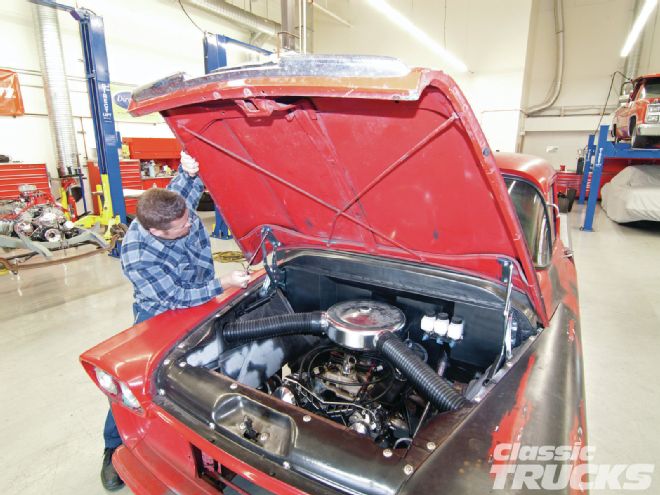
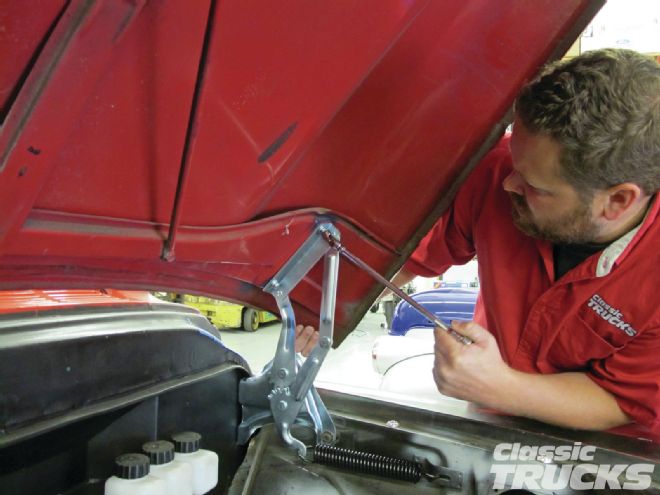
20. Once the fenders were on, my buddy Ed came by to help install the hood and LMC Truck hood hinges. As we installed the hinges we were conscious to install them so they both went down at the same angle.
21. Using the LMC Truck spring installer tool, Ed muscled the spring on the hinge and fender.
22. When doing any kind of panel alignments I always use tape to block against scratches and deep gouges. I also replaced all the hood rubber stops with new ones from LMC Truck.
23. The hood was placed on with the hinge bolted to the firewall all the way up so that the hood would not crush against the cab when we tried to close it for the first time. After testing the alignment we carefully adjusted the hood so that it closed nice and made sure the hinges were not binding on the way down. I also used some spray grease to lubricate the hinges and keep them from sticking. This helped a lot because the new hinges are nice and tight unlike the stock ones I removed.
24, 25, 26. Now if I were to be installing freshly painted parts then I would be using the rest of the rubber pieces that I ordered from LMC Truck, but I would like to save these for freshly painted panels. These rubber weatherstrips go in between the fender and the inner fender, cab to fender, and upper cowl rubber to help noise and keep wind and water out of the cab and engine bay.
27. A few more tweaks here and there and the panels are ready for final paint. I may do some more metalwork around the door areas since no matter what you do they don't seem to fit properly. Adding or removing metal to the doors may be necessary depending on how good you want the doors to fit the cab and fenders. But for now I think I will get the truck back on the road and decide if I want to get the gaps even closer.