Regardless if you are building a new ride from scratch or simply enhancing your existing one, there’s always time to improve its original factory design. Some of the most common updates used are to bolster both performance and safety, which can easily be seen through engine swaps, the addition of disc brakes, and rack-and-pinion steering. One of the simplest bolt-on improvements you can make is by replacing your tired old door latches with newly designed units for added protection.
Recently we stopped by The Hot Rod Garage in Denton, Maryland, and came across a ’53 Ford F-100 that was in for a number of revisions, one of which included new door latches. Shop owner Ray Bartlett advised us that his team does quite a few latch updates to vintage trucks, hot rods, and customs on a yearly basis. For this particular install he contacted Trique Manufacturing in Russellville, Arkansas, for one of their Altman Easy Latch kits designed to specifically fit the ’53-56 Ford F-100.
The kit features everything to get the job done including a pair of their exclusive zinc-plated bear jaw rotary claw latches featuring case-hardened internal claws that are black-oxide coated, optional polished stainless steel jamb plates, striker plates, and stainless steel striker bolts, required hardware, templates, and instructions making it perfect for an at-home installation. Altman offers specific kits for vintage Ford trucks from ’40-47, ’48-52, and ’53-56, while also offering them for Chevrolet trucks from ’47-51, ’52-54, and ’55-59 utilizing stock exterior door handles or shaved handles.
Team member Beau Wilkins wasted no time in getting started with the door glass in the up position by first removing the inner door window riser handle, door handle, and door panel. From there he removed the inner door access plate to gain full access to the door’s internal workings. It was easy pickings for Wilkins as he continued by first popping back the door glass retaining clips, followed by removing all the factory mounting hardware securing the window channel support in place as well as the window riser mechanism, and finally the door side glass.
Once these components were out, he next removed the exterior door handle, lock cylinder, and original latch, leaving the stock door pull linkage hanging inside the door once it was disconnected. With all these components out of the way it was time to trim up the supplied latch installation template and masking tape it into place making sure to confirm its exact location prior to tracing the area to be cut with a black felt-tip marker. Measure twice and cut once is a good rule of thumb to always follow.
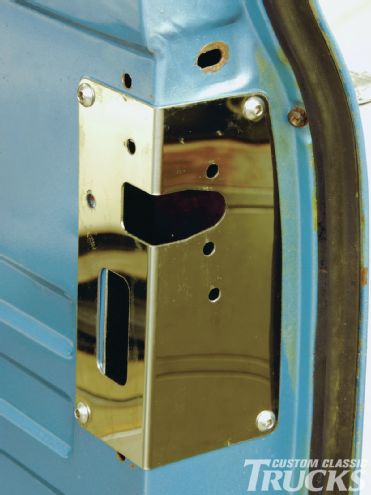
Using an air-driven hacksaw, Wilkins (wearing safety glasses) made his incisions starting with a small pilot hole and completed the opening by deburring the area with a flat file and small disc grinder topped with 50-grit. With the area ready, the polished stainless jamb plate was bolted to the door using a single ¼-inch nut and bolt, while taking time to finesse its final position. A tip from Wilkins is to use a hammer and center punch to align the holes to be drilled perfectly and to follow by completing one side at a time to effectively seat the new jamb plate in place. With the jamb plate bolted in, the bear jaw rotary claw latch was secured in place using a small amount of red Loctite on each bolt. The stock door pull linkage was then reattached.
To work correctly with the new latch system, the exterior door button actuator adjustment was screwed all the way in and hand tested for smooth operation with the new latch after it was reinstalled to the door. Finally, the lock cylinder required its pin changed to work with the new latch. Using a small screwdriver, the spring was depressed and pin removed and substituted with the new Easy Latch cylinder pin. The unit was then carefully repositioned in place and secured.
To complete the job, the original striker plate was removed. The new striker plate, complete with a stainless steel striker bolt, was assembled and test fit for proper operation to the door. Wilkins advised that this is critical for optimum fitment. In this case he needed to add a 3⁄8-inch washer to the left side of the plate for adjustment purposes. The completed installation not only looks great, it was a snap to install and should perform flawlessly to give your classic truck years of added protection.
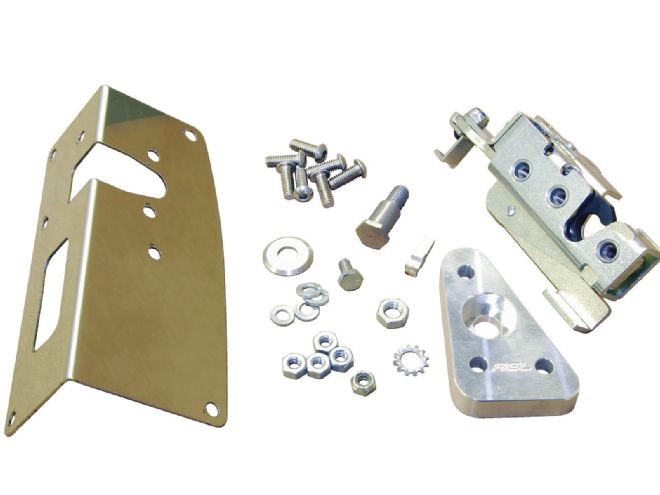
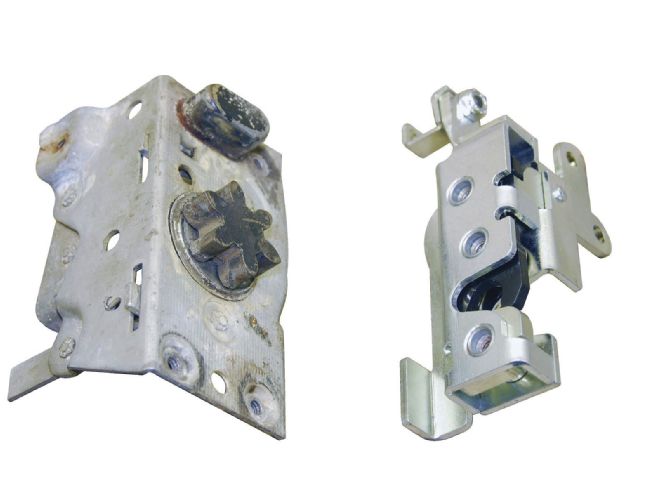
1. Each Altman Easy Latch kit comes with complete hardware to do both doors. Pictured here is the hardware for one door including optional polished stainless steel jamb plate, model-specific bear jaw rotary claw latch, striker plate and stainless steel striker bolt, installation hardware, templates, and instructions.
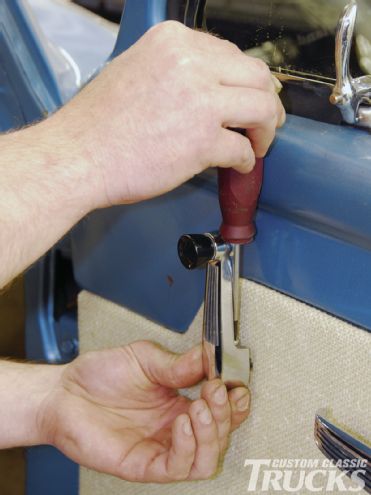
2. With the door glass in the up position, get started by first removing the window riser handle using a Phillips head screwdriver. The inner door handle was then removed.
3. Follow by removing the door panel to gain access to the inner door mechanism.
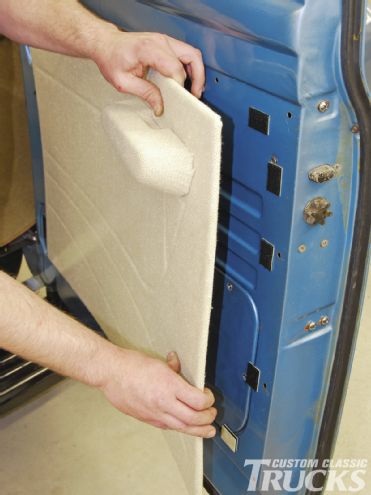
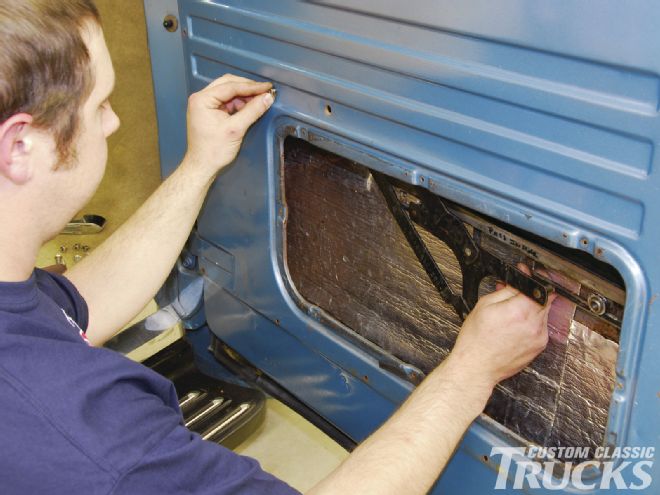
4. The Hot Rod Garage team member Beau Wilkins then removed the inner door access plate. The glass will be removed to protect it during the installation.
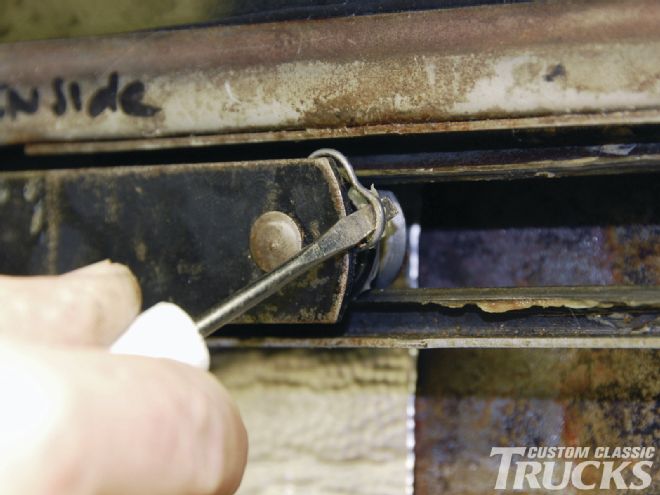
5. Using a small flat-blade screwdriver, carefully pop back the door glass base retaining clips to allow the glass to be removed.
6. To remove the front window channel hardware, five areas must be addressed. First remove the two ¼-inch inner support bolts.
7. Working his way up the inner door structure, Wilkins continued to remove Phillips head screw hardware.
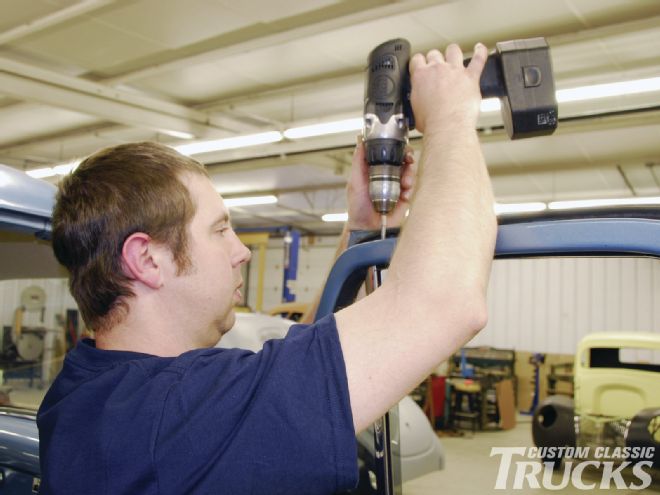
8. The top door structure hardware was then removed.
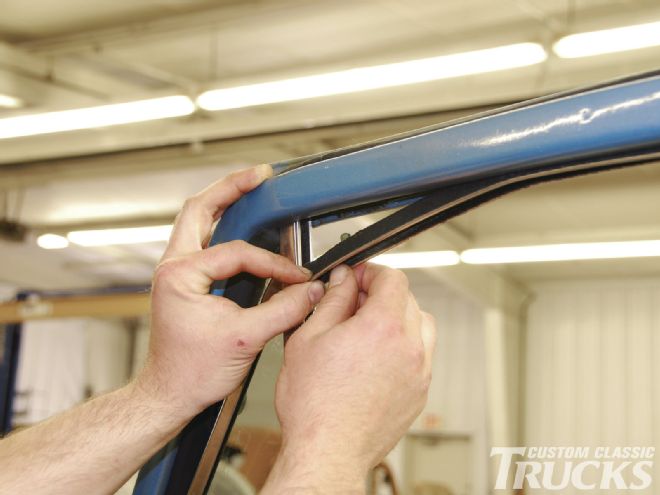
9. The upper door felt was then peeled back to allow movement of the window channel.
10-11. The final window channel support hardware was then removed from the inner door structure.
12. Upper and lower window riser bolts were then carefully removed and the rear window channel was popped down to allow front window channel movement for glass removal access.
13-14. Carefully remove the window riser from the inner door structure, followed by the removal of the door glass.
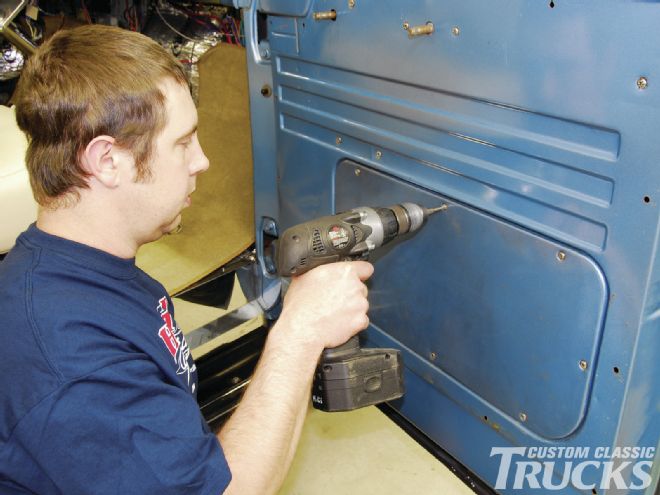
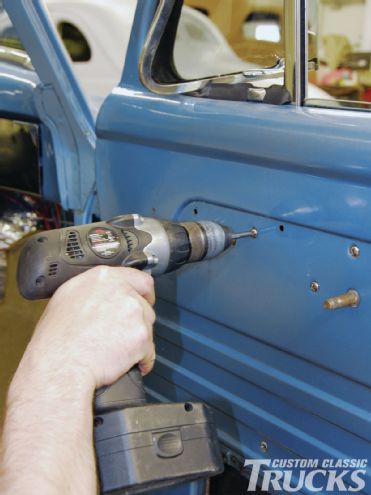
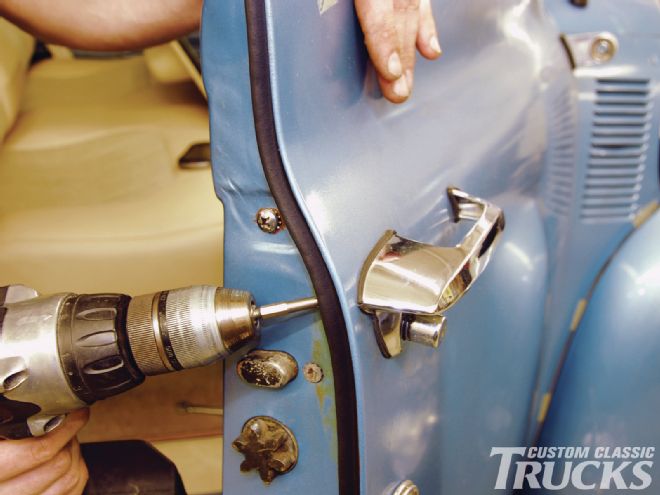
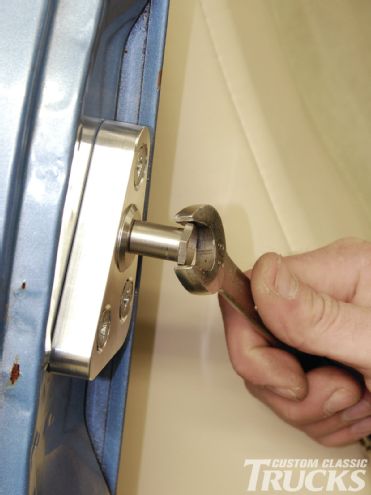
15. The outer door handle was then taken off using a Phillips head cordless screwdriver (pictured) and 3⁄8-inch wrench from inside the door structure.
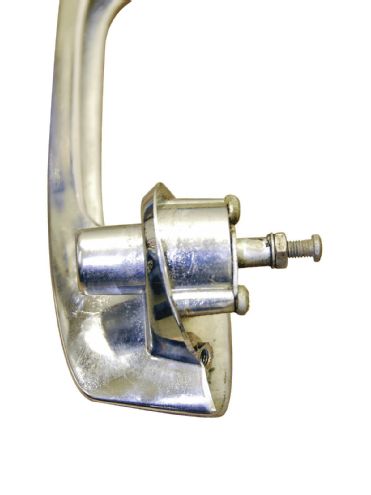
16. With the outer door handle on the workbench, turn the door button actuator adjustment screw all the way in for the new latch and test it for smooth operation.
17-18. Unscrew and remove the factory latch unit from the door using a Phillips head screwdriver and follow by popping off the handle linkage.
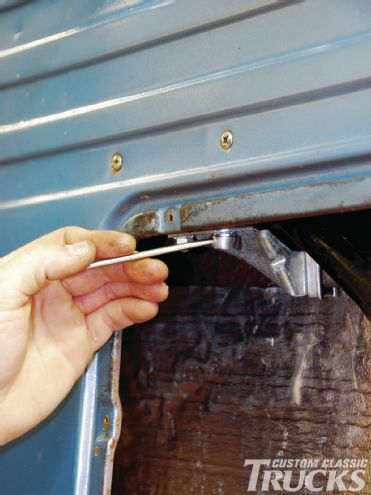
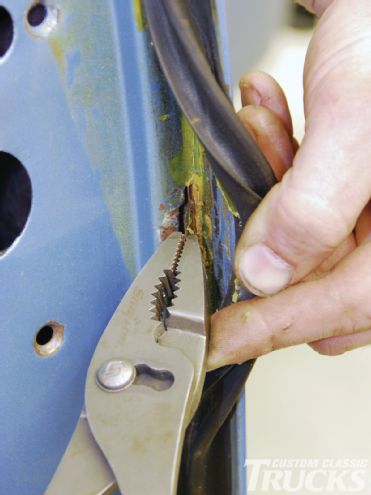
19. Next carefully peel back the door weatherstrip molding and remove the lock cylinder spring clip and lock cylinder.
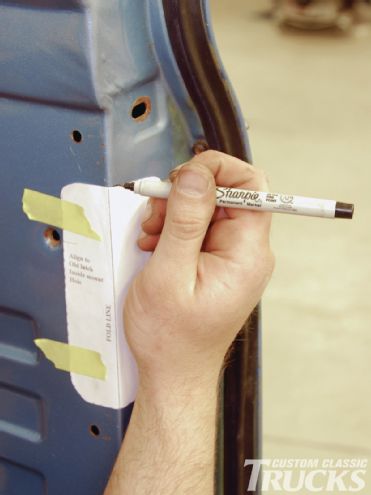
20. Take your time to carefully cut out and mount the supplied template to the door jamb with masking tape and trace out the area to be cut with a felt-tip marker.
21. Here you can see the huge difference between the factory latch assembly on the left when compared to the new bear jaw rotary claw latch from Altman.
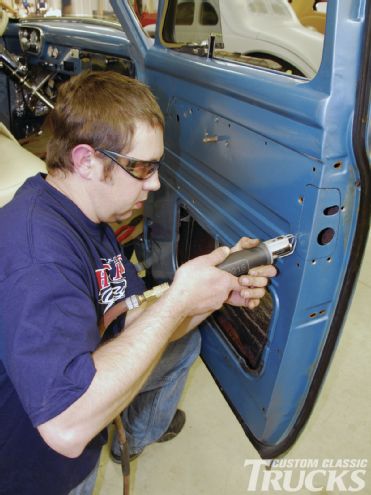
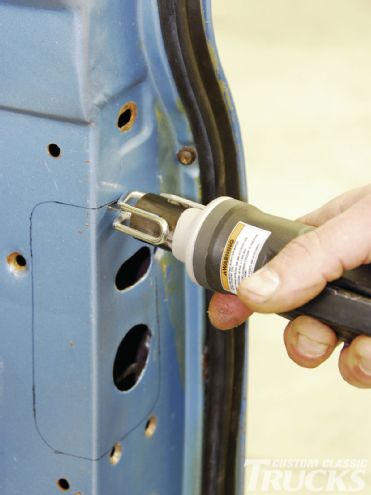
22. Once your new opening is traced, remove the template and prepare to start cutting. Wearing safety glasses, Wilkins used an air-driven hacksaw to carefully carve his way through the steel.
23. With the opening completed, he followed first with a flat file to deburr the area and continued on with a small air-driven angle grinder topped with a 50-grit disc.

24. Using the provided ¼-inch bolt, secure the new polished stainless jamb plate in place to mark the four corner mounting points. A 17⁄64-inch drill bit was used for this step.
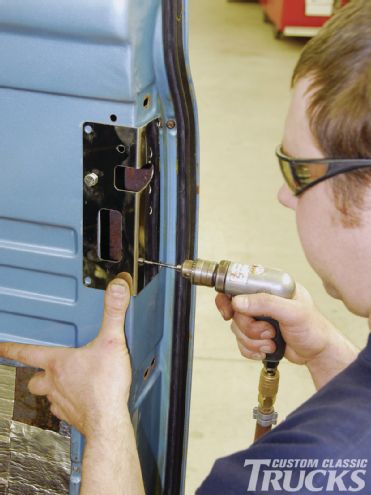
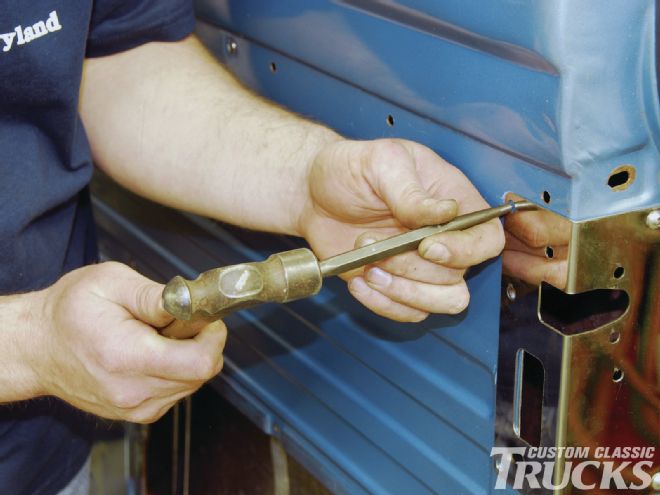
25. Check your plate alignment while drilling out the mounting points. A hammer and center punch helped set the holes prior to drilling.
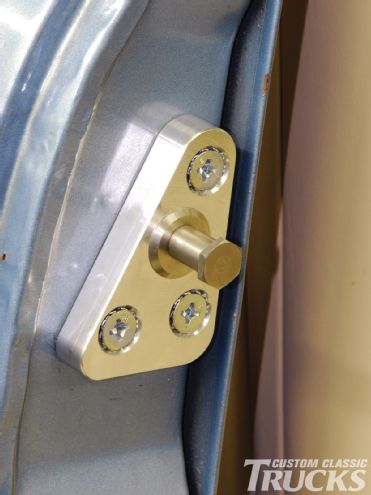
26. Using the supplied ¼-inch Allen head hardware, lock washers, and bolts, carefully tighten the jamb plate in place. The jamb plate looks right at home and is perfectly balanced in its installation to the door.
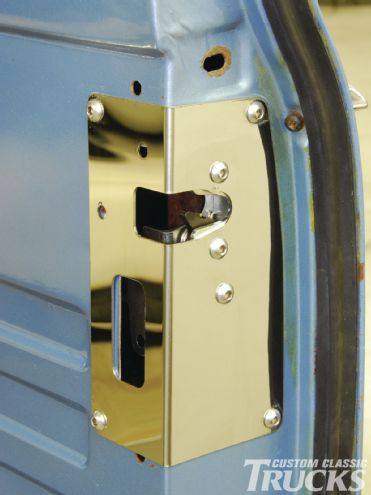
27. Next the bear jaw rotary claw latch was installed using the provided ¼-inch Allen head hardware and a dab of red Loctite.
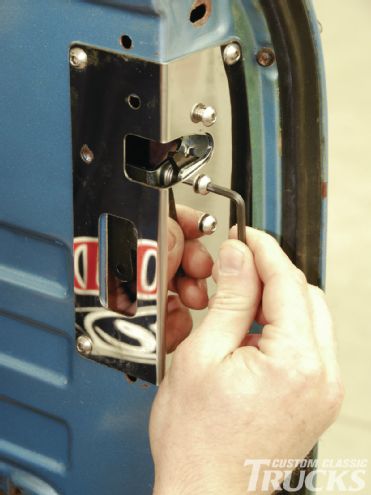
28. With the jamb plate and latch installed it was time to bolt the inner door handle linkage to the new bear jaw rotary claw latch using the supplied hardware.
29-30-31. The stock lock cylinder (left) needs to have its pin changed to operate the new latch. Using a small screwdriver, depress the spring and slide the stock pin out (center). Place spring onto Easy Latch lock cylinder pin and install pin back into lock cylinder.
32. Remove the existing striker using a Phillips head screwdriver. Clean and prepare the area for the new striker installation.
33. Here you can see just how nice the new striker assembly from Altman is, including the durable stainless steel striker bolt.
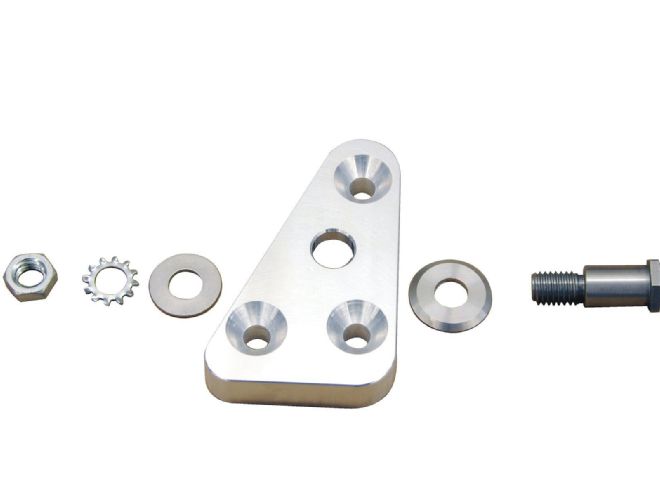
34. The striker plate and striker bolt were loosely set into position and carefully tightened, adjusted, and finally secured in place to ensure smooth operation.
35. With great looks, safety, and added strength, it’s a snap to install the Altman Easy Latch kit in your classic Ford or Chevy, which will provide years of trouble-free service.