"It's ugly."
"Yeah, but kind of cool-ugly, right?"
"Um, no. Just ugly-ugly."
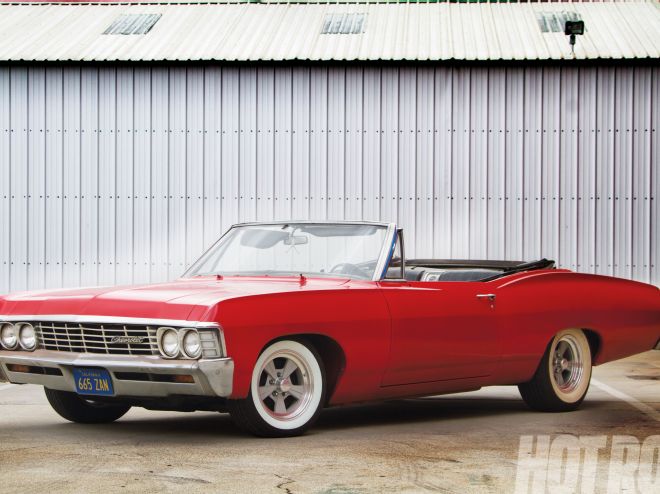
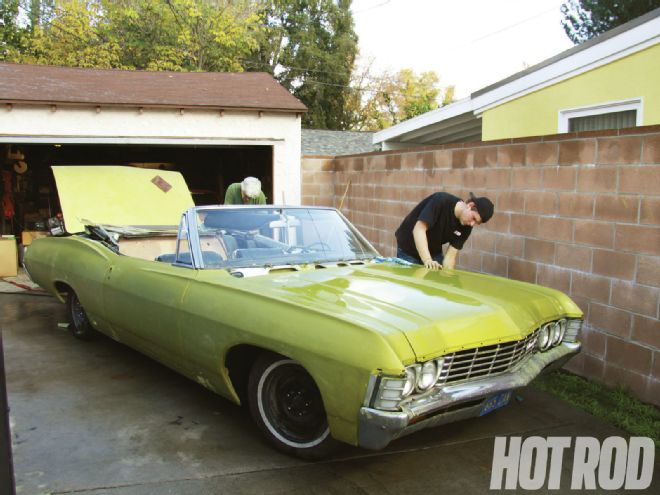
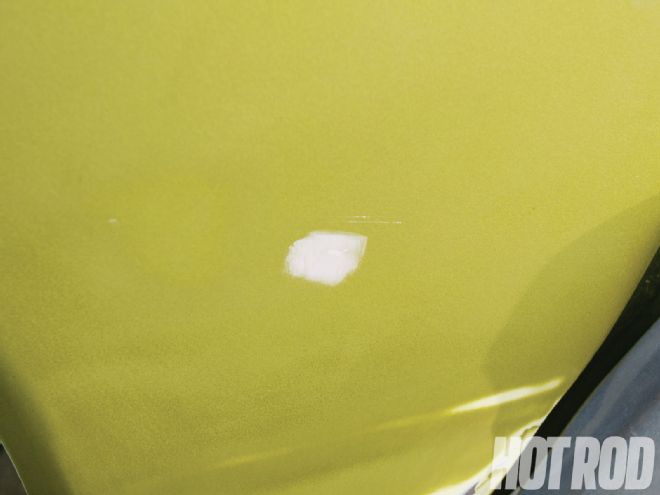
So went a recent staff meeting when the topic of what to do with HOT ROD's project '67 Impala convertible came up. The drop-top Chevy had been used as a daily driver and later pressed into magazine service for an engine-swap story and a how-to on vinyl wraps, but its most recent iteration- a bilious matte green so vile that none of us could bear to look at it- let alone drive it- had led to a discussion regarding its fate.
Projects don't always turn out as planned, so what can you do when you love your car but hate the paint? "We could paint it," someone suggested, and the room got quiet. "We could?" Did we have the gumption and talent to do a color change ourselves, quickly and cheaply? We decided to find out.
There are many paint-and-body stories with step-by-step instructions on what to do, with professionals at the trigger of $400 paint guns. This isn't one of those stories. We picked a group of first-time painters, or at least folks who hadn't done any paintwork in a long time, set up in a friend's backyard, and dove in. HRM staffer Jesse Kiser manned up and volunteered to do the spraying, and the rest of us came along to sand, mask, and ridicule.
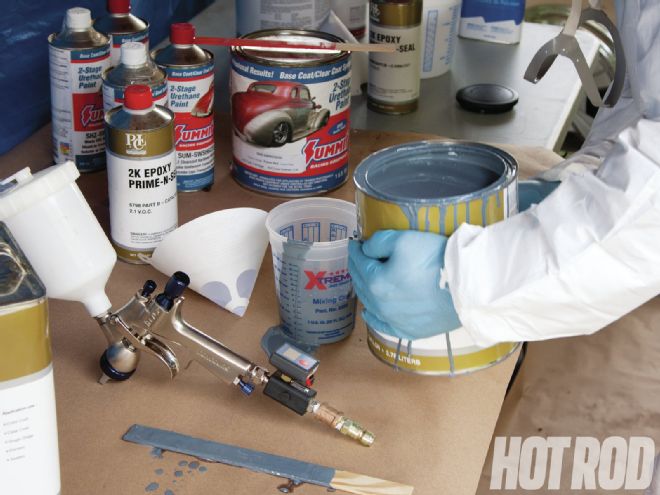
After much debate as to whether it should be glossy or satin, or if we should just flat-black it, we decided to go with satin red using a basecoat/clearcoat system from Summit Racing. In fact, we got everything through Summit, from the spray gun to the booth, and from all the prep materials to the primer and paint. It's all from the affordable Summit house brand, and it's a nice mail-order resource for those of you who live far from a pro paint-supply house.
Because most in our group were inexperienced painters, we invited a professional to supervise. Dennis Pittsenbarger, host of HOT ROD Magazine Live radio and a former body-shop owner, joined us to answer questions and mock all our mistakes. And we did make mistakes. We'll admit that now. Read on to see what we did wrong, and what we did right, and then get out there and paint your project!
The Imps History
01] It took us two days to paint the Impala, and that was with some prep of the work area ahead of time. We had a good half dozen folks working on the car, which cut the time down but raised the snack bill.

02] It cannot be said often enough: A good paintjob on bad prep work? Not possible. Luckily for us, the Impala was pretty straight, thanks to Freiburger and McGann's work back in '09, plus subsequent coats of filler primer and block-sanding. The paint that was on it was done well, so all it needed was sanding (with 320- or 400-grit paper) and scuffing (with a red Scotch-Brite pad) to prep it for sealer primer to prevent the old color from bleeding through.
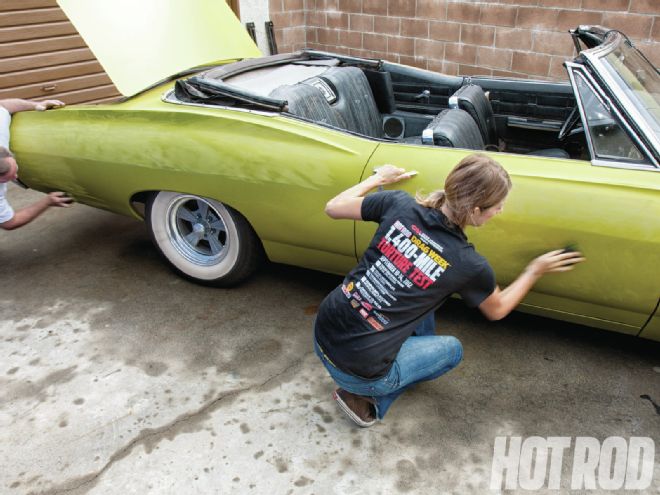
03] Block-sanding is important for several reasons. The minute scratches of the 320-grit paper create adhesion points for the sealer on the old paint. Sanding can also remove grease and other surface contaminants that might affect the new paint. The goal is to get an even surface of crosshatched scratches, with no dimples or shiny areas. When it's ready, the paint will have a dull, sort of cloudy, surface.
04] A 6-inch, dual-action air sander made the job go faster on flat areas of the body. Guide the sander, don't force it. You want to make smooth, even strokes across every panel. Be careful not to press too hard on body lines or in any one spot. The idea is to scuff the paint, not to rework the shape of the car. If there are big dents or rust, that needs to be addressed ahead of time.
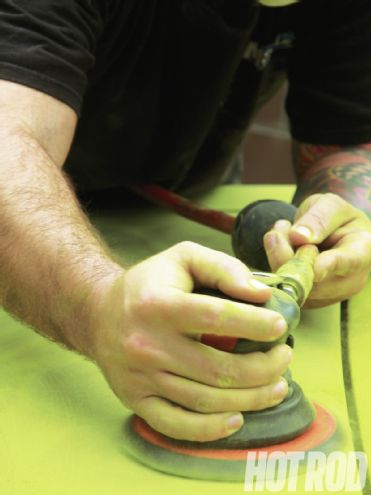
05] The project gods were not being kind to us, or maybe they just felt we needed to demonstrate proper wet-sanding technique. Once it started raining, we had to give up on the DA sander and switch to wet/dry 400-grit. Wet sanding is also good for keeping the dust down. Clean water and paper are key or you'll get grooves in your surface from sharp debris.
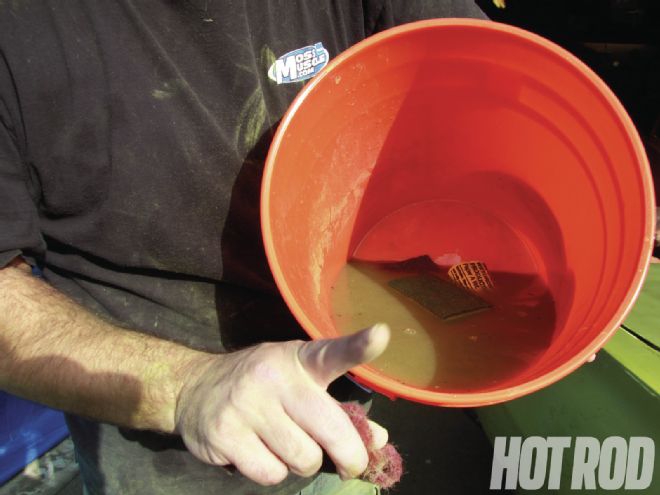
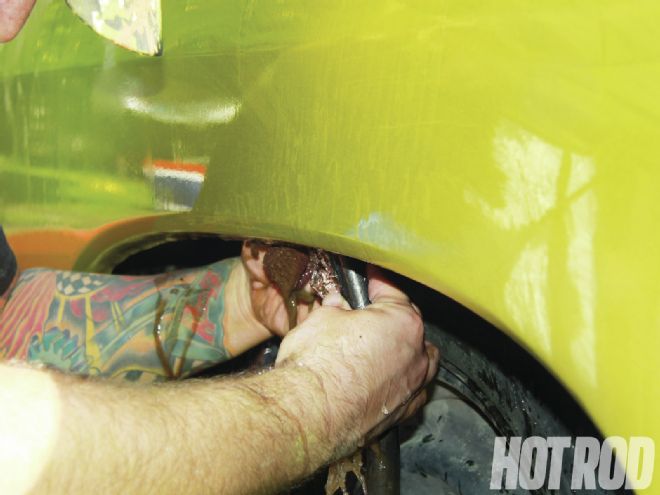
06] Once the first round of sanding was complete, we switched to red Scotch-Brite. The idea is the same: to evenly scuff the surface and remove any loose or rough material. Much of the dirt that ruins paint comes from the car itself, so get in the wheelwells, under the bumper (if you can't remove them), anywhere that might be brushed or blown during the painting process. Cleaning these areas also gives a better surface for the masking tape to stick to.
 07
07
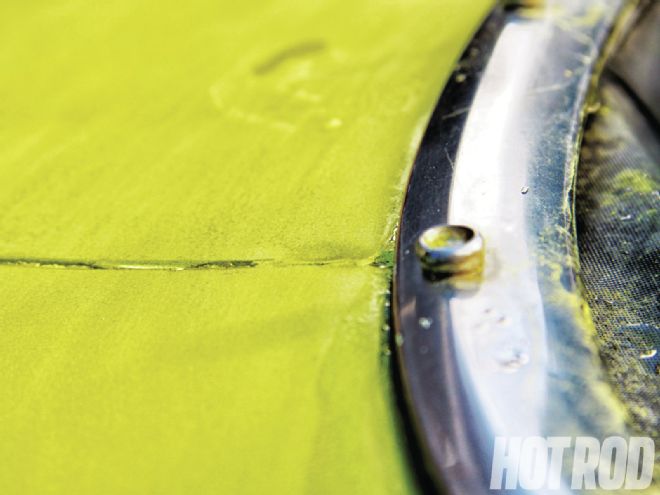
07] By around noon on the first day we had the car 90 percent sanded. To get an idea of what's left, rinse the car well with clean water and then blow it dry with air. Look for shiny spots and trim that hasn't been removed, and make sure all the jambs and weatherstrip gullies are clean and scuffed.
08] Although we weren't doing full-on bodywork, we did have a few low spots and chips we wanted to fill. We used a two-part, professional spot putty from the local auto-parts store. When using a spot filler, make sure you work it completely into the low spot. If there's an air bubble, it could fall out or sag later, leaving a dimple in your paint.
09] Our plan was to work during the day and sit around having barbecue during the evening. Painting with a spray guneven an EPA-approved high-volume, low-pressure (HVLP) gunresults in considerably more overspray than your average rattle can. If we did the jambs and trunk with the gun, that would require masking the jambs, pushing the car in the spray booth tent, priming, painting, and clearcoating the jambs, then remasking and shooting the body. That would cut into our dinner and drinkin' time. But if we didn't do the jambs, we'd have green edges on a red car. That would really be a party damper. We cheated and did the jambs with Dupli-Color spray paint in GM Victory Red. We would not say this is how you should do it, but it is how we did do it.
 10
10
10] Brandan sanded the spot putty repairs and vacuumed the interior so we didn't drag too much dust in to the painting area.
11] Paint and primer are extremely temperature sensitive, and while you can adjust drying time by modifying the amount of reducer used in the paint mix, there's not a whole lot you can do to speed drying time once the car is sprayed. The sun was going down, we were all hungry, and it was too cold. Shooting the paint would have to wait until the next morning. Barbecue, on the other hand, is good at all times. One note about party-painting: Keep your food and your painted car separated. Besides the obvious health risks of ingesting paint chemicals, a greasy pizza handprint on your prepped fender could result in a permanent reminder of that slice of super meat-a-roni deluxe.
 12
12
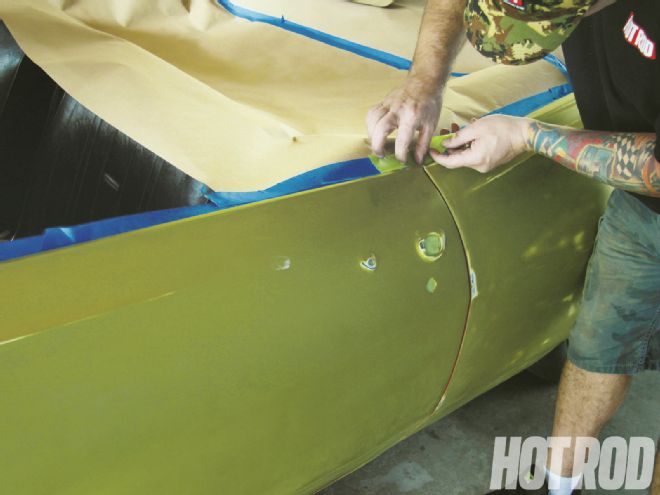
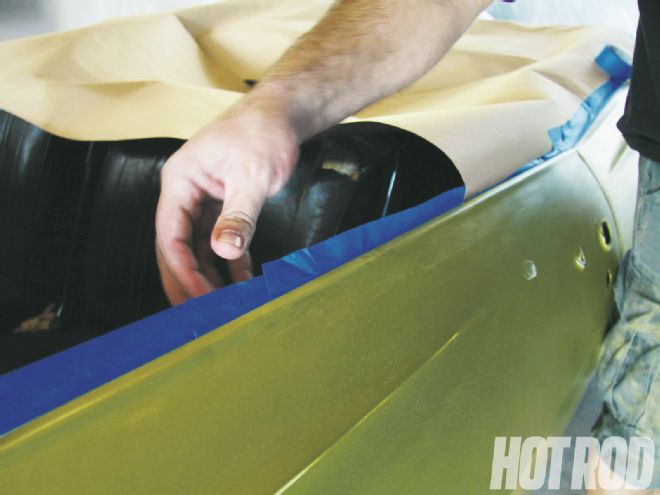
12] Every good morning starts with masking. Don't forget the small holes where trim or door handles were removed, or youll end up painting the inside of your door and the window.
13] When masking along hard edges, use a wide tape and lay the strip over the edge, then fold it back and attach the paper to the sticky side. This results in a slightly softer mask line than running the edge of the tape butt-up against the body line, meaning less final sanding to blend the edges once you unmask the car.
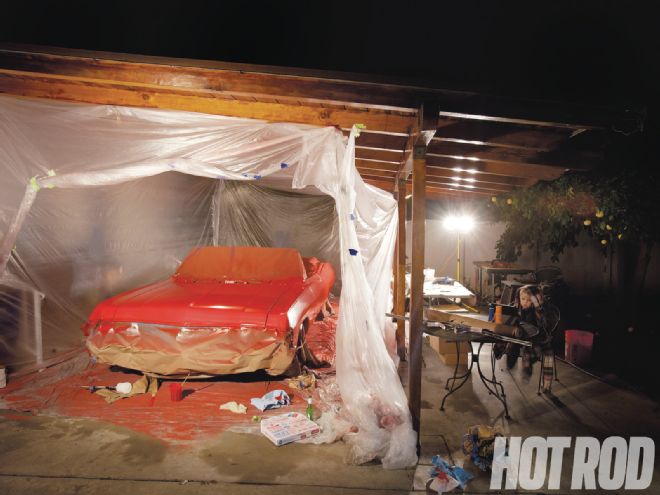
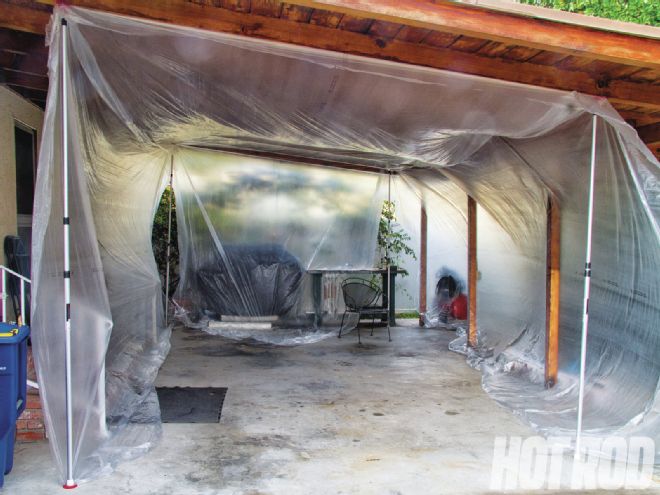
14] The most obvious enemy of a backyard paintjob is dirtwell, dirt and the danger of overspray on everything you, and your neighbor, and your neighbor's neighbor own. To combat both, we set up a portable ZipWall paint booth from Summit Racing. The extendable poles are intended to lock the plastic sheeting in place against a garage ceiling, or in our case, a wooden carport. We can't wholeheartedly say the set up was easy, as we still needed staples and tape to complete the booth, but once we made our adjustments, we had a fairly sturdy, weatherproof enclosure.
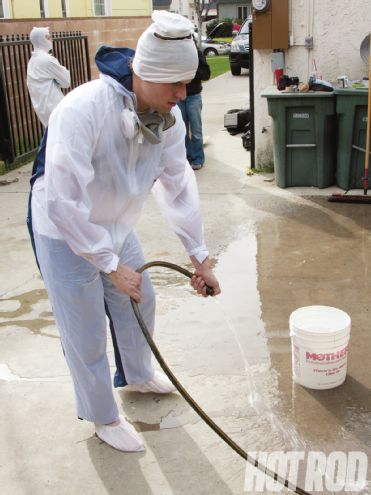
15] You can't be too fussy about cleanliness. Try to keep the action around the car to a minimum once you're ready to spray. To keep down dust around the car, we the hosed off the inside of the spray booth. A damp floor is good, but the puddles we had on the plastic caused us some minor grief later. (See our Fails list on page 97.)
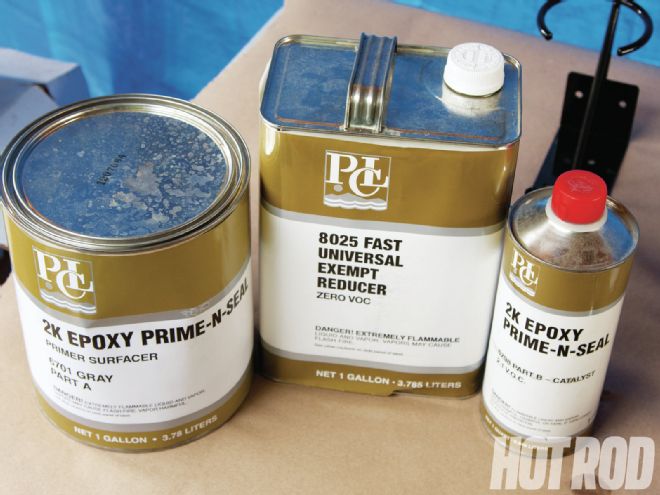
16] We asked professional painters for advice before we tackled this project and got a ton of different opinions, but they did agree on one thing: Make sure your primer, paint, and clear are all compatible. What does that mean? If you're starting from scratch, buy everything (primer, paint, and clear) from one source. We failed on that, neglecting to order a primer/sealer from Summit. If you're painting over old paint, you should consider using a sealer. Some of the solvents in paint can reactivate dry paint, and we can only imagine what a mix between metallic coolant green and Corvette red would look like, but a sealer would prevent that nausea. It's different from primer in that it doesn't need to be sanded between application and the first coat of color. It's a thin layer that should act as a barrier between the old paint and the new. Most standard primers are absorbent and won't protect bare metal or old paint on their own.
 17
17
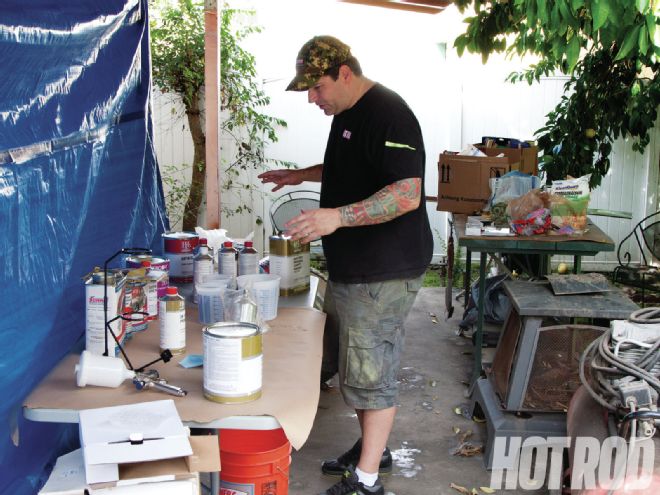
17] Before spraying, we arranged all our base, primer, reducers and hardeners on the workbench and wrote out the mixing ratios. Don't take anything for granted. Check that you have the right hardener with the right base and that your mixing cup has measurement lines for the ratios you need. Don't be lazy about mixing the paint. You'll find huge clumps of pigment at the bottom of the can. Mix vigorously. If you have time, take it to a paint place and have them put it on their mechanical shaker.
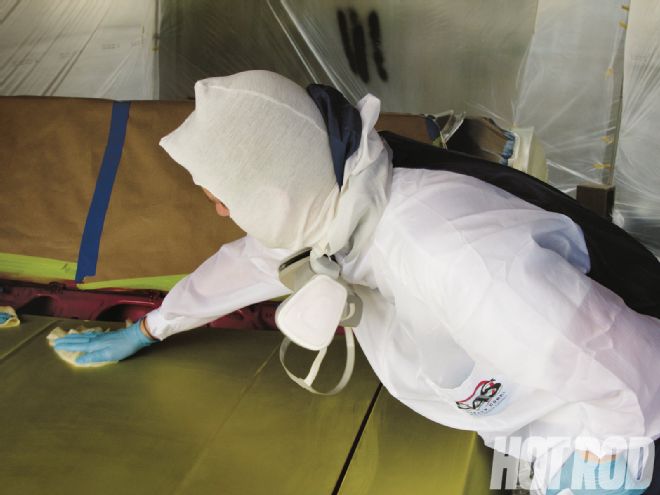
18] Remember that line about cleanliness? Right before the first coat of sealer, we went over the whole car again with a prep cleaner. This is a mix of solvents chosen for their grease-removing properties and quick evaporation with no residue. We used Eastwood's PRE Paint Prep. To remove the lint from the rags we used with the solvent, our final step before spraying the sealer was to go over the car with tack rags (sticky lint-free cloths that came in our Summit prep kit).
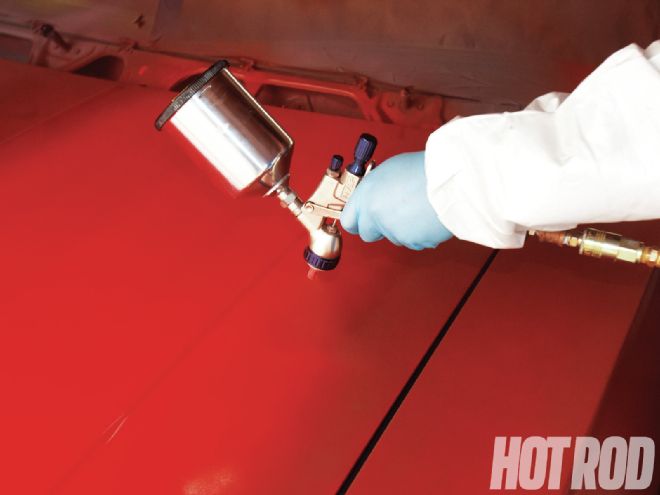
19] We used the Summit Racing HVLP Spray Gun (PN SUM-02-12018). This might not be the first choice of a professional painter, but we were surprised at how well this gun worked after Dennis adjusted the spray pattern. A proper pattern should look like a tight oval, about 1012 inches high. Our biggest problem was that our little air compressor couldn't give us the 25 psi going into the gun that would have been ideal. To try and make up for the poor air pressure, Dennis says he dialed back the amount of product going through the nozzle so it would atomize properly. It's like carb tuning! When you're setting up to use a paint gun, keep in mind that the filters you install to trap moisture may also affect the air pressure to the gun.
 20
20
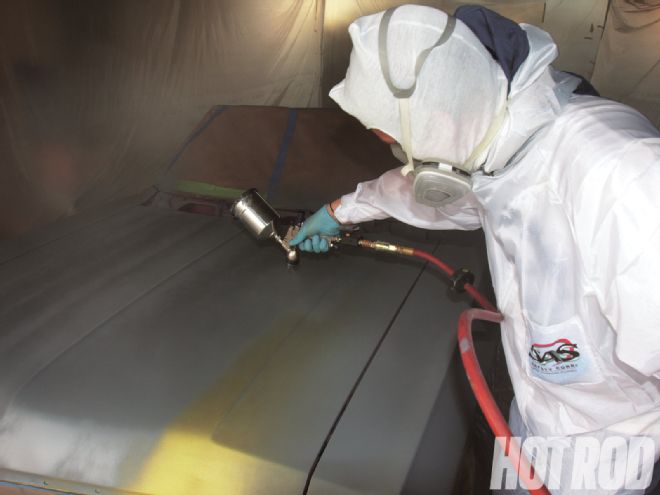
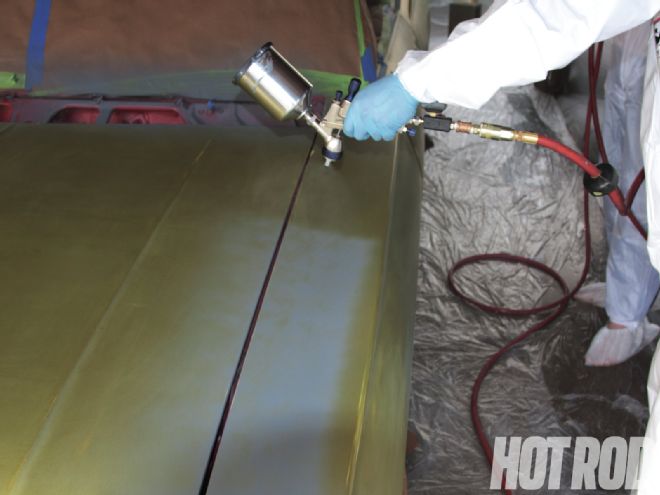
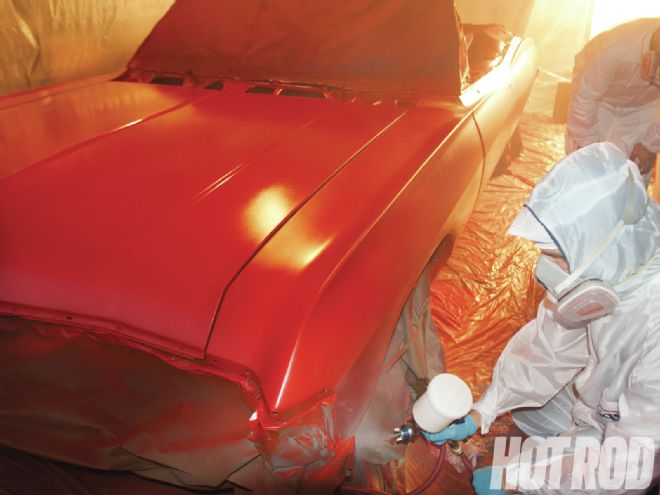
20] The car looks better already! Spraying paint (or primer or sealer) is definitely one of those "easier said than done" types of activities. The goal is to keep the spray even and moving, at a constant distance from the body panel. Each pass should cover nearly 75 percent of the previous pass. That overlap prevents zebra stripes, lines of thin paint application from the edges of the spray pattern.
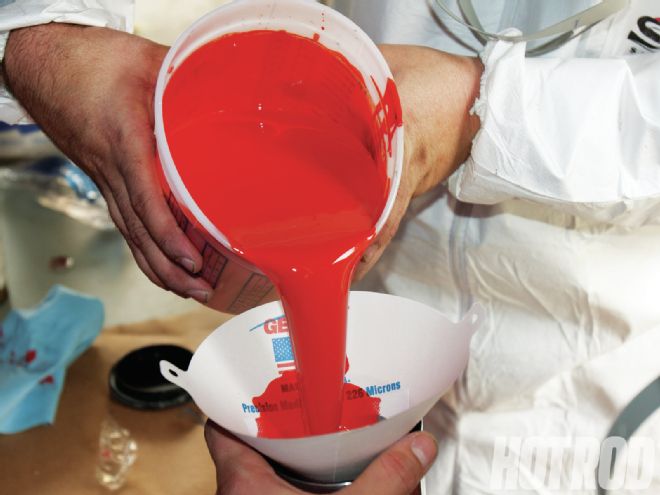
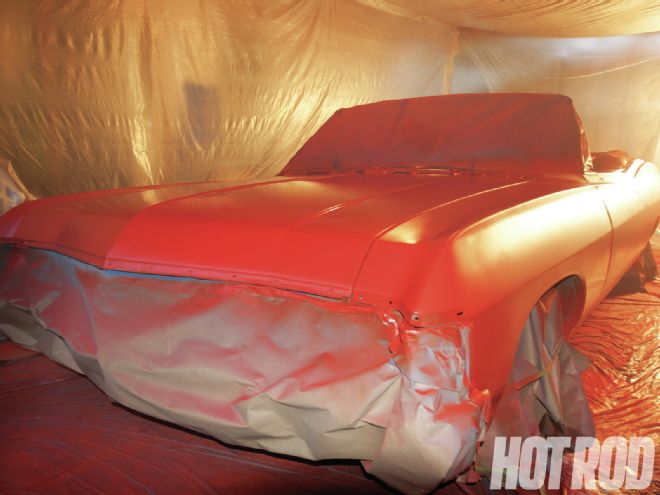
21] Finally, color! Color choice affects coverage, and red pigments are notoriously transparent, which means you need several coats before you start to get an idea of the final color. Knowing this, we chose a light-colored primer/sealer. Dark primers might change the final shade. Don't forget to clean the equipment when you switch to a new layer, and change gloves as well.
22] Flash time (the time it takes for the solvents in a paint to evaporate) varies depending on product and outside temperature. Make sure you get, and read, the product info sheet with any paint products you are using. With the big Impala and the outdoor booth, the paint on our first panel was just ready for a second coat as we finished the last.
23] Since matte finishes remain popular, we decided to up the difficulty level in our project, and instead of the gloss clear that came in the Summit kit, we chose a satin finish, also available from Summit. The pro to the satin is that it's more forgiving of our hurried bodywork. The con is that it wont allow us to sand and buff out minor mistakes. Good thing we won't make any mistakes, right?
24] Applying the clear is basically the same as the previous layers. Dennis suggested even more overlap of strokes, nearly 90 percent. Don't start any panel in the center. Begin at an edge and go as far as you can along that plane. If you get a run on a vertical surface, don't panic, let it drip down the panel so you can remove it from the bottom rather than having to sand directly in the center of your fender.

25] At the end of day two, we had a bright-red Impala. With the masking removed, we installed Rocket Wheels' retro as-cast wheels called Rocket Strike in 15x7 and 15x8 and Coker Tires' Silvertown whitewalls in 215/65R15 and 255/70R15a combination that remains controversial. But the car looks pretty darn good. Just don't get any closer. It isn't perfect, but it isn't green, and we learned a lot and had a lot of fun. Some people throw football parties, we're all about the painting party.
Fail
We promised we'd be truthful, so here's where we went wrong. Hopefully, a close look at our mistakes will keep you from repeating them when you do your first paintjob.
Laziness: We didn't bother to mask the underside of the car or the wheelwells. This caused us grief in two ways: First, the undercarriage has red overspray that will have to be painted over with black; second, if we had run the paper skirts down to the ground, it might have prevented some of the water splashback on the door from the puddles in the booth.
Clumsiness: We caught the air hose on a wheel and laid a big glossy spot in the center of the hood. We bent a trim piece through overenthusiastic prying.
Impatience: It's really tempting to start at the front of the car, because it looks so cool, but you'll get better as you go, so start in the back. That way your mistakes won't be right there on the driver-side front fender. Jesse says, "I was like Goldilocks. On the front fender I made three big runs from too much product, then the door had some orange peel from not enough, but the quarter-panel was just right."
Item Price Summit Racing Paint Shop Starter Kit 17-0029 $177.40 Summit Satin Clear Coat Sum UP205 59.95 Summit ZipWall 4PL 249.95 Summit 2-Stage SHZ-SWBC503V-12 Flame Red 166.95 Summit Racing HVLP Spray Guns SUM-02-12018 34.95 PCL 2K Epoxy Prime-N-Seal (three-part) 139.79 Eastwood PRE Painting Prep (Low VOC) 12.99 Dupli-Color Victory Red spray paint (four cans) 29.96 Total 871.94
Flame-Red Hot Wings
An army marches on its stomach, and if youre going to trick your friends into working on your crap, you better feed them well. Heres a quick recipe for fiery chicken wings to go with your hot new paintjob:
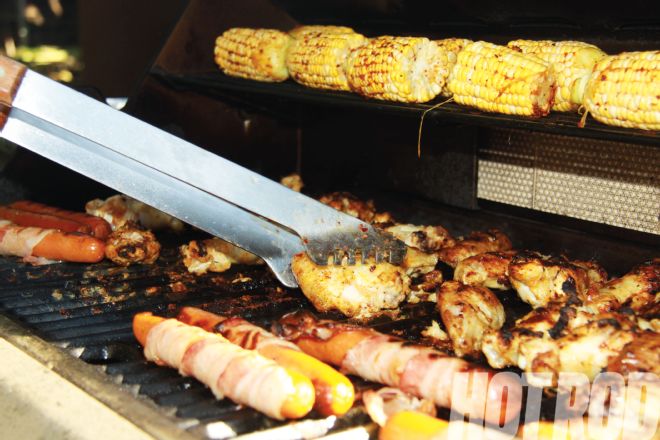
Pour the oil in with the frozen chicken. Seal the Ziploc and shake the bag until chicken is evenly coated. Add a spoonful of each spice and salt and several shakes of hot sauce, close the bag, and shake to coat. The chicken should be an even light reddish color. If you want it spicier, keep adding. Let it marinate overnight, and by the time you fire up the grill, it should be thawed and ready to cook. Heat on medium flame until crisp and cooked throughout.
If you have vegetarians in your group, this recipe is also good for corn on the cob.