
When Neil Emory and Clayton Jensen opened the doors of Valley Custom they concentrated on keeping things subtle, simple, and most importantly, classy. Yet as things progressed, the legacy of Valley Custom took an ironic turn. Sure, classy was always at the forefront, but most remember Emory and Jensen for perfecting the art of what is the most complicated and drastic custom measure one can take: sectioning. Their sectioning legacy began with a ’40 Ford convertible and reached its height with the iconic ’50 Oldsmobile Holiday 88, known as the “Polynesian”. In 1953 the Polynesian hit the pages of Hot Rod and R&C in a series of stories documenting the section. Long story short, those pages and Valley Custom brought the art of sectioning to the custom world and it has since stayed.
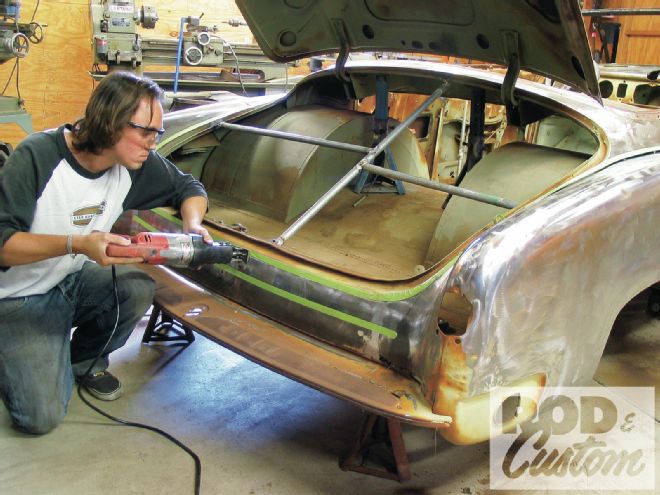
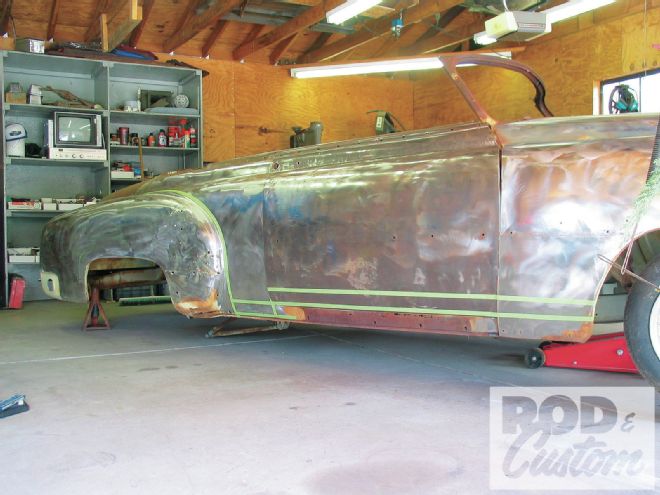 1 Here’s the layout of the section on a side view. The area between the green tape on the body, doors, and fenders will be removed. The tape following the contour of the quarter-panel is where the rest of body gets sliced.
If there’s one thing about customizing, it’s that no one car is alike. Although many may look similar in appearance or traits, there’s always something a bit off; and naturally so, as each customizer has their own preference and ideas—not to mention, there’s a thousand different ways to tackle custom concepts and each will give distinctive results. Take sectioning for instance. The general theory in the beginning was to find the flattest point of the panels to be cut. From there, create an equator along that panel and then split the difference in the section from north and south; being 2 inches north of the equator and 2 inches south of the equator will ultimately yield a 4-inch section. In theory, that concept allows one to remove as much curve from both areas of the panel, which makes mating the halves back together as easy as it can be. Yet, as time went on, each person has a different approach and idea; and the varying styles will tweak the body portions depending upon where material is removed. What it all boils down to is, although the car may be sectioned 4 inches, the different styles of 4-inch sections will have their own distinctive look, bringing us full circle where, although cars may be similar, no one custom is exactly the same! (And isn’t that how it should be? We think so!)
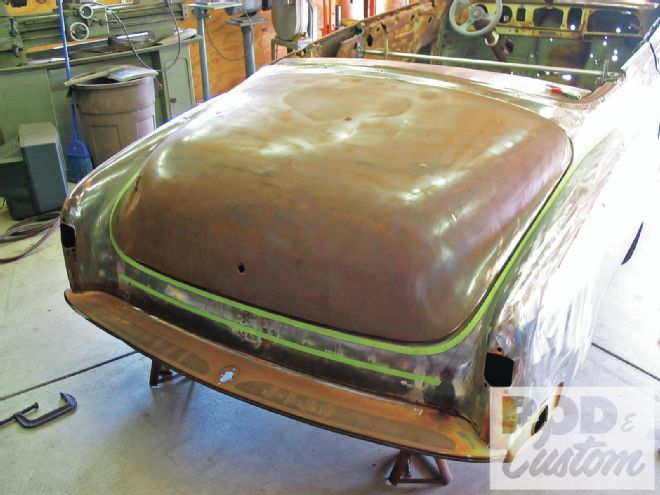 2 The rear will be sliced along the outside edge of the green tape running along the quarter-panels. The real estate below the trunk (between the tape) will be removed as well.
Here at Star Kustom Shop we have our own ideas and methods as well. Our latest project is a ’51 Chevy hardtop-turned-roadster. The owner of the car is after a section that doesn’t just downsize the car and keep factory proportions. Instead, he’s after something that will downplay the bulkiness of the body while accentuating other features. What we came up with is a section that will do just that.
 3 Before I got started I braced the car with some support beams. The vertical supports will act as linear lifts. The bottom bracing is 1-inch conduit with nuts welded to it—the bolts will act as setscrews, while the upper portion is 3/4-inch conduit. The upper brace will slide down into the lower allowing me to adjust and set the new body height easily.
Star Kustom also wants to keep the eye guessing, “Is that sectioned?”, so we’re starting with a mild 2-inch slice. However, the theory of finding the flattest panel is out. Instead, we’re going to take our 2 inches from the bottom of the car. In doing so, we will focus on removing 2 inches from the bottom of the fender, door, and body just behind the C-pillar. This approach will shrink the body down to a smaller, sleeker size, yet retain all of the beltlines and curves at stock proportions.
As for the rest of the body, Star Kustom will drop it down into the body. If that sounds like a double-negative, let’s explain. The quarter-panels will stay the same, but they will be sliced about an inch away from the trunk opening all the way down the front to the C-pillar. Essentially, we’re going to separate the quarter-panel from the body, which will allow the body to drop down in place. Making sure the body doesn’t fall more than 2 inches, the panel just below the trunk will receive a 2-inch section. The rest of the section will focus around removing 2 inches from the bottom of the doors. The bottom of the skin will be set free and 2 inches will get removed from the internal structure. At that point the excess skin hanging below will be trimmed and welded back to the structure. The front fenders will also get whacked 2 inches, again from the bottom. Lastly, the core support and cowl will get 2 inches removed from the middle. By removing from the middle of the cowl, neither door hinge has to be relocated.
Why are we sectioning the Chevy like this? Several key reasons: by keeping the quarter-panels at the same height, and removing 2 inches from the body, the beltline beginning at the hood will flow flawlessly into the valley between the trunk and fender. In the end, the beltline will begin from nothing at the rear and flow uninterrupted into the nose of the hood. Also, with the trunk down into the fender, it will remove some of the “hump-back” look to the rear end. Yet, the biggest reason is we want to exaggerate the rear look of the fenders and trunk without taking things to comical proportions. By keeping the fender up high, and re-working the trunk valleys, we can achieve a more streamlined boat-tail look (for a visual think something in the vein of a ’53-59 Corvette rear end).
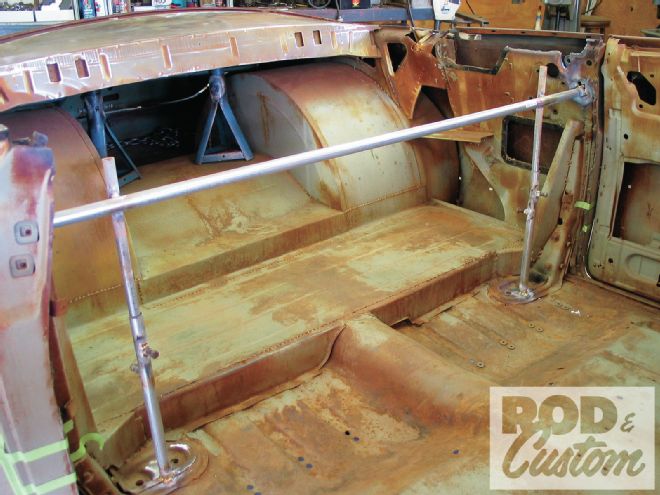
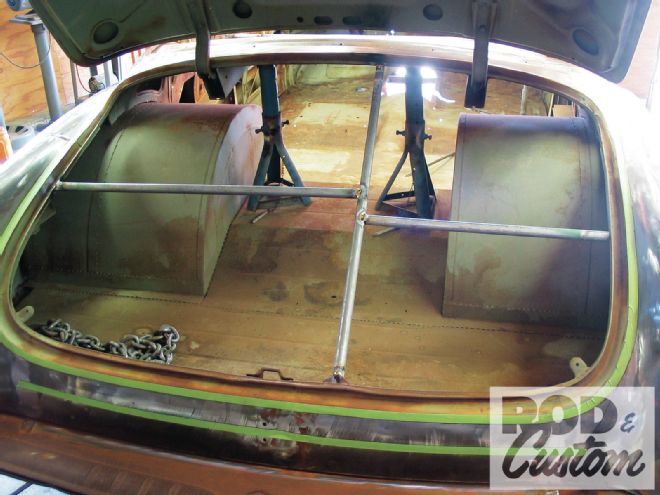 4 The trunk also received some bracing, seeing as the integrity of the body will be cut out of it.
Like I said earlier, there’s more than one way to skin a cat. This treatment will give us a section that suits our desires. Another bonus is the fact we will stay away from welding body panels right dead in the middle! Enough verbiage for now, let’s get to work. Because of the massive amount of work, and wanting to point out key details, this section will be broken down into two installments. In this installment, the body and cowl will be conquered, while the doors, fenders, and core support will follow next month.