
Regardless if you are strolling through a local cruise night or covering acres at huge events, you have a chance to see countless classic trucks, each one different from the next. Sometimes it’s easy to note which ones have had major updates to their overall appearance especially when they have been chopped, channeled, or sectioned. The ones that have subtle revisions are the ones, however, that require a deeper look to determine just what might have been changed.
A mild shave here or a minor tweak there sometimes makes all the difference in the world when you look at the truck’s overall aesthetics. On a recent visit to the Hot Rod Garage in Denton, Maryland, we caught up with the team as they prepared to undertake a simple bit of surgery on a ’53 Ford F-100 to tuck its front bumper. Shop owner Ray Bartlett is a master at adding subtle changes to many of the vehicles rolling through his shop. This particular modification is one that cleans up the gap between the rear bumper face and that of the front valance, giving the truck a cleaner overall look from any angle.
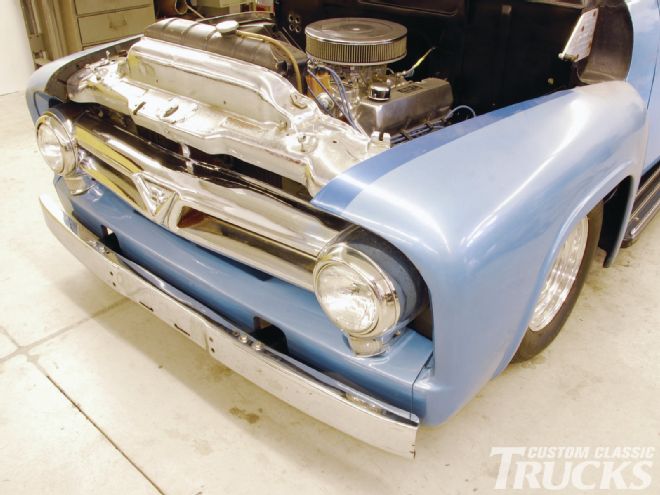
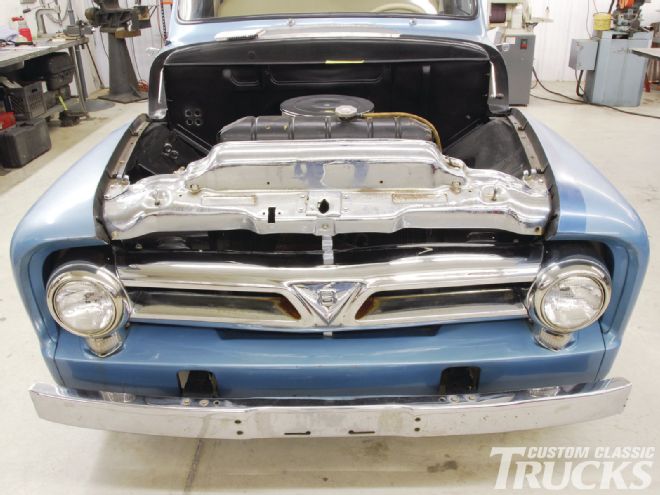 Sometimes it doesn’t take much to improve the looks of an already cool truck.
As with any changes requiring fabrication it’s a good idea to map out what you’re hoping to achieve once the job is completed. Team member Beau Wilkins got things rolling by first confirming the overall stock measurements to the truck’s bumper in relation to the body. Measurements from the rear face of the front bumper to the front valance were noted at 29⁄16 inches at the left and right bumper ends, confirming each front framehorn was equally balanced. Note that this measurement may vary slightly from truck to truck.
 Eliminating a bit of the stock void between the rear of the bumper and front valance will easily make the area sleeker.
A second measurement between the two front framehorns was taken to locate the center of the bumper, which was at 13¼ inches. Wilkins then measured from the rear face of the bumper to the front valance, which was also 29⁄16 inches. A decision was made to tuck the bumper approximately 19⁄16 inches, which would have the updated unit at 1 inch from the front valance.
To proceed, the bumper was removed to prepare the framehorns for surgery. An angle finder was then used on each framehorn to determine its exact front face angle prior to marking the ends for cutting. Here, the measurement was at 86 degrees per side. A measurement of 19⁄16 inches was then taken from the front face on the left and right side of each framehorn rearward. A marking line was then scribed in place using a straight edge. The measurement was then carried to the side and bottom of each horn as well and marked with 1-inch masking tape to confirm the lines to be addressed. Note that the tape was also used as a guide line.
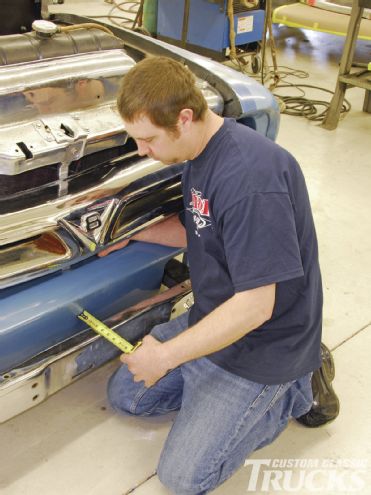 Hot Rod Garage team member Beau Wilkins first measured the area from the front valance to the rear of the bumper’s rear face. Here the measurement was 29⁄16 inches.
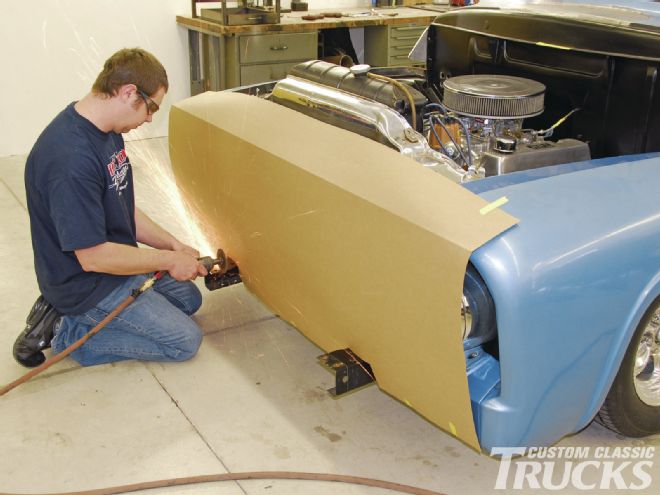
So as to protect the truck’s finish from flying debris generated from the pending cutting and grinding, a section of cardboard was cut to fit and taped to the truck’s front end. While wearing eye protection, a pneumatic cutoff wheel was used to carefully cut through the three sides of the framehorn to remove the noted section. Wilkins followed up by deburring the horn ends using a small circular grinder topped with a 36-grit disc.
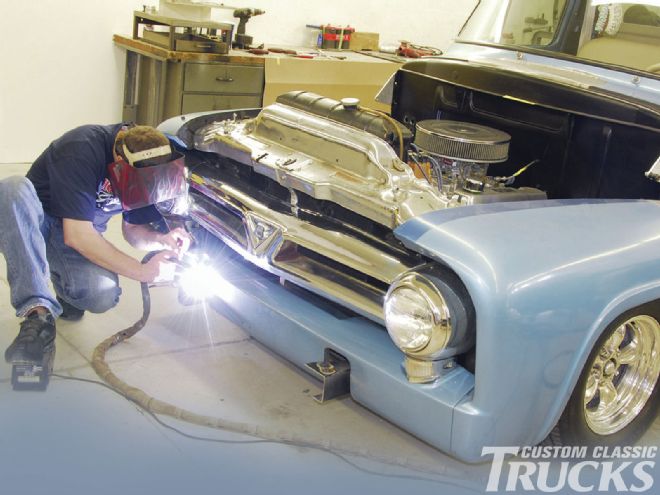
Each framehorn top surface possessed a bit of an eyesore since they both had accessory holes in place. To clean up the overall area and give them a sanitary look, the holes were plug welded using a Miller Synchrowave 250 TIG welder and then ground smooth using a grinder and 36-grit disc.
 To protect the truck’s finish from pending cutting and grinding, a simple frontend protector was fashioned from cardboard and taped in place.
At this time the bumper was test fit to be sure its mounting would be well-balanced and approximately 1 inch from the front valance. This gives you the opportunity to make any final tweaks prior to proceeding. With all measurements perfect, a black marker was used to outline the bolt-mounting holes on the top and bottom of the framehorns. The bumper was then removed and a 7⁄16-inch Roto-Kut drill bit was used to drill the required mounting holes into the horns. Once completed, the holes were deburred and the hardware was test fitted.
The area was then masked off and given a simple coating of SEM self-etching primer. Once dry, a final coating of Krylon satin black was applied. Once the paint dried, the bumper was secured in place and final measurements were taken to confirm its rear face was 1 inch from the front valance. Standing back and checking out the modification, it was easy to see that the subtle change made a big difference in the overall appearance to the front of the truck and to us that’s just plain cool!
 While wearing eye protection, Wilkins used a pneumatic cutoff wheel to slowly and carefully make the incision on each side of the framehorn to remove the required section.
 There’s nothing like a little nip-tuck to change the look of your truck. Sometimes it’s the simplest revisions that make the most difference when you step back and study your front end’s overall presence.