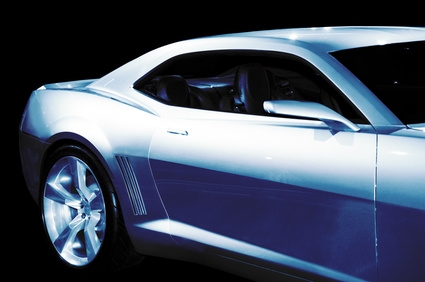
Front bumpers are almost always one of the first areas of a car to experience cracking and fading of the clear coat due to all the abuse they sustain from normal driving. Hoods also can fade and crack due to engine heat. When the clear coat has sustained heavy damage, such as rock chips that lead to cracking, or time has simply taken its toll and the clear is weathered, the only solution is to sand the area smooth and repaint.
Remove the part to be refinished from the car. It is much easier to mask, sand and paint individual items than the whole car and also provides for a much more controlled finish. If not possible, mask off the area to be repaired with masking paper and masking tape to prevent scratching the adjoining paint while sanding. The best way to sand the car is to use an air-powered, orbital sander driven by a properly sized air compressor. Wear a dust mask to protect your lungs.
Work in a shaded, well ventilated area and sand the car with 320-grit sandpaper. After sanding the badly damaged area with 220-grit paper, wrap 320-grit on a sanding block and sand the area flat and level. Work the area until it feather-edges into a smooth surface. Finish the sanding with 400-grit paper to make sure it is smooth and level.
Wipe the area down with surface-prep cleaning solvent. Wear a full-face respirator and spray two to three coats of primer. Allow the primer to dry. Use 600-grit sandpaper and block sand the primer until it is perfectly flat and level. If the area that is being repainted is large, it is best to wet sand the primer. Thoroughly clean the paint gun with cleaning solvent in preparation for paint.
Remove the masking tape and paper and wash the area with soap and water. Mix car wash soap into a bucket and liberally mop the area with a wash cloth. Primer residue is tough to remove unless it is thoroughly washed and rinsed. Allow it to dry. After the area is dry, mask the area in preparation for painting.
Mix the base coat and reducer according to the manufacturer's instructions. It is wise to use one paint system, such as the DuPont or PPG process. These are integrated systems that are designed to provide a predictable outcome. Be certain and use the right reducer. Reducers are temperature-sensitive and must be selected accordingly. Do not paint under 50 degrees Fahrenheit or if the humidity is above 70 percent.
Spray the basecoat in overlapping coats to prevent stripes from forming in the color. The basecoat only provides the color, not the shine. The clear coat provides shine and protection for the underlying color. Spray two to three layers of basecoat paint. Use a high volume, low pressure (HVLP) spray gun that has high atomization. This insures a smooth finish. Allow up to one hour between coats. Allow the basecoat to dry, usually in two or three hours, but follow the manufacturer's directions.
Mix clear coat with activator and spray the first coat, called a tack-coat. This is a light coat that will allow the subsequent coats to stick and flow into a smooth coat. Allow the tack-coat to sit for up to an hour.
Spray a second coat. Allow this coat to sit, then apply the third coat, called the flow-coat or wet-coat. Here the paint gun is moved a bit slower to allow the clear to fill in all the small areas and develop a glossy shine. Do not move too slowly or else runs or sags will develop. Allow the final finish to cure for a minimum of 24 hours.
Remove the masking tape and paper, reinstall the parts and park the car in a sunny location to allow the paint to cure.