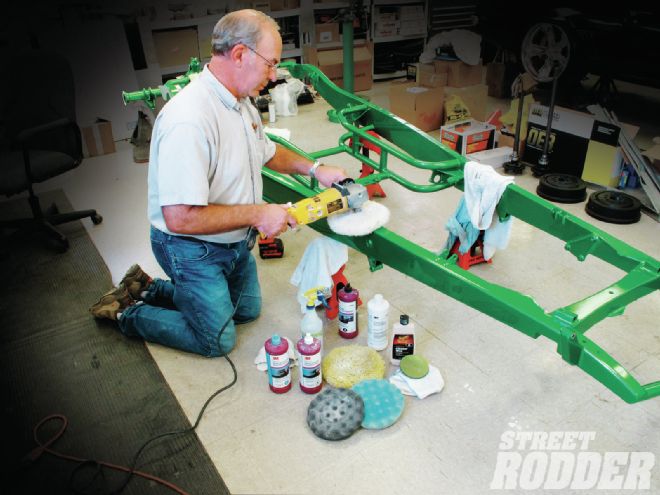
 Joe Bailey has been at his buffing game for a long time, and that is one reason why Alloway’s Hot Rod Shop consistently turns out world-class paintwork.
There’s one common ingredient required in every step of building a street rod: patience. From building the motor to the final phases of finishing a paintjob, you cannot rush the process and still expect outstanding results.
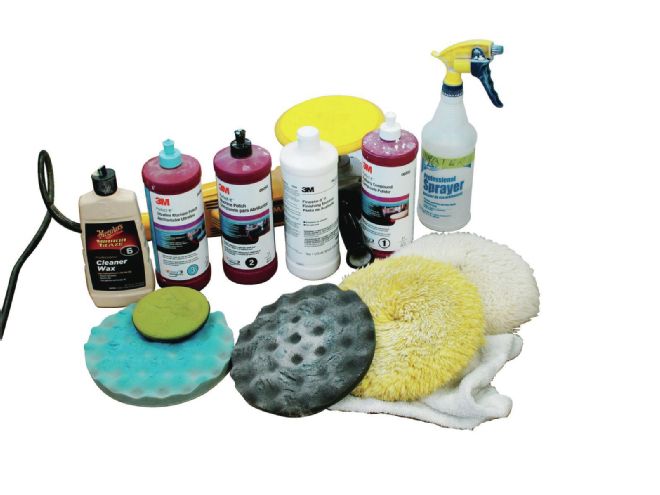 Bailey uses a series of 3M and Meguiar’s products to produce the ultimate final finish. This picture shows everything you need, except for the patience and experience that only comes with time.
This seems to be especially true with finishing the paint on your hot rod. Modern paints are capable of unbelievable finishes, with a luster deeper than we could have imagined in the ’50s and ’60s. For those of us who cut our teeth on lacquer, it’s time to forget everything you know about buffing paint and relearn the process for the modern base/clearcoat paints. The process of buffing modern paints is basically the same, yet very different from vintage lacquers.
Every good paintjob begins at bare metal and works up to the final finish, poor preparation or application anywhere along the way will make achieving a high-quality paintjob impossible. We’ll assume you have done proper bodywork and paint and now it is time to begin sanding and buffing the car.
Unlike vintage paints that required cure time, modern urethanes are ready to sand within 24 hours of application and are easiest to sand for the first three days after application. With each passing day the paint will become a bit harder to sand, it can still be done but it will take more effort. So, when you buy your paint, purchase all of the sandpaper and polishing material too because the next day you will be breaking out the water bucket and sanding blocks.
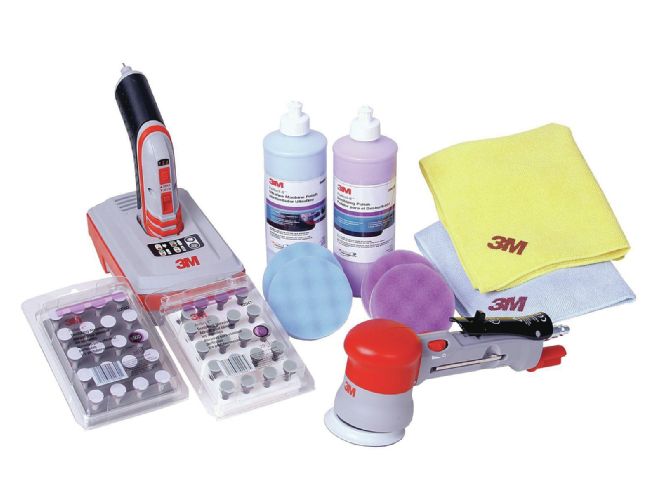 If you painted your street rod without a perfectly clean spray booth you may want to begin the process by “denibbing” with this cool cordless tool kit from 3M. The dime-size buffing pads work well to rid the paint of small bits of “trash” that land in wet paint.
Talking to your paint supplier will net you some good information, but remember a bulk of their business goes toward OEM repair standards, not necessarily the custom painting market. The best advice comes from talking to a shop that consistently puts out amazing paintjobs, and when it comes to amazing paintwork Alloway’s Hot Rod Shop is second to none. But after Bobby Alloway lays down a super slick paintjob the final finish is placed in the hands of Joe Bailey, the man who sands, buffs, and finishes every paintjob that leaves the shop. Bailey was more than glad to share his years of experience and buffing sequences for you to use when it comes time to finish your own paintjob. We can tell you how Bailey does it, but we can’t give you the 40 years of experience that gives you a feel for the paint, buffer, the product, and how the paint is responding.
Bailey has been buffing paint since the days of acrylic lacquer and during that time he has learned that most of the work is done with the sandpaper, not the buffer. And this is where that heavy dose of patience comes into play.
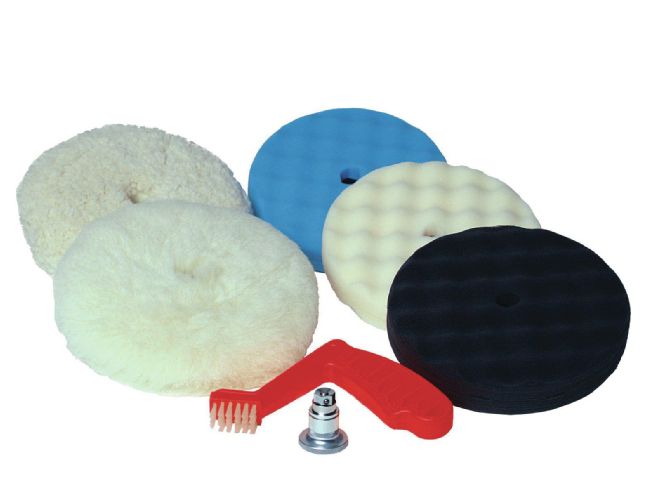 Before you begin it is a good idea to have two of each buffing pad you will use. Bailey likes to begin with wool pads and finish off with foam. Both 3M and Meguiar’s offer high-quality buffing pads.
When a car is painted at Alloway’s Hot Rod Shop there are two to three extra coats of paint applied so Bailey has plenty of material to work with. That means five to six coats of clear as opposed to the recommended three coats.
If you are painting your own car at home there may be one more step prior to the start of sanding and that’s the denibbing process, where you spend time going around the car and carefully working out the larger pieces of dirt, dust, and debris that inevitably fall into the paint when a spray booth isn’t used. There are now special tools to help in this process.
Bailey starts the process with a perfectly clean car, making certain no dust or grit has settled on the car. The first step is a thorough sanding with 600A-grit wet sandpaper. By conventional standards some painters may think 600A-grit is too aggressive for sanding urethane, but Bailey says this is one of the key secrets to his finish, as he told us, “I get most of my work done with the 600A, cut all the ‘fat’, orange peel, and minute pieces of dirt out of the paint until it is sanded to a perfect 600A finish.” Bailey also uses a hard block with sandpaper wherever possible and avoids using his hand in all but the most difficult places. An assortment of block sizes and using things like a piece of a paint mixing stick will allow you to use a hard block almost everywhere. Next up is the 800A-grit, and once again the entire car is brought to a uniform 800A-grit finish, followed by 1,000A-, 1,200A-, 1,500A-, 2,000A-grit and the final sanding is done with 2,500A-grit. Beyond patience it takes some determination and effort to sand the car thoroughly seven times before buffing, but if you are wondering if all that effort is worthwhile we recommend you walk around any of the cars built at Alloway’s Hot Rod Shop, then you will realize the effort involved in a perfect finish completely worthwhile. It’s this progression of ever-finer grits that truly polishes the paint.
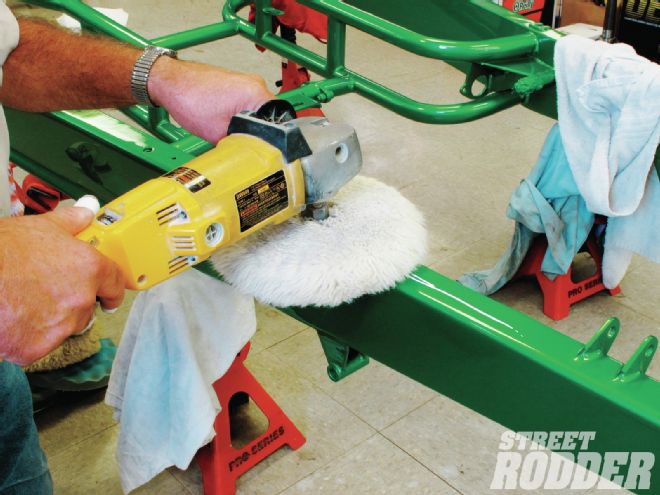 After the paint has been progressively sanded to the final uniform cut of 2,500A-grit paper, a white wool pad and 3M Perfect-it rubbing compound are used for the first buff. Be careful with wall pads as they can snag on items like rain gutters and hinges.
After sanding the car to the desired 2,500A-grit finish it’s time to begin the buffing process. Once again with years of experience and experimentation Bailey has developed his own sequence of buffing paint. While many painters today use a series of foam pads Bailey still begins the buffing process with a white wool pad and 3M Perfect-it Rubbing Compound. Bailey runs his buffer slow, 1,000-1,200 rpm, and keeps a water bottle handy to mist the panel, preventing the compound from drying up and building heat on the paint. Modern paints do not like heat from a buffing pad and the misting bottle is one of those experience things, too much water and your pad is soggy, not enough and you’re heating up dry compound. If you have done proper sanding the paint should take a shine quickly with minimal buffing. If you find yourself buffing for a long period of time it’s probably time to put down the buffer and pick up the sandpaper again.
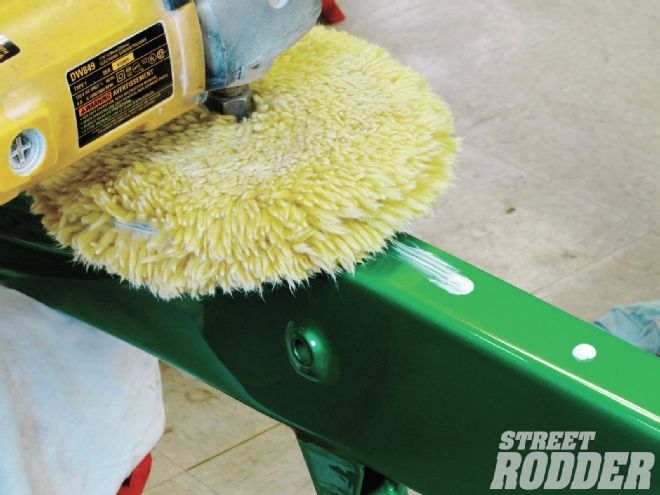 After the compound has provided the initial luster, Bailey cleans the area and buffs with Finesse Polishing glaze using a yellow wool polishing pad; polishing speed is around 1,000 rpm.
After compounding, the panel is wiped clean with microfiber towels and then 3M Finesse II Polishing Glaze is applied using a yellow wool-polishing pad on the buffer. This product is amazing and after going over the panel with the Finesse the paint is looking very good. All the while you are buffing, keep a keen eye for any imperfections you may have missed in the sanding process. If you find unwanted orange peel or a bit of “trash” in the paint, stop and sand with 2,500A-grit and resume the steps.
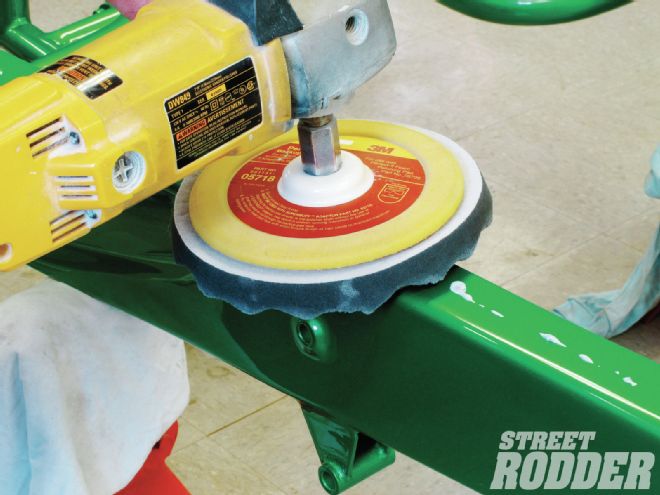 The Finesse provided a big step in the finish, now the wool pad is replaced by a black waffle pad and some Perfect-it fine machine polish.
After buffing the paint with Finesse, Bailey changes over to a black foam waffle pad and buffs with 3M Perfect-it Machine Polish, this removes any remaining swirls and once again the finish should respond quickly to each buffing step.
Between each application of compound, polishes, and glaze the paint is wiped clean so no two products are co-mingled on a buffing pad. The final buffing step that Bailey uses is 3M Perfect-it Ultra-fine Machine Polish and it is applied with a blue foam waffle pad. After this final buff the entire car is waxed using Meguiar’s Cleaner Wax No. 6 and then the paintjob is considered finished. Then the car is given a very close examination to be certain there are no dull spots or imperfections. Once again keep an eye for places that may not have been sanded enough or buffed properly and take the required action to bring them up to the same level of finish as the rest of the car.
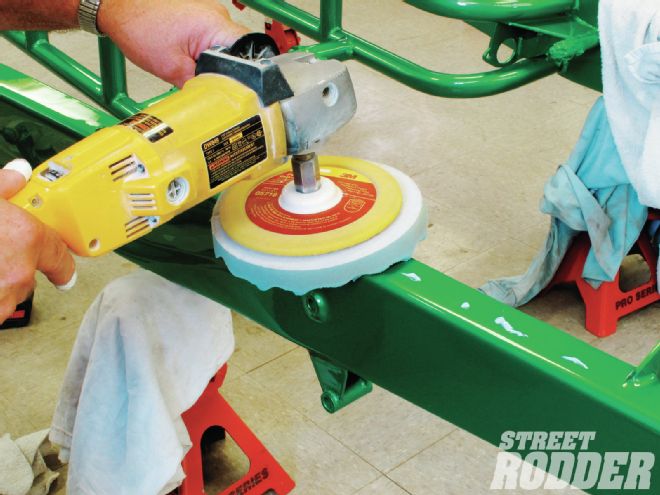 The panel is wiped clean again and now the blue foam waffle pad is used to buff 3M Ultra-fine Machine Polish into the paint. Always keep the buffer in motion.
To have a truly great paintjob it is imperative that every bit of the car has the exact same finish. This often means hand polishing in nooks and crannies, but once again, if you get the sanding right the polishing is easy.
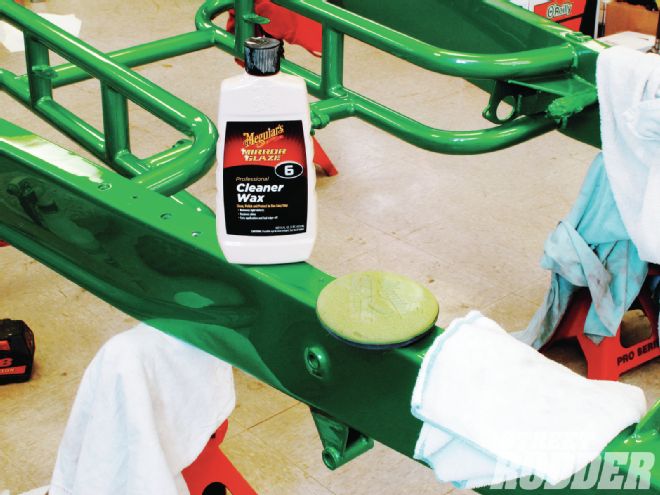 Bailey’s final step is to hand wax the entire car with Meguiar’s Cleaner Wax No. 6. This removes any buffing residue and film and provides a protective coating to the paint.
And there you have it, the inside scoop on how Alloway’s Hot Rod Shop manages to produce world-class paint finishes each and every time. Special thanks go out to Alloway and Bailey for sharing their secrets to a final finish so home builders can strive for that perfect finish.
The Products in Sequence
1. 3M Perfect-it Rubbing Compound (PN 06085) on a white wool pad: Removes 1,200-grit and finer sanding scratches.
2. 3M Finesse Polishing Glaze (PN 05928) on a yellow wool polishing pad: The final step in machine buffing paint, leaves a flawless, wet-look finish by removing all traces of swirls and fine imperfections from the yellow pad.
3. Perfect-it Machine Polish (PN 06064) on a black waffle pad: Quickly and effectively removes compound swirls (PN 06064) with a black waffle.
4. 3M Perfect-it Ultra-Fine Machine Polish (PN 06068) on a blue waffle pad: Removes fine swirl marks with a blue waffle.
5. Meguiar’s Cleaner Wax No. 6 applied by hand with wax applicator and microfiber cloth: Cleans and protects that new paintjob.
Ten Tips for Buffing Paint
1. Work slowly on one panel or area at a time. Patience is a virtue. Remember you’re not trying to finish as fast as you can; you’re trying to finish the best you can.
2. Be careful sanding around raised portions like body beads; these areas tend to require the least amount of sanding.
3. If you’re not experienced buffing paint consider taping all door and hood edges with painter’s tape before buffing. This will prevent burning through the paint on edges and act as a reminder to pay attention.
4. Keep all materials separate, do not let the different compounds, glazes, and waxes cross contaminate. Using the same rag for two compounds is like “double dipping” in the chip dip; it’s just wrong.
5. Work in bright light that shows all the flaws, color-sanding paint in a dark room makes your paint look better than it really is.
6. It may pay to complete one panel to the final finish and then do the rest of the car. This finished panel will serve as inspiration and will prove that your sequence will provide the desired results.
7. Change your sandpaper frequently. Dull sandpaper doesn’t cut and while the finer the grit the more difficult it is to determine when the paper is dull. When in doubt, toss it out.
8. Dry the panel often. Sand, then wipe it dry, then sand some more. Using a small rubber squeegee makes this a simple process. Only when the paint is dry can you see if you have a uniform cut.
9. Clean or change buffing pads frequently. If your wool or foam pad has material built up it will polish the paint differently in different sections of the pad. It’s always a good idea to have two of each pad.
10. After the glaze comes the gaze. Sit back in the garage and gaze at that gorgeous finish. Suddenly those 80 hours of work are all worthwhile.