Anyone who has had anything to do with an old truck probably knows the damage rust can do. It can show up just about anywhere and is usually easy to spot, but one of the worst locations to have to deal with it is one of those you can't normally see, and that's inside the gas tank. Rusty gas tanks can cause a multitude of problems that range from simply clogging up filters to virtually destroying the fuel system. And while those are potentially pains in the gas they pale in comparison to the emotions generated when you and your hauler roll to an unexpected stop in the middle of nowhere with a plugged up fuel system.

To deal with a corroded gas tank there are only a couple of options: replace it or fix what you have. New tanks can be spendy but there is an affordable alternative-saving what you have with a KBS Coatings Fuel Tank Sealer Kit-that's the course we chose for editor Ryan Manson's F-1.
The KBS kit comes with everything you need to seal a tank of up to 25 gallons including AquaKlean (a water-based, heavy-duty cleaner/degreaser) and KBS RustBlast (a powerful rust remover/metal etch). These prep products feature Oxygen-Block Technology, which reduces the occurrence of flash rust by over 80 percent and extends rust-free storage times by leaving a temporary protective coating in addition to a zinc phosphate film. After the tank is prepped the Gold Standard Fuel Tank Sealer is applied. This single component, ready-to-use sealer is specifically formulated for coating the inside of new or repairable steel, aluminum, and fiberglass tanks and not only stops corrosion the tough, fuel impervious coating will also seal small pinholes and weld seams.
Using the KBS kit is simple enough, but it is important that protective gloves and safety glasses are worn, work in a well ventilated area and follow the included instructions to the letter. Proper preparation is absolutely essential, without it the coating will fail. And, if the tank was previously sealed with any other product, it must be removed-a paint stripper containing methylene chloride will be the most effective method to accomplish that.
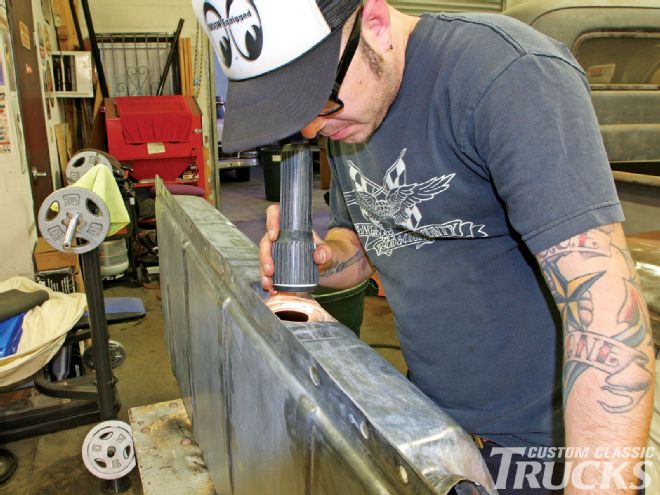
To effectively clean and seal the tank it must be removed from the vehicle and any fittings such as floats, sending units, and filters removed. After sealing all the openings with duct tape or cork-like stoppers AquaKlean diluted with hot water is used to clean the tank (heavy deposits of gum and varnish may require extended soaking and/or the use of a pressure washer).
After flushing and drying the tank the next step is to pour in full-strength RustBlast, an acid metal etch it will neutralize existing rust and create an "anchor pattern" ideal for the sealer to adhere to. It's important that RustBlast doesn't dry on the surface to prevent too heavy of a zinc phosphate buildup which can adversely affect the sealing process. After coating all the tank's interior surfaces by sloshing RustBlast around the remainder is drained and the tank rinsed.
The final step is coating the inside of the tank with Gold Standard Sealer. It's critical that the tank is rolled and turned to ensure all surfaces are coated and that all excess sealer is drained to prevent puddles. Remaining sealer can be painted on the outside of the tank to help seal pinholes and weld seams, and any additional material should be collected in the can with lid off and allowed to harden (do not put lid on can before curing is complete as pressure may build within can and pop the lid). Leftover sealer cannot be saved and re-used once it has been exposed to atmospheric conditions as it will cure and harden in the can.
Properly applied the KBS gas tank coating kit will eliminate the problems normally associated with rusty tanks, will seal small pinholes and best of all it's an affordable means of curing a real pain in the gas.
KBS FAQs
Q. Does duct tape provide a sufficient seal to allow you to rotate, turn, and invert the tank without the sealer spilling all over the place?
A. Yes, duct tape or electrical tape works well. Also, a piece of cork or rubber will seal small tubes.
Q. What's the best way to prevent the sealer from getting on the screw threads?
A. Apply a small amount of oil (WD-40 or similar) to the threads, and if the sealer dries on those threads, it will peel right off.
Q. Any other tips, "tricks of the trade", suggestions, etc.?
A. Be sure the tank is completely dry before using the sealer. Apply a thin film of oil wherever you don't want the sealer to stick. Do not allow the sealer to "puddle" in the tank. If the tank has baffles or a design which does not allow for complete draining of the excess sealer, keep rotating the tank (every 10 min or so) as the sealer cures to help prevent pooling & puddles.