After fitting the F-1 fender sections to the F-100 fenders on my '46 roadster pickup last month, and realizing just how badly dented and damaged they were, it seemed like an ideal opportunity to show a couple of ways to repair stretched sheetmetal. Let's face it, owing to their lives as work vehicles, trucks are probably the most abused vehicles out there, and likely require more metal massaging than any other when it comes to bodywork, especially if you want to retain the original fenders and bed.
Repairing dents and how to use a hammer and dolly must have been covered a thousand times in as many magazines, so we'll concentrate on metal shrinking. This is required whenever the metal has been damaged and pushed in too far to repair without a crown or lump forming, or when a flat panel is 'oil-canning' and popping in and out when touched, though shrinking a flat panel is an acquired skill.
The first step is to remove all the old paint, body filler, and underseal from both sides of the panel, the quickest way to do this by sandblasting. I turned to a local company, Orange County Sandblasting, for this, as they're used to dealing with automotive panels, and specialize in antique and classic cars. I only mention this because some sandblasters, especially those used to dealing with industrial blasting, can cause more damage than good. I had a pair of '69 Mustang front fenders blasted years ago that I had to scrap as the blasters managed to put waves an inch deep in the top sections, so locate a blaster that has experience with sheetmetal.
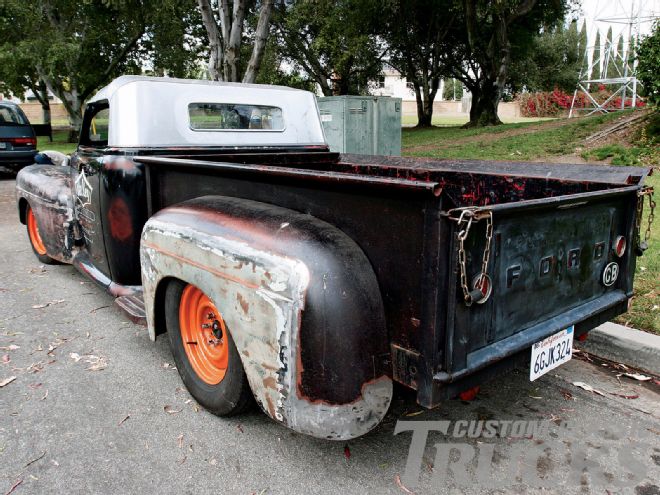 Here's where we left our fender last month, the newly added section in much worse shape than it looks thanks to body filler on the outside and heavy undercoating behind disguising its true condition.
The established way to shrink sheetmetal is to use an oxyacetylene torch and a hammer and dolly, heating an area the size of a nickel to cherry red, and then with a dolly behind it, hammer in a circular motion around the heated area using glancing blows to "push" the metal towards the center. You'll have to work quickly as the area will cool rapidly. Several spots will likely require heating and shrinking to bring the metal back into shape. Experience will tell you where to apply heat. You can also buy "shrinking hammers," which have a serrated face and a head that twists as it hits the metal surface, but these can damage the surface of the metal, putting little serrations in it. Of course this won't matter if you're going to file, grind, or sand on the metal anyway.
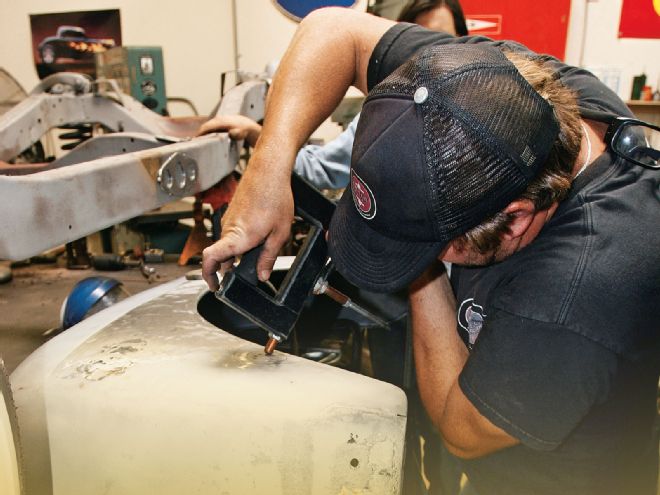
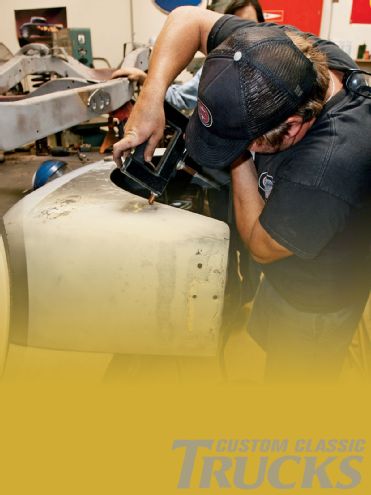
Another way to shrink metal is to use an electric shrinker. Much more controllable than using oxyacetylene, it's also much more expensive to purchase the machine, which uses an electric arc to heat a concentrated area and thus shrink it. I used both methods on this fender, my thanks going to Jimmy White at Circle City Hot Rods for lending me his electric shrinker, as well as the use of his workshop for this article.
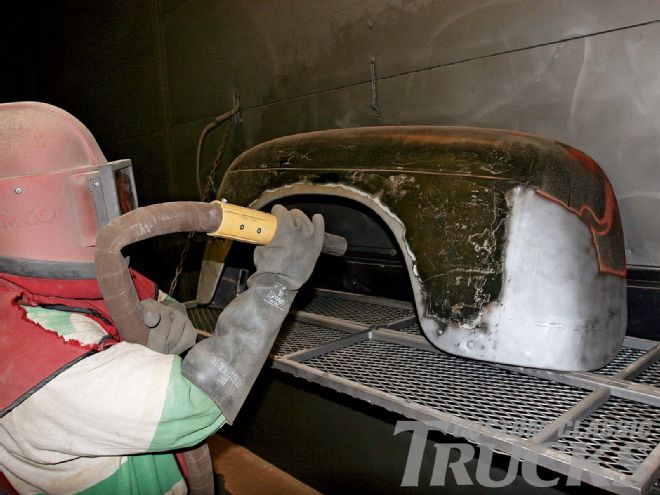 A session in the blasting booth at Orange County Sandblasting stripped the entire fender back to bare metal, offering a perfect starting point to bring it back into shape.
With the shrinking accomplished where necessary, all that remained was hours of hammer, dolly and vixen file work, before sanding the panel with 80-grit using a DA sander, checking it for fit on the truck, and then applying a skim-coat of body filler. In case you're wondering, the total time invested in fitting the F-1 section in our last installment and getting to the stage you see here, ready for filler, was two full days. It still needs the rusted-out section repaired where it bolts to the running board/step, and the fender brace bolthole welding, so by the time it's in primer I'd allow 3 1/2 days. Just think of the labor costs you'll save by learning to do this yourself!