Dealing with rusted, damaged, broken, or otherwise unbecoming hardware on an old truck is never a fun experience. Oftentimes, you're left with more work in replacing a sheared bolt or stuck nut than whatever the actual job you were tending to in the first place. Sheared bolts rusted in hinge plates, body mounting hardware that's impossible to get to, frozen suspension parts soaked in Marvel Mystery Oil and heated to the temperature of the sun that still won't break free-we've all had to deal with these problems, and they're the things you just can't avoid when dealing with old trucks. The only solution is to be patient, attacking the problem while creating as little damage to the surrounding area as possible, and replacing all that old, rusty junk with new chrome, zinc, or stainless hardware.
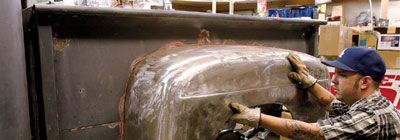
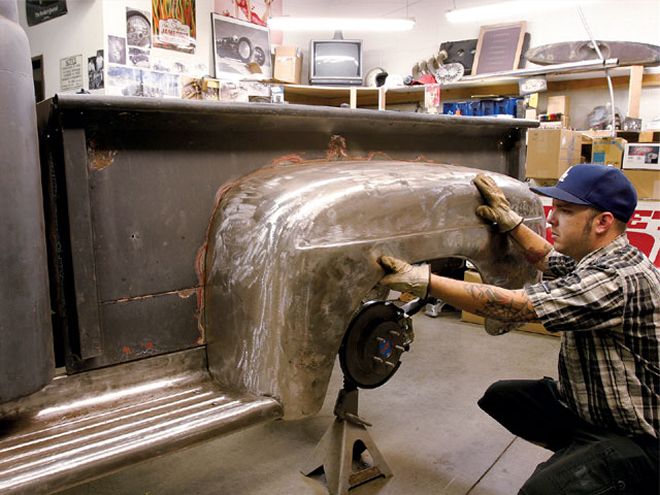
When it came time to start patching up the rear fenders on one of our projects, we concluded that it would be best to do all the metalwork with the fenders installed on the truck to minimize any warping or distortion that could result if the job was done on a set of sawhorses. The fenders had already been removed from the bed, and in the process many of the welded-in bolts from the factory had sheared due to rust and age getting the best of them. It was obvious that before any more progress was made, the old hardware would have to be dealt with.
The folks down at National Parts Depot (NPD) and Totally Stainless helped us get the body mounts sorted as well as a few other items when it came to mounting the front sheetmetal, so it seemed only natural to see what they could recommend to replace our old hardware. Turns out there are basically two options when it comes to replacing the original bedside hardware: weld-in or carriage bolts. The carriage bolt option sounded like it might be the way to go, as it seemed slightly easier and would allow the bolts to be removed when it comes time for bodywork and painting the bed. On the other hand, with carriage bolts you need a couple of extra hands to hold everything in place while the fender is installed. Having spent many a late night locked up in the garage without an extra set of hands available, I try to make everything a one-man job if at all possible. For that reason, I opted to use a weld-in bolt kit from NPD with the corresponding stainless fasteners already on hand from the complete body kit we ordered up from Totally Stainless a month back or so.
The first job was to remove all the old fasteners that were welded to the bed. Each bolt received three spot welds from the factory, and since our new fasteners would be utilizing the same, stock holes, care must be used when removing the old fasteners. The first step was to cut off the majority of the fastener on the fender side of the bedside to reduce the amount of material that would have to be removed later. A pair of perpendicular cuts is then made in the head of the bolt on the inner bedside. This works to effectively weaken the bolt itself. With a stub of a bolt left and a nice flat surface to work with, the fasteners were then center-punched and drilled out with a small pilot hole followed by a drill bit the same diameter as the fastener. This reduces the fastener to basically four small pie-shaped pieces on the bedside. A few careful strikes with a hammer and chisel, and the spot welds are broken and the fastener falls free in a half-dozen pathetic pieces.
Installing the new bolts went quicker than I thought, with each hole being filed to fit the square shank of the fastener before a pair of tack welds was applied to the fender side of the bedside. Once all 12 fasteners were in their place, the fender was slid on and tightened down. With the fender installed, it's now possible for us to move forward with the sheetmetal work on the back half of the F-1 and get that much closer to final bodywork and paint.