In our two-part article "Major Surgery," we showed you how to properly remove and replace an entire quarter-panel so the factory look was closely preserved. But what if the damage does not require an entire panel replacement? We are all about keeping as much of the factory metal in our car as possible, and there are some good reasons not to replace an entire panel if a patch will suffice. In this article, we will show how to replace just the lower quarter-panel patch with the same goal in mind-no telltale scars to indicate the panel has been doctored.
Our car is a '69 Coronet 500 that has suffered from a series of unfortunate events. We allowed our friend J.D. to haul our car to and from a race with his enclosed trailer and Chevy tow vehicle. Well, the Chevy broke a spindle (imagine that, a broken Chevy) and took driver, truck, trailer, and Coronet for a 65-mph ride off the road, through a concrete light pole, and into the ditch, totaling the truck. Turns out the only thing worth fixing was the Coronet, which had broken loose and bulldozed forward, smashing all the trailer's contents into the front of the trailer and catching the driver-side quarter-panel on the trailer's inner fender during the process.
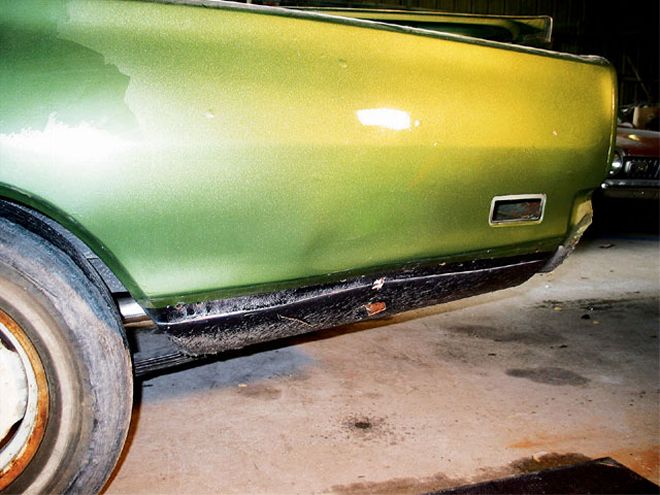
While our first inclination was to kill J.D. (he bought the Chevy), we quickly remembered he owns a body shop and his bodywork is much better than his taste in tow vehicles. (Actually, J.D. saw the light and now drives a new Dodge Cummins tow vehicle.) We initially thought a quarter replacement was in store as our quarter-panel had a significant crease and several secondary dents as a result of the wreck. We also didn't want to see the signs of patch panel replacement inside the trunk of our otherwise clean car.
After inspection, J.D. informed us there were several reasons not to replace the entire panel. First, replacement panels are made from a thinner gauge steel than the originals, thereby reducing the structural integrity of the vehicle. Second, due to worn stamping dies, the lines of replacement panels are often not as distinct as the original, detracting from the look of the panel or requiring hours of labor and body filler to duplicate the original look. Third, he stated that a patch panel-when properly installed-would show no signs of having been replaced, which was our goal.
With these things in mind, we decided a patch panel would be the best way to repair the quarter, so we made a call to AllStar MuscleCar Parts to discuss our options. Chuck West of AllStar was very helpful and recommended Sherman and Associates PN 187-60, which was ordered and arrived in a couple of days.
We were fortunate to have JD's Paint and Body at our disposal (especially since J.D. felt bad about wrecking the car in the first place), but you don't need a body shop to accomplish the job. Installing a patch panel can be done at your home garage, or in your driveway for that matter. You'll need a few specialty tools, such as a body hammer and dolly, a drill, a welder, and a grinder with quality cut-off wheels. The only tricky part is the welding since the material is pretty thin, and care needs to be taken not to heat warp the metal. If you're not sure you can perform the welding, our advice is to find someone who has experience welding thin-sheet steel. The rest of the job requires some finesse, but is pretty straightforward.