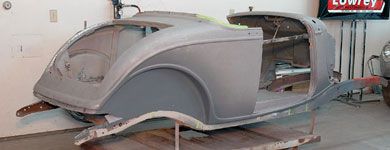
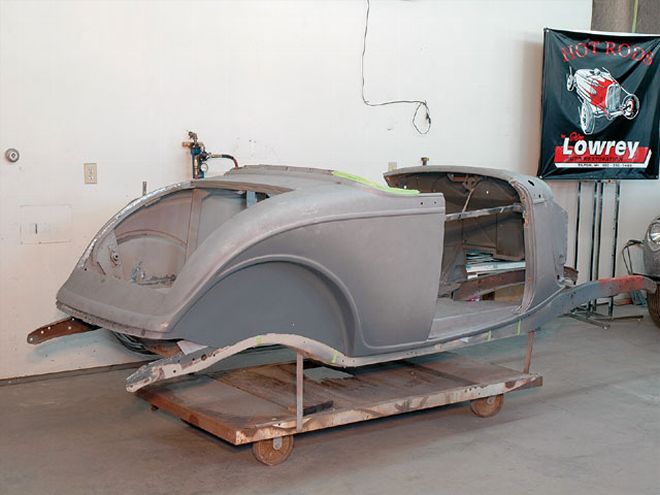
 Fresh from being stripped, the roadster awaited its final body prep. At this point, the body had been treated to new floors and a trunk pan, as well as any required panel repairs.
While on a recent visit to Jim Lowrey's Auto Restoration nestled way up in Tilton, New Hampshire, we came upon Stuart Peterson's '34 Ford roadster. It had just come back from being stripped after the team at Lowrey's completed panel repairs, along with replacing all the flooring. This was the prefect opportunity to follow along with the bodywork.
Before starting the bodywork, team member Dave Smith secured the body to the chassis and made sure to mock-up the doors and trunk. That said, we followed along with Dave as he started blowing the body clean of any remaining debris left over from the stripper. From there, it was time to give the steel a full chemical wash, one of many to follow as we proceeded, to ensure that the body was free of any contaminants that could possibly adversely interact with the bodywork process. This would especially include skin oils, and Dave highly recommends wearing latex gloves through most of the work to be done.
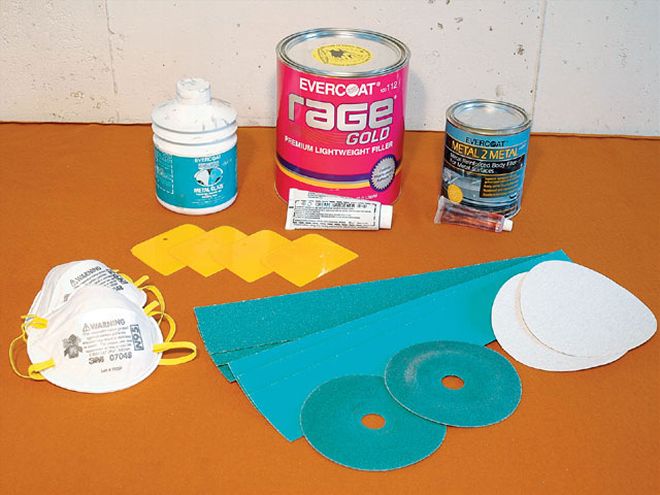 There are a number of products that assist in the final body prep before it hits the paint booth, including Evercoat's Metal 2 Metal, Metal Glaze, Rage Gold premium lightweight filler, particle masks, and an assortment of sand papers.
With the body washed down with PPG DX320 Fast Evaporating Pre-Cleaner, Dave ran his hands across its surface for a thorough examination, feeling for highs and lows, as well as any other inconsistencies in the aged steel, as these areas would need to be addressed with a shrink wheel. To get to that point, Dave followed with 80-grit sandpaper secured to either a sanding board or sanding block to show exactly where the highs and lows were; the highs shine and the lows are dull. The shrink wheel is a unique steel disc with a groove-like pattern that is attached to an electric grinder, which has the ability to rev to 6,000 rpm. When carefully applied to the surface in need of adjustment, it heats up the metal using friction to reestablish the balance of the panel.
You have to be especially patient when using the wheel, moving it in a sweeping motion to get the metal hot, then cooling it down immediately with a cold wet cloth. Always remember not to overheat a panel, as this could cause warpage. For other areas that have minor issues that need to be tended to, a simple hammer and dolly-of which there are many types-can easily address a correction needed in the metal. As with the shrink wheel, this is another way to modify the aged steel, which takes time and finesse that is learned through experience. Dave worked the remainder of the steel with a 50-grit grinding disc to prepare the body for its next step and give it plenty of adhesion for its upcoming skimcoat of lightweight filler.
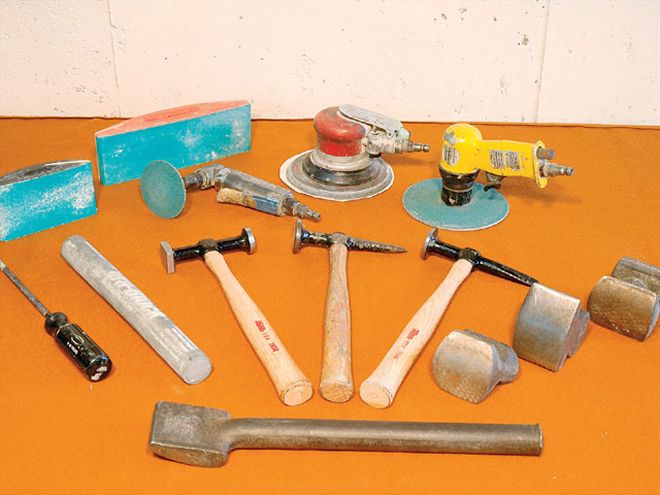 Finessing a body into its final stages takes the right tools, some of which are pictured here and include air-driven grinders and DAs, body hammers, dollies, and various types of sanding blocks.
Dave prefers to use Evercoat Rage premium lightweight filler for an application where he will skimcoat the body to be able to level it out and create an even base to eliminate any remaining highs and lows. Once the skimcoat was applied, Dave said there is a "sweet-spot in time" where the filler is perfect to cut. This is based on the amount of hardener used combined with the ambient temperature in the room and humidity. Working with 36-grit paper on either sanding boards of blocks, Dave evened out the panels using an X-pattern to be sure he got a nice, even cut. Once the panels were sufficiently even, he followed with 80-grit to smooth it all out and remove any remaining filler that wasn't needed. It's amazing when looking at the initial application of the filler to a panel, and what small amount actually remains if the initial metalwork was carried out correctly.
The body was ready for one of its first trips to the spray booth, where en route it was again blown clean and prepped with PPG DX320 to remove any surface contaminants. This time, Dave applied a light coating of Spies Hecker Permacron pre-polyester to seal the body surface, followed by an even coating of Spies Hecker Raderal spray polyester, which is a fast-drying high-build primer. This fills any minute areas on the body needing additional filler, as it is quite thick. Once it was cured, Dave blocked the body surface with 180-grit followed by 220-grit to prepare it for its final surface priming. Dave said attention to detail during this step is a must, especially in areas like the firewall, and countless hours were spent sanding the body to perfection as he readied for its final priming stage.
Dave applied the final coating of Spies Hecker Permasolid HS Premium Surfacer primer after a final trip to the spray booth with the body blown clean and again washed free of any contaminants. It's imperative when sanding the final coating of primer that you not break through the surface, as you are only trying to remove any final peel and even out the panels one last time. An assortment of paper grit ranging from 220 to 400, followed by a final cut with 500-grit, got the body as smooth as glass, while again blocking with the previously noted X-pattern to avoid any grooving to the final surface, especially near the beltline and reveals.
A final work-over with red Scotch-Brite ensured that every speck of the body was ready for the final gloss to be applied. When we check in next on this cool roadster, Dave will have it in the booth ready for its final glamour. We bet Stuart can hardly wait!