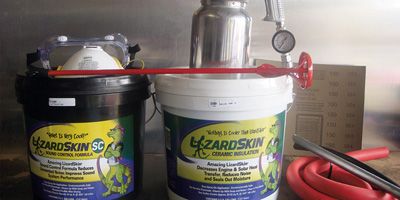
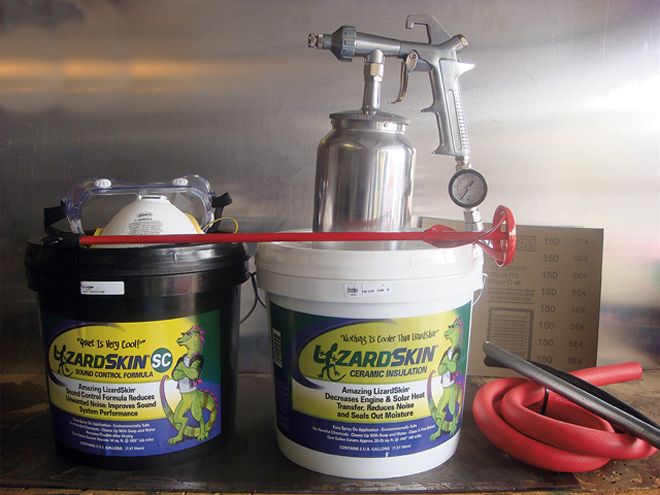
 The Lizard Skin supplies included everything we needed to do the job: Sound Control Formula, Ceramic Insulation Formula, Pro Gun Kit, goggles, dust mask, sandpaper, and pressure regulator (mounted on spray gun). Find out how well Lizard Skin works by reading to the finish and checking out the photos.
We are all trying to make our cars as comfortable as possible. One way that we do this is with sound deadening and head control.
There are many types of products that offer these properties, so how do you choose? To tell you the truth I'm not sure. I've tried most of the products out there over the past 9 years that I have been involved in building Factory Five roadsters and coupes. I've tried the jute-type insulation found in the normal passenger cars, the foil-covered bubble wrap found at your local hardware stores, and even the popular asphalt sheet-type insulation. All of these products have good points and bad points, but all of them worked in varying degrees. The one drawback to all of them was they had gaps where one piece would sit next to the other piece.
I was in the middle of preparing for a new build called the Yoesel Special and happened to be flipping through KIT CAR magzine, when I found this ad for a product called Lizard Skin. I'd heard mention of it on the forum that I frequent, FFCobra.com, but never paid much attention to the posts, as I didn't see any pictures of the finished product in the posts. I thought it was a great idea-a spray-on insulation and sound deadener. This would mean that there would be no gaps or voids in the coverage and that it wasn't bulky or thick, taking up room in the cockpit. I called Jeff Yoesel and told him of Lizard Skin and asked if he would be willing to give it a try. He agreed.
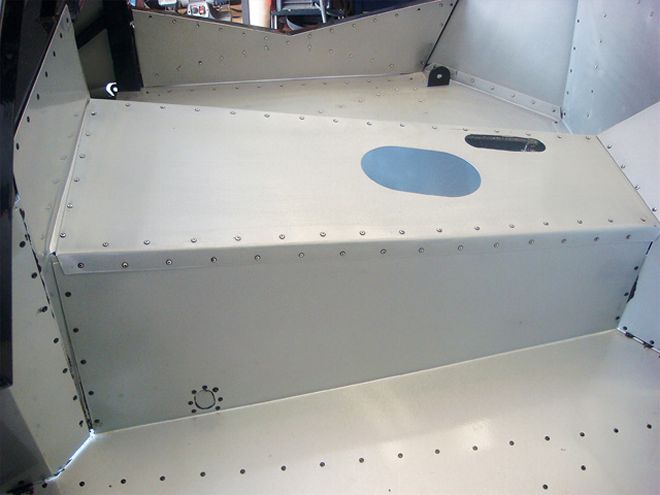 To prepare the interior for applying the Lizard Skin, we scuffed the powdercoated cockpit of Jeff Yoesel's Mk3 Factory Five Roadster with 150-grit sandpaper.
I ordered the Lizard Skin Sound Deadening and Ceramic Formulas as well as the Super Pro Gun Kit to apply it with from Summit Racing. Once the product arrived, I read the instructions on the pails of sound deadener and ceramic formulas as well as the instruction manual that comes with the Pro Gun, which were pretty straightforward. I also called the help line just to ask about any prep work that may be needed over and above what the instructions called for and any Personal Protective Equipment (PPE) I might need. It's a good thing I did, as I got to speak with a man named Bob Call, the inventor of Lizard Skin. He's a very helpful person to talk to and answered my questions. Bob told me that Lizard Skin is biodegradable, non-toxic, and has zero VOCs (volatile organic compounds). Bob recommended to wear a dust mask and eye protection while spraying the Lizard Skin.
Most of the FFR cars that I've built, I've powdercoated the frames and aluminum panels. The Yoesel Special was no exception. Since powdercoating leaves a slick surface on the aluminum, Bob recommended scuffing it with sandpaper to give the Lizard Skin something to stick to. I used 150-grit sandpaper to rough up the surface of the aluminum. I then blew off the sanding dust with compressed air. Next, I masked off the areas that I didn't want coated and then took a mixture of 1/3 vinegar and 2/3 water in a spray bottle and cleaned the surfaces to be coated.
 Masking off gaps in the aluminum came next, as revealed with this photo of the underside of the FFR chassis.
Once the car was prepped, it was time to prepare the spray gun. First, I added an adjustable regulator to the spray gun, which was not part of the Pro Gun Kit. Next, to clean any solvents, I flushed the gun with acetone. As I waited for the acetone residue to evaporate from the gun, I placed the mixer attachment that came with the spray gun kit into my 1/2-electric drill. I then opened the black pail containing the Sound Control Formula. Inside the pail I found a blue and gray mixture. As I used the power mixer, the blue disappeared, and the product became a medium gray color. Once the color of the Lizard Skin became a uniform gray color, I lifted the mixer out of the pail to check for the consistency of honey, as Bob said. Once this honey consistency was achieved, it was time to do a spray patter test. I filled the cup for the spray gun and test-sprayed on some scrap aluminum, looking for a circle pattern of about 4 to 5 inches in diameter by adjusting the air pressure and nozzle. After I started seeing the appropriate pattern, it was time to start coating the aluminum. As I started the first coat, I remembered what Bob had told me: "If you spray it thin, you will win." I sprayed the first coat light and allowed it to dry. The day I applied the Lizard Skin the humidity was high, so the drying times were extended even with the temperature being 95 F. I used a fan to help accelerate the drying time, which helped. Normal drying times are about 15 minutes, but the drying times that I experienced were closer to 45 minutes. You want to ensure that each coat is completely dry before spraying the next coat. If you don't allow the coats to dry completely, or you spray the coats way too heavy, then water will be trapped-and when surface gets hot the water droplets will turn to steam and blister the finish. You check the dryness of the coatings by first looking at the color, because when it's sprayed it looks to have a gloss, but as it dries the finish becomes dull. Once the finish looks dull, use your thumb and place it on the coating. As you apply a little pressure, turn your thumb 90. If the product comes up, then it is not dry enough. If the product stays, then it's time for the next coat.
For the next coat I opened up the nozzle some to allow for a slightly heavier coat on the subsequent coats. I also had to open the air regulator on the gun some to compensate for the higher output. I sprayed a total of three coats of the Sound Control Formula and allowed a drying time of about 45 minutes between each coat. Once I sprayed the last coat, I cleaned up the gun with water.
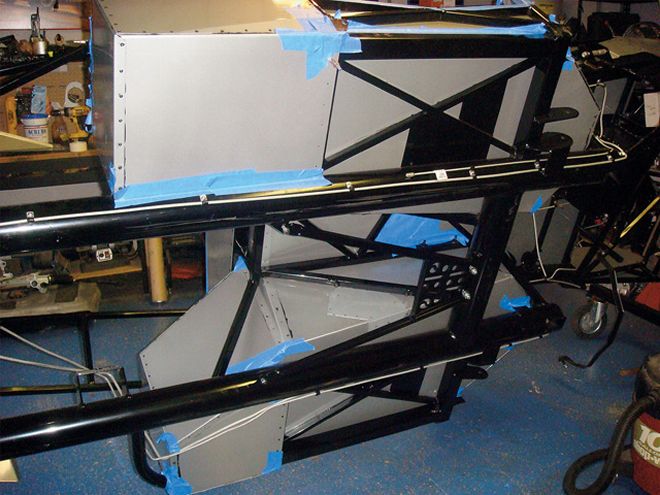
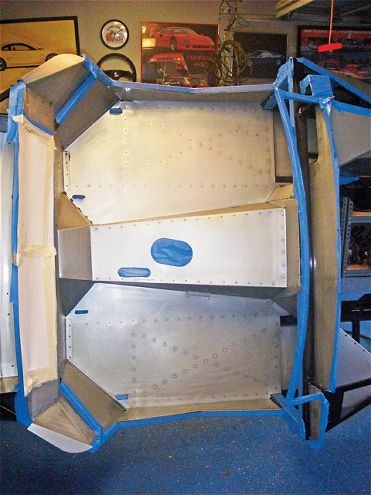 After beginning to tape off the cockpit with masking tape for the areas that wouldn't get the Lizard Skin coats, here's how the cabin looked.
I waited over 24 hours to apply the Ceramic Insulation Formula. The ceramic looked different as it was black instead of gray. It sprayed a little different than the Sound Control Formula, but I think it was because it was a little bit thicker. You can add some water to the Lizard Skin, but I decided not to add any. Since the car was still masked off from the day before, I didn't have to do any prep work before spraying the Ceramic Insulation Formula. Again, I sprayed the first coat light and the next two were heavier. And, once again, I used the fan to assist in the drying process. I did notice that the Sound Control went further than the Ceramic Insulation, as I still had a little less than 1/2 a pail left of the Sound Control and was almost completely out of the Ceramic Insulation.
After the cleanup was complete and the last coat was dry, I removed the masking paper to reveal the look of the Lizard Skin-equipped cockpit. The finish was like a lizard's skin with the bumps. I had thought that it might fill in the gaps in the aluminum. It did for the most part, but there were some voids that would have taken a lot more coats. If I'd thought about it I would have sealed all of the voids before spraying. Overall, I'm happy with the outcome. Even with the extended dry time, the entire process took about six hours to fully insulate the car. Considering this is the first time I used Lizard Skin, that's pretty fast, and the results were impressive.